
Question: Studio Fiberglass Tutorial
This past week the team set up shop for an afternoon tutorial on fiberglassing. Tim has been building his own custom foil board to take out on the lakes, 3d printing parts and molding plywood to create the foil and fins. Using the Shaper Origin, he was able to etch in the paint-filled inlays adorning the board. For this fiberglassing tutorial, we set up the foil board and the two fins for finishing.
In this post we would like to share the fiberglassing process step-by-step. We will also be sharing some of our tips and tricks to accomplishing a clean epoxy finish with resolved edges and how to achieve this with minimal to zero ‘flaws’.
Steps for Fiberglassing:
What you need:
It is vital to have all of your materials set up and ready to go for when you begin the fiberglassing process. The steps can move rather quickly, so being prepared makes everything run smoothly.
Before you begin set up, you must have these necessary items to correctly fiberglass your item:
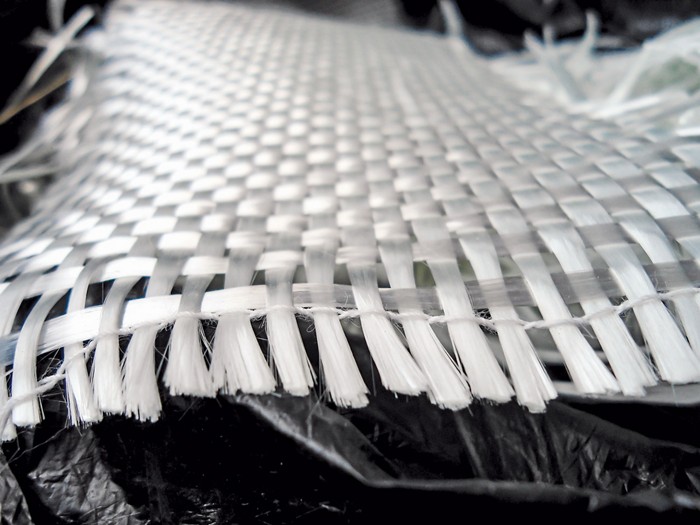
Fiberglass woven cloth (choose your weave dependent on strength preference)
2 part epoxy (for this tutorial we used MAS epoxy resin and slow hardener)
Tarp
Scissors
Latex gloves
Disposable cups and stir sticks
Disposable plastic epoxy spreaders
A few cheap paintbrushes
Exacto knife
Respirator mask
Electric sander
Sandpaper (variety of rough to fine)
Clear varnish
Set up:
Place your tarp on top of a flat surface, then place the item you are fiberglassing on top of the tarp (it works best if you raise it a few inches into the air on a wooden block).
Drape the fiberglass woven cloth over top of your item and cut it to size, making sure to leave at least 1” of extra material hanging off the edges. Pet down the fiberglass cloth so that there are no ridges or wrinkles.
Prepare your epoxy by dispensing a 2:1 ratio of resin to hardener in a disposable cup. Use a stir stick to mix the epoxy for a few minutes until it looks well mixed or the cup begins to feel warm.

Epoxy Process:
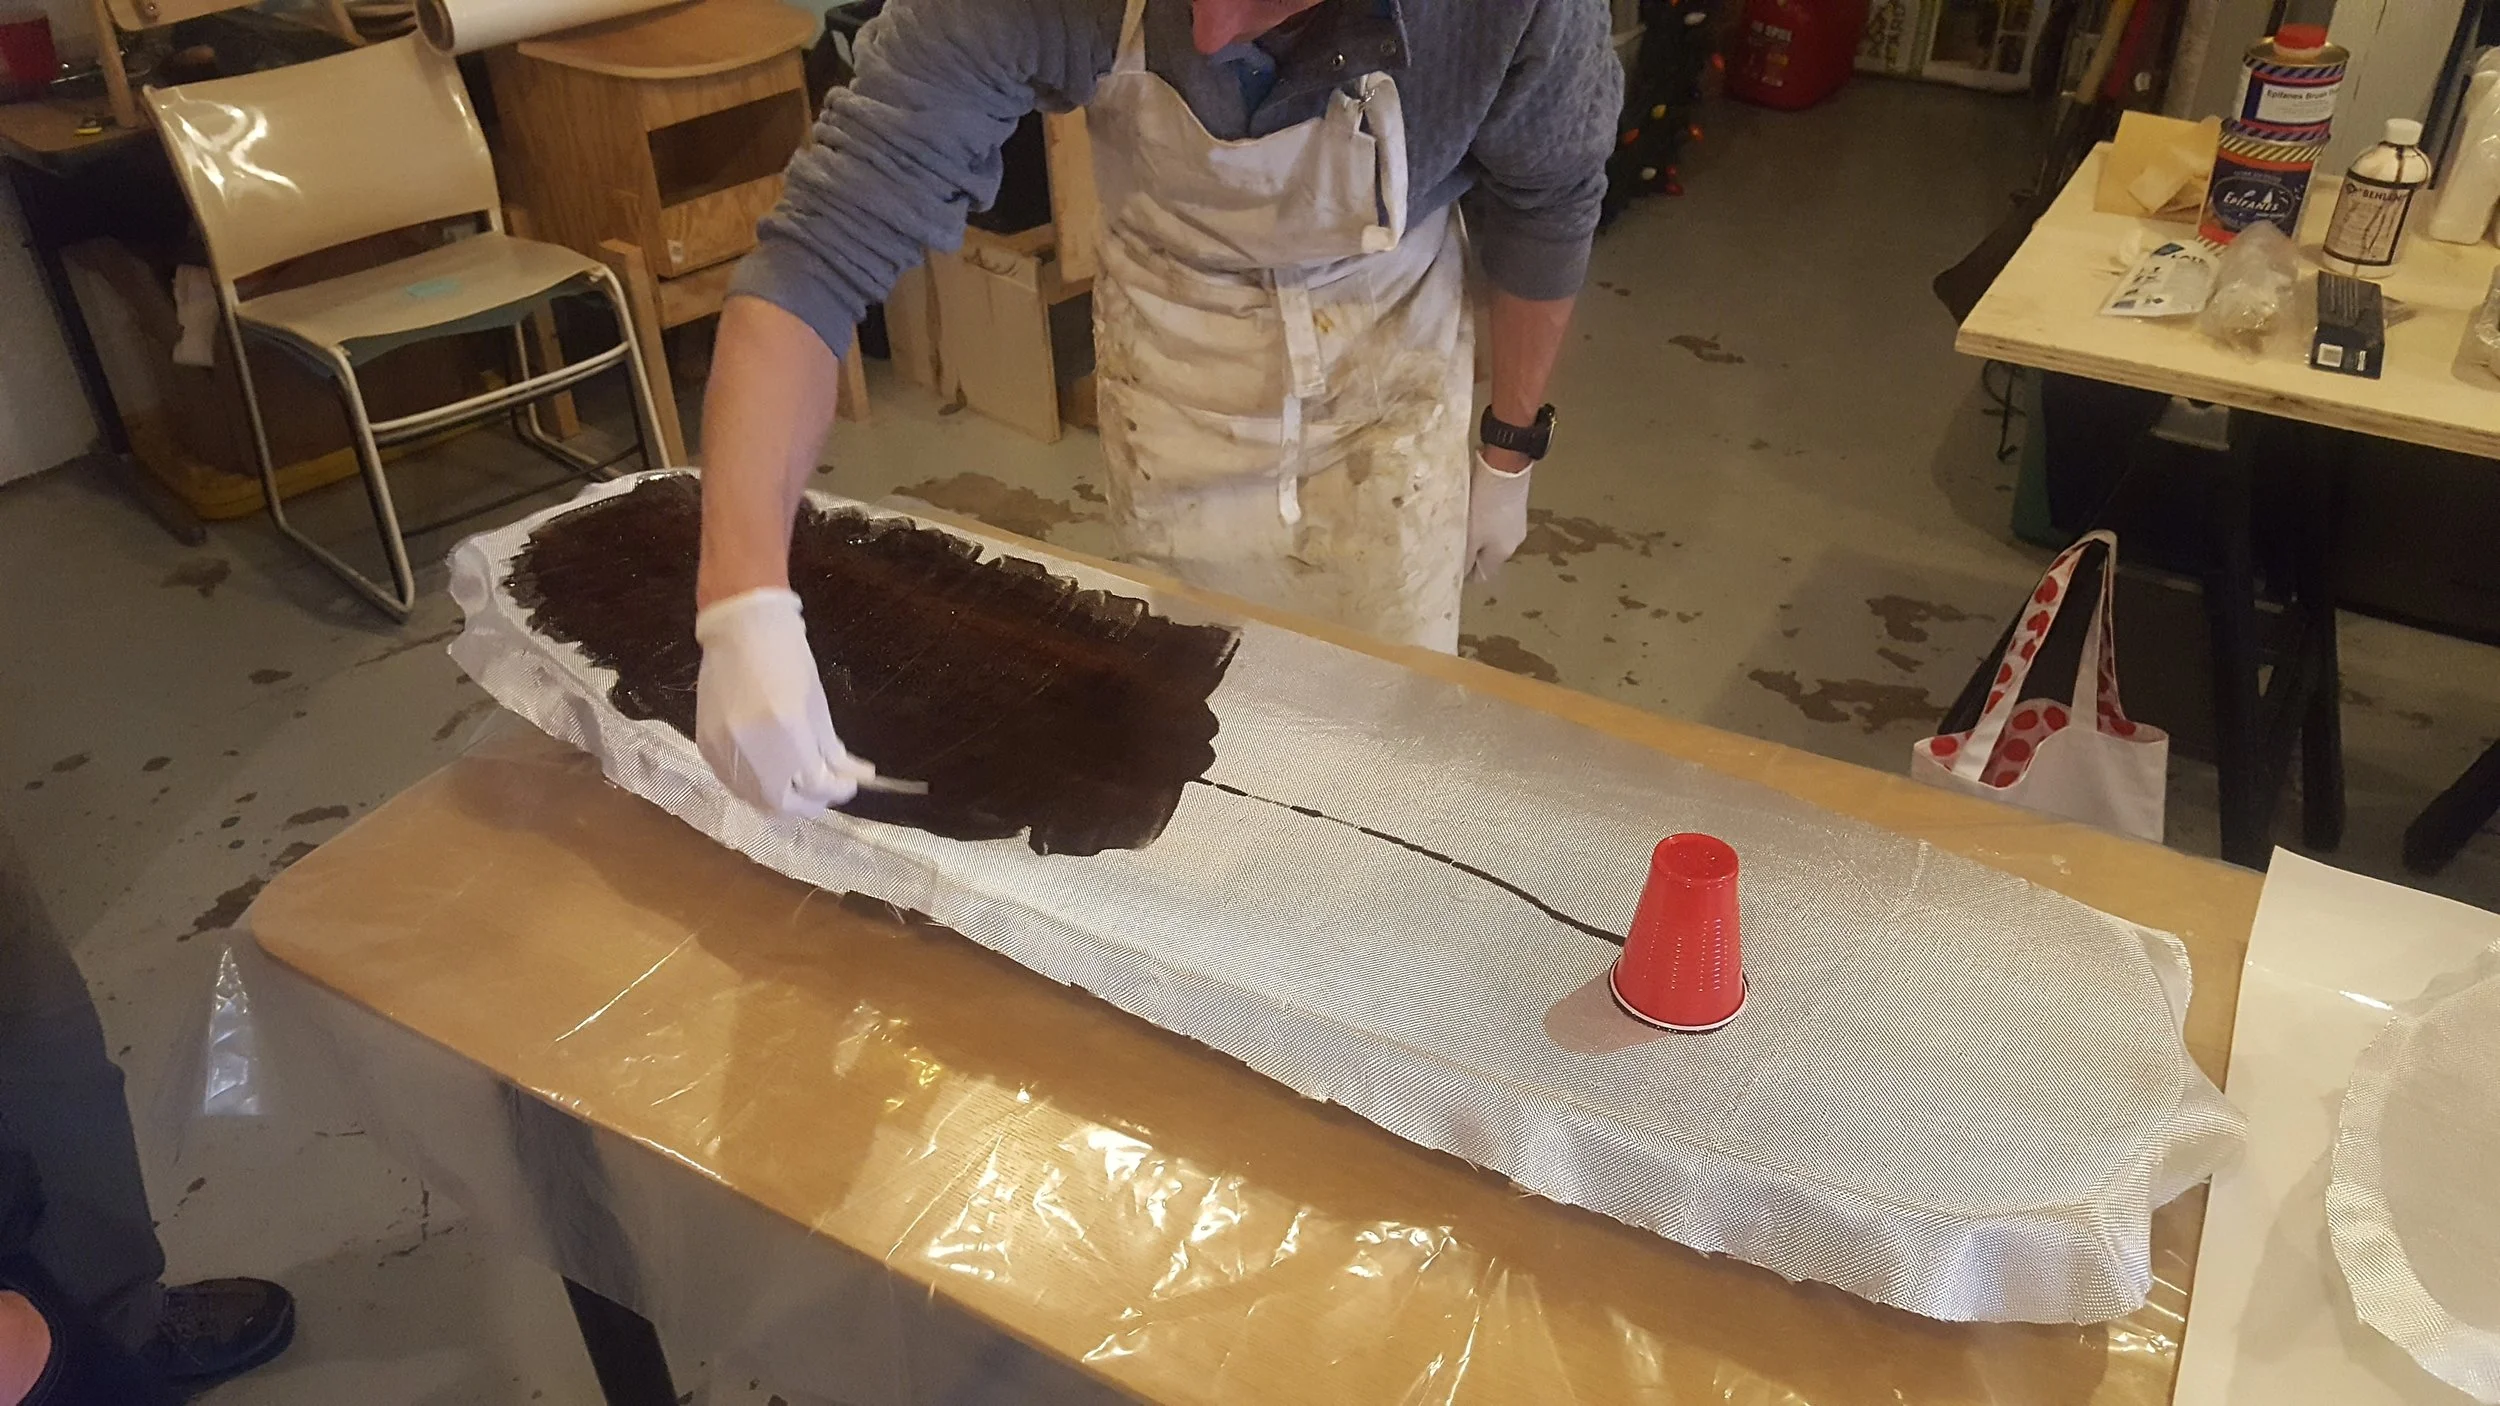
Take the cup of mixed epoxy and pour it over top of the fiberglass cloth, starting from one end of the item and working your way to the other side.
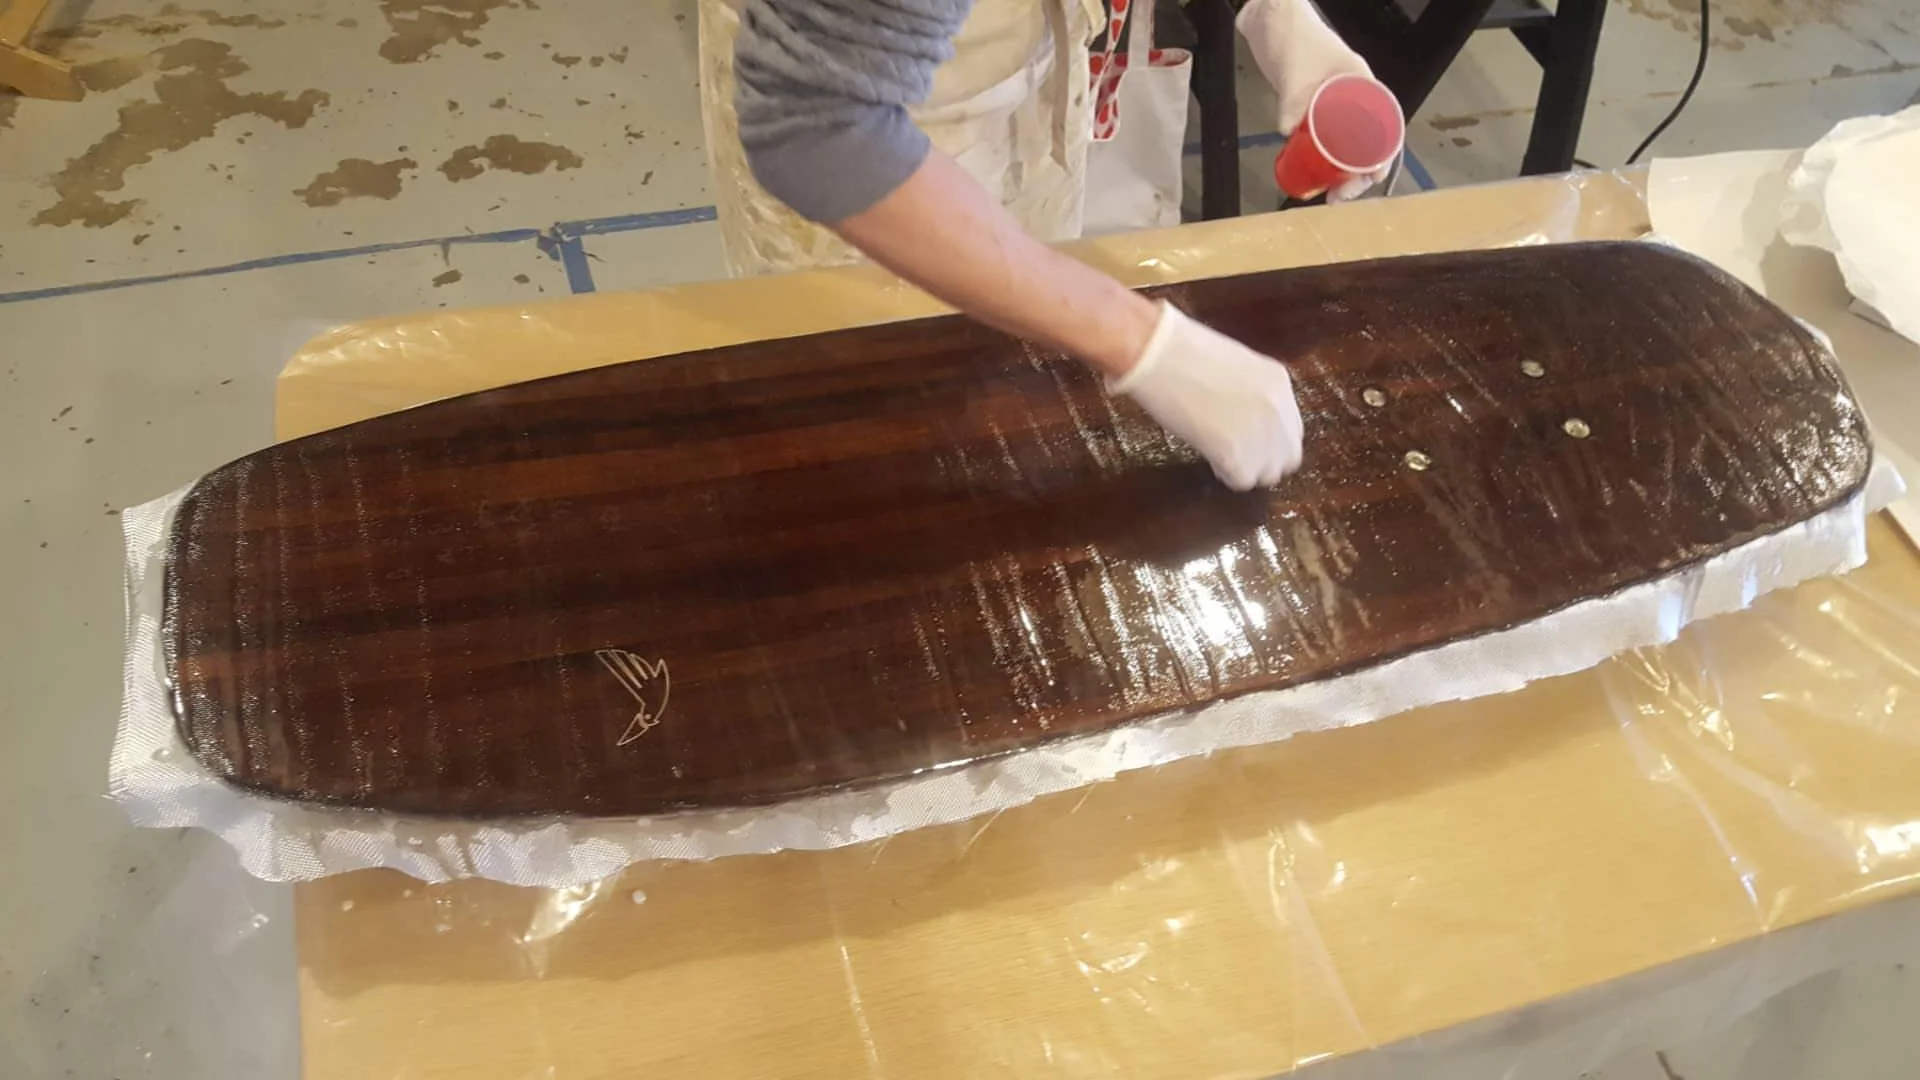
Spread out the epoxy using a plastic spreader, making sure to get epoxy completely into the weave and rolling the excess over the edges of your item. Make a few passes with the spreader to ensure a smooth look.
Once you have an even spread of epoxy, wait a few minutes and then pass over the entire item using a heat gun. This will pop any bubbles that are lingering in the epoxy.
Wait overnight, then pour a second layer of epoxy on your item, this time using a paintbrush to get as smooth of a surface as possible.
Dry.
Once the fiberglass cloth feels barely pliable (a taffy consistency), trim the excess inch of fiberglass cloth hanging over the edges using an exacto knife.
Fiberglass the Opposite Side:
Repeat the steps from Set Up and Epoxy Process to fiberglass the second side of your item.
Sanding & Finishing:
While wearing your respirator mask in a well-ventilated area (preferably outside), use the electric sander to sand down any large areas of dripped epoxy on the sides of your item. Once the item is sanded down, use regular sandpaper from rough to fine grit to get a nice smooth finish on both sides of your item.
Finish by layering each side of your item with a coat of clear varnish, and dry.
Done!

