
Question: Figuring Out The Foil

INSPIRATION
I have a problem. I get these project ideas stuck in my head. Crazy thoughts of projects I probably shouldn’t do. Sometimes ideas lingers long enough that I have to do something about it. I have a choice, either do something or do nothing and let that the thought hopefully dissipates in the back of my mind. The other problem is that I an optimist DIY’er. You know the type of person. They see something that they like, but don’t want to pay for it, they say, “I can build that”. With a little youtube and google searching, you find other like minded people that have the same DIY optimism. Trust me, it's a serious problem…subtle sarcasm, but a little true.
I have taken on projects, some small and some large, that may have been cheaper and (obviously) would have taken much less time. The bigger question, is why. Why in the world did I start this project and will I ever be able to finish it. I wonder that every time I am a few months into a larger project. Icing on the cake, I have 3 kids under the age of 6. So time is not something we have a great deal of around here. But looking back at all the projects, I see a similar theme. I may enjoy the process of designing and building the project, more than the end object. This maybe why I keep going back and starting ridiculous projects. It's about the things I learned. It's about the people I meet and collaborate with. It's about the process. The process is the why.
With that said, my latest mind virus was around hydro foils. Seeing how effortlessly they cut through the water is intriguing. When you combine my love for kite board and my love to do anything behind a boat, hydrofoils seemed like a fun project to explore. I think I have the right tools to get the project done. So I said, I can build that. This blog post is going to go through my process of designing, building, testing and learning my first hydrofoil. Mainly with pictures and a few videos. The interesting thing about hydro foils, if you design and build it wrong, it will not work. So all the effort, planning, designing and building could be a total waste. The best part of this project, was that there was someone else that has the same problem that I have of DIY optimism. A close friend to do the project with. More of a support group for my addition.
Inspiration that sparked the project.
I was able to learn a lot from Clearwater Foils https://www.clearwaterfoils.com
This is the video that planted a seed in my brain about making a foil board. He is riding such a simple foiling setup and makes it look so easy to ride. My dream to to kiteboarding with the foils I build.
DESIGN
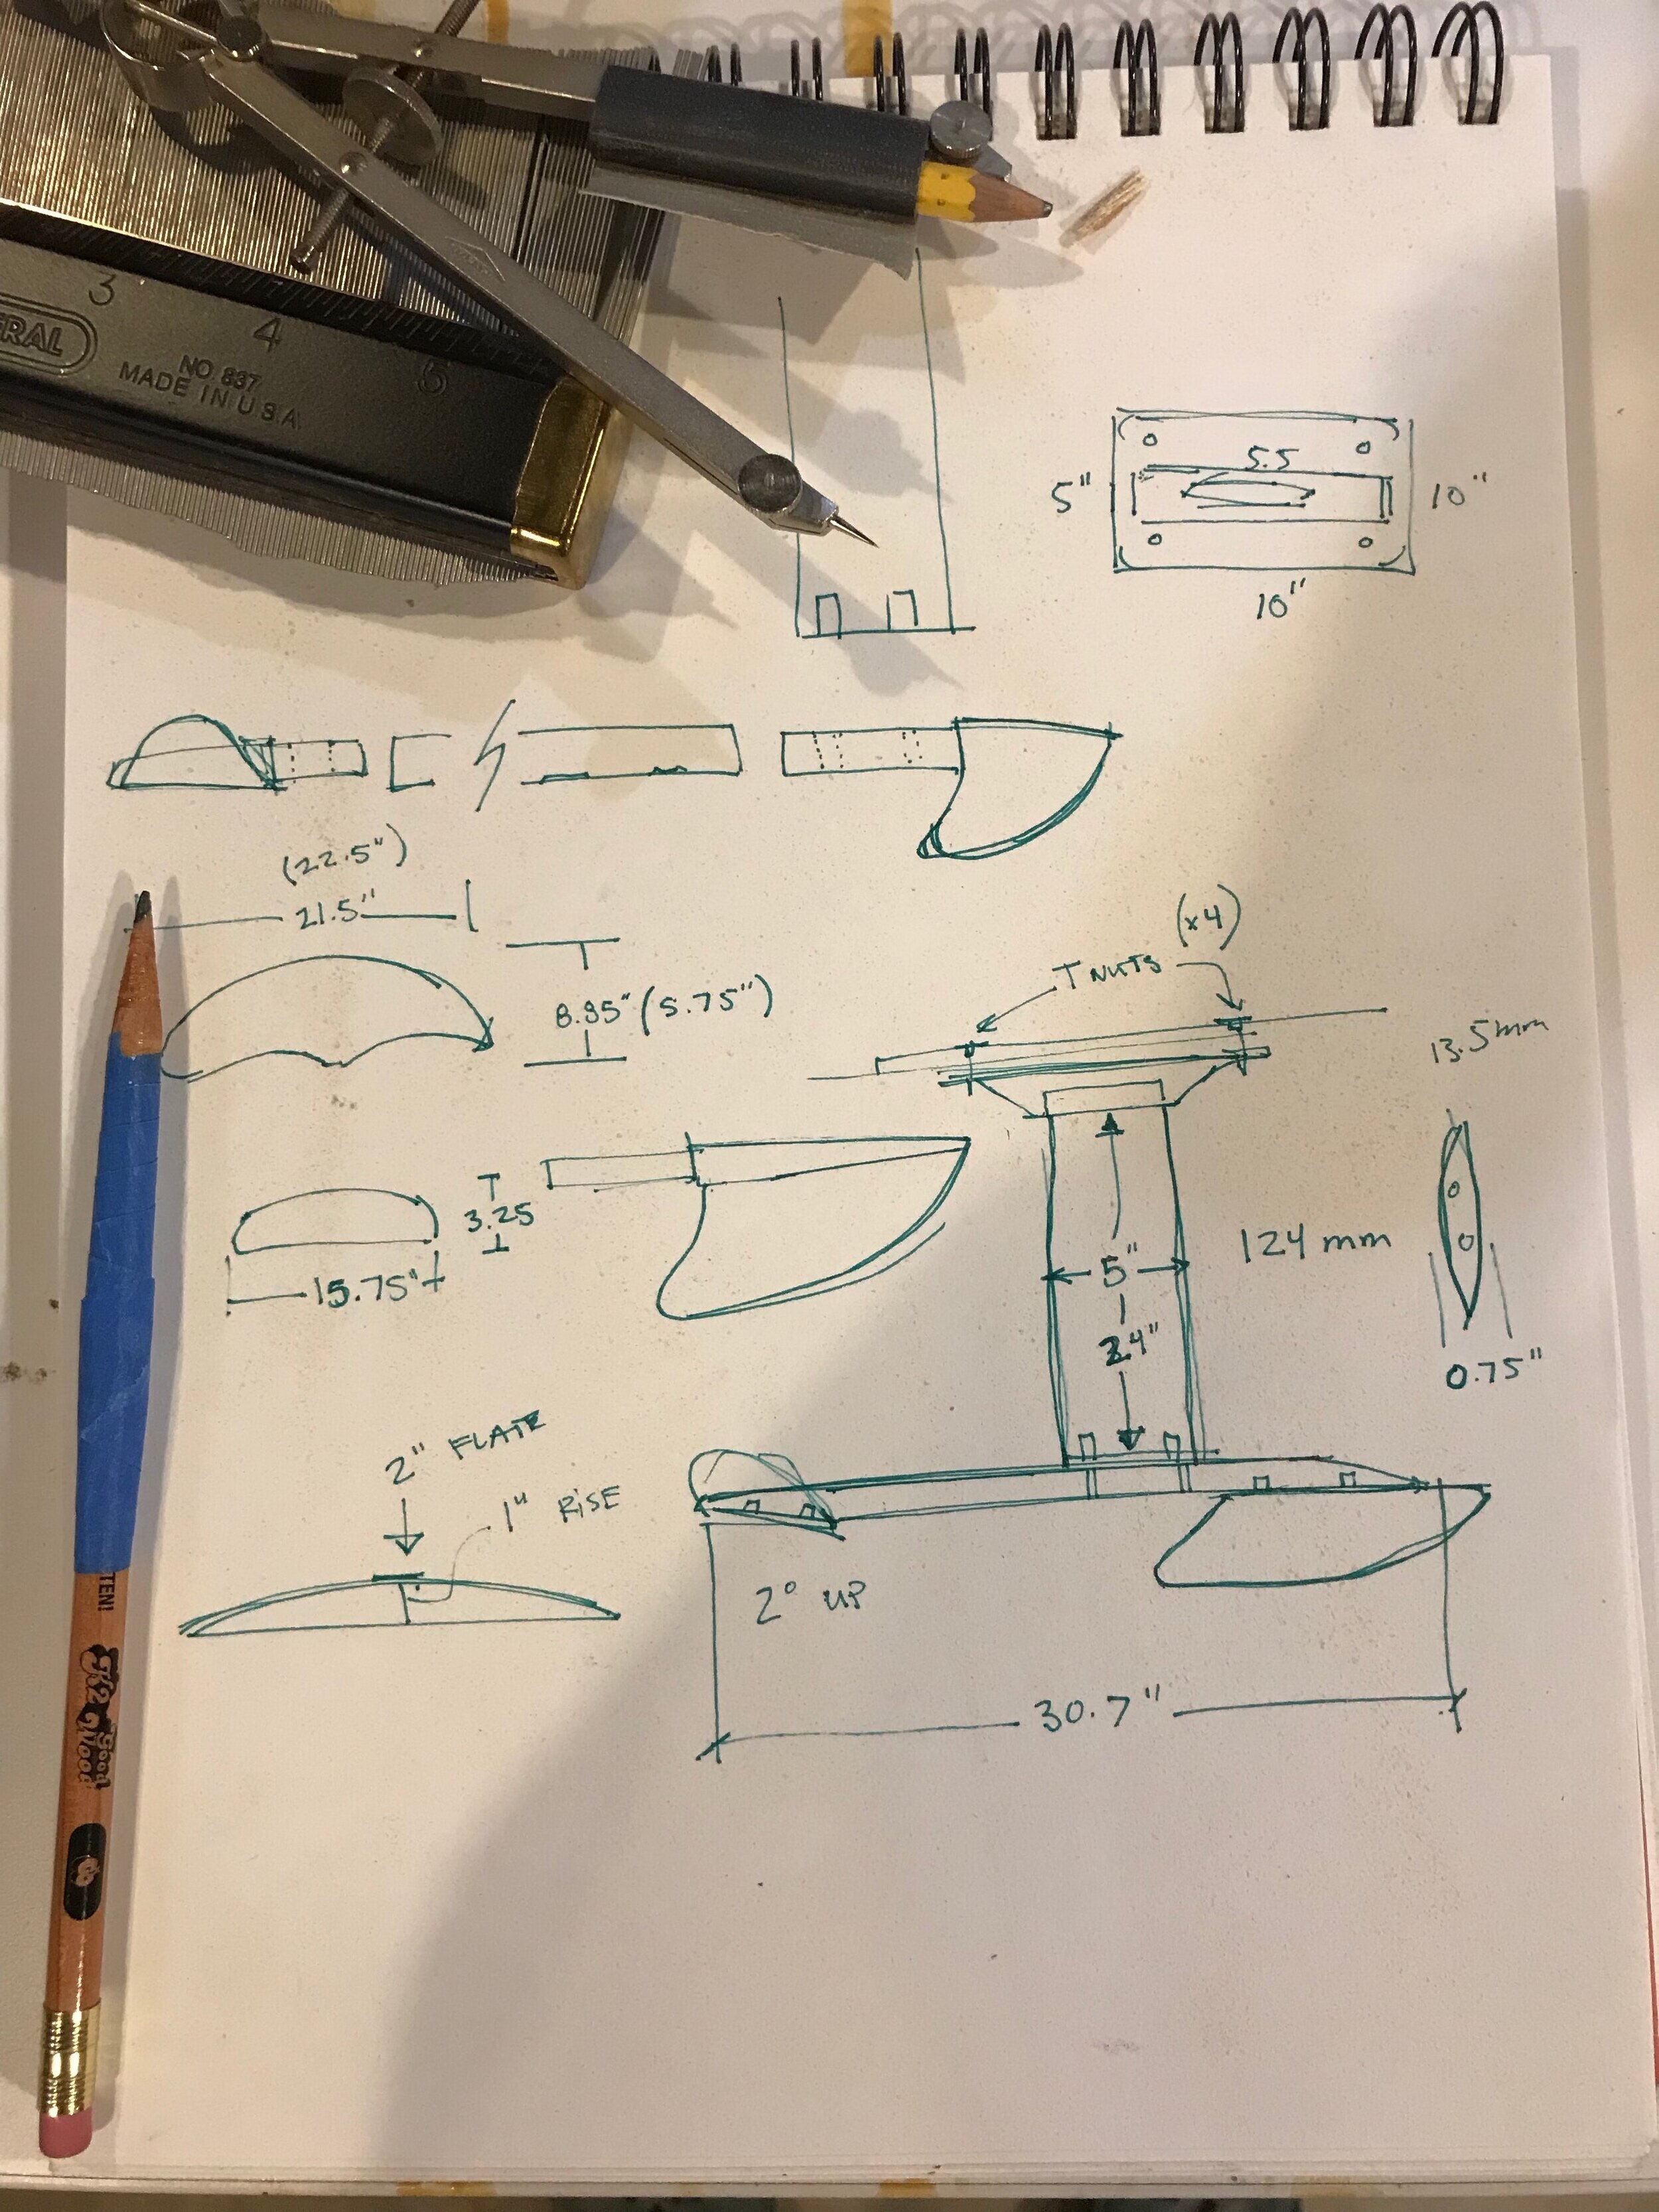
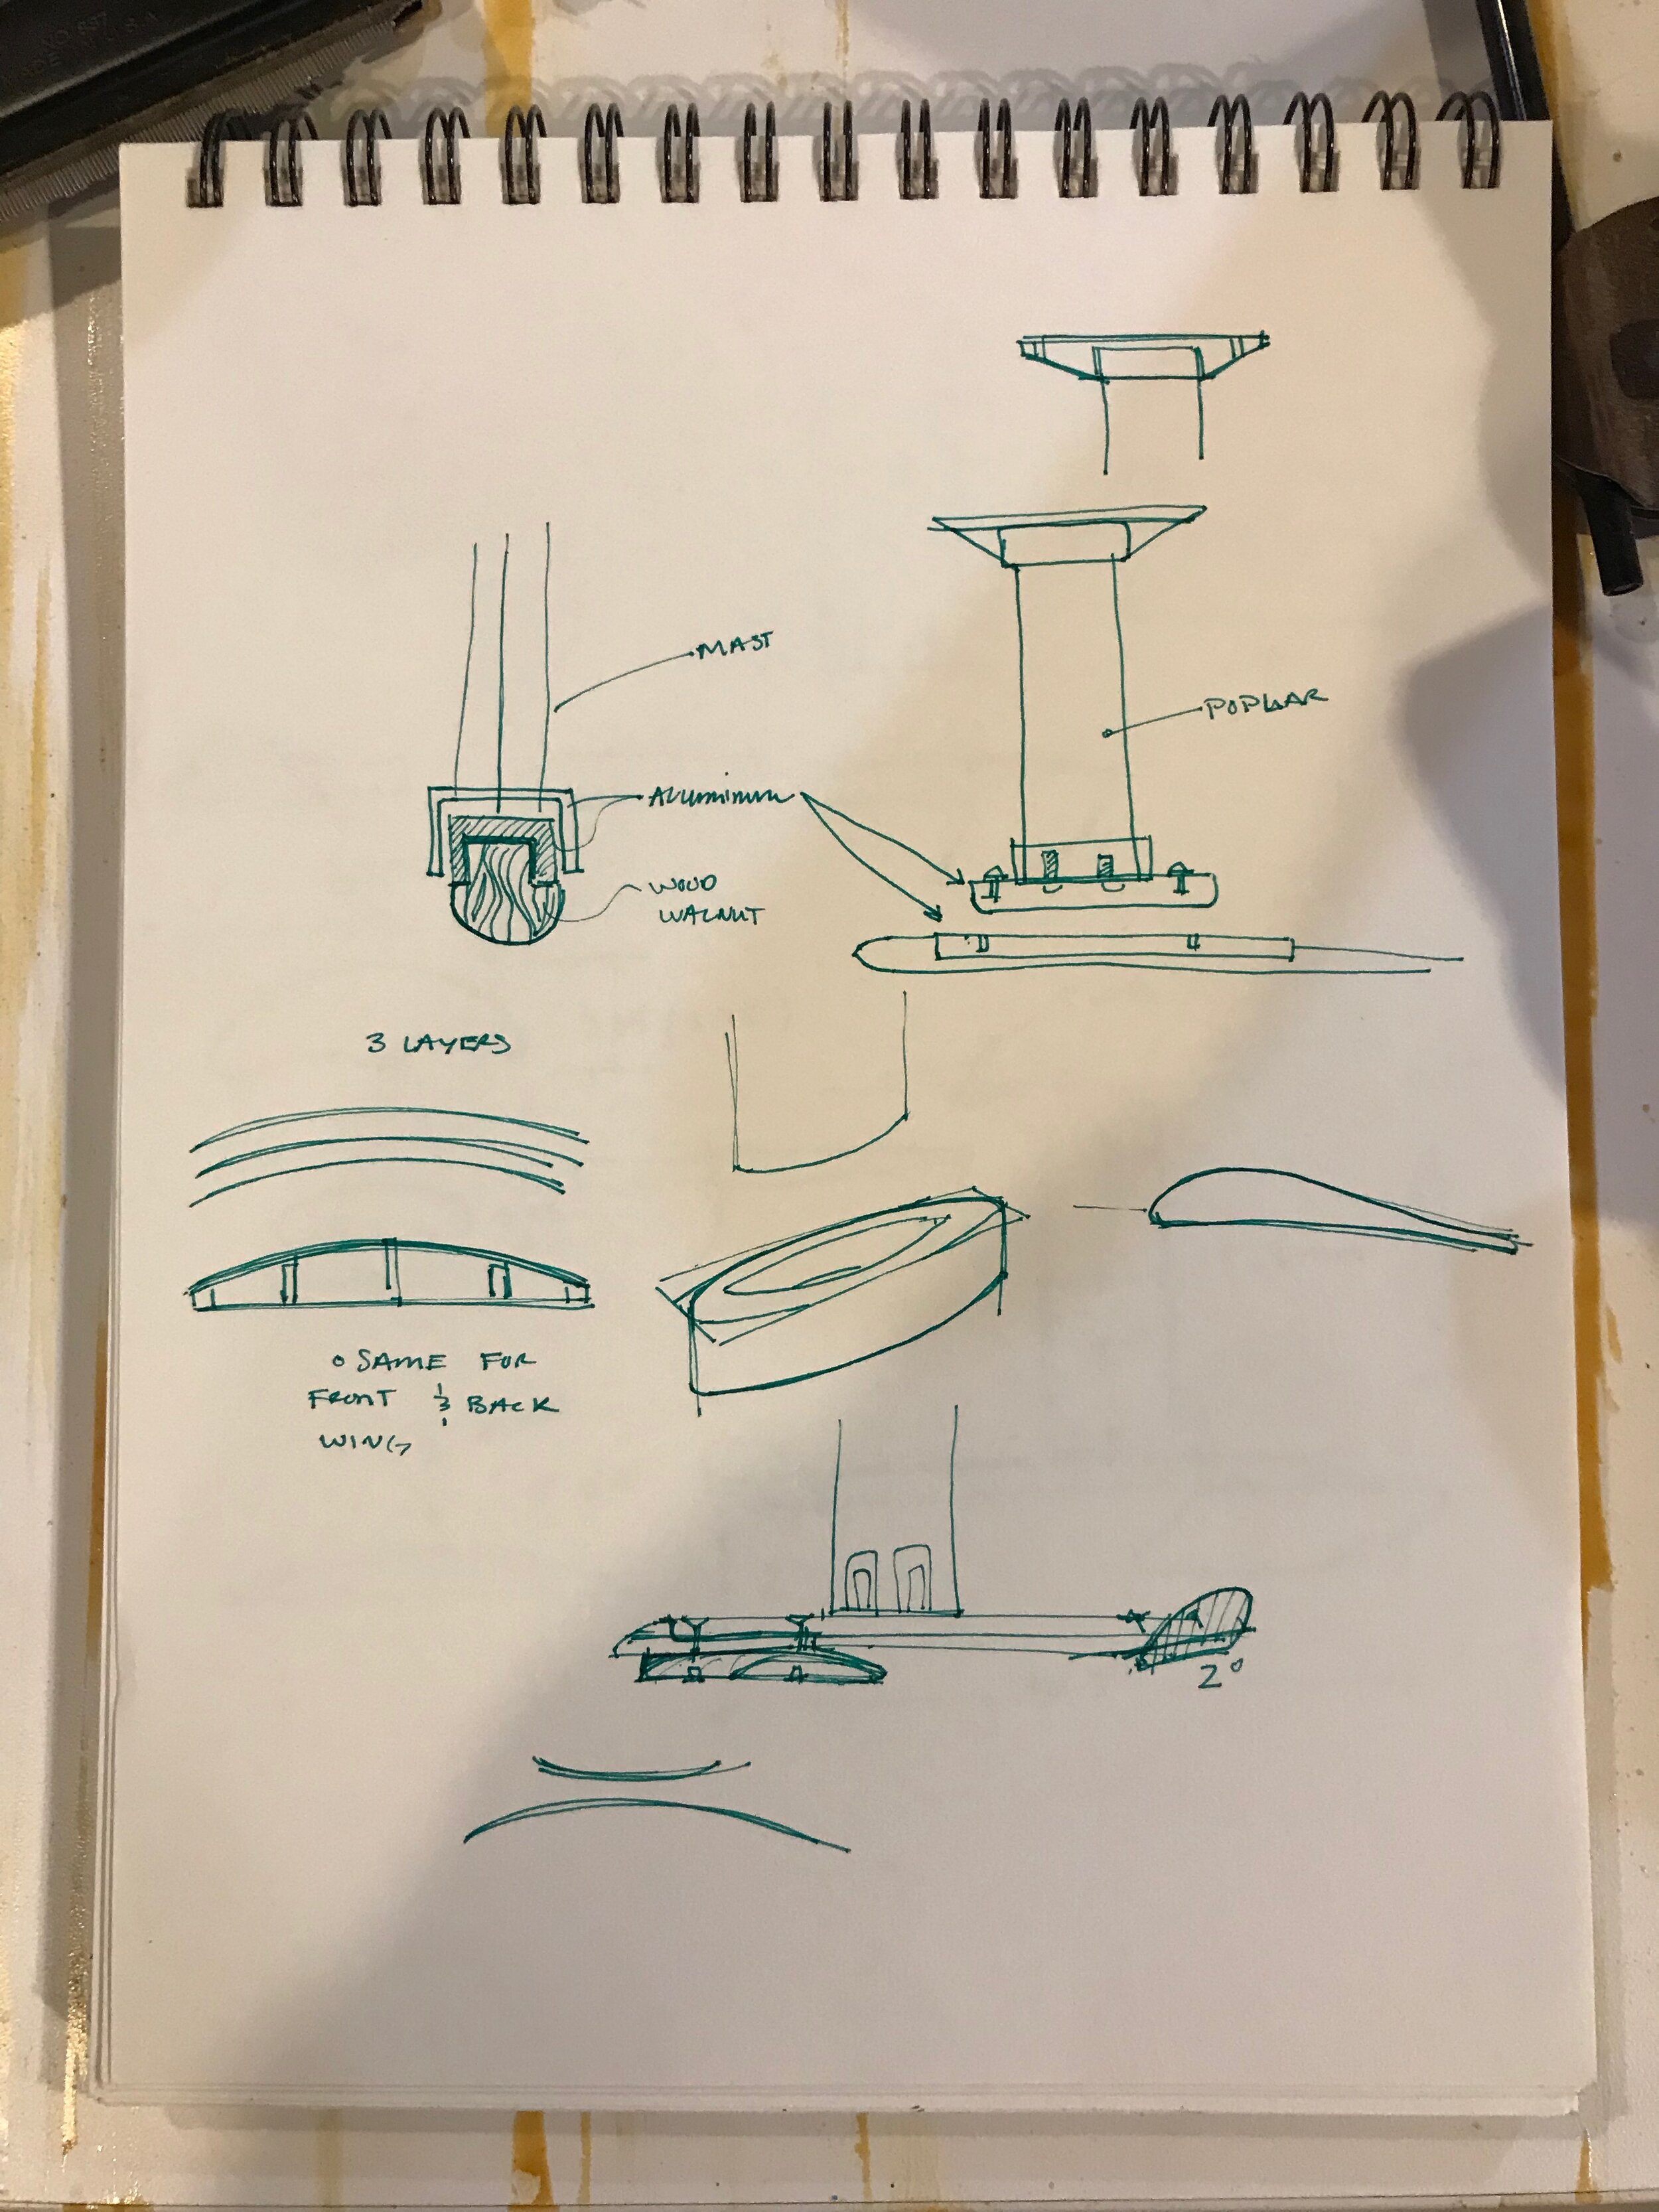
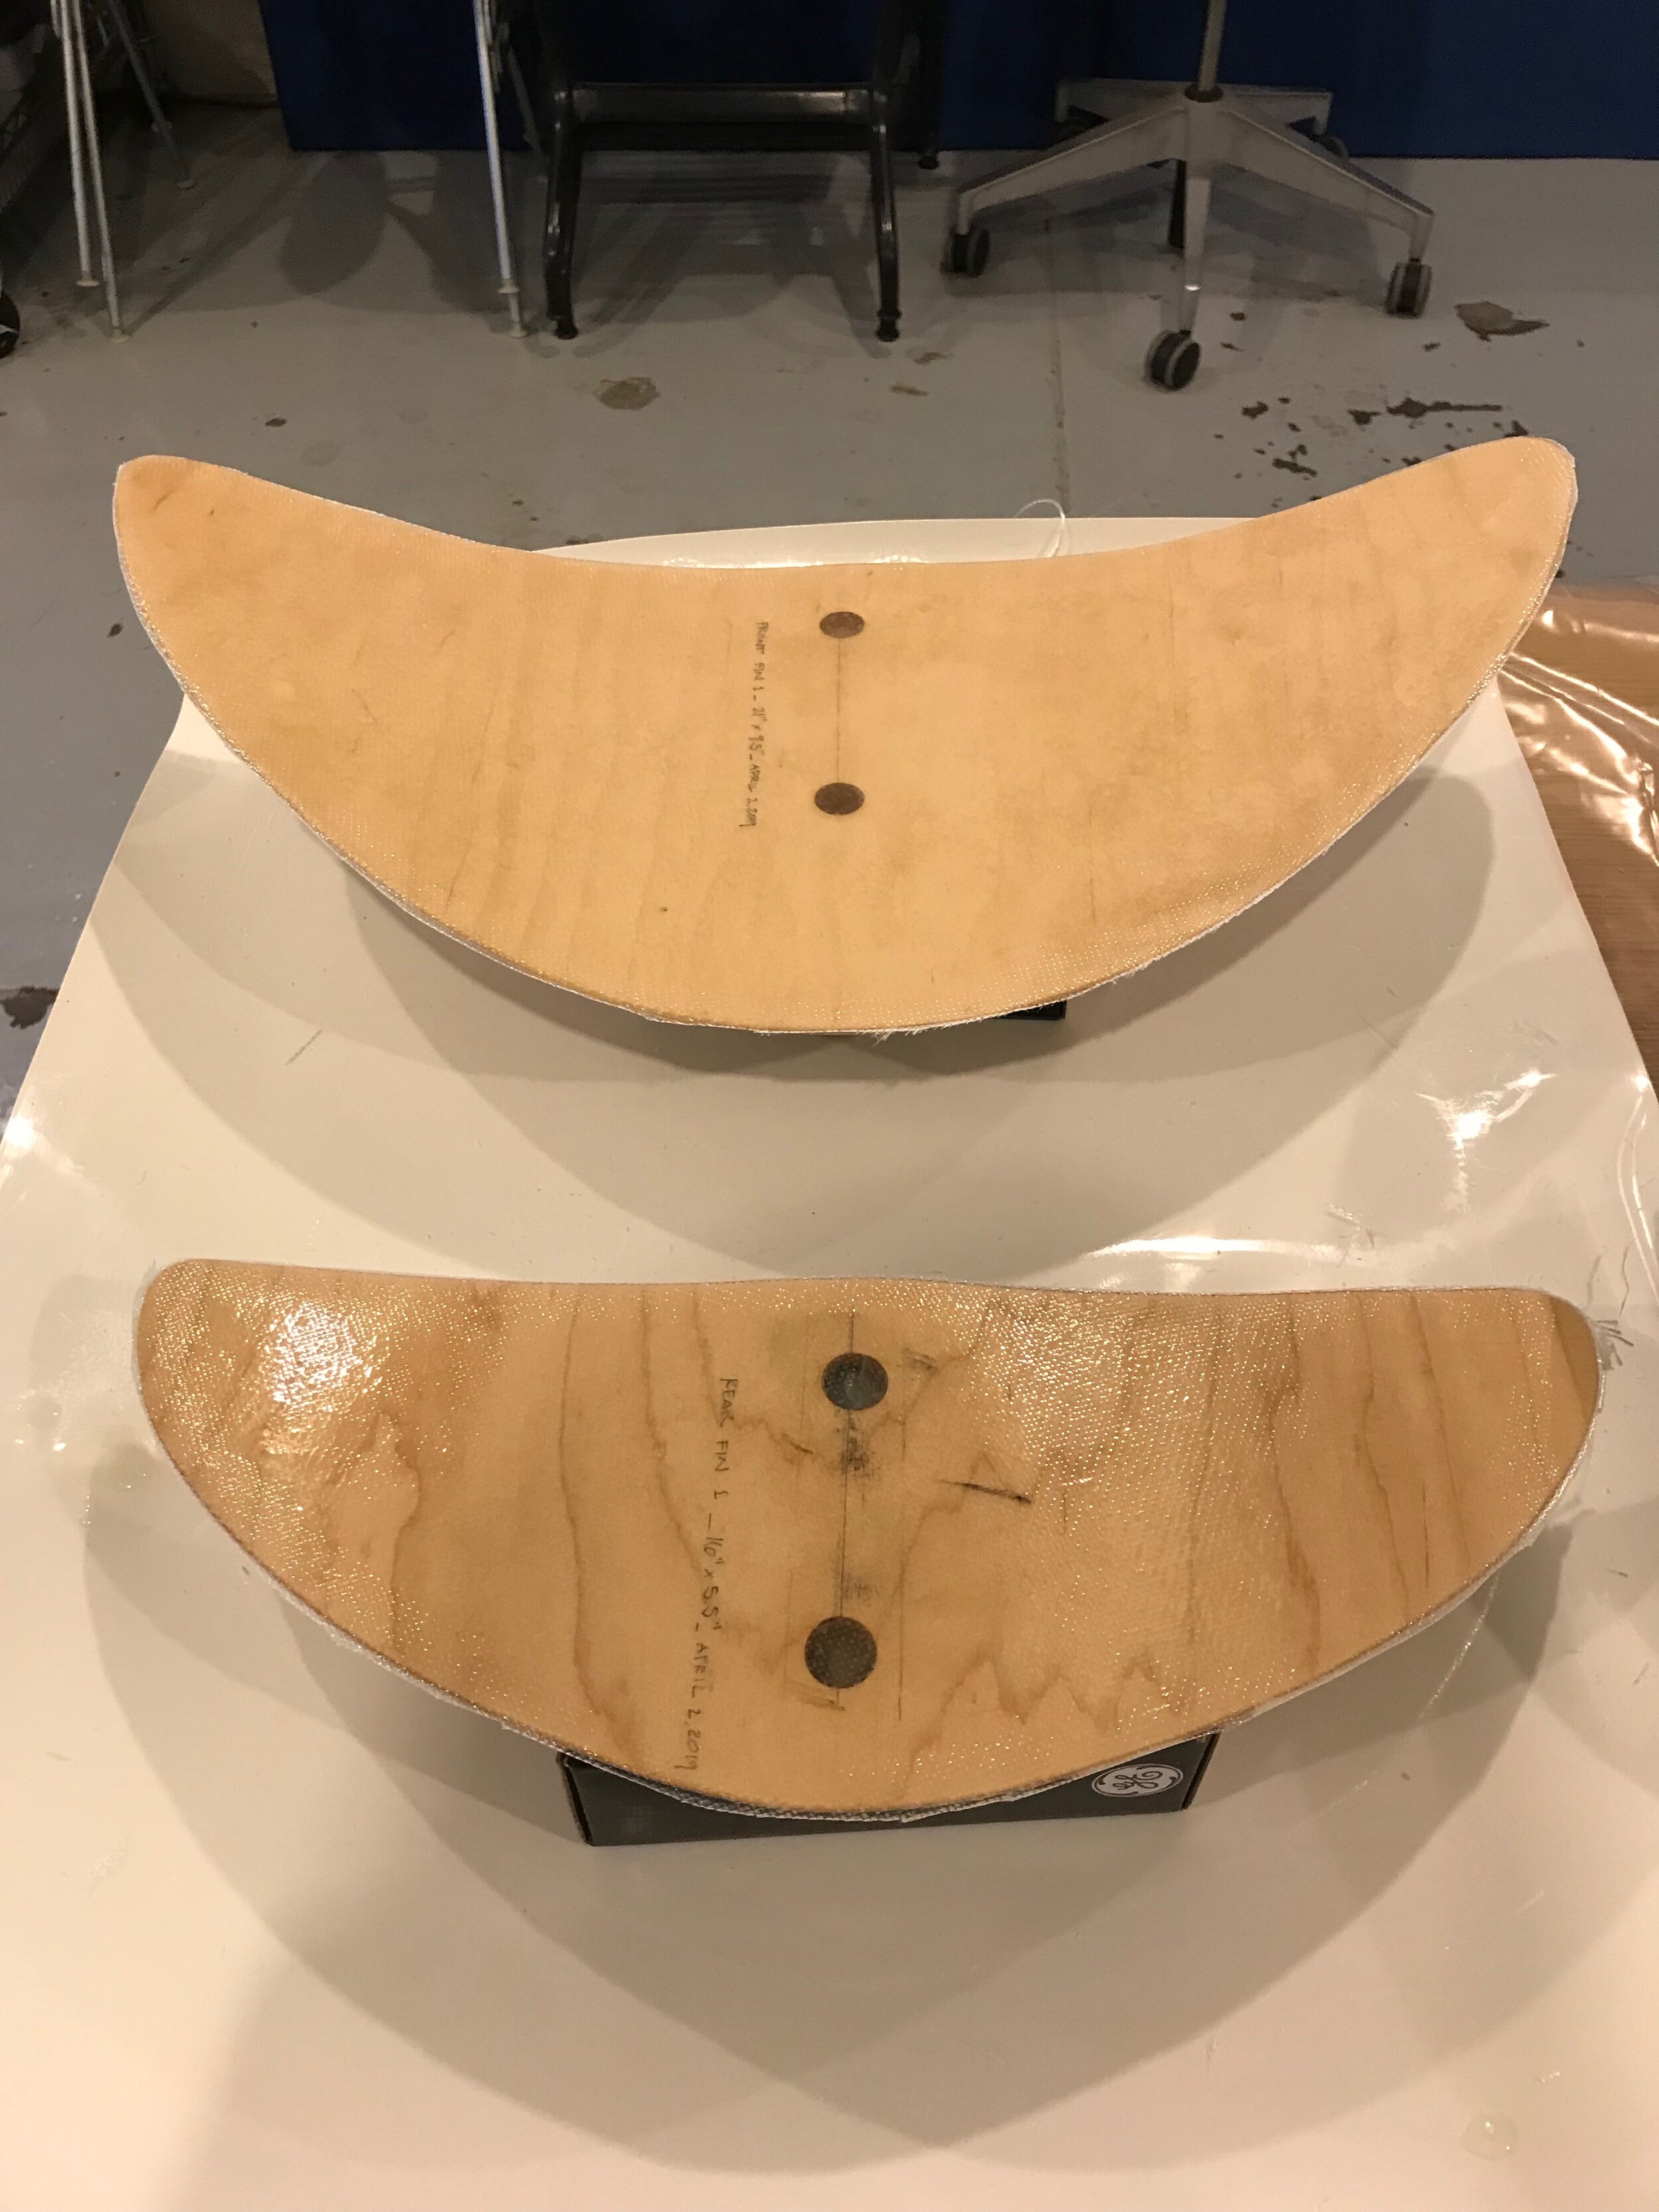
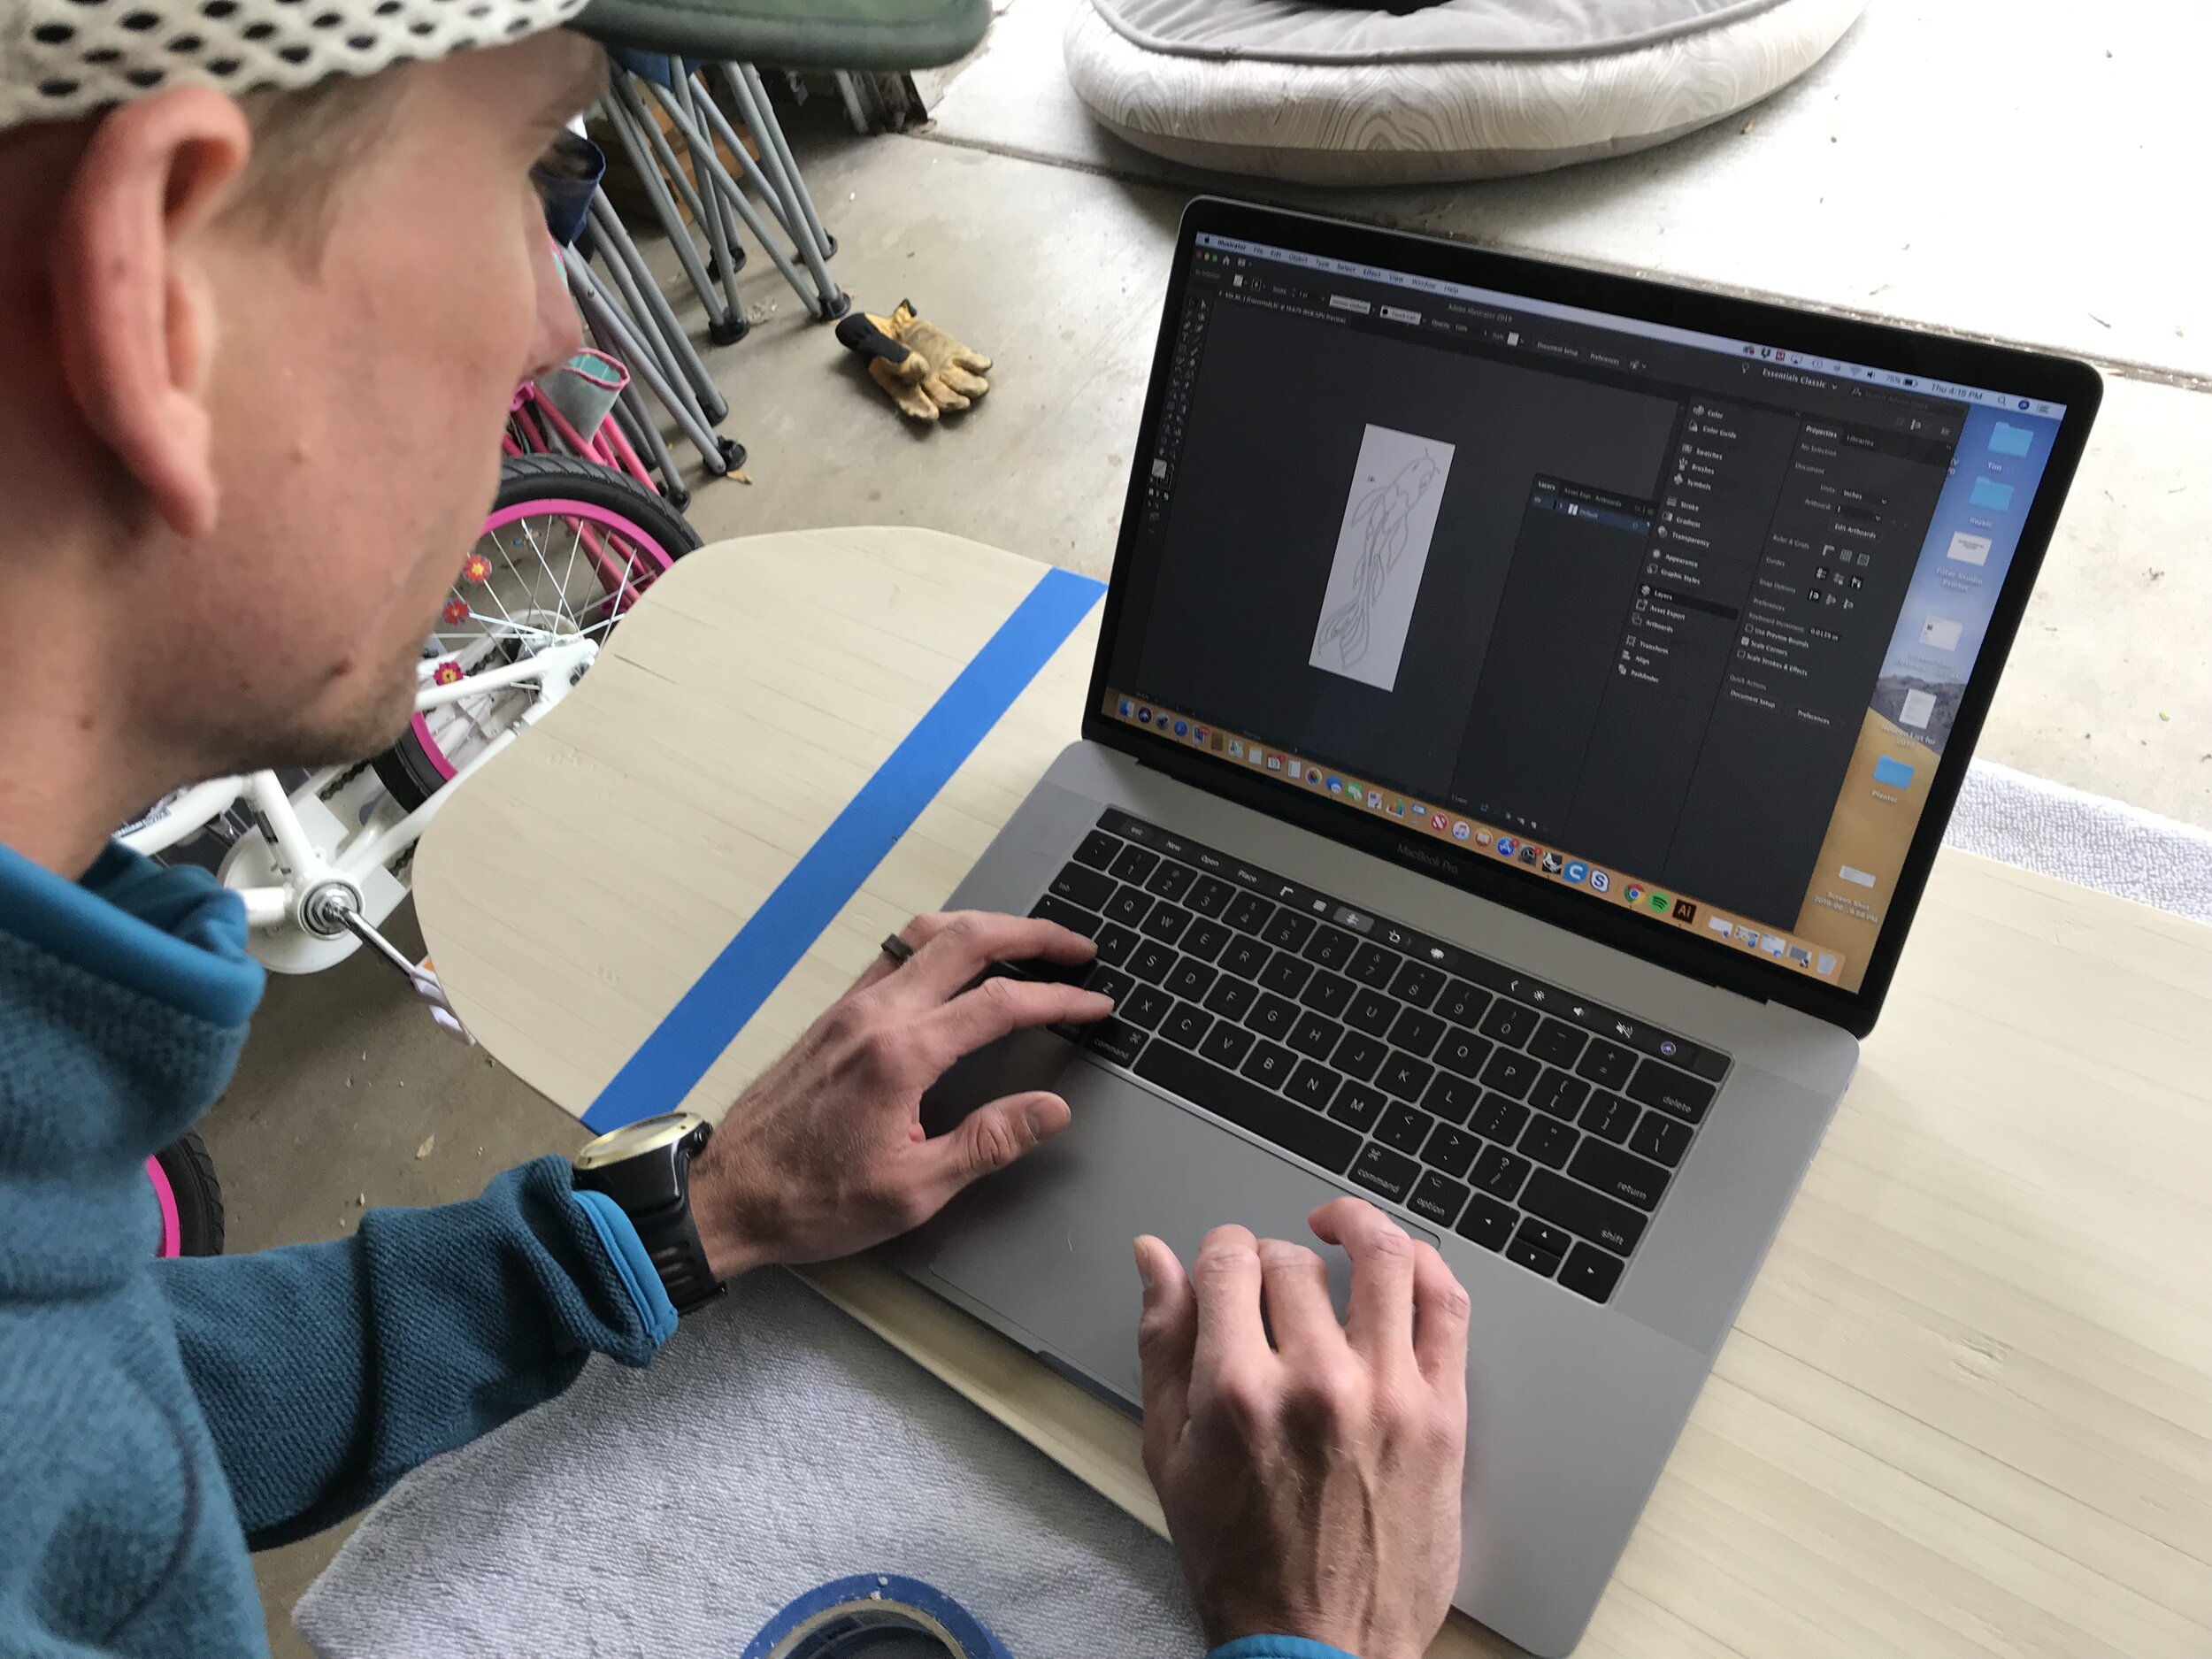
What I love about these projects are the “quick” results. I don’t need to make sketches to impress any one or to clearly communicate, they are notes for me (as show in the images). The design itself is fairly simple. I was able to take dimensions from current foiling setups and apply them to my design. Wooden boat design and construction has always been inspiring to me as well. You will hopefully be able to see hints of those inspirations through the project and process.


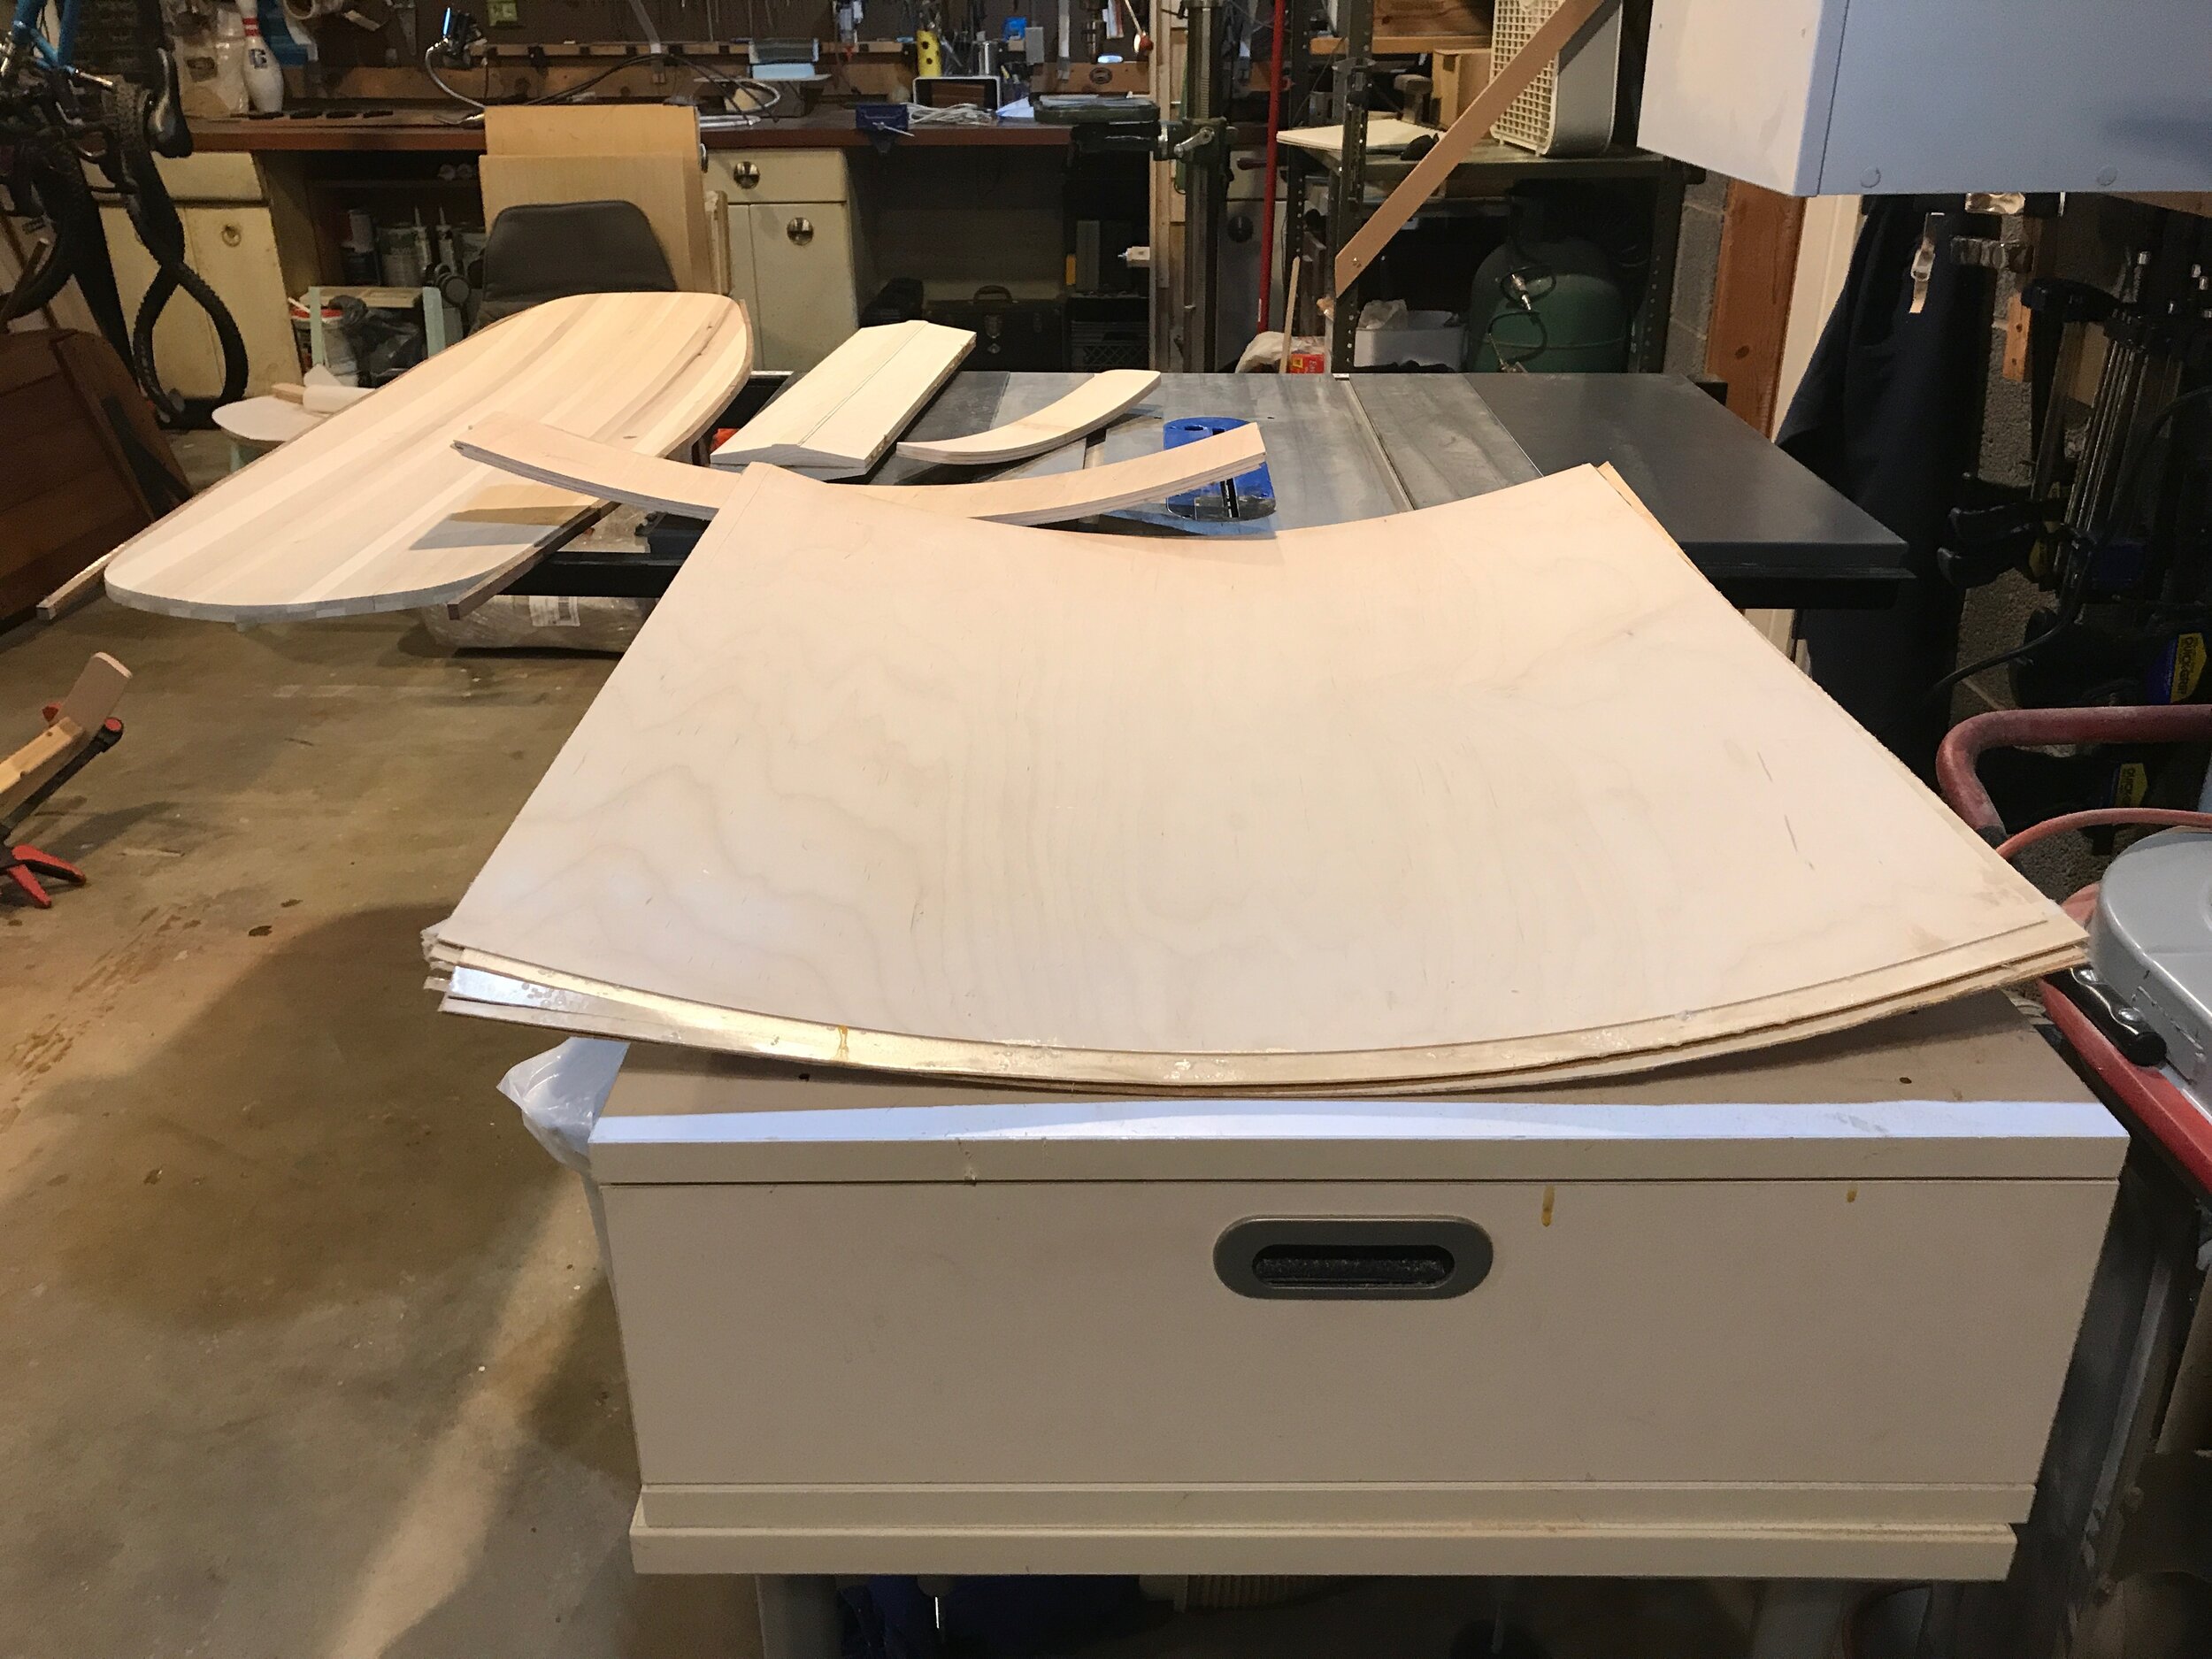
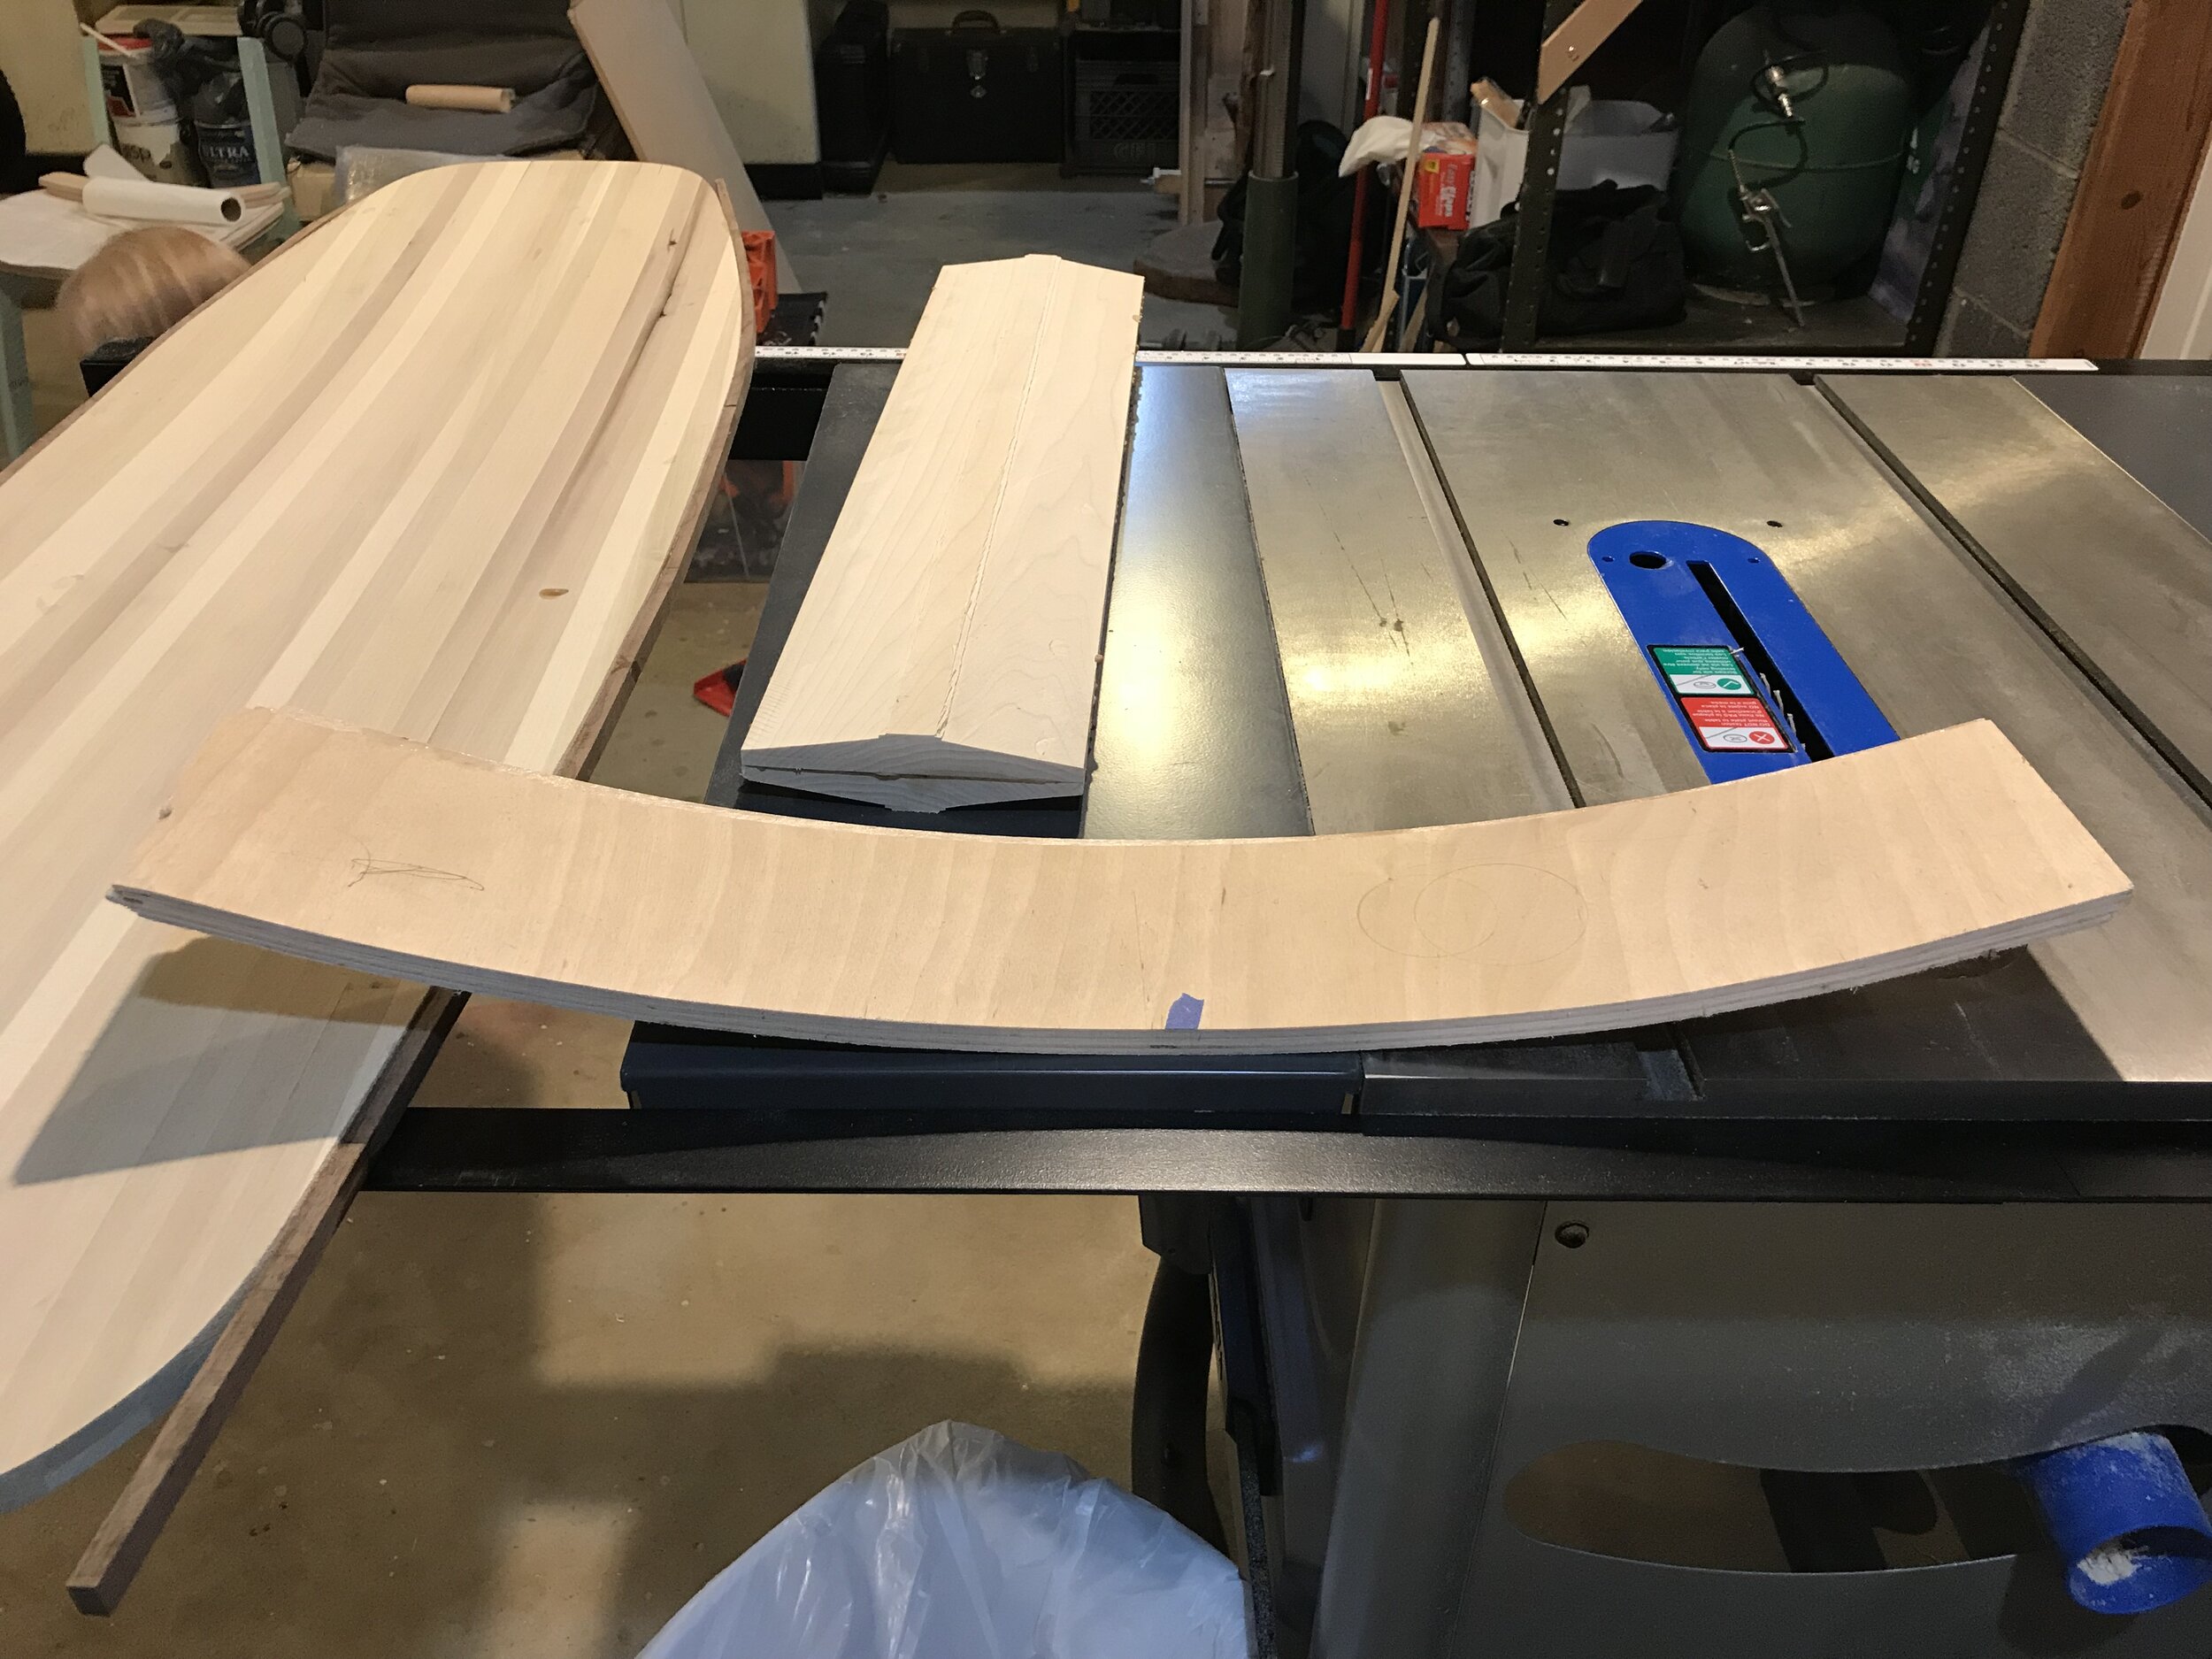
BUILD
This is a tough project to break down to every step. I am going attempt to get most of the high level steps, but will primarily do it through my photo journal of the process. If you have any questions about the process, don’t hesitate to comment or send me an email.
This is my project list for building the board. Fairly straight forward ;)
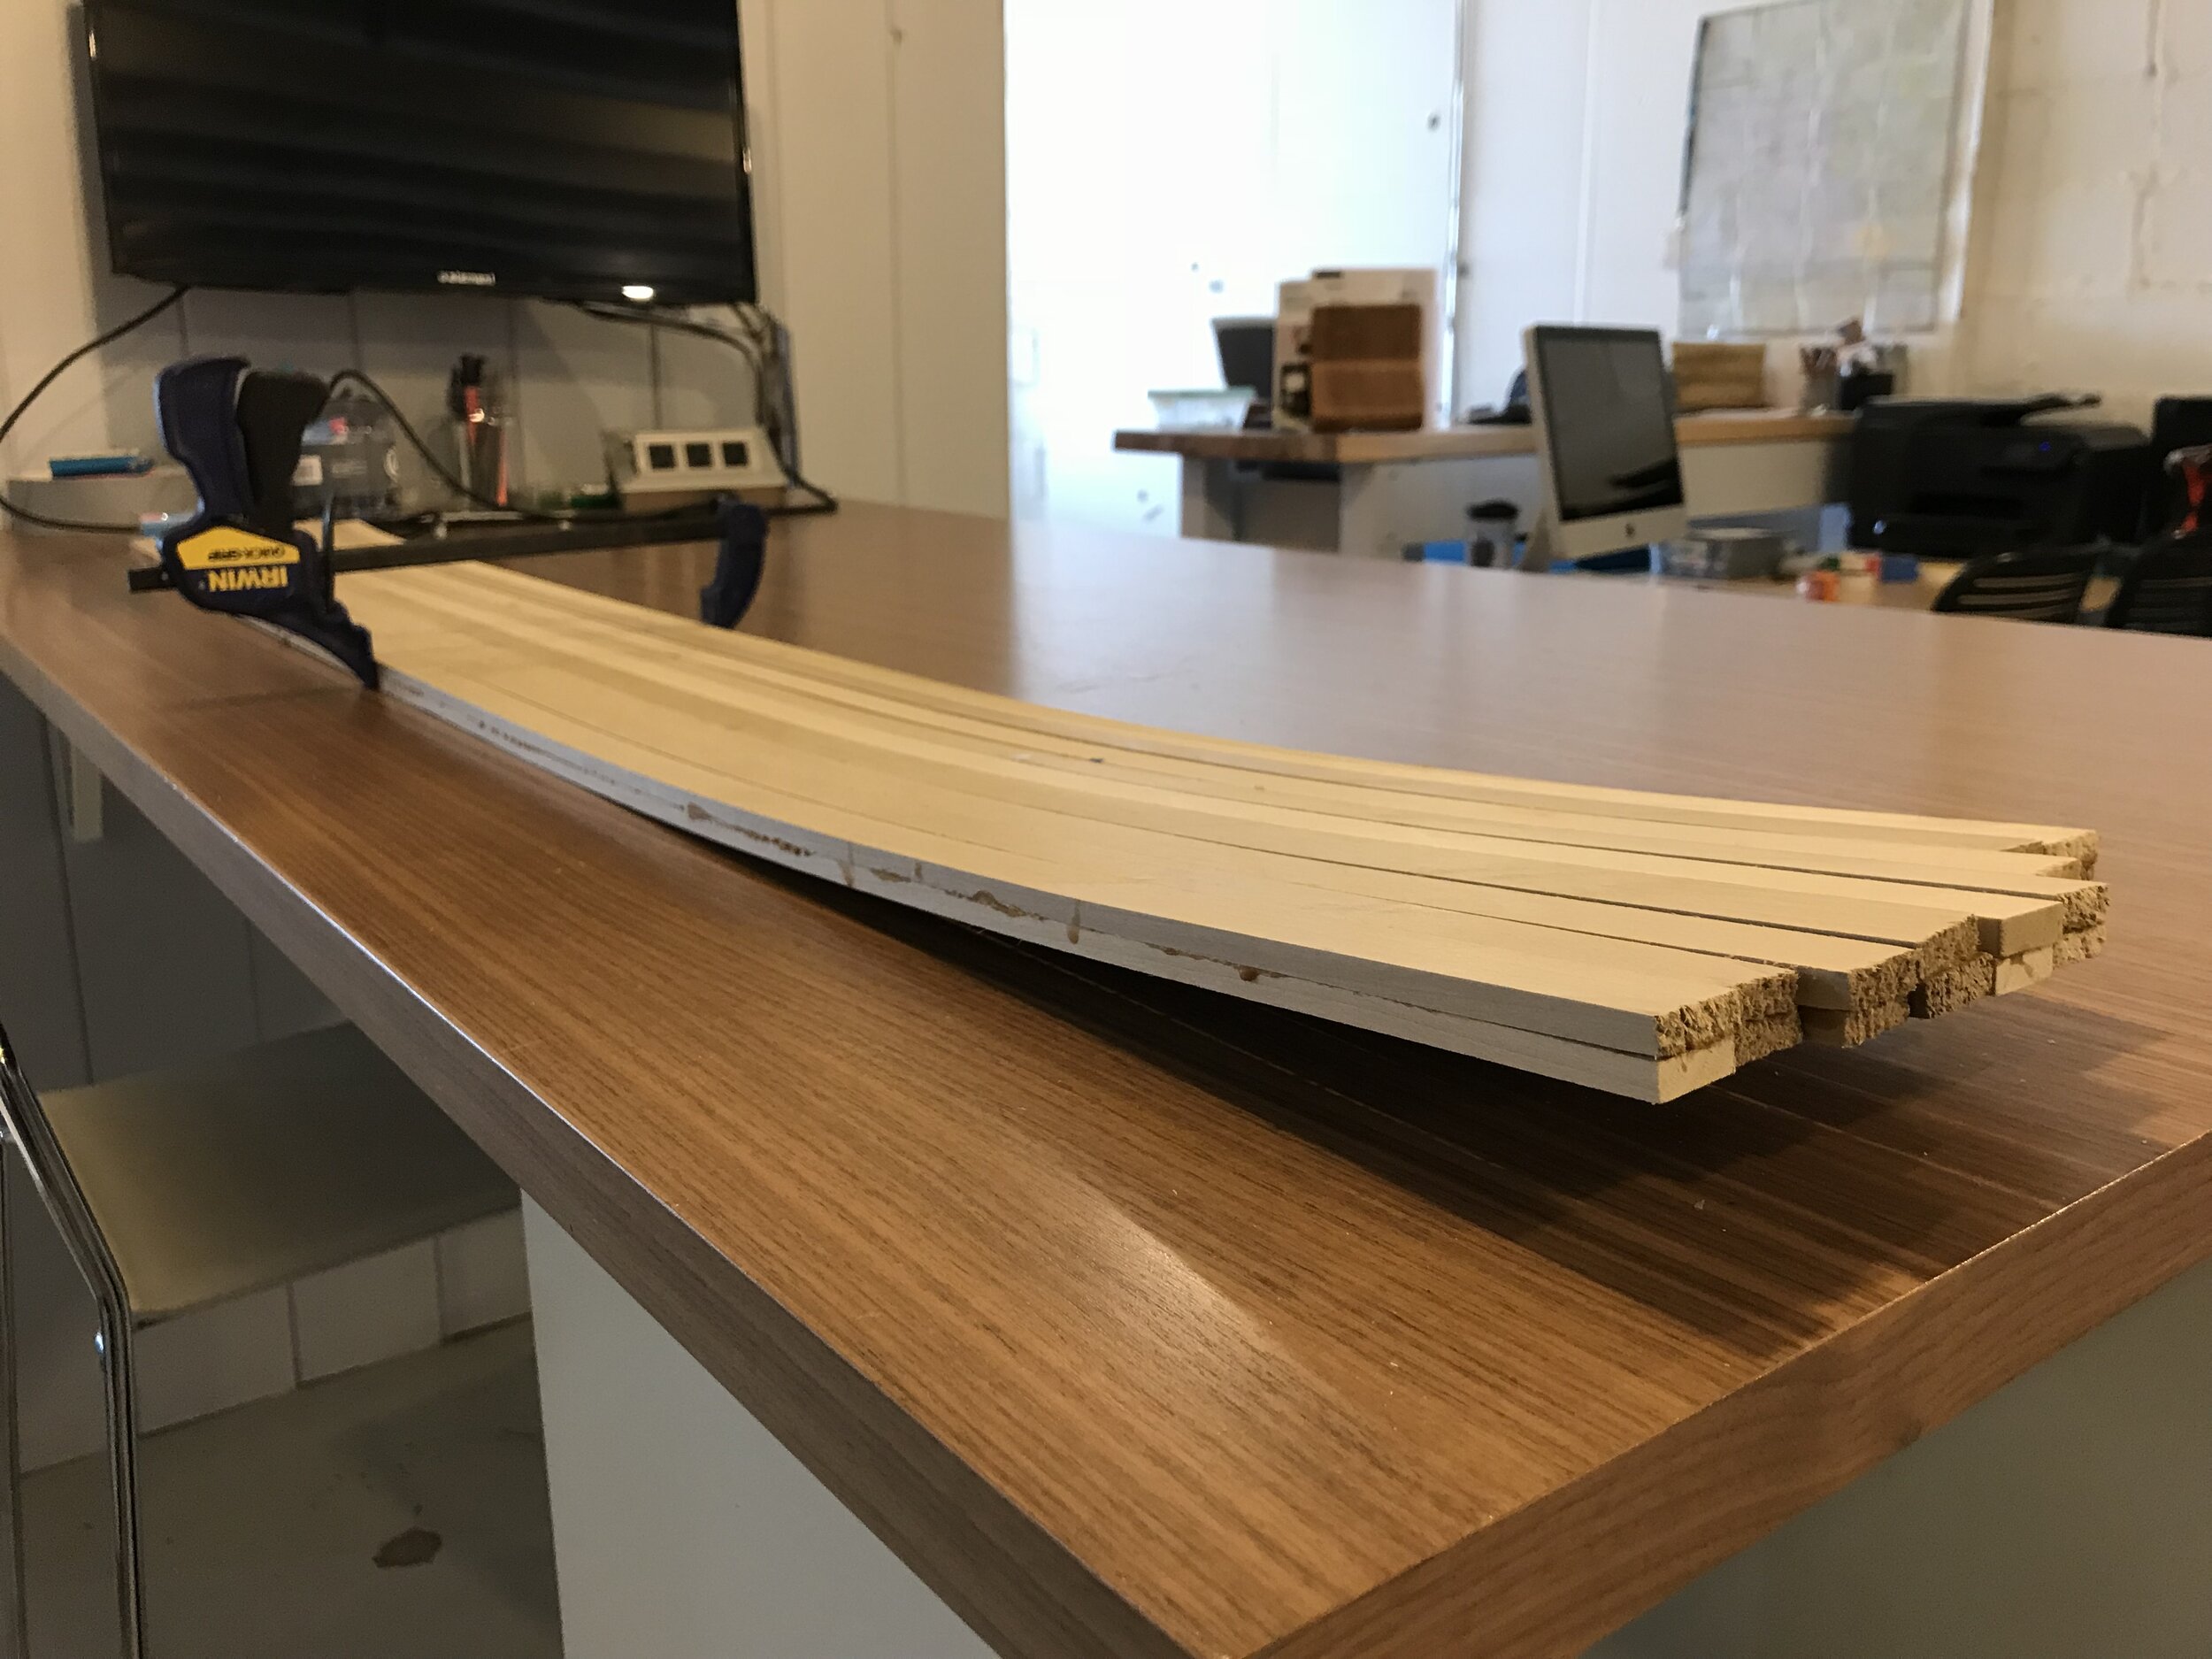
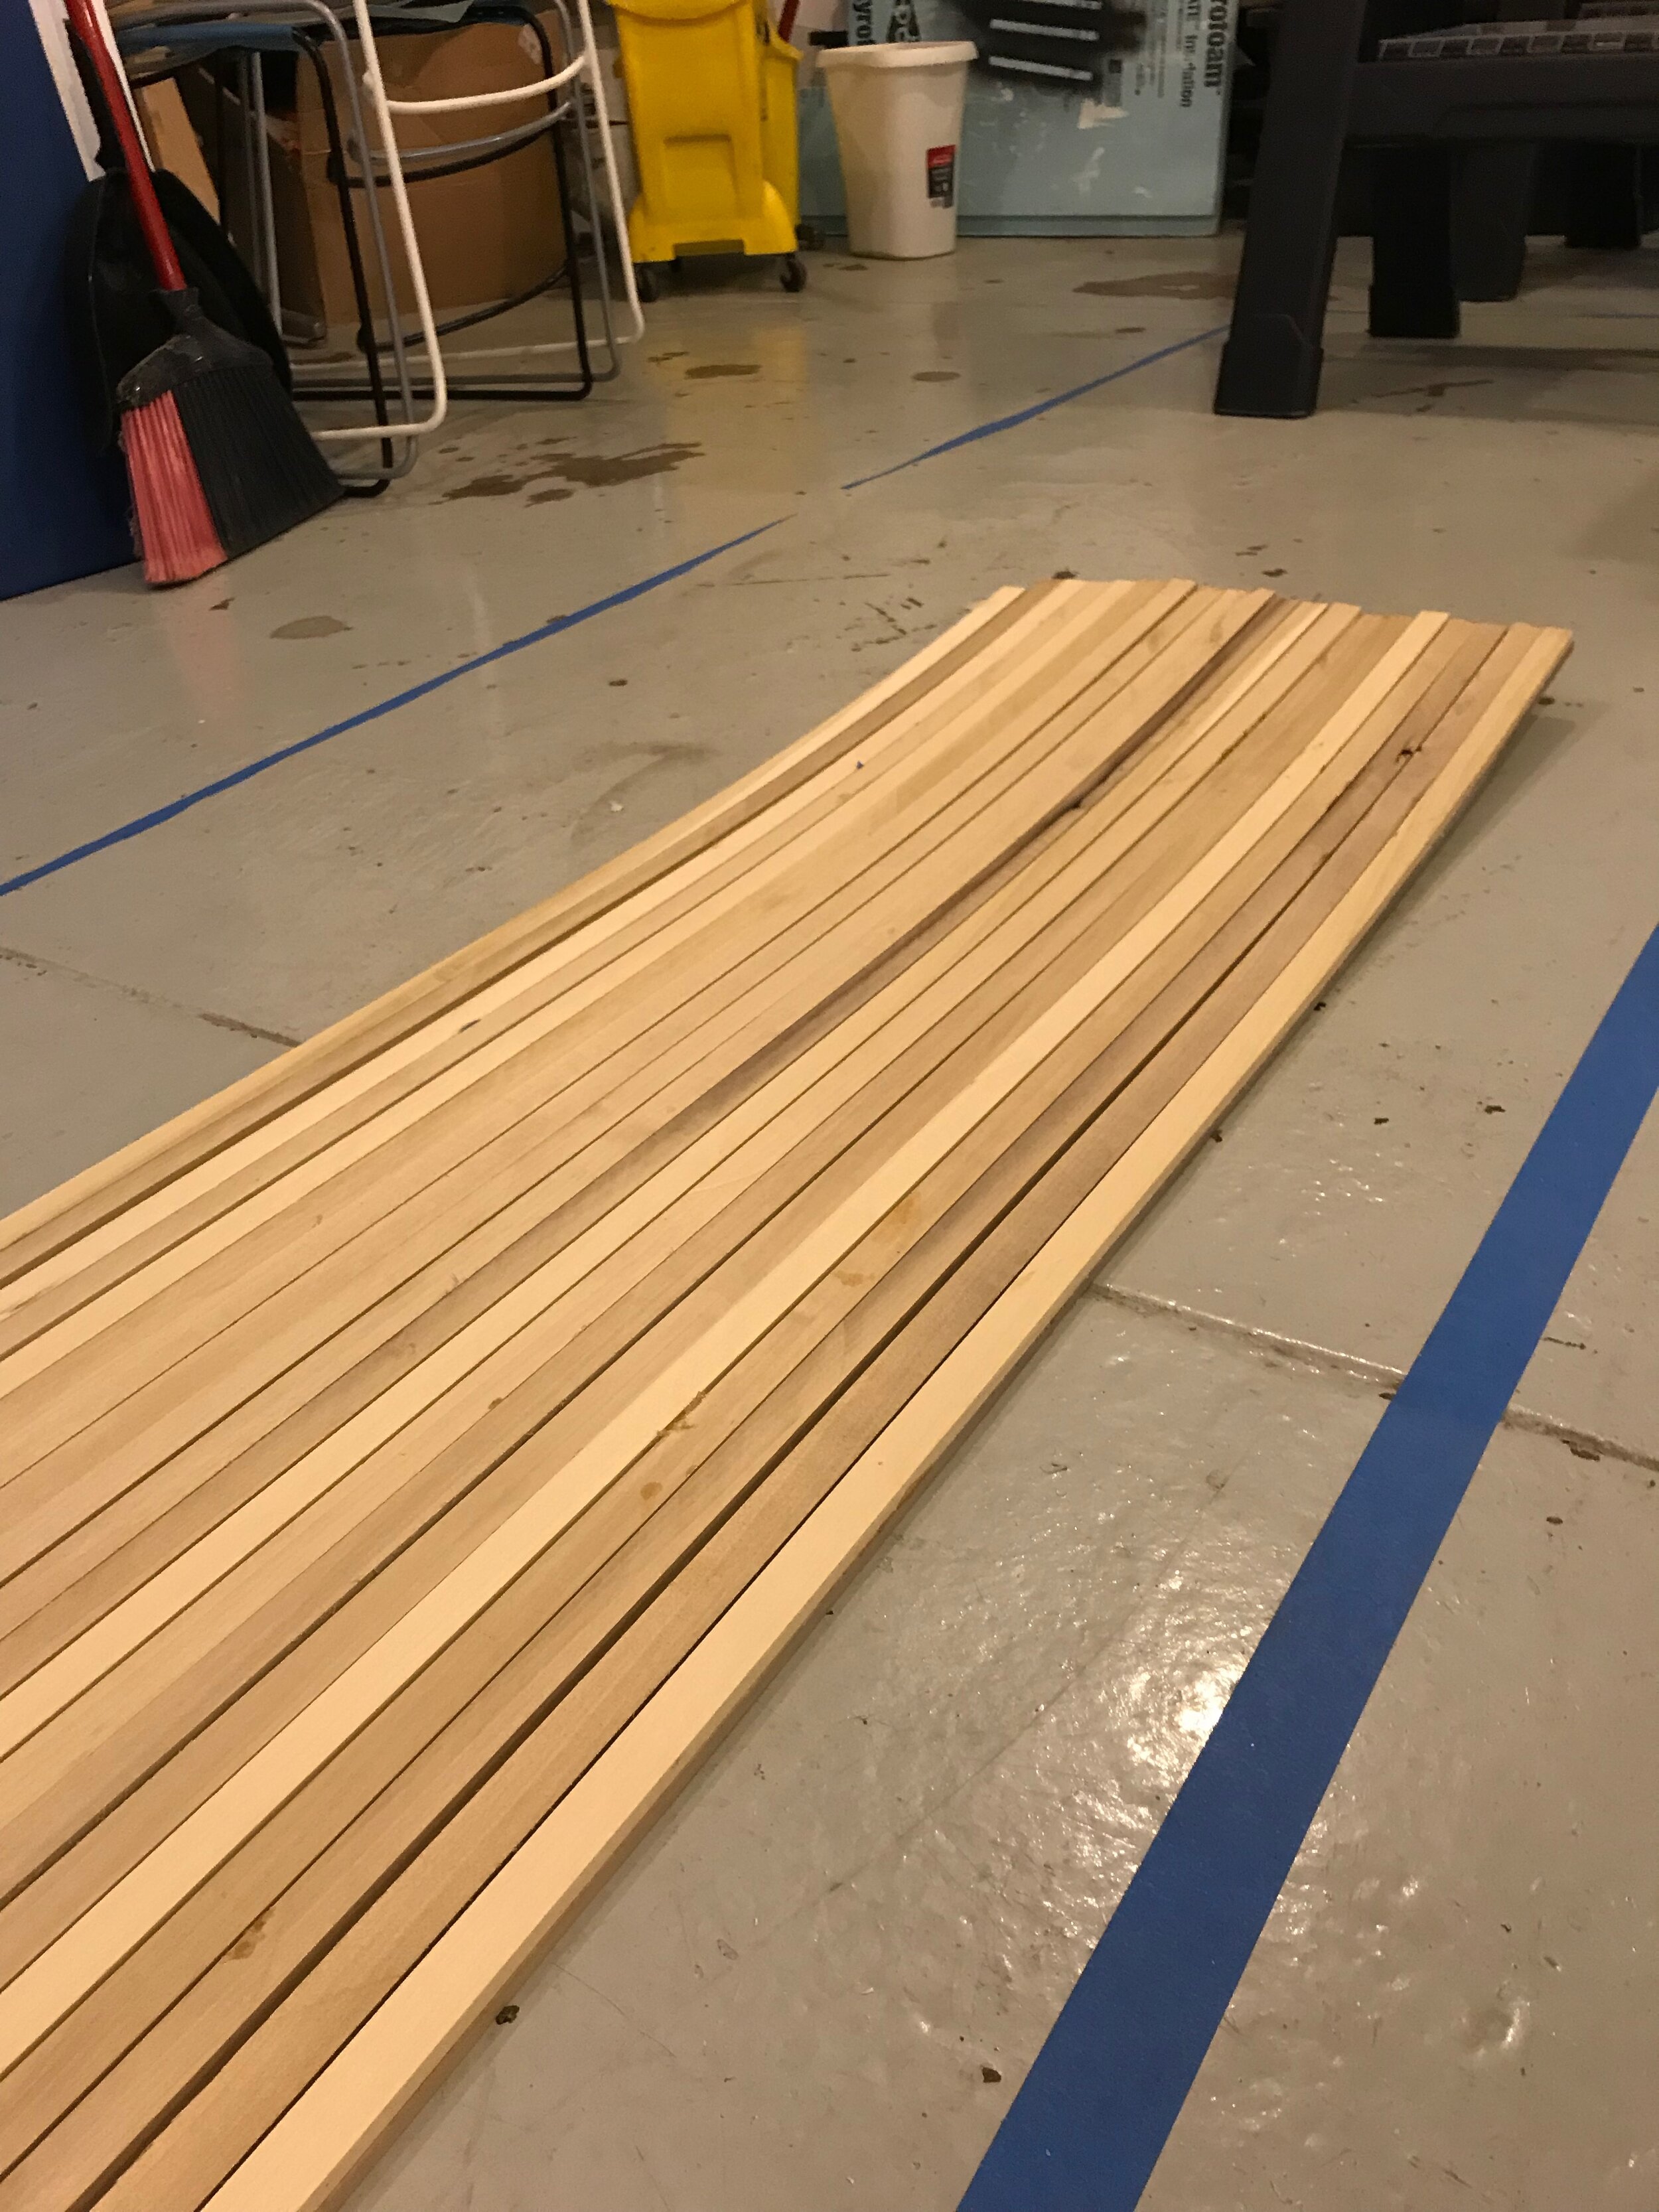
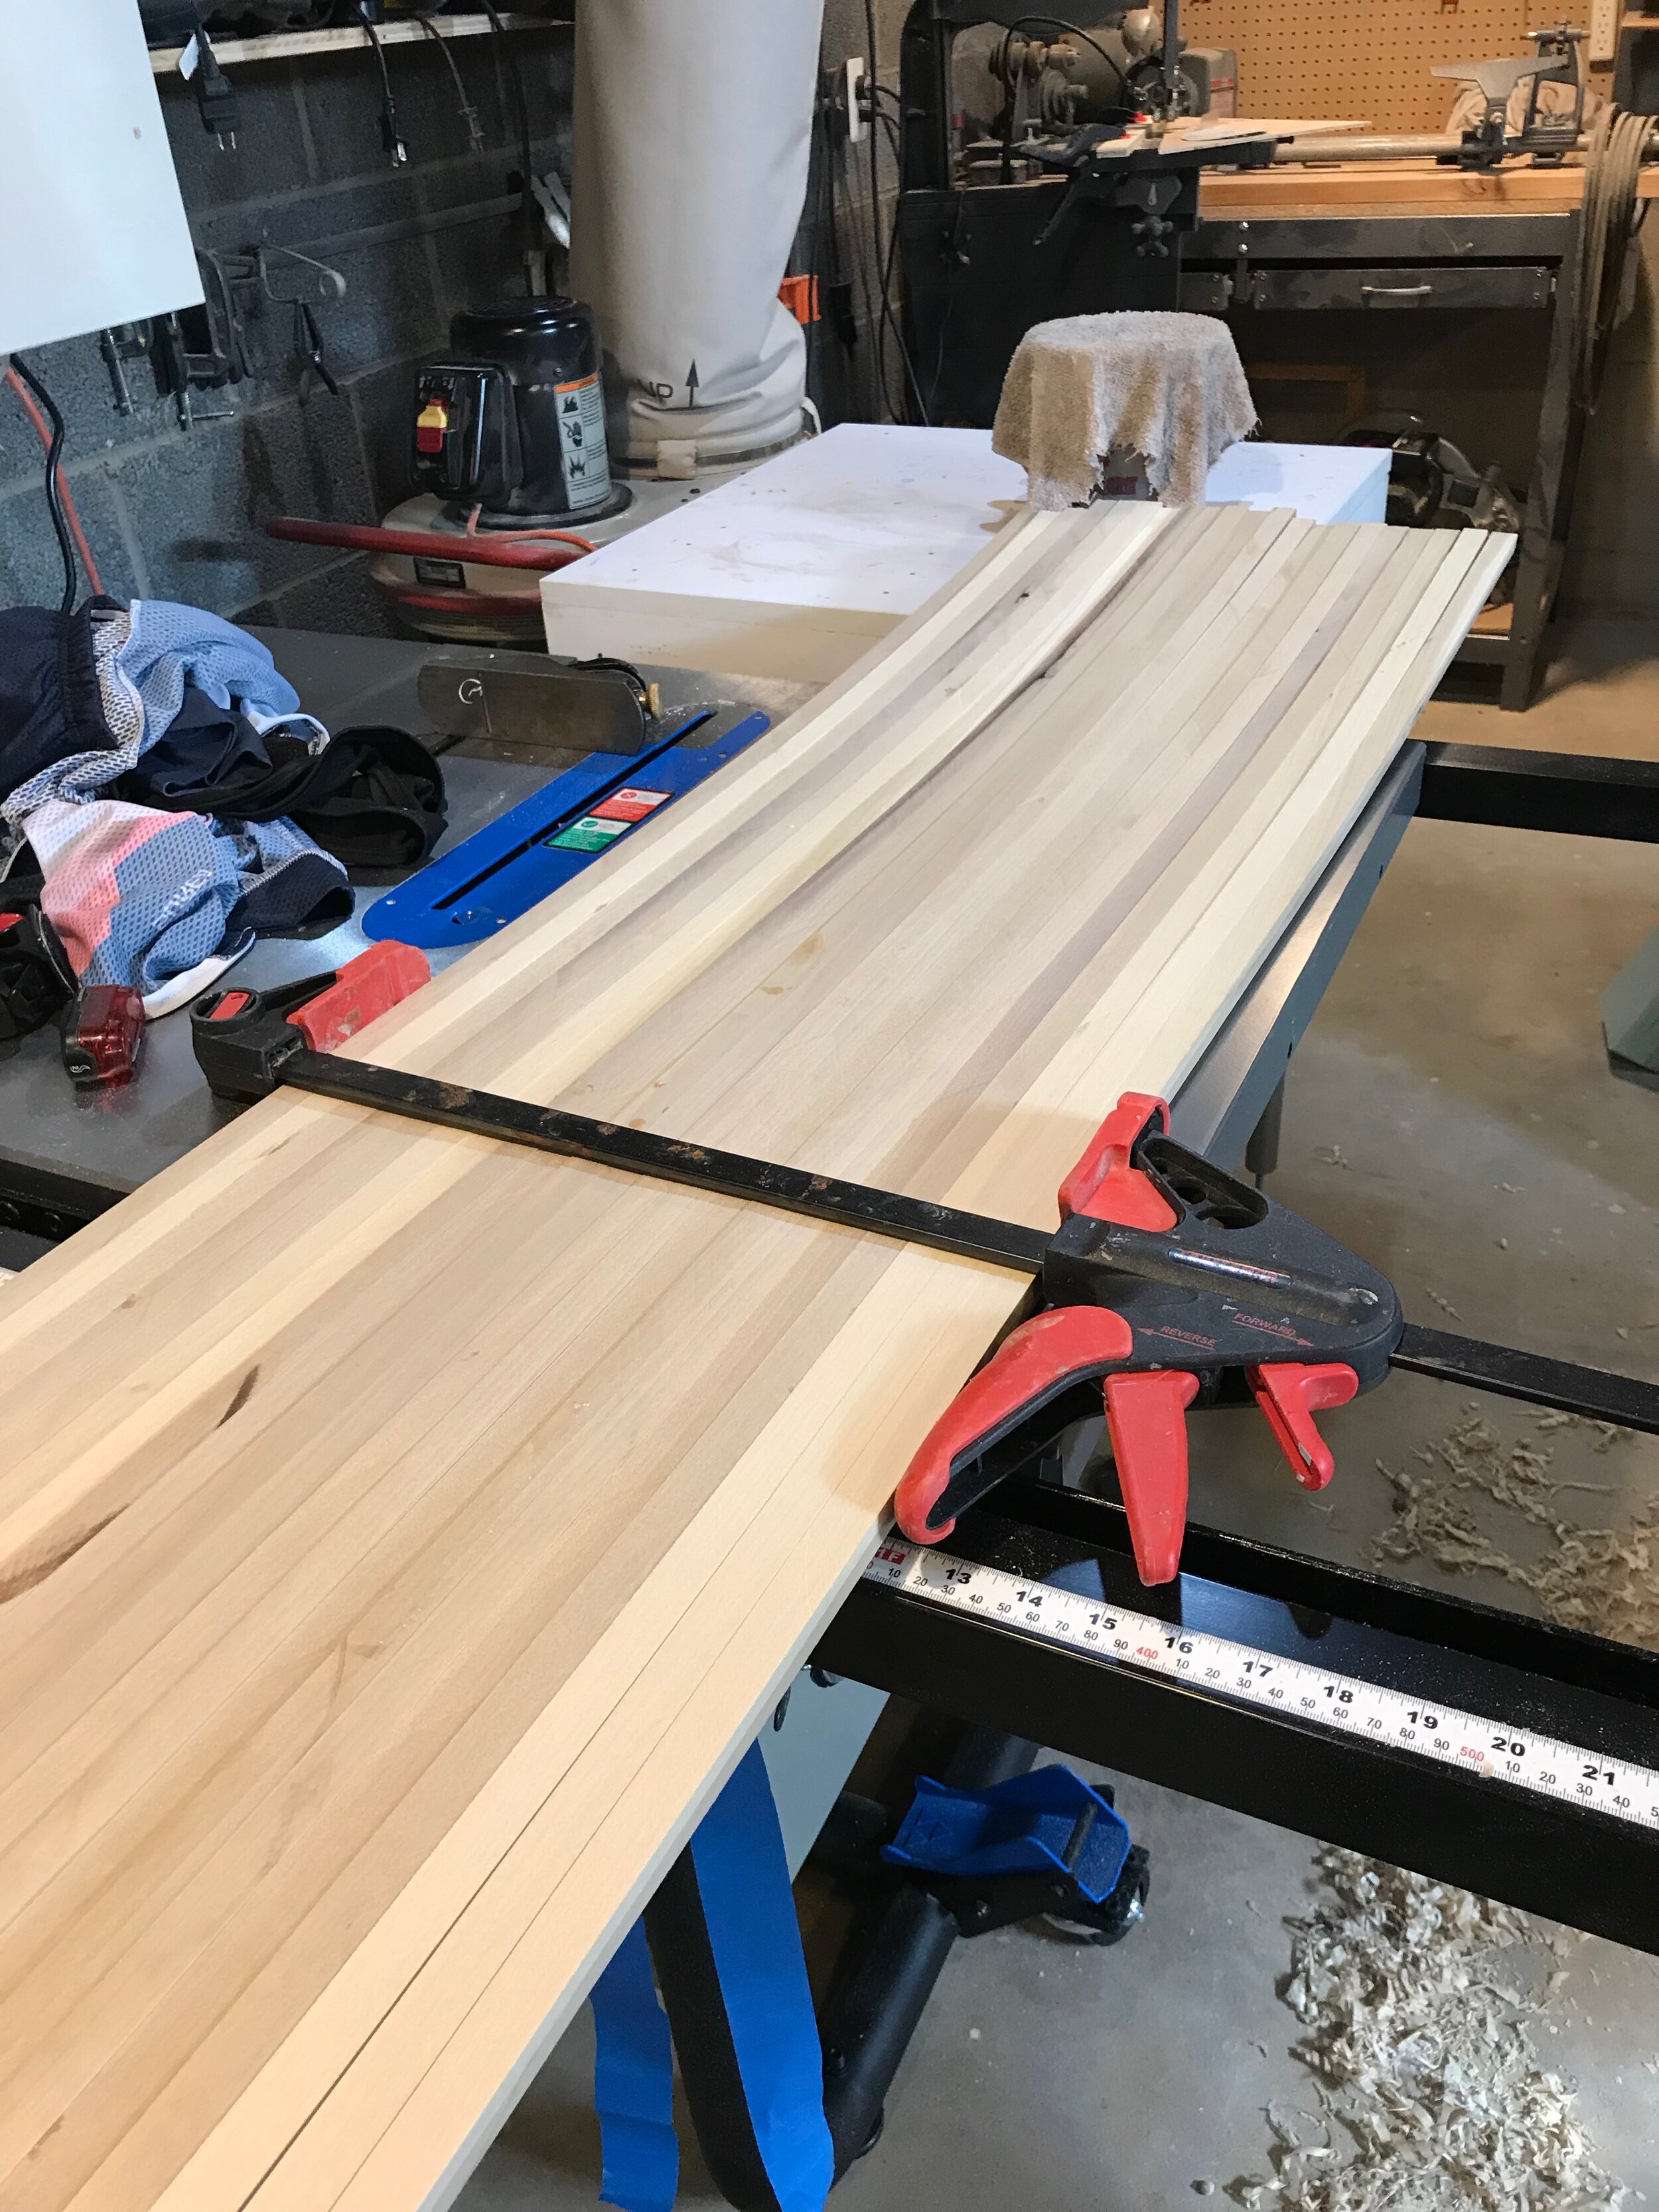
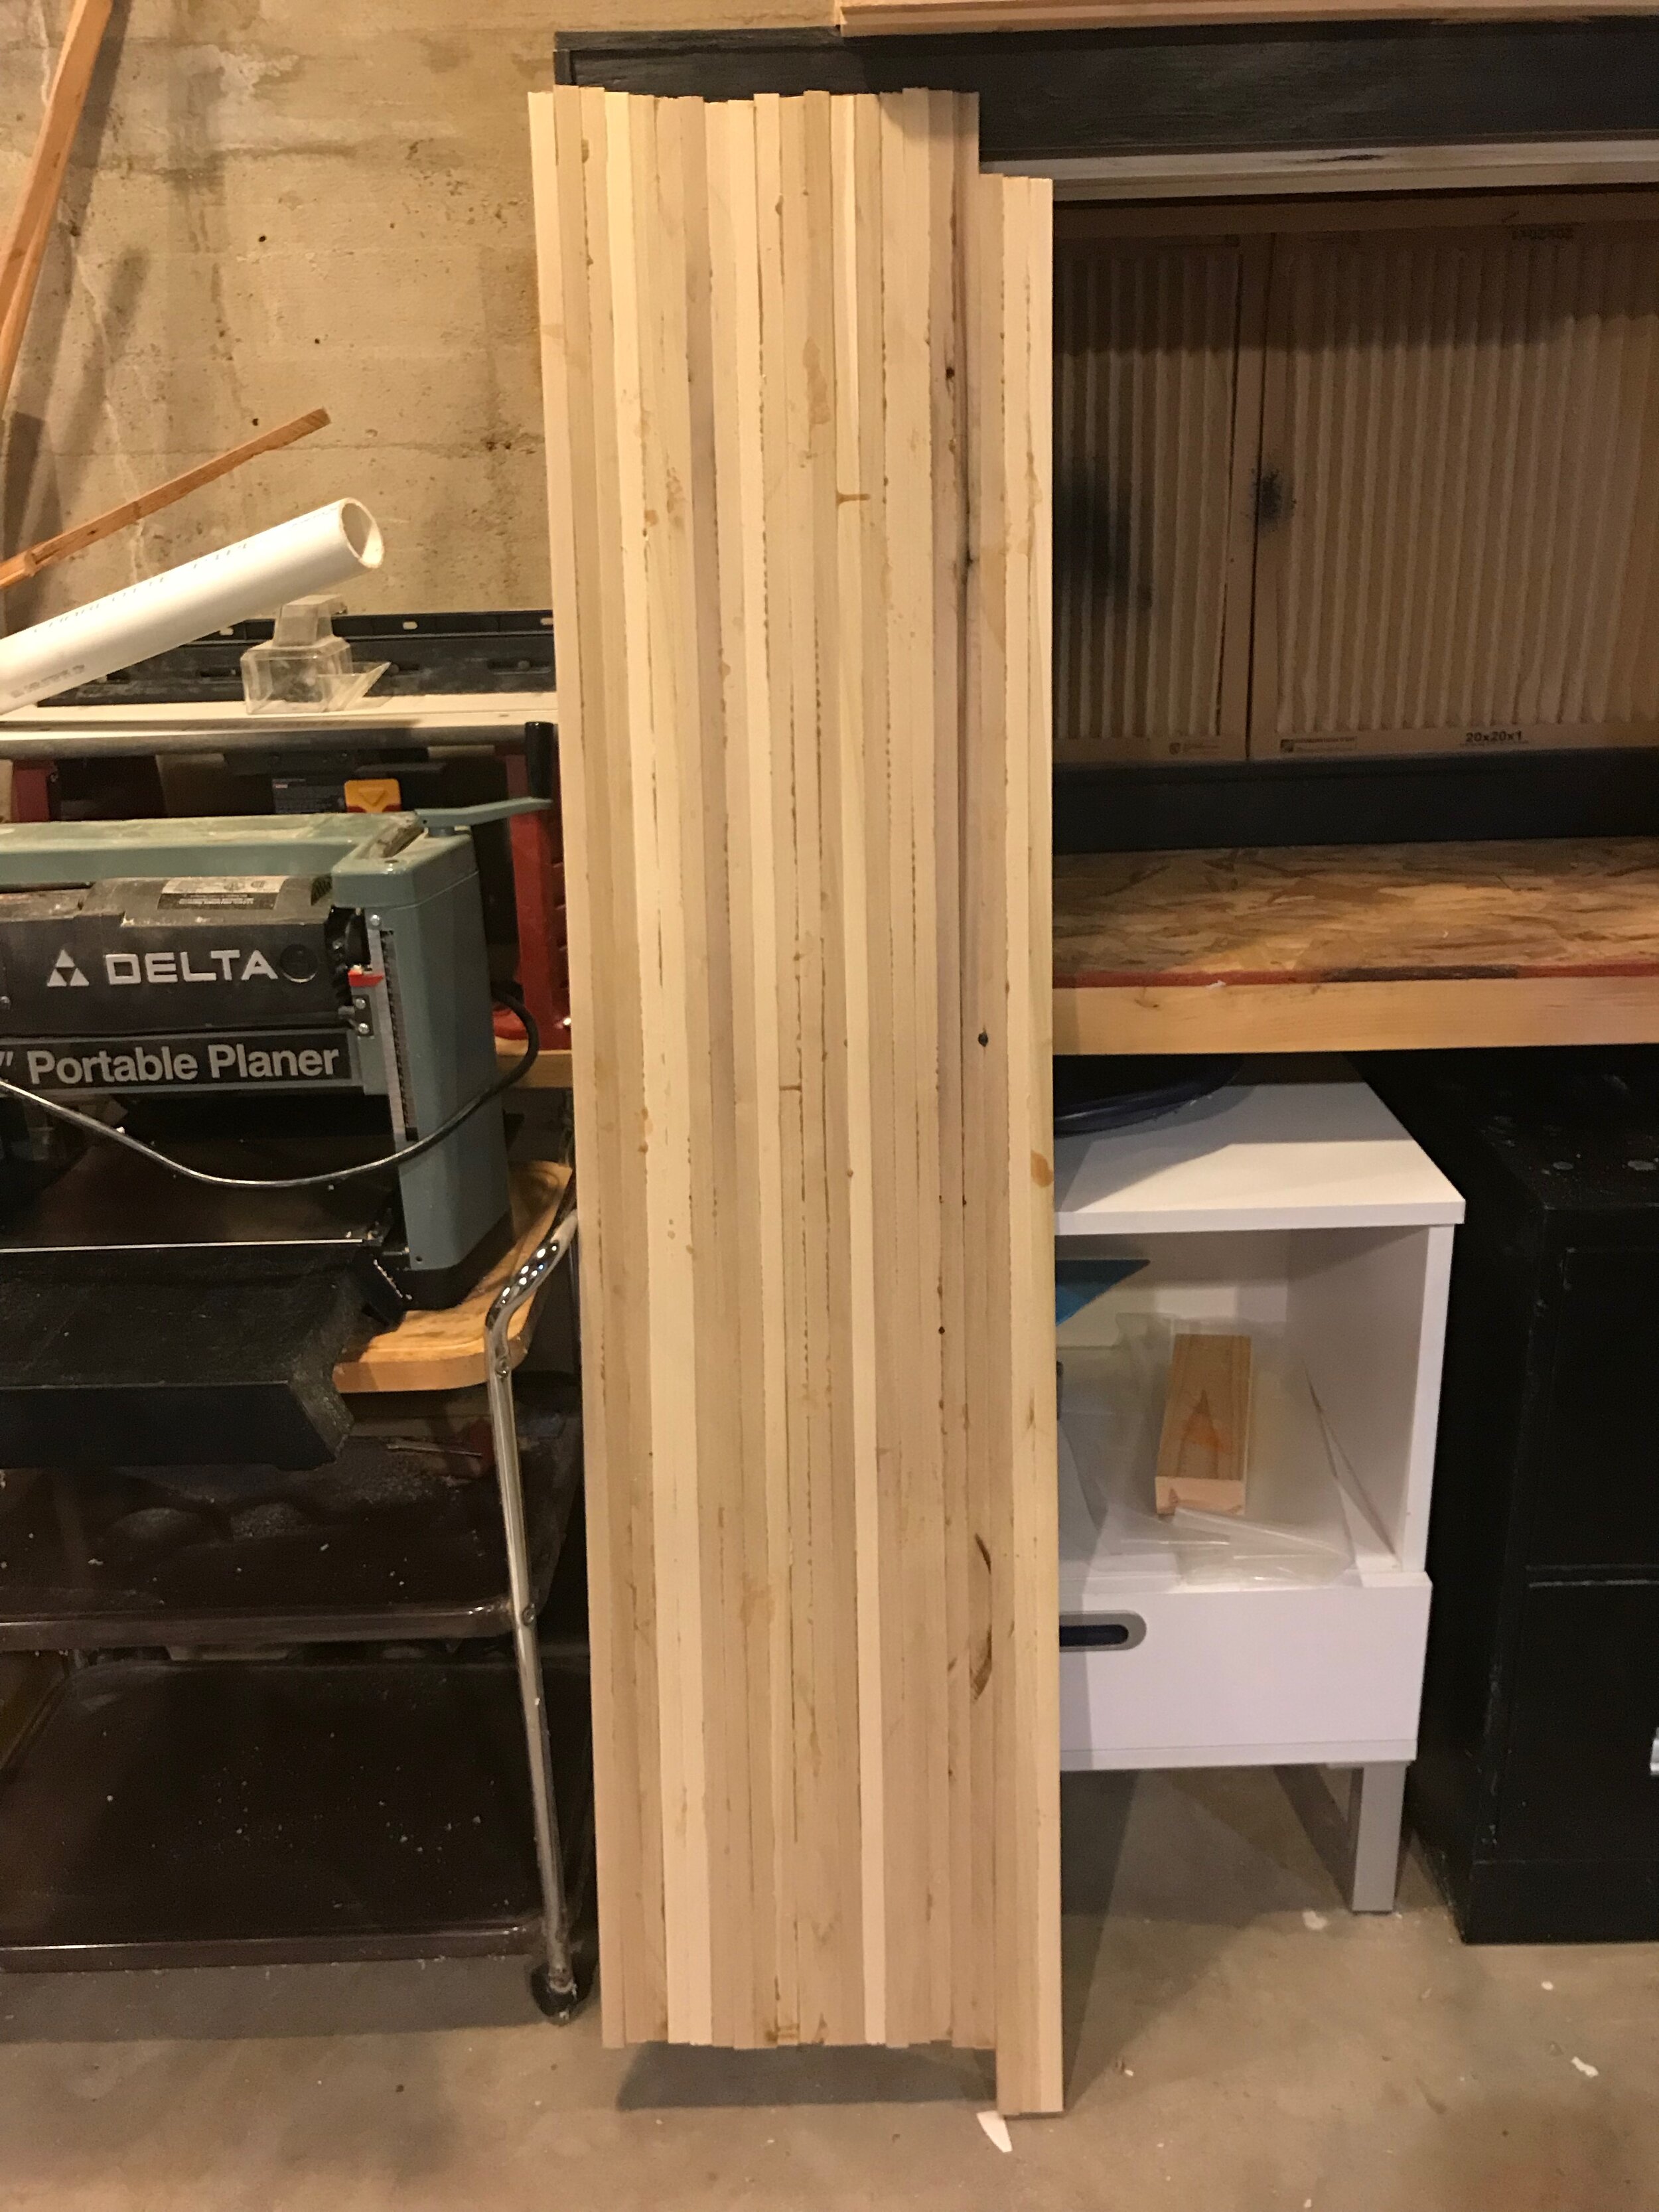
Cut poplar strips down.
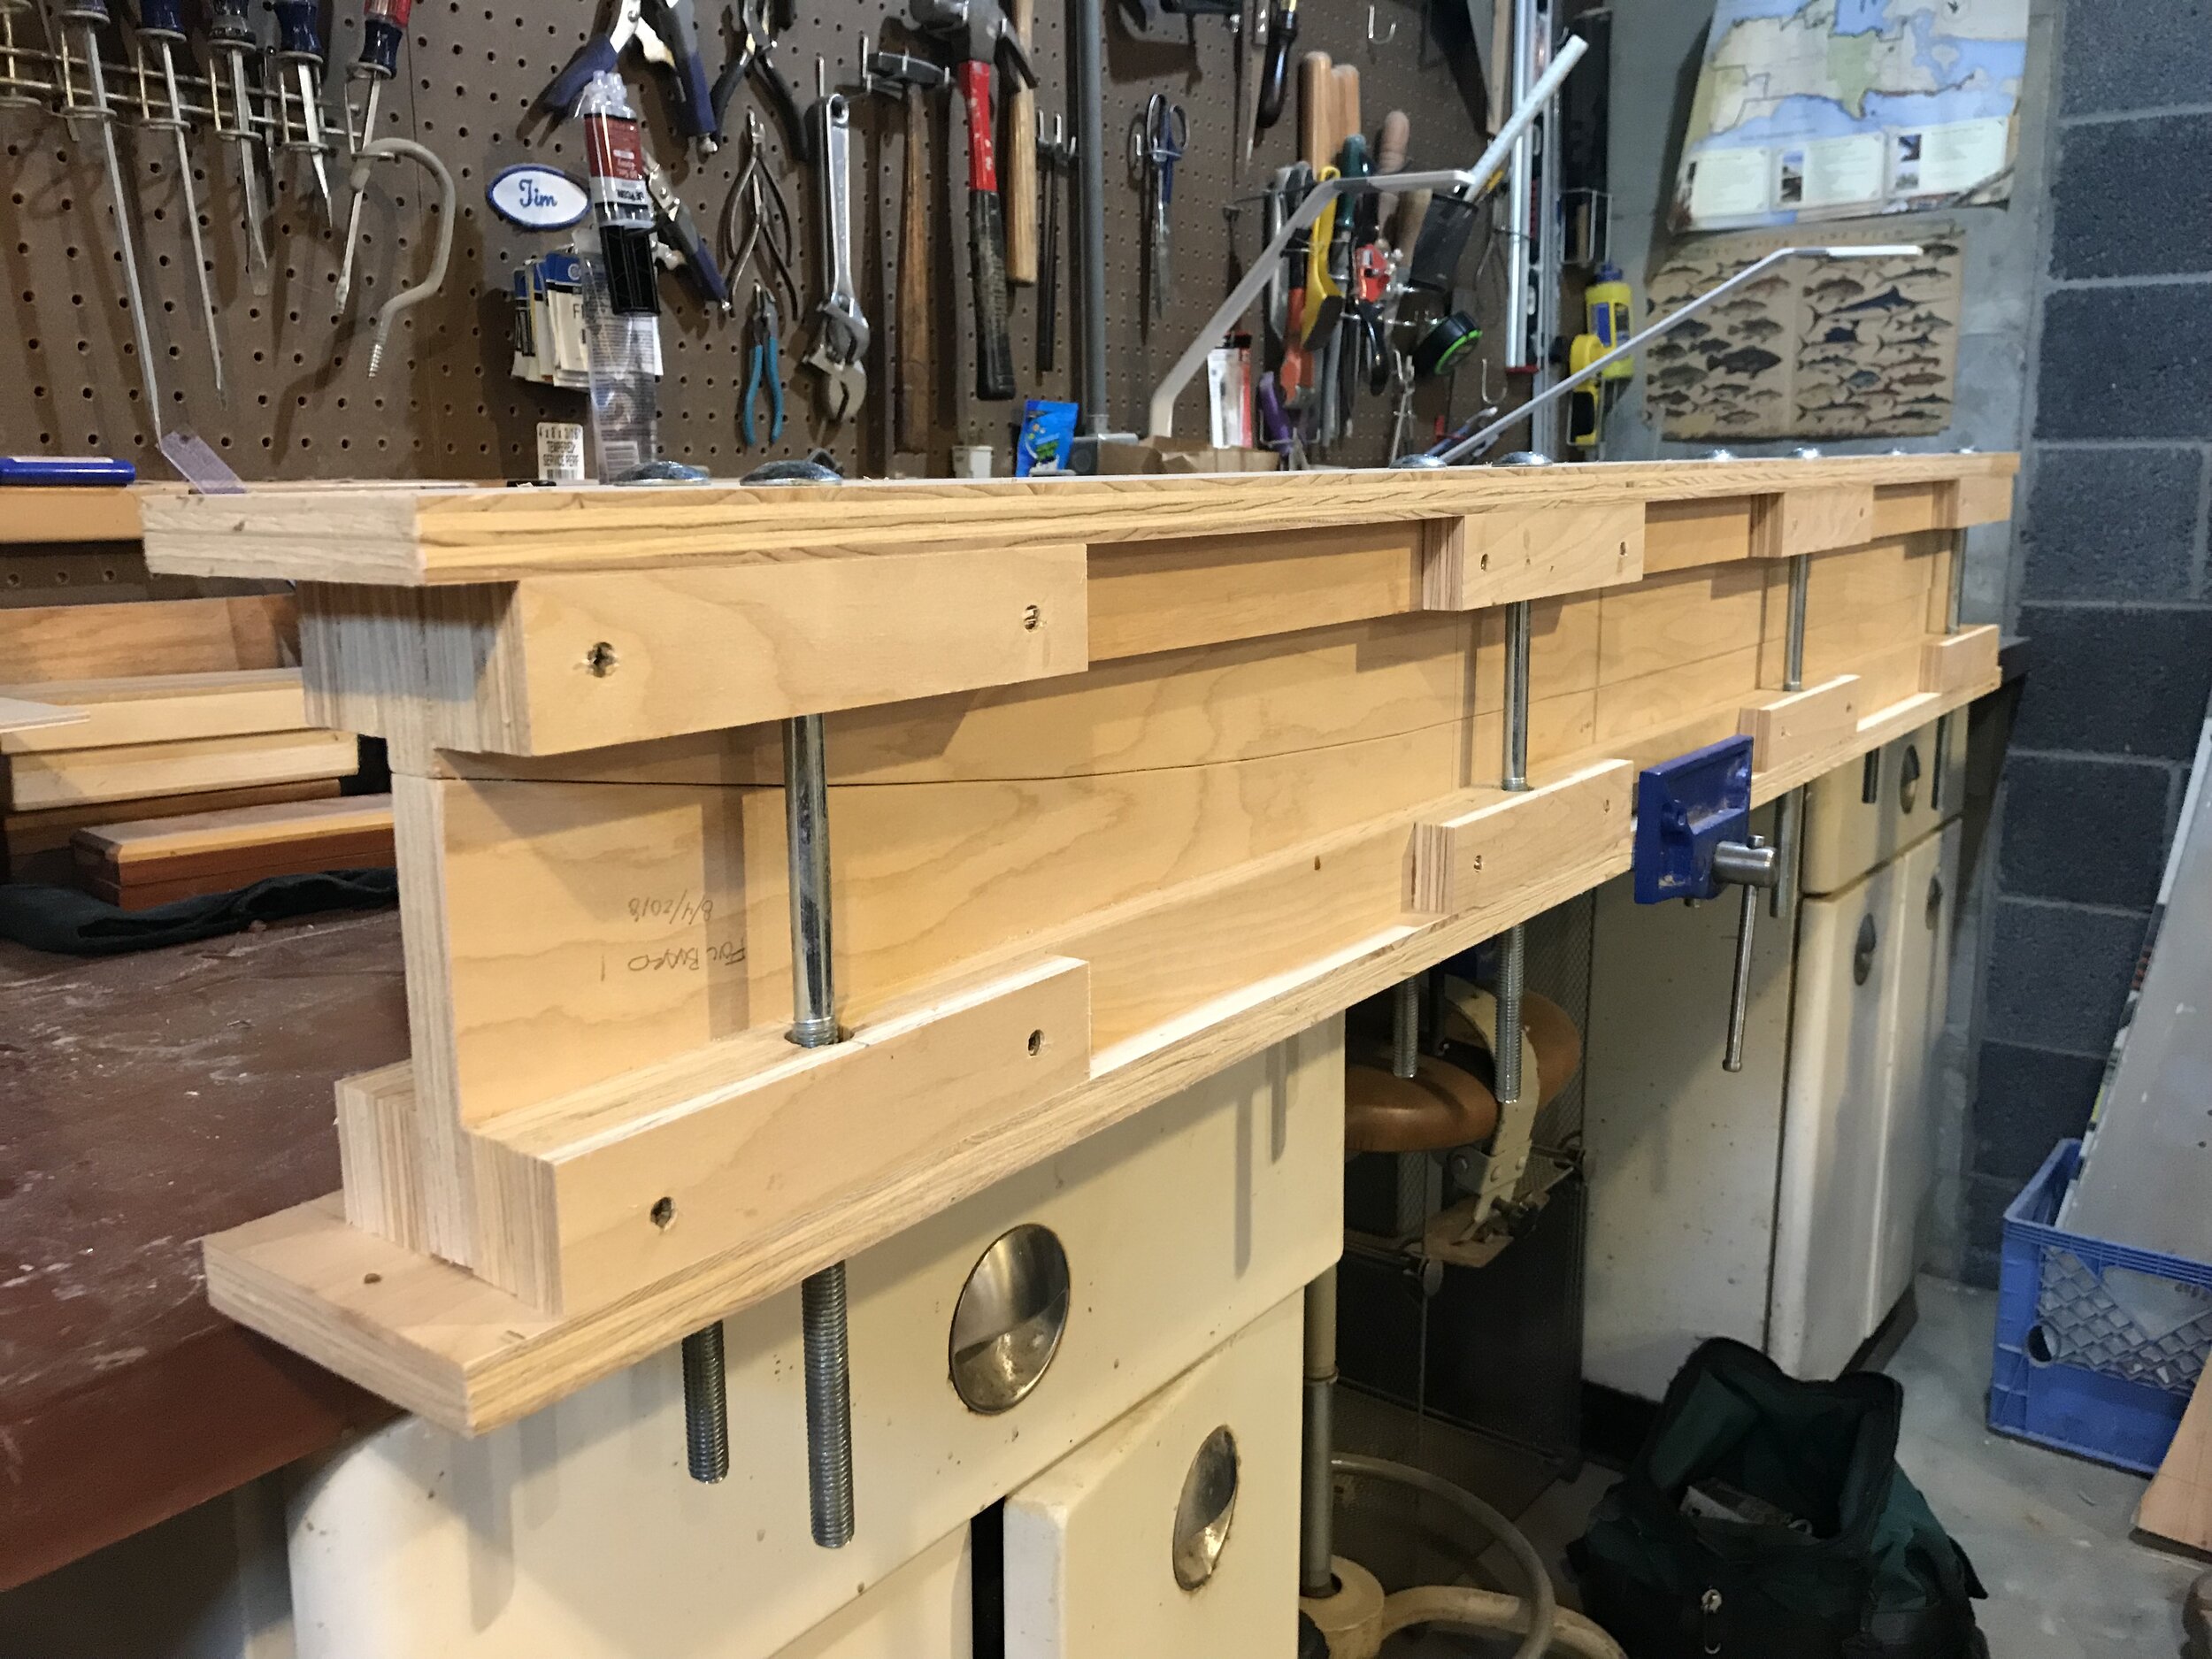
Make a mold.
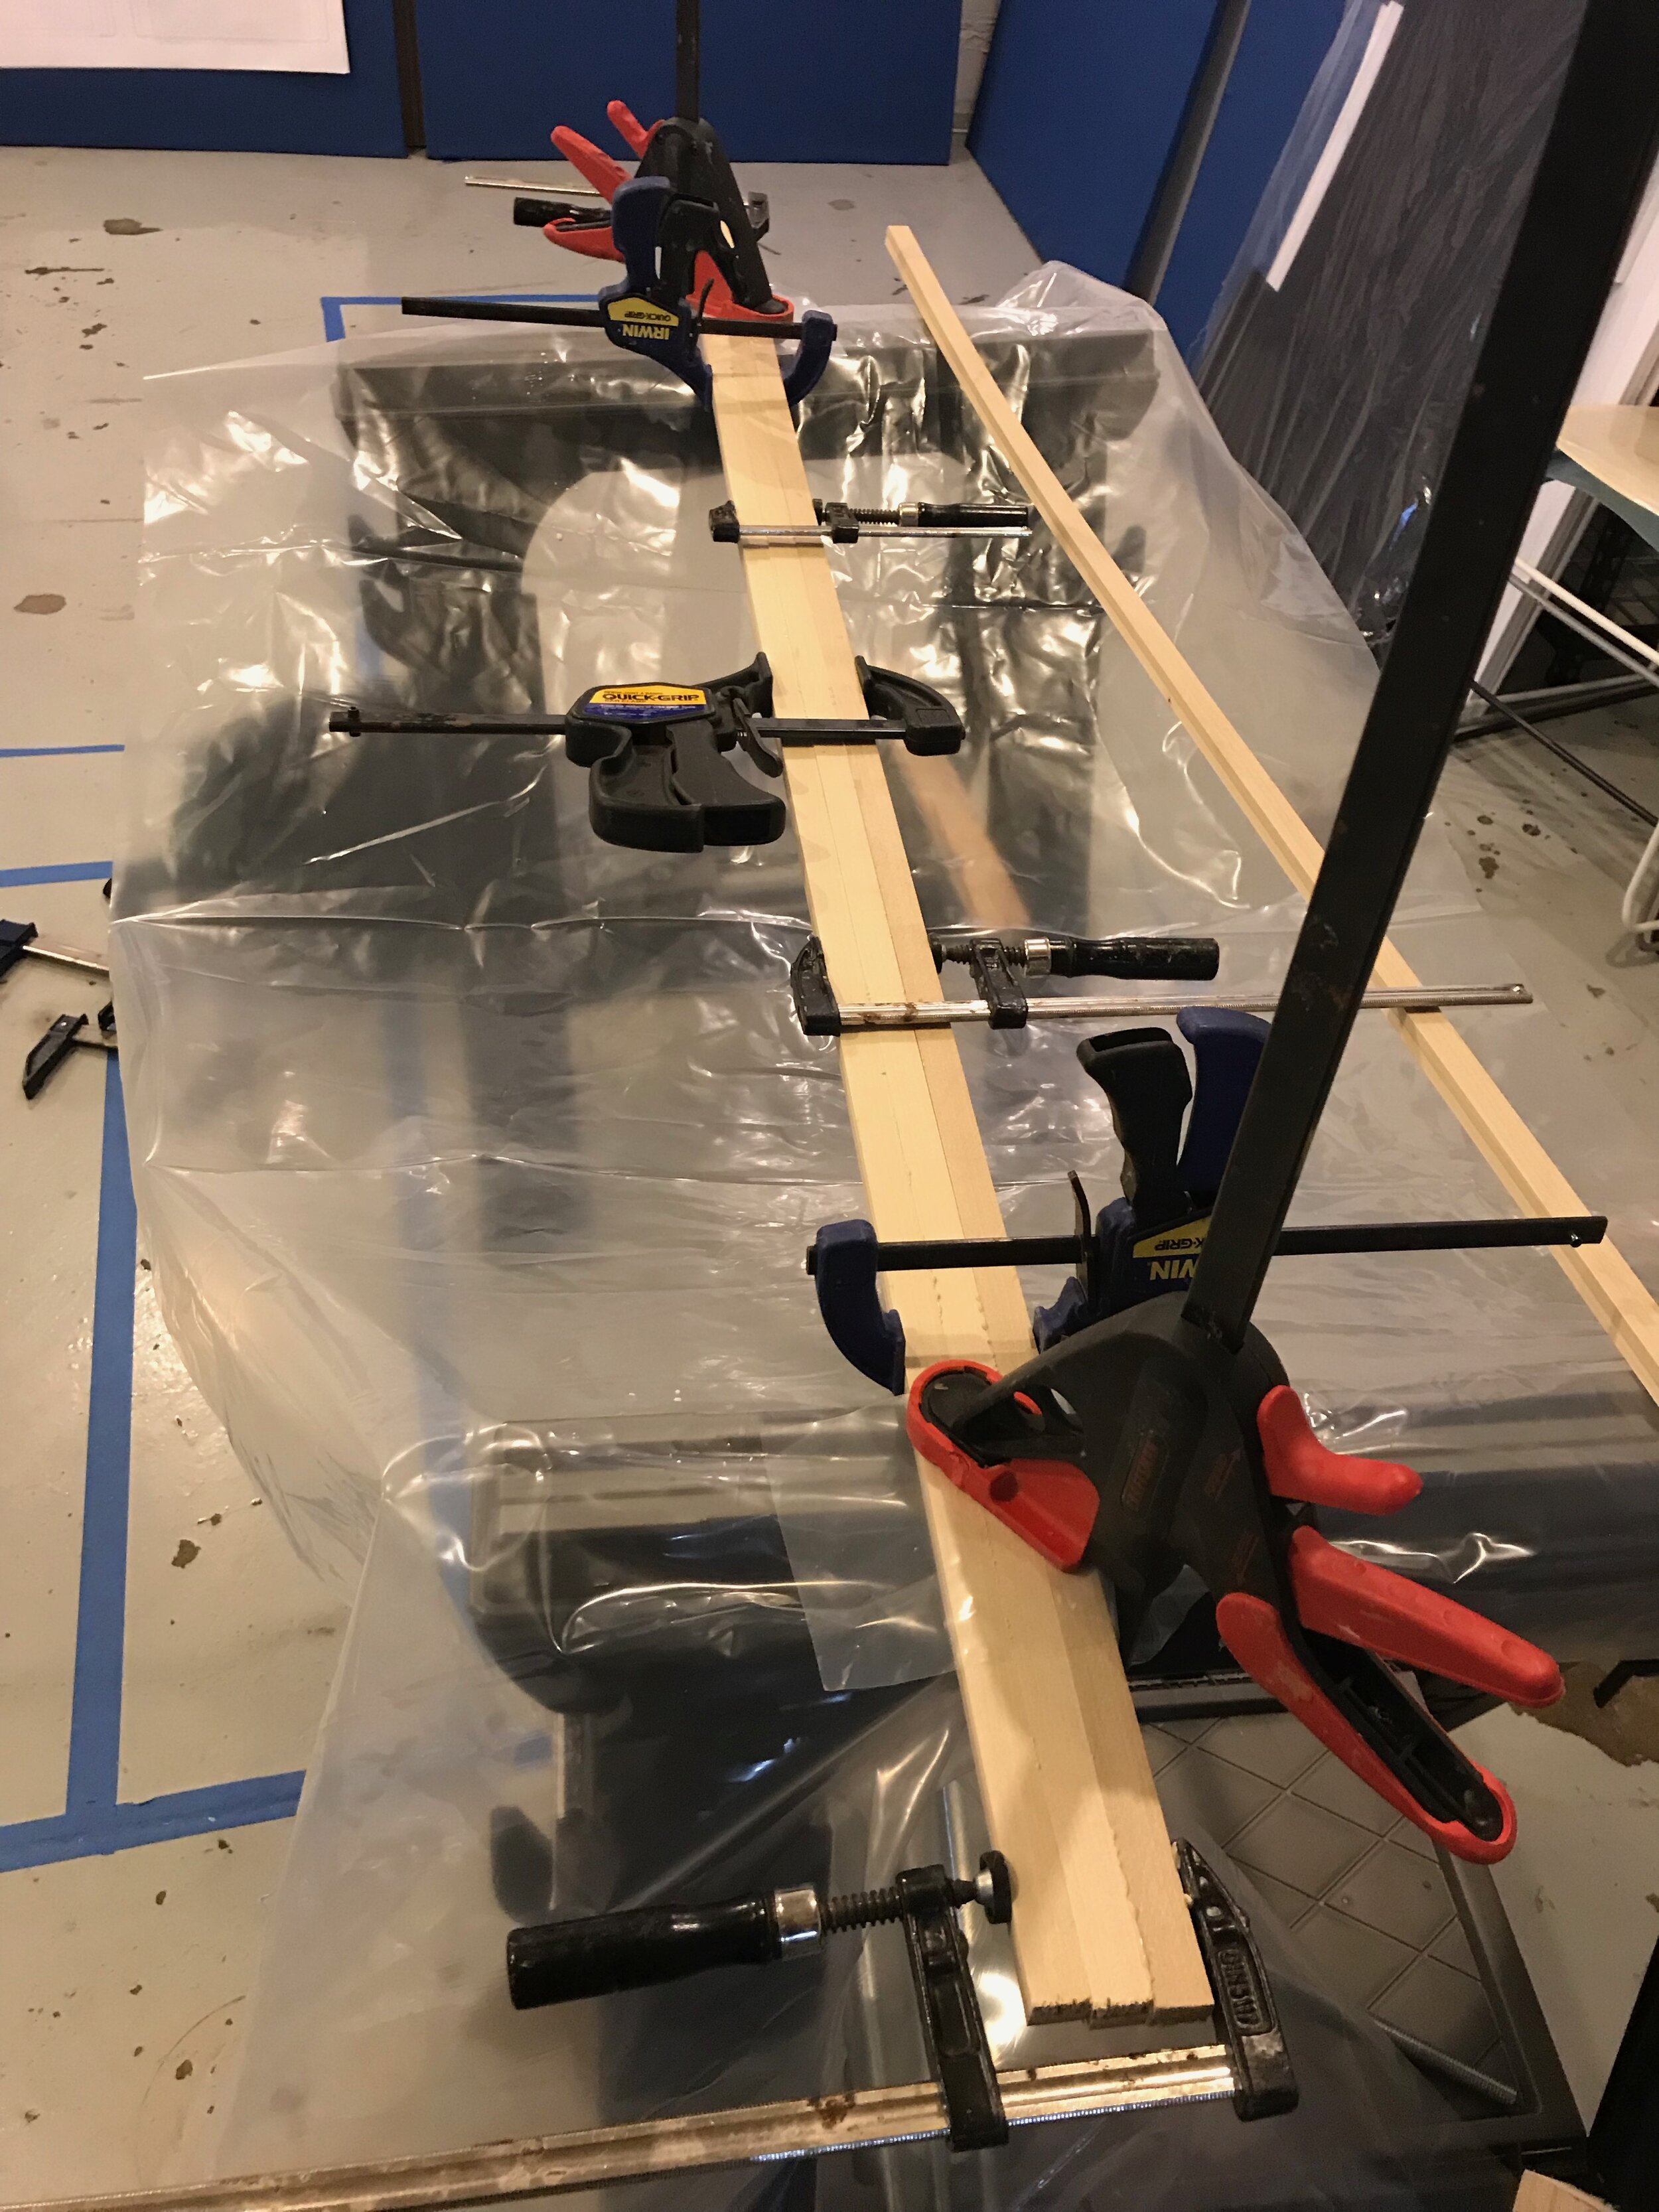
Pressed two strips in the mold at a time.
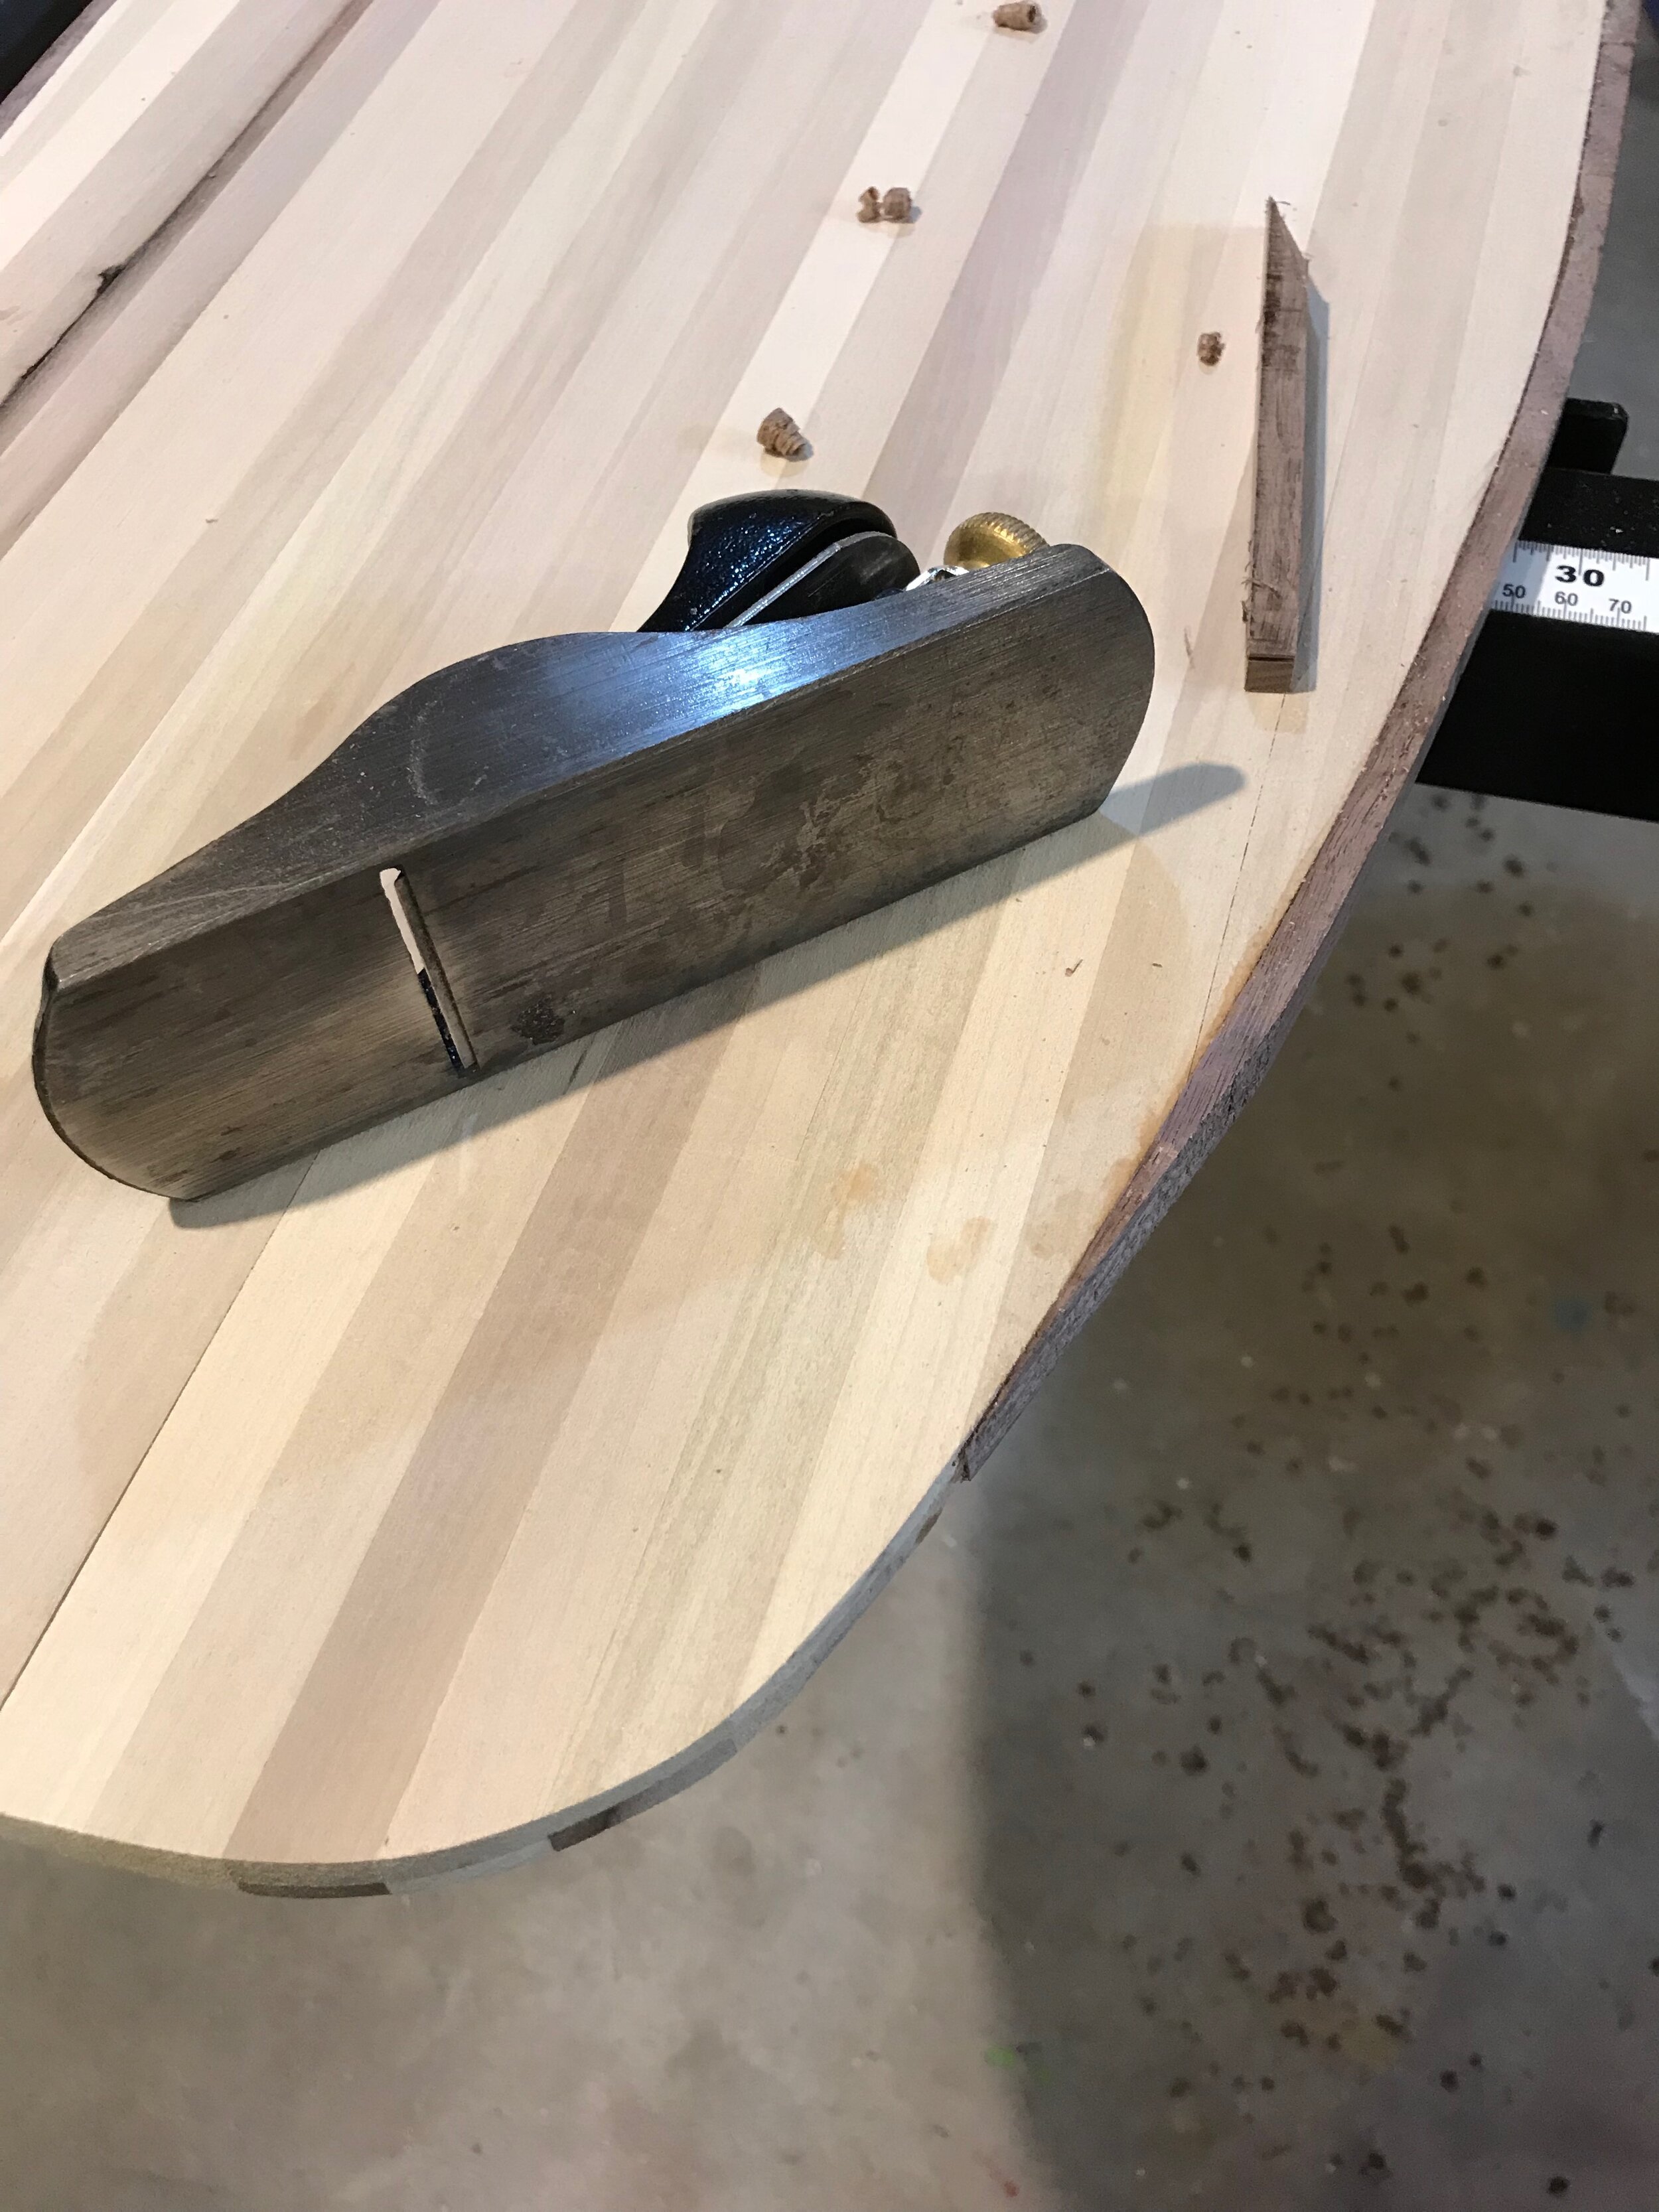
Planed the curved strips to create a good glue surface.
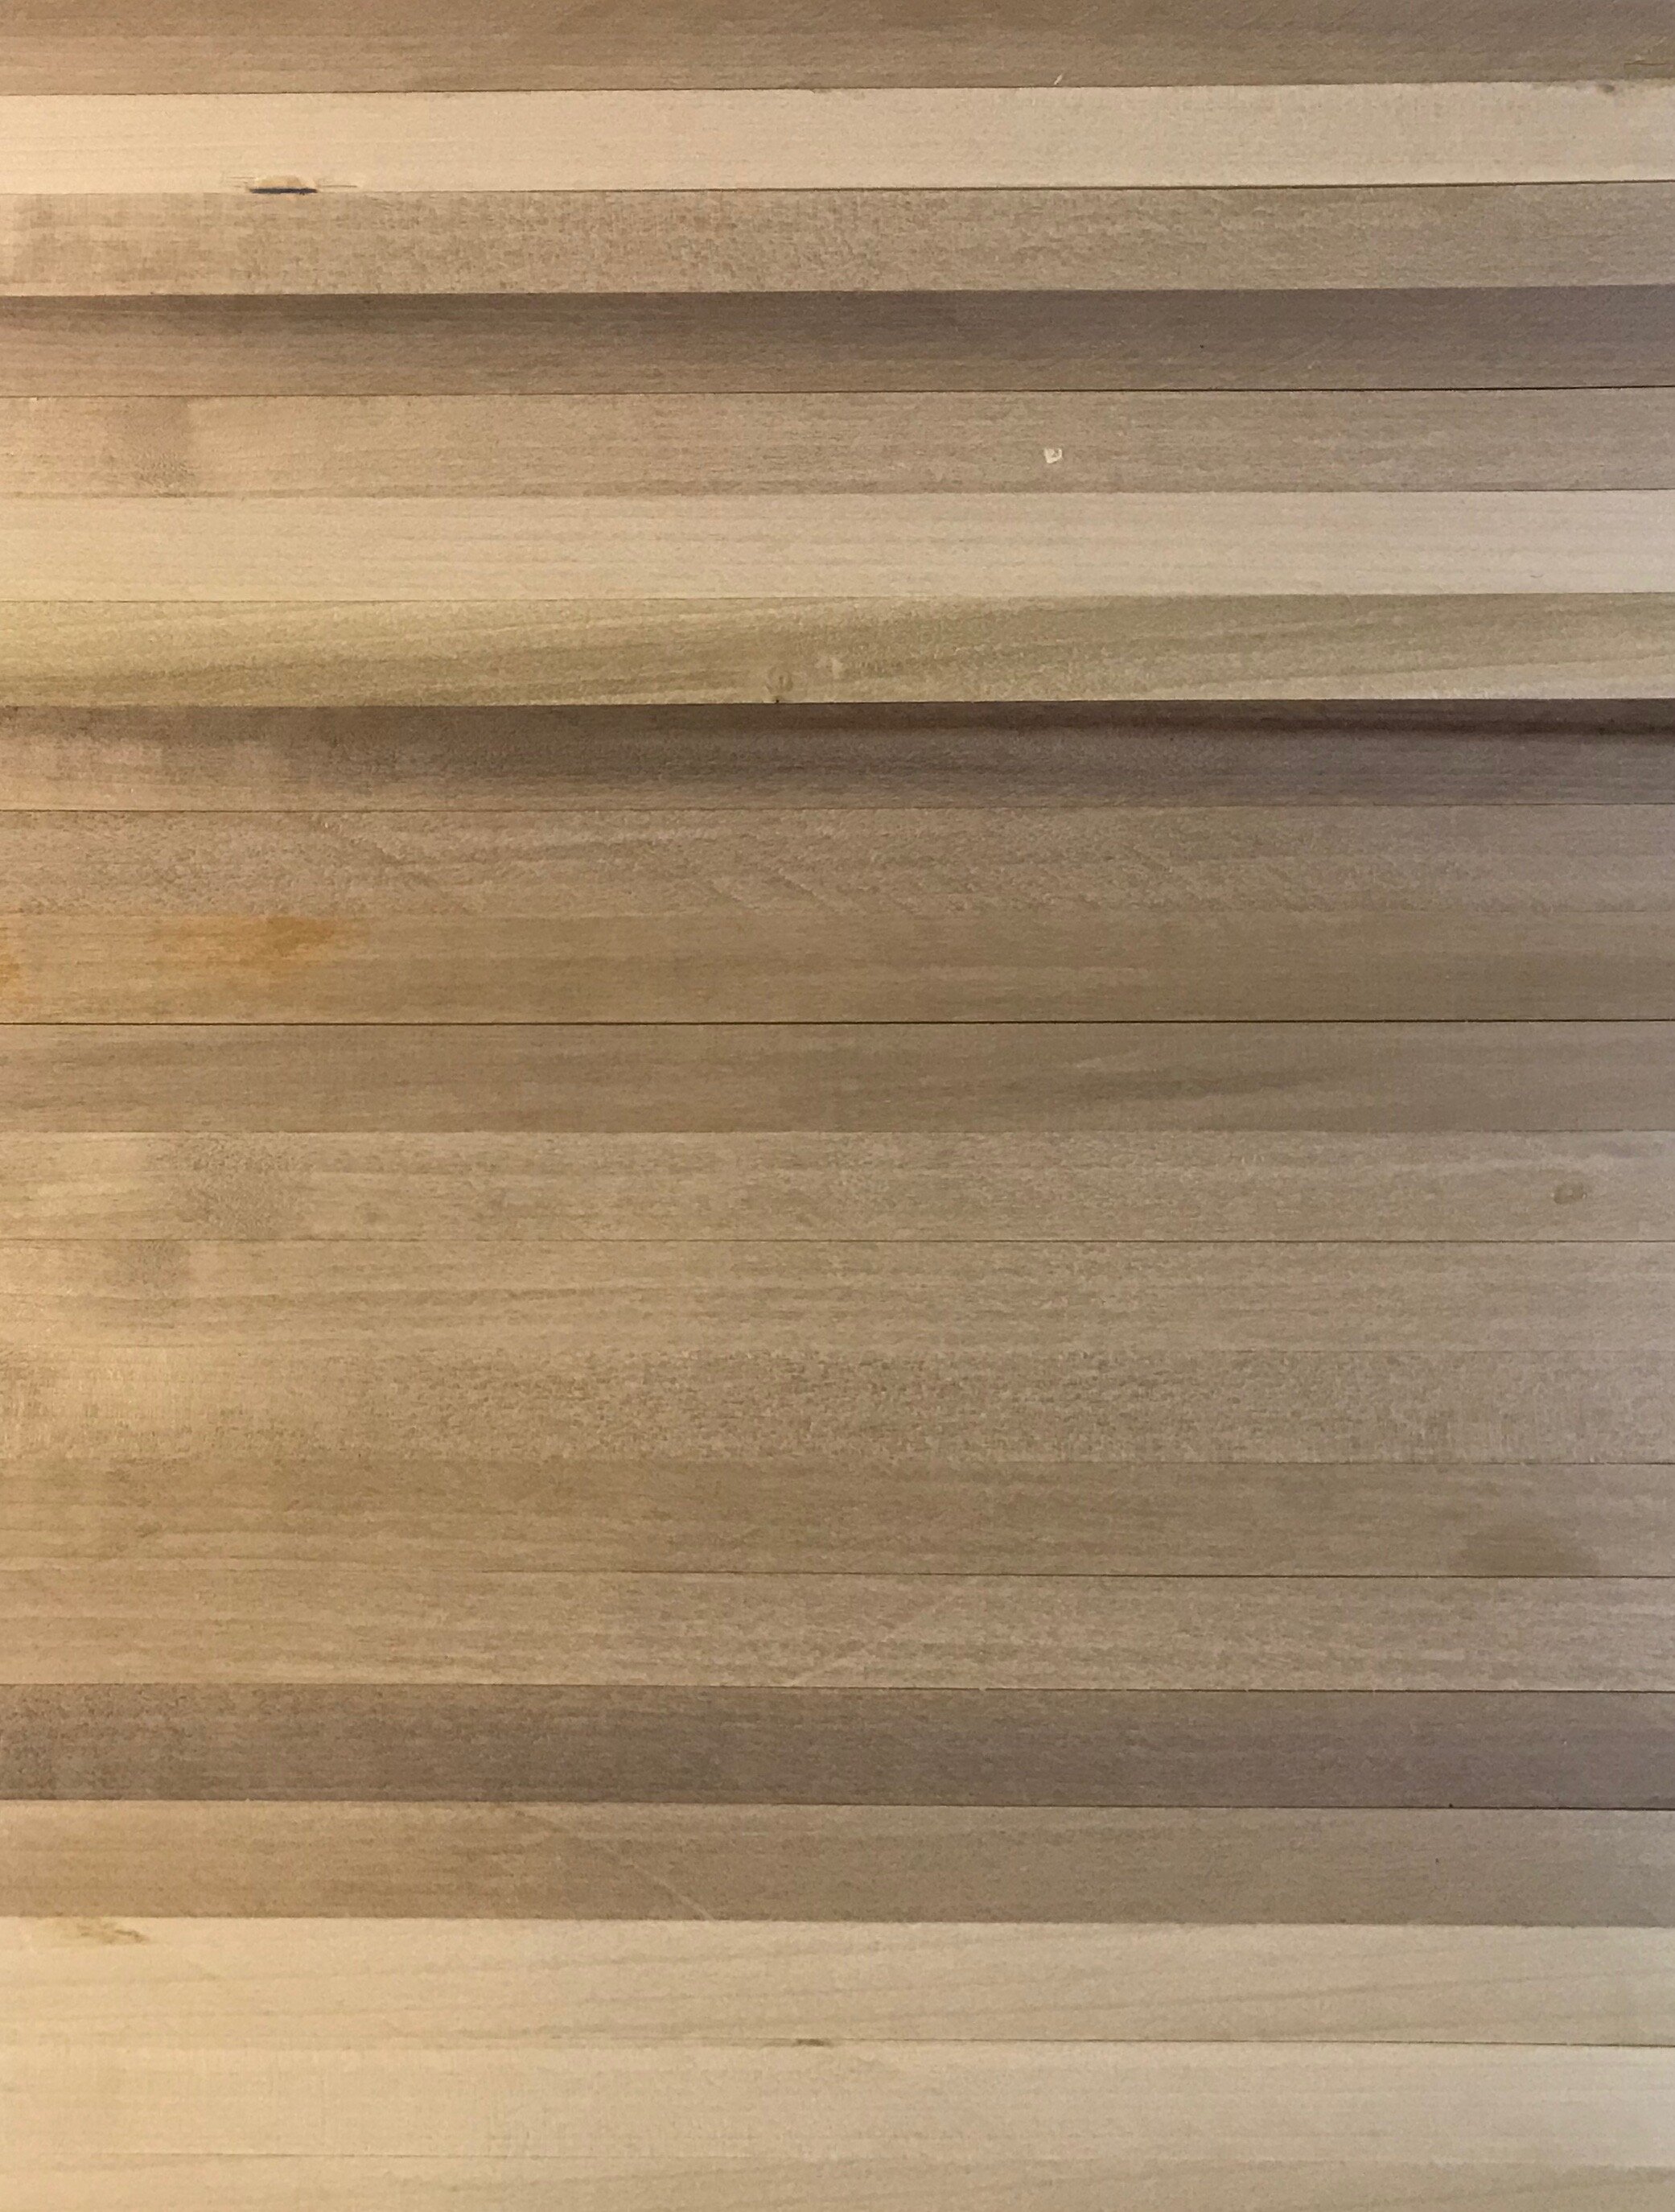
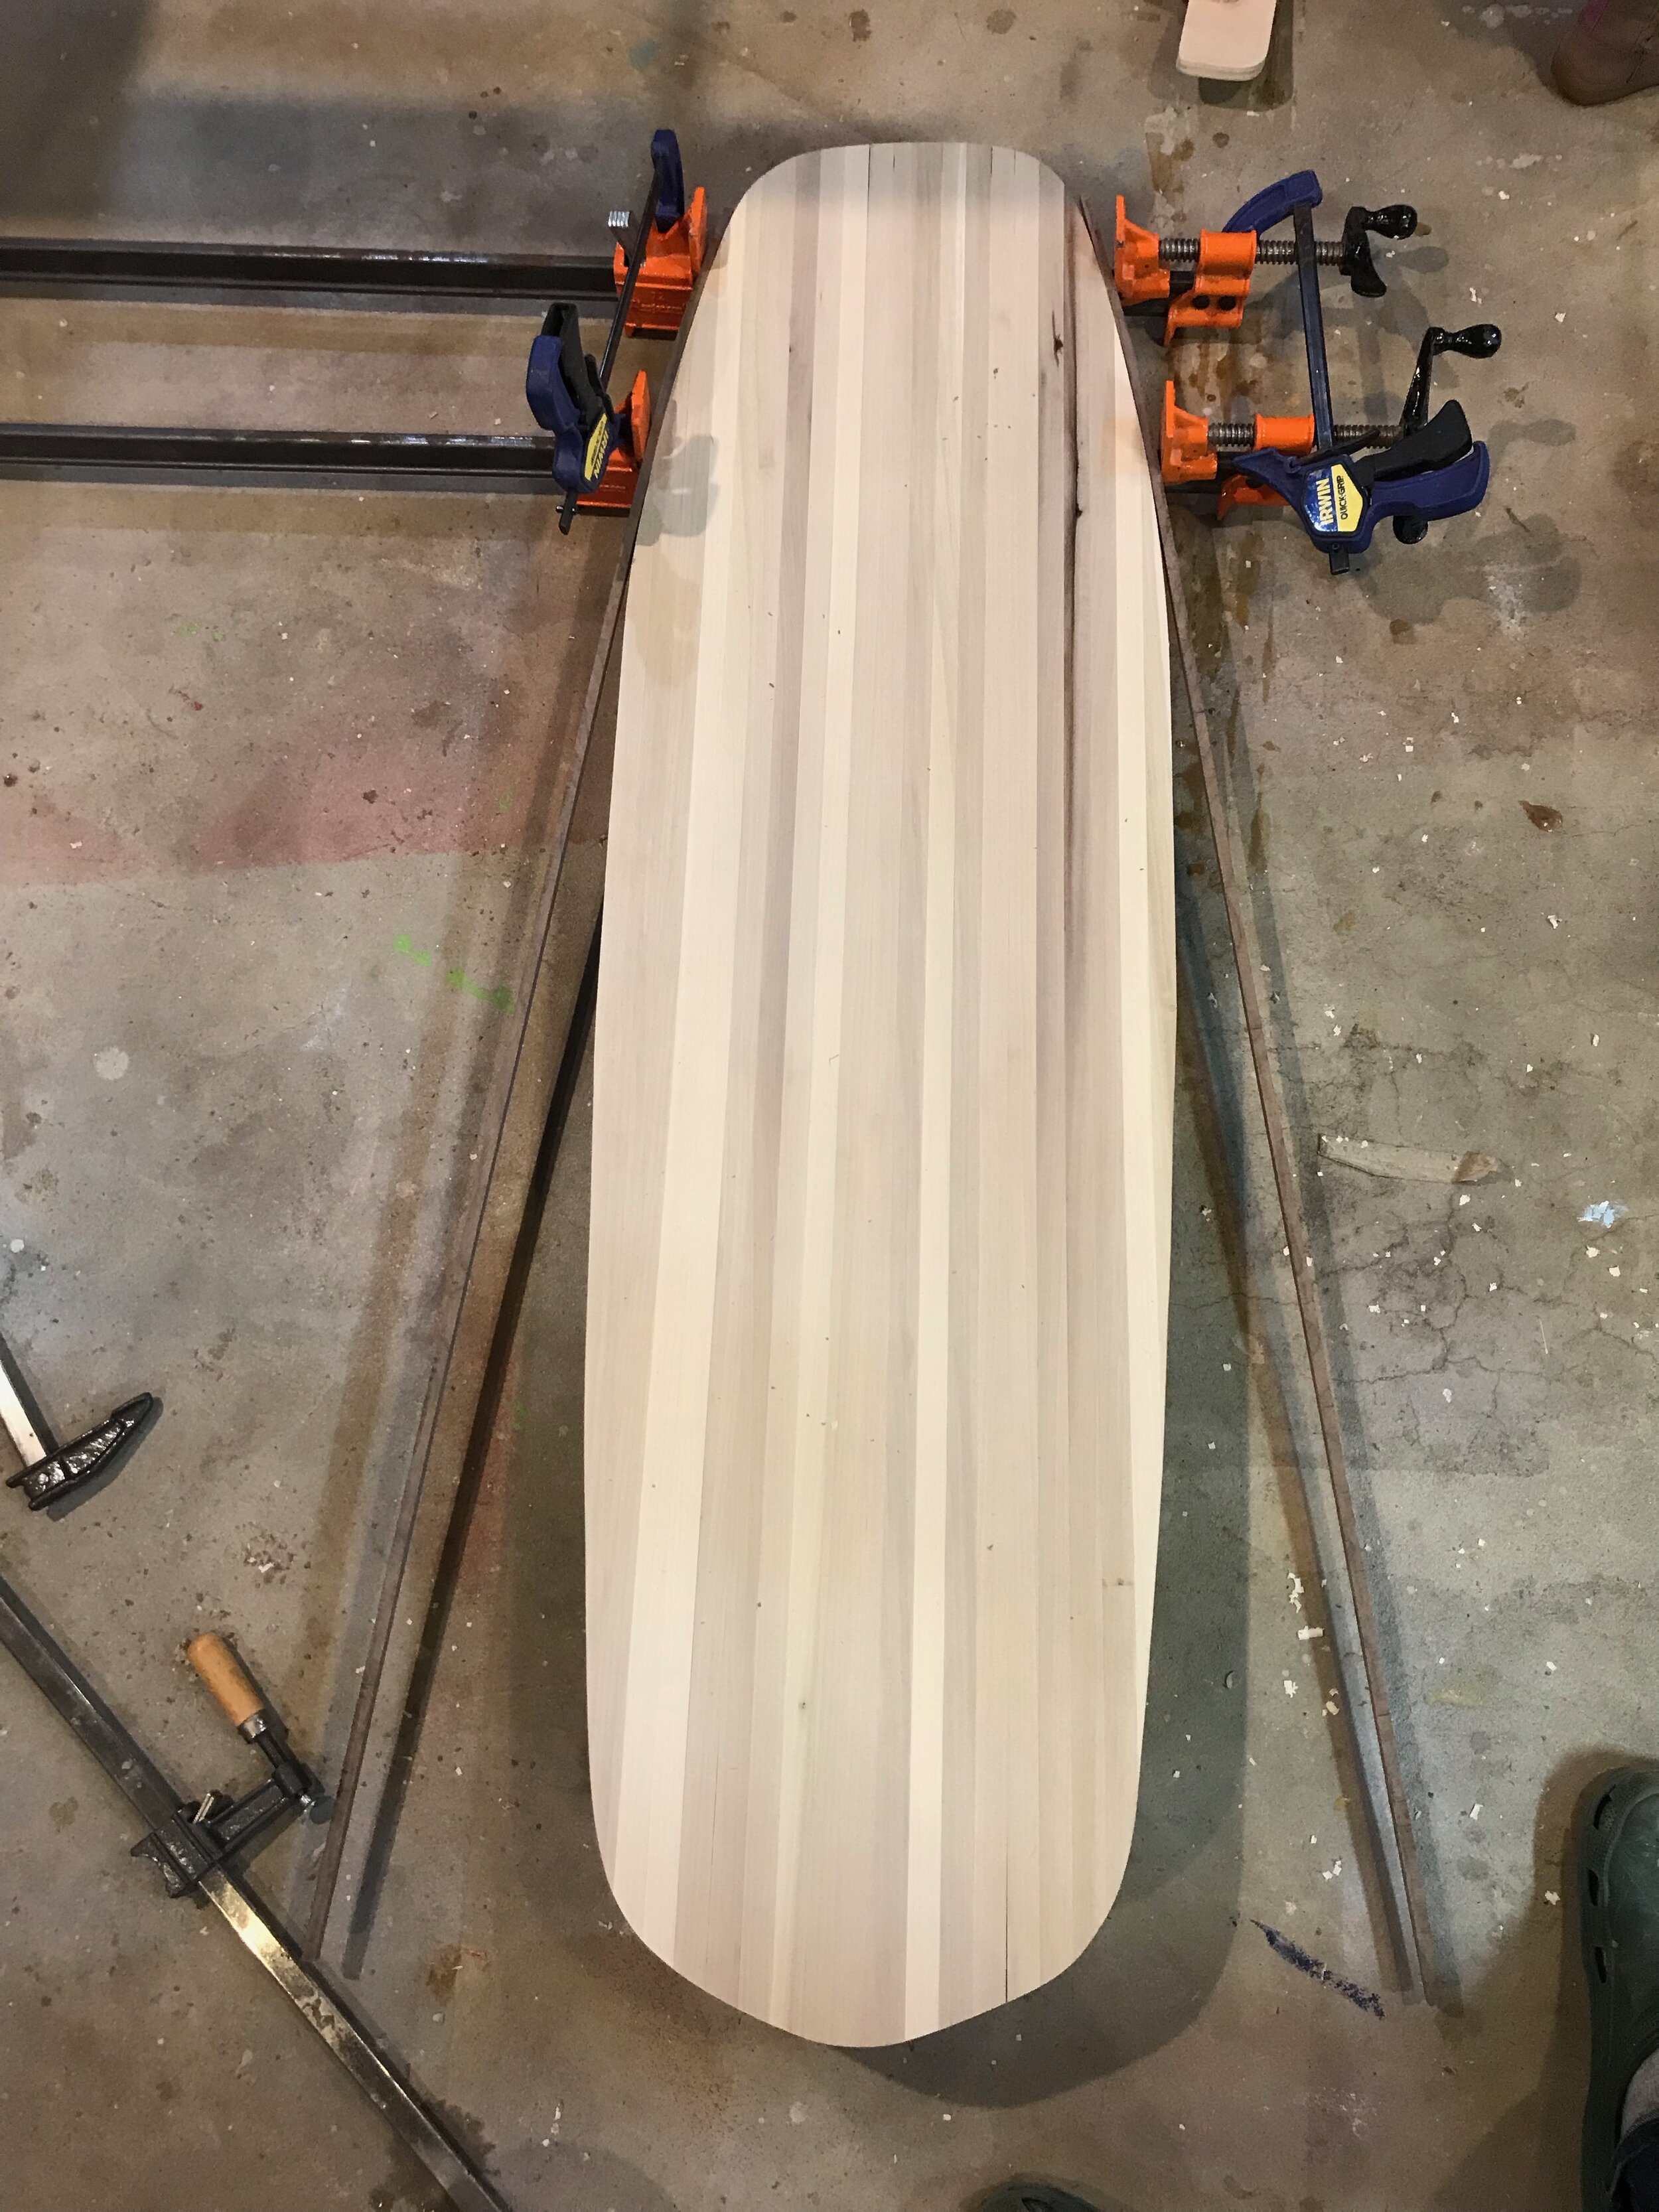
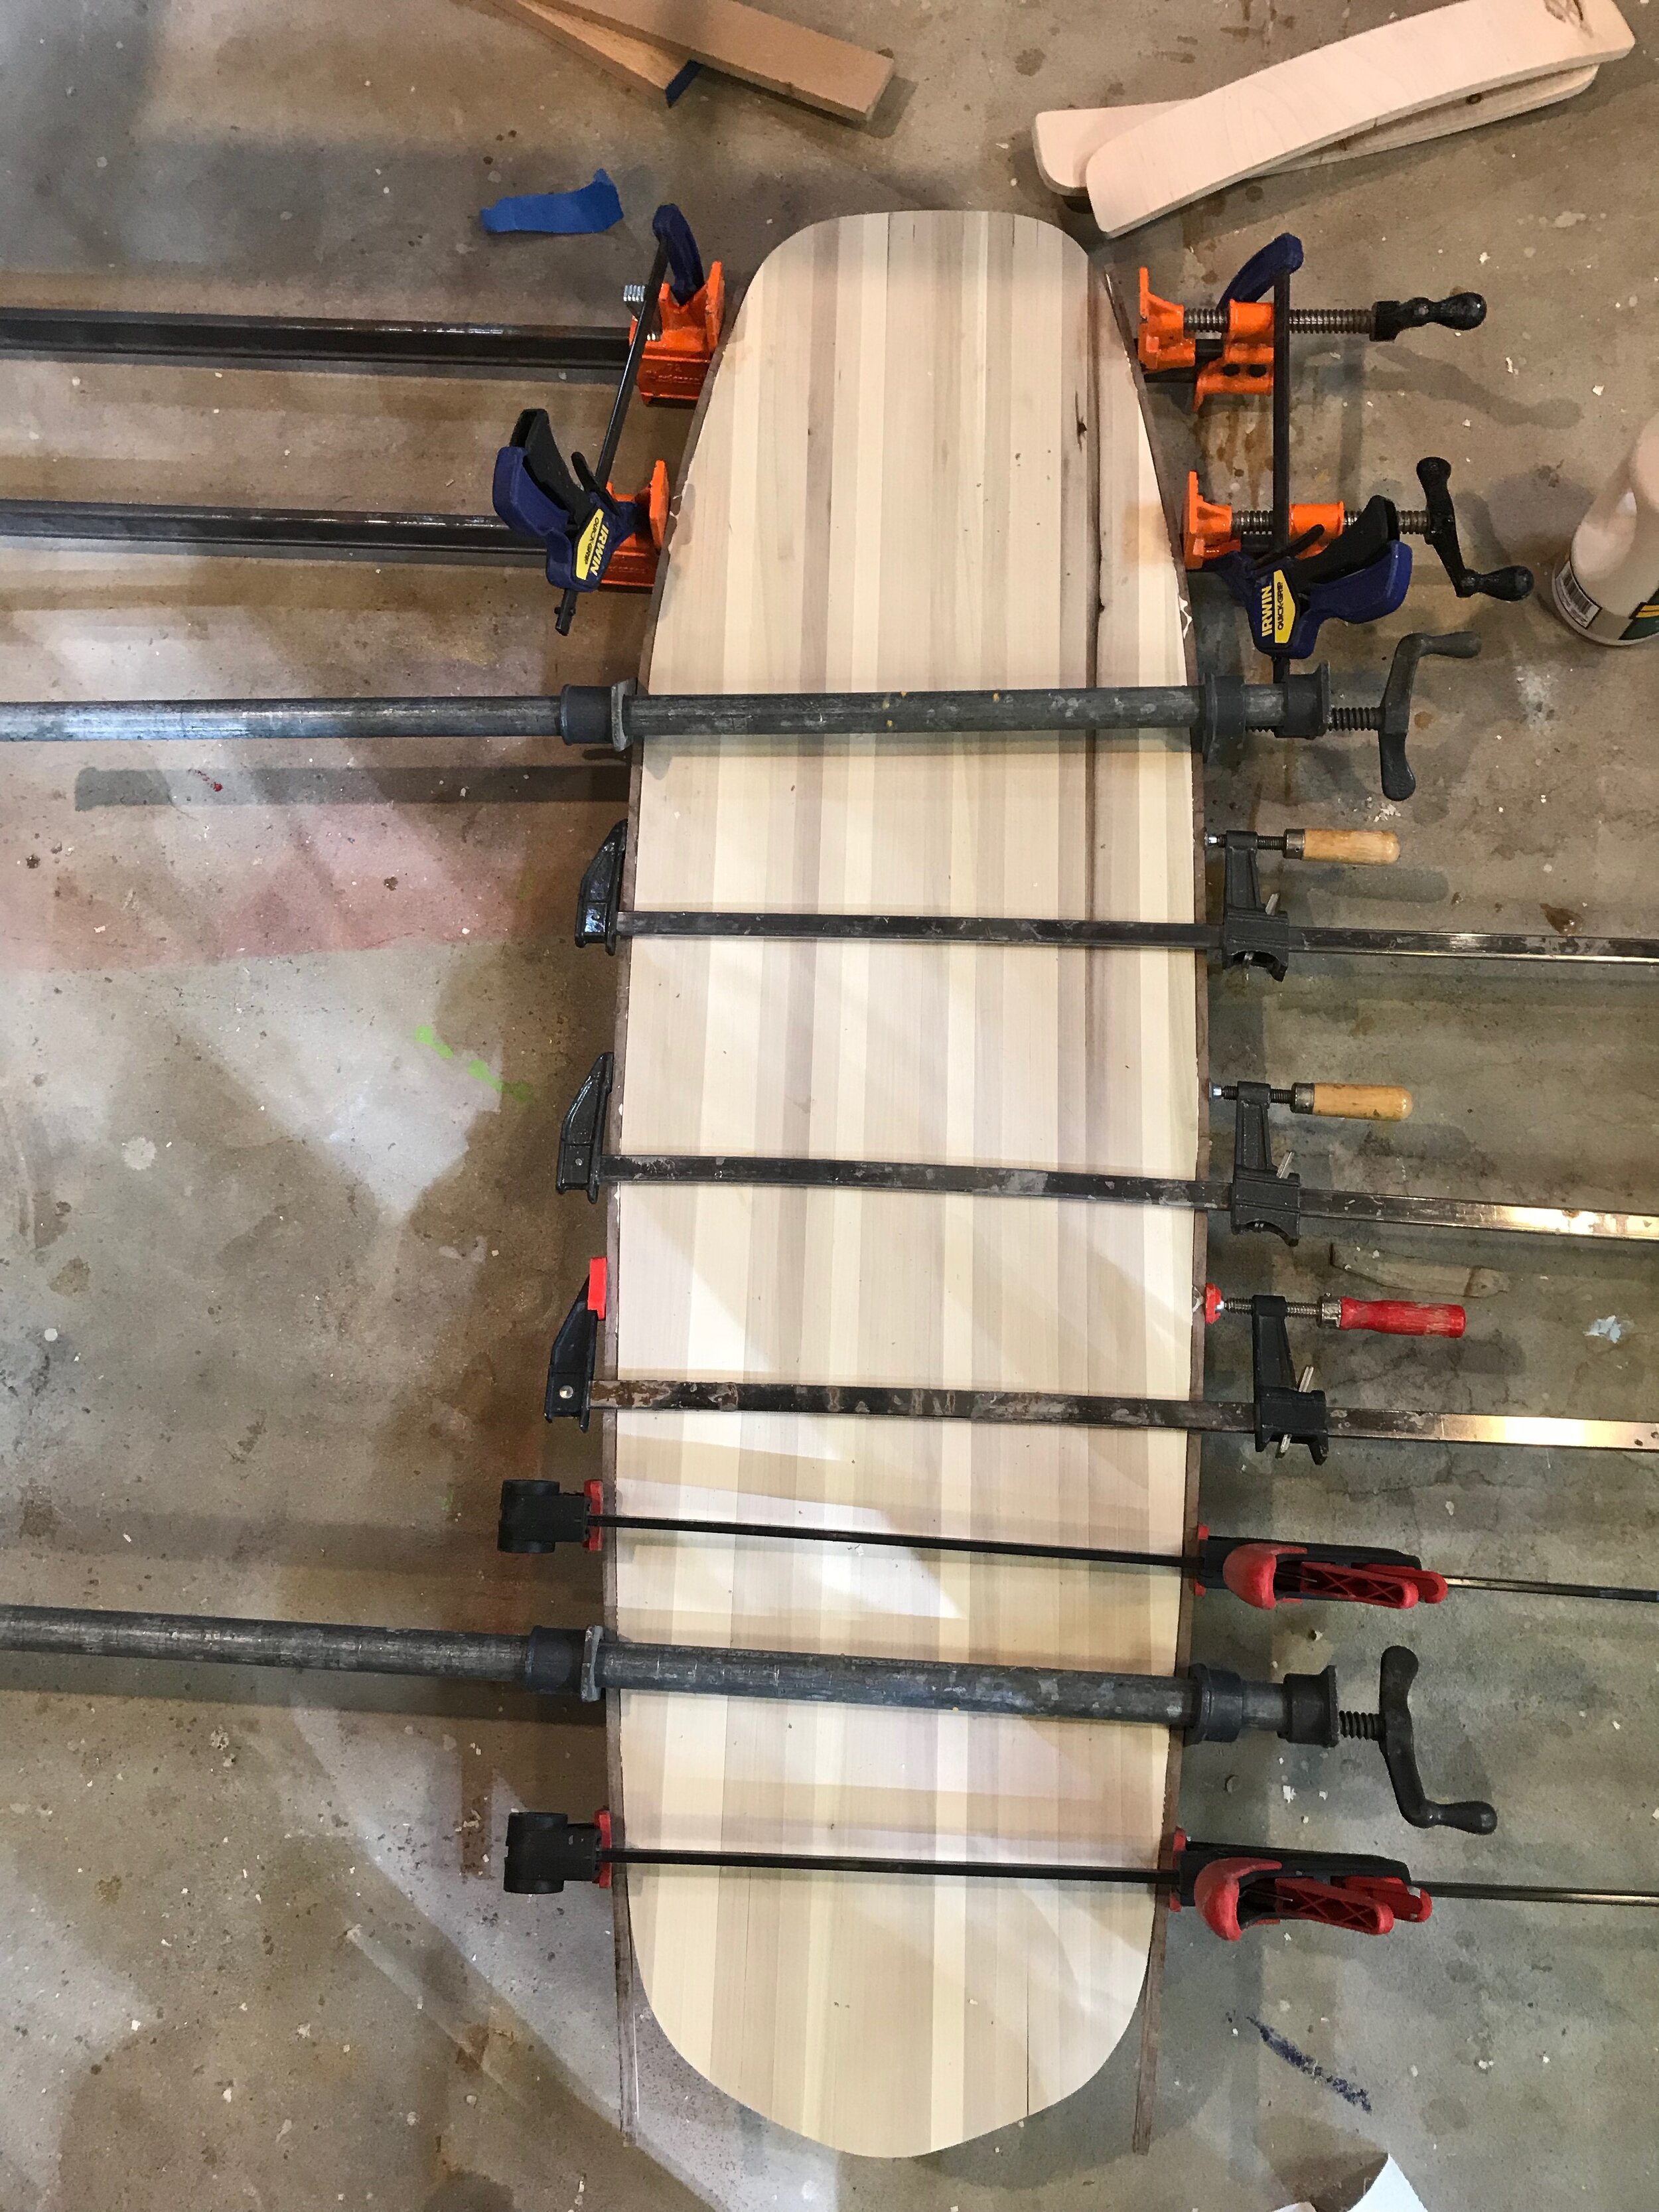
Joined all the strips together.
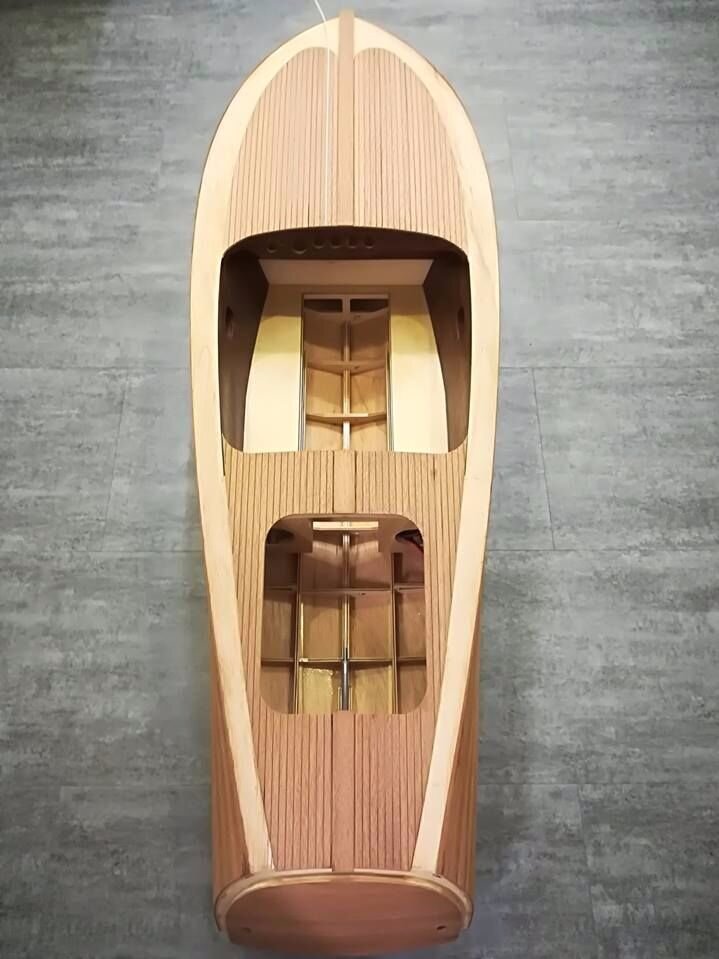
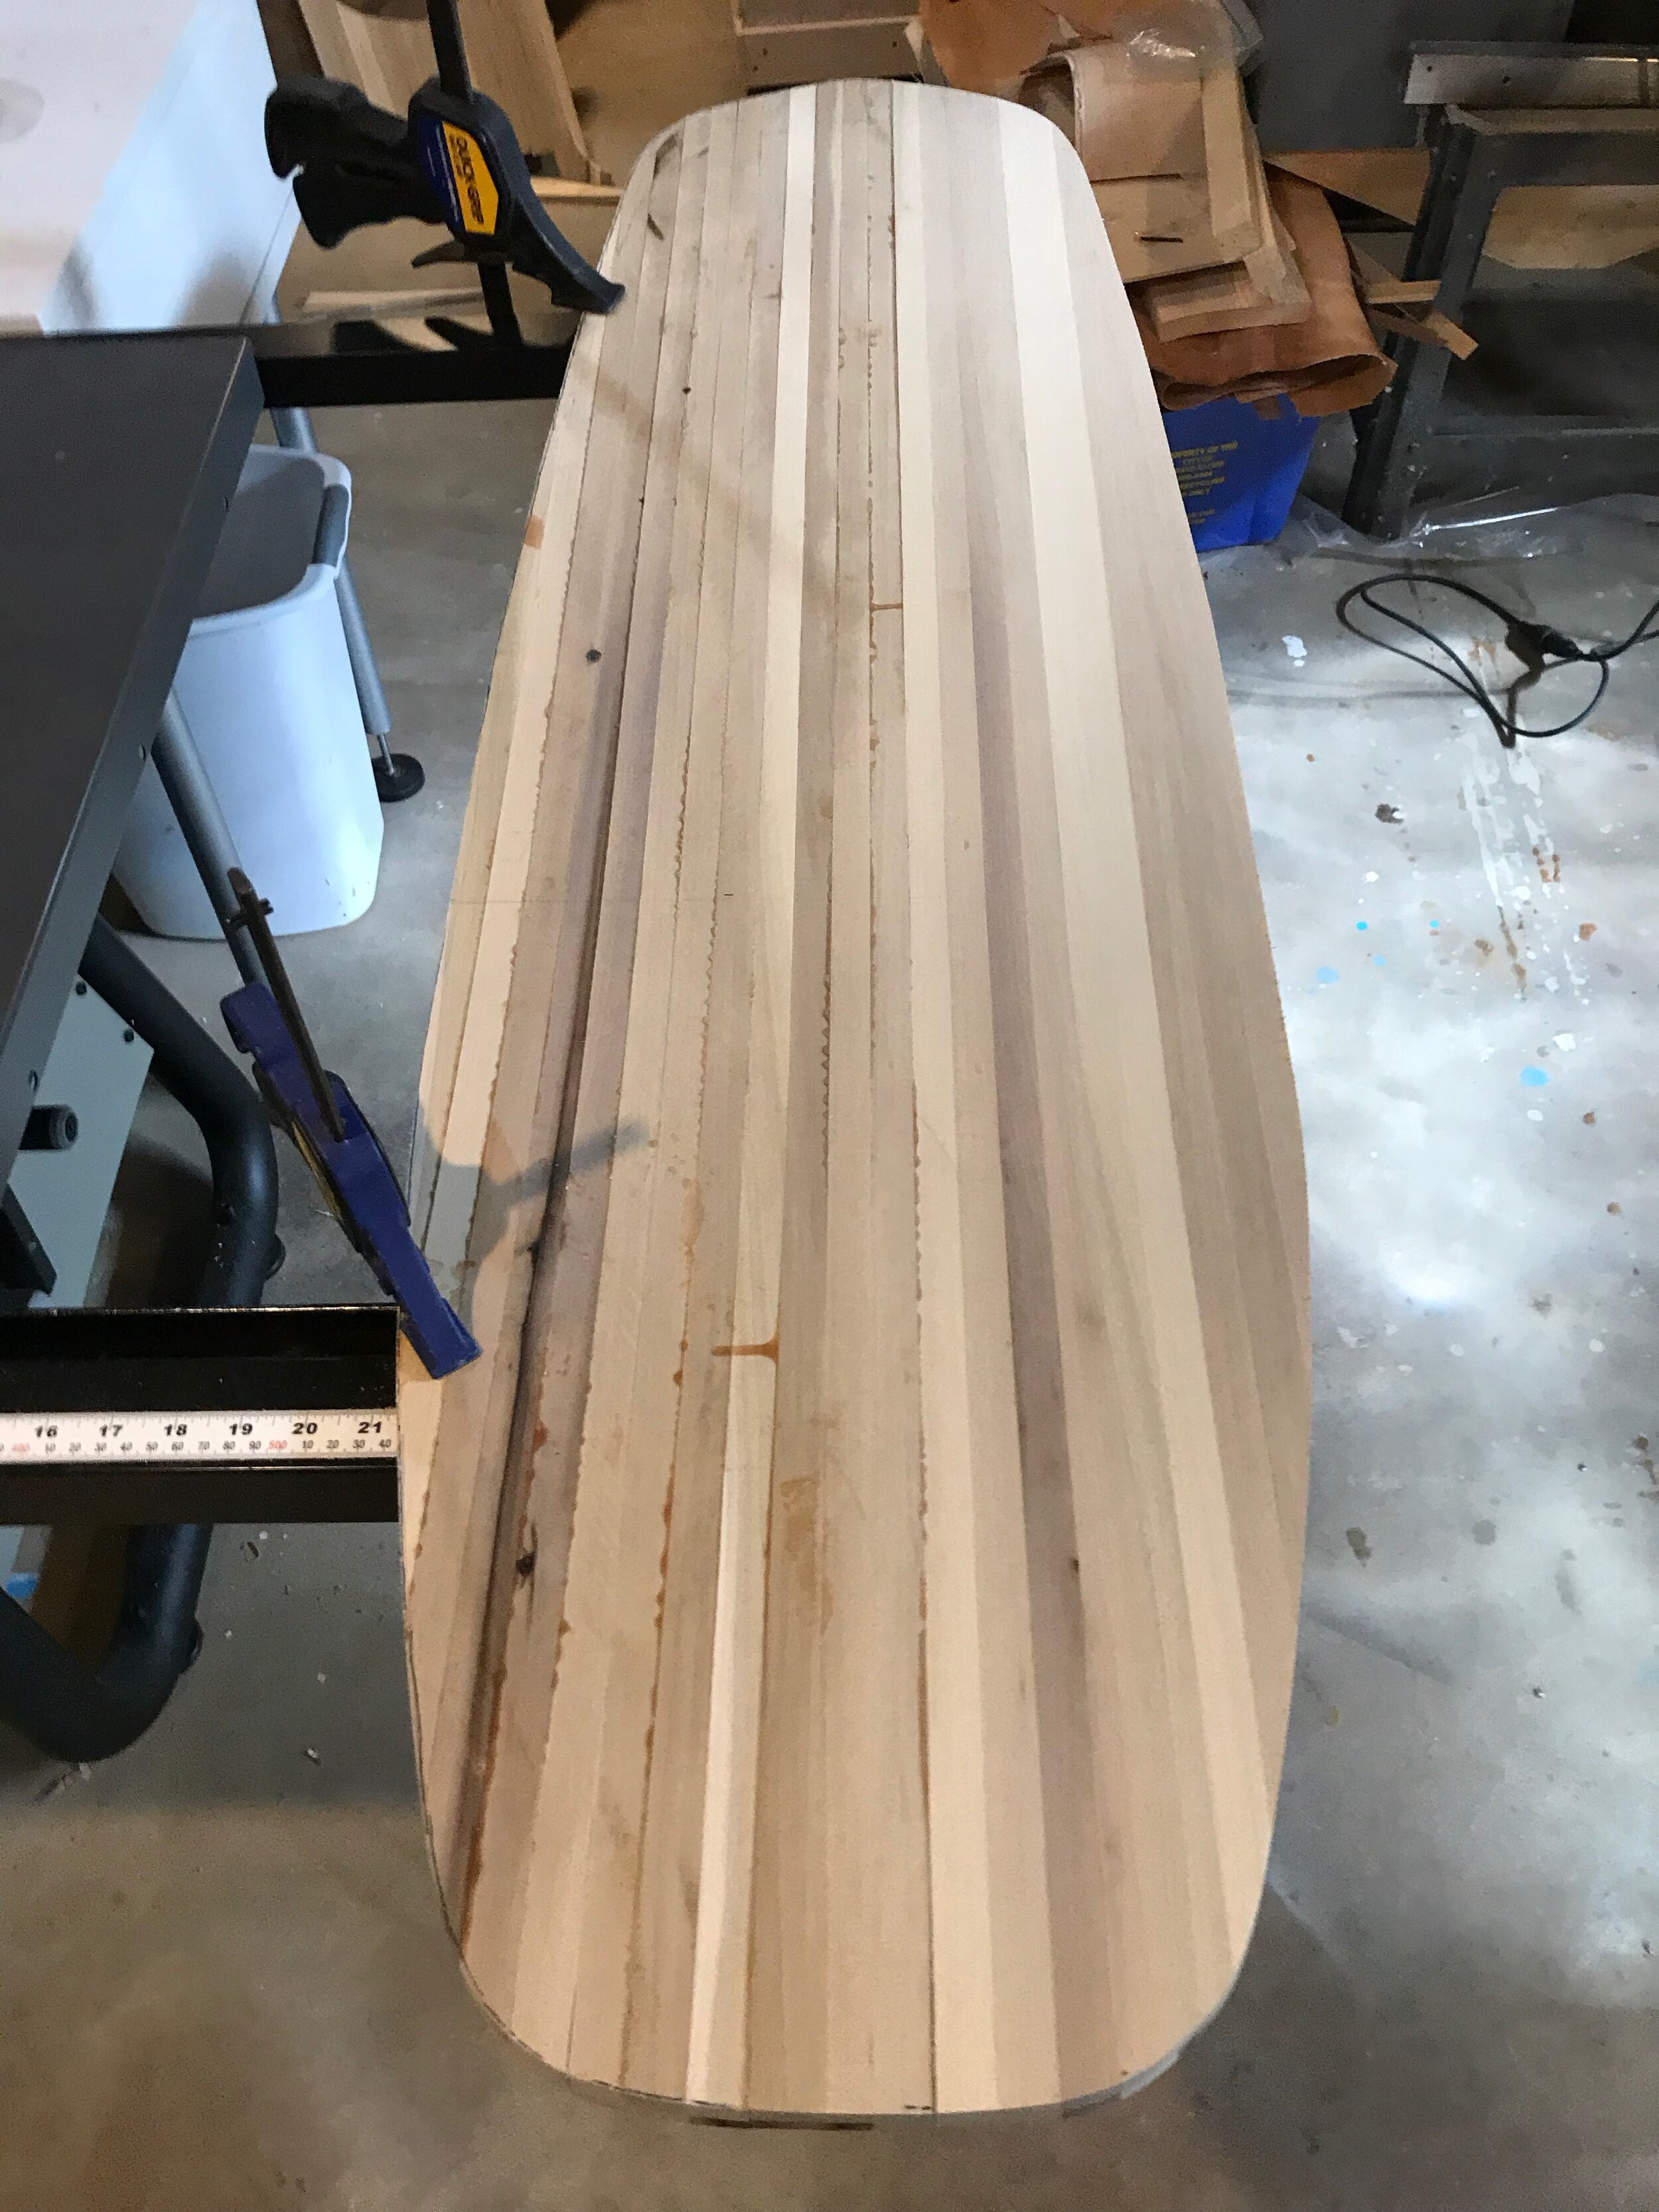
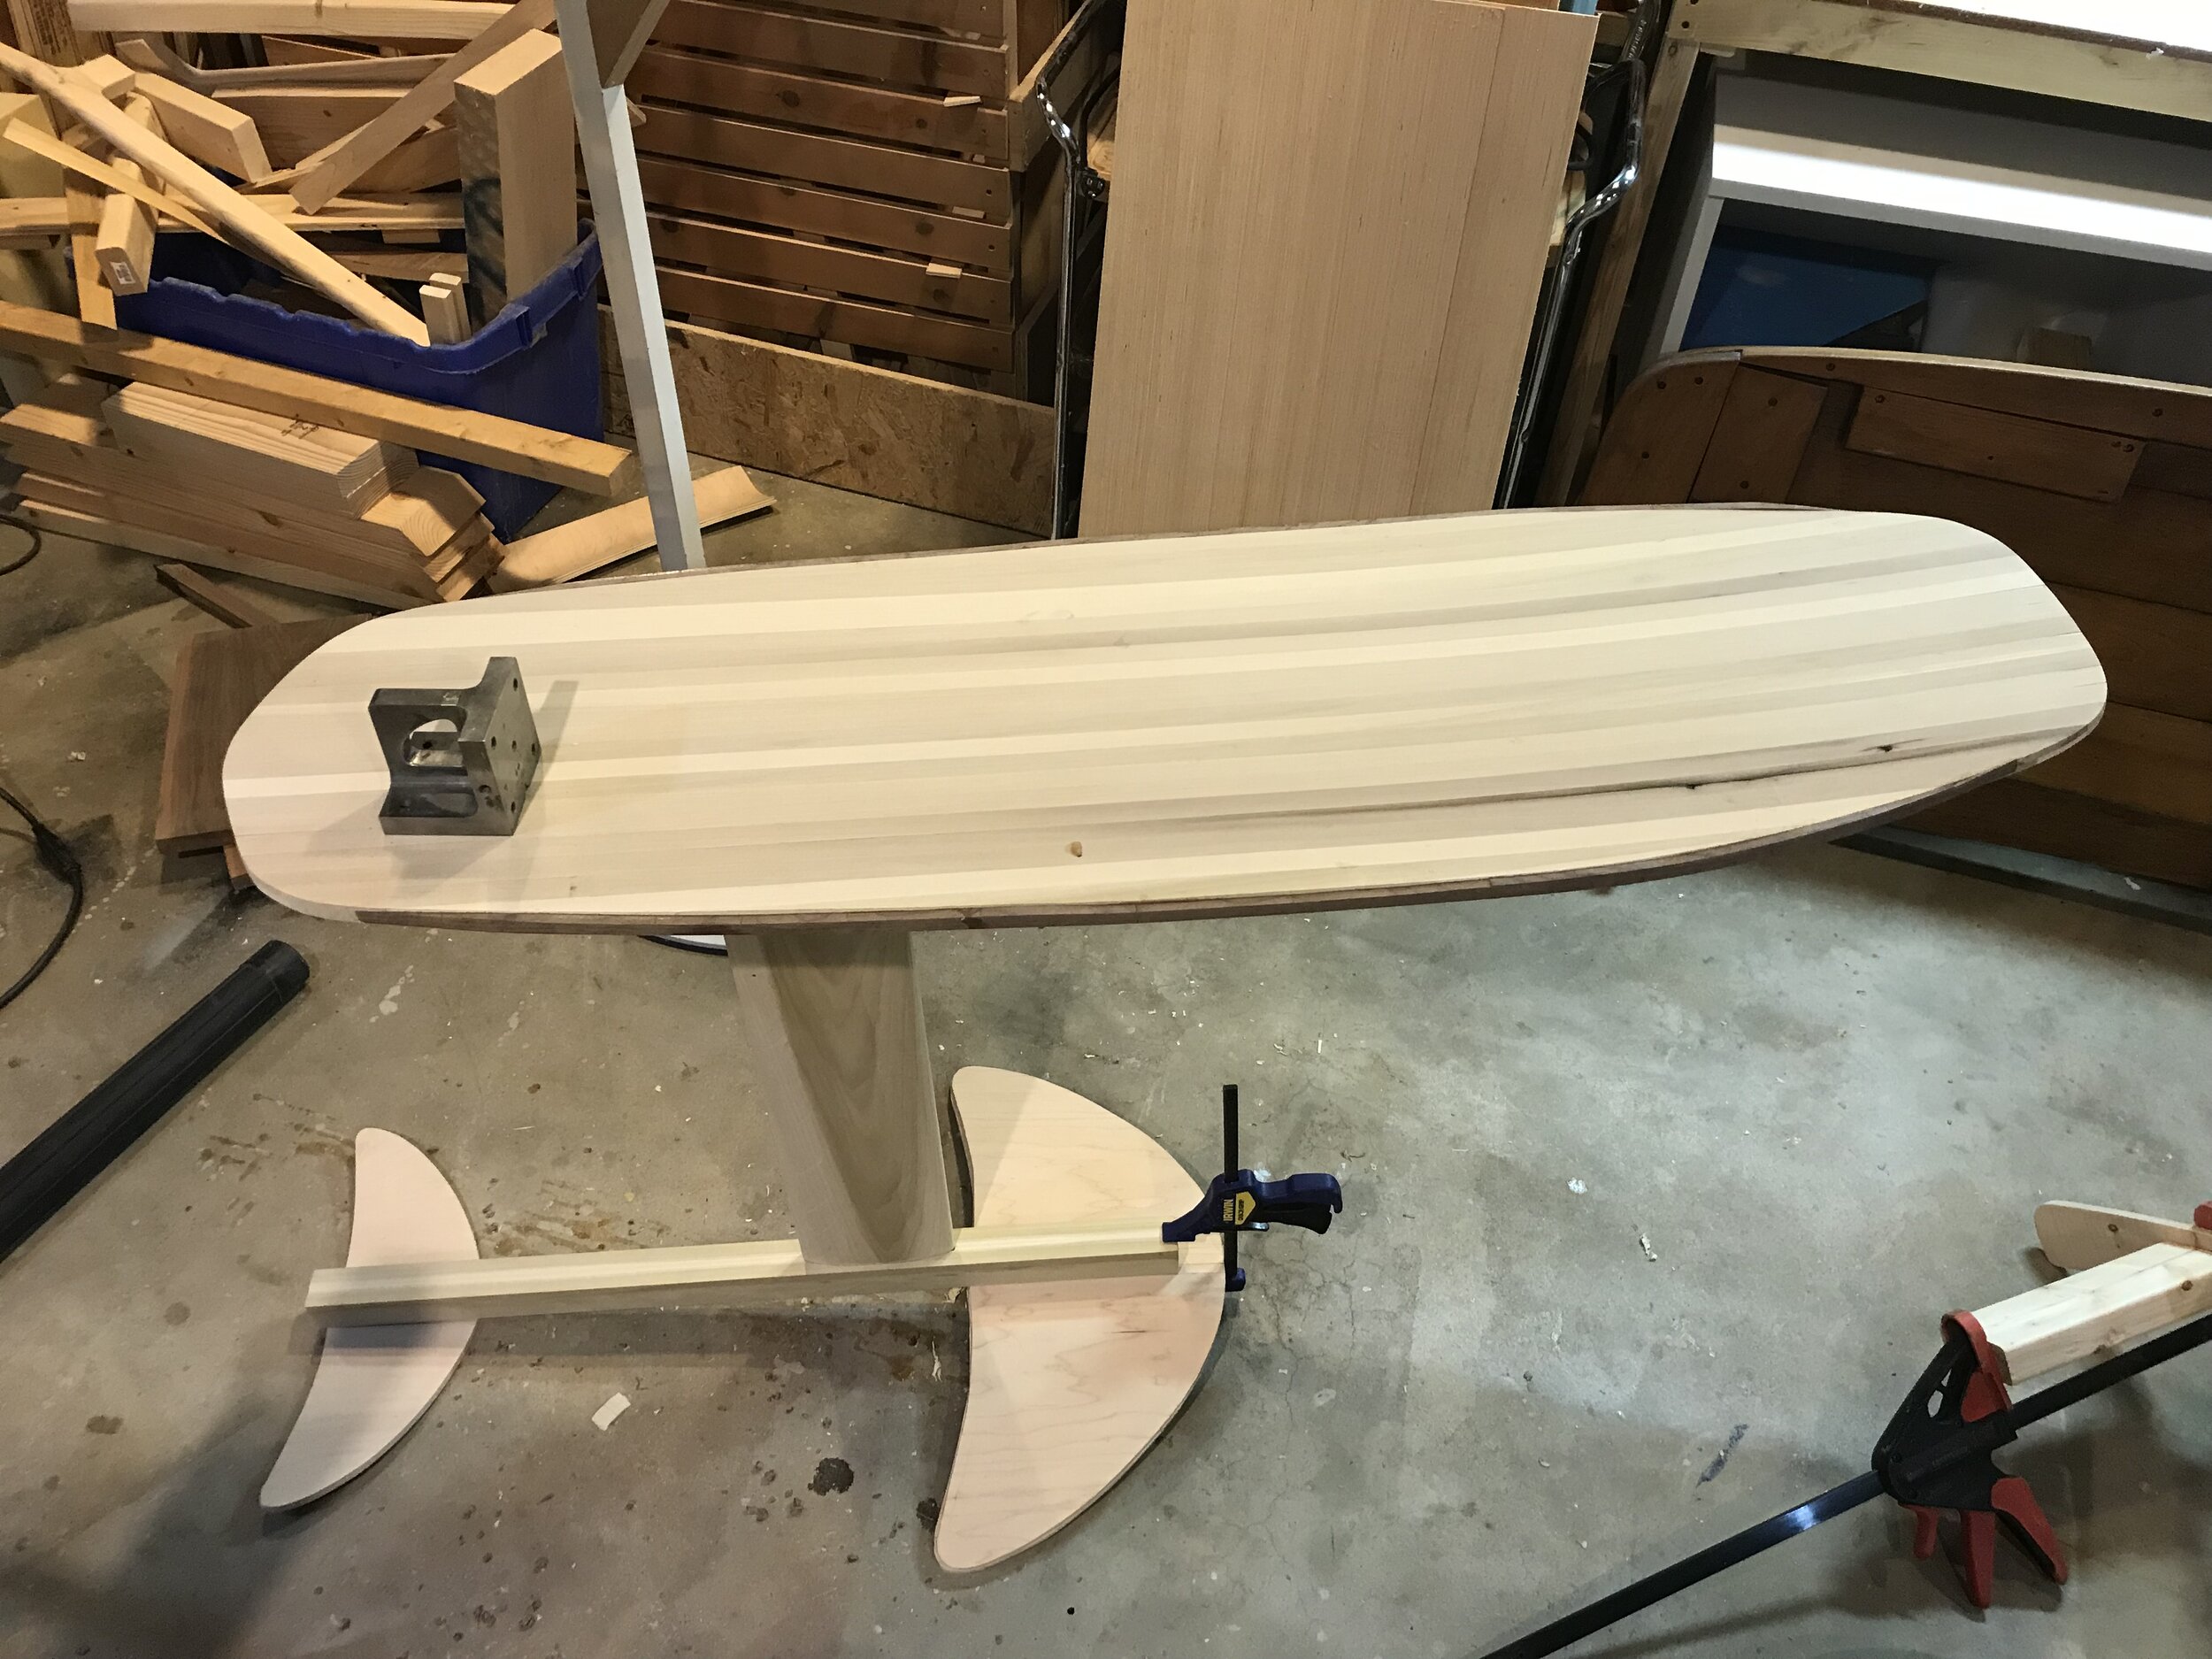
Rough sanded the top and bottom.
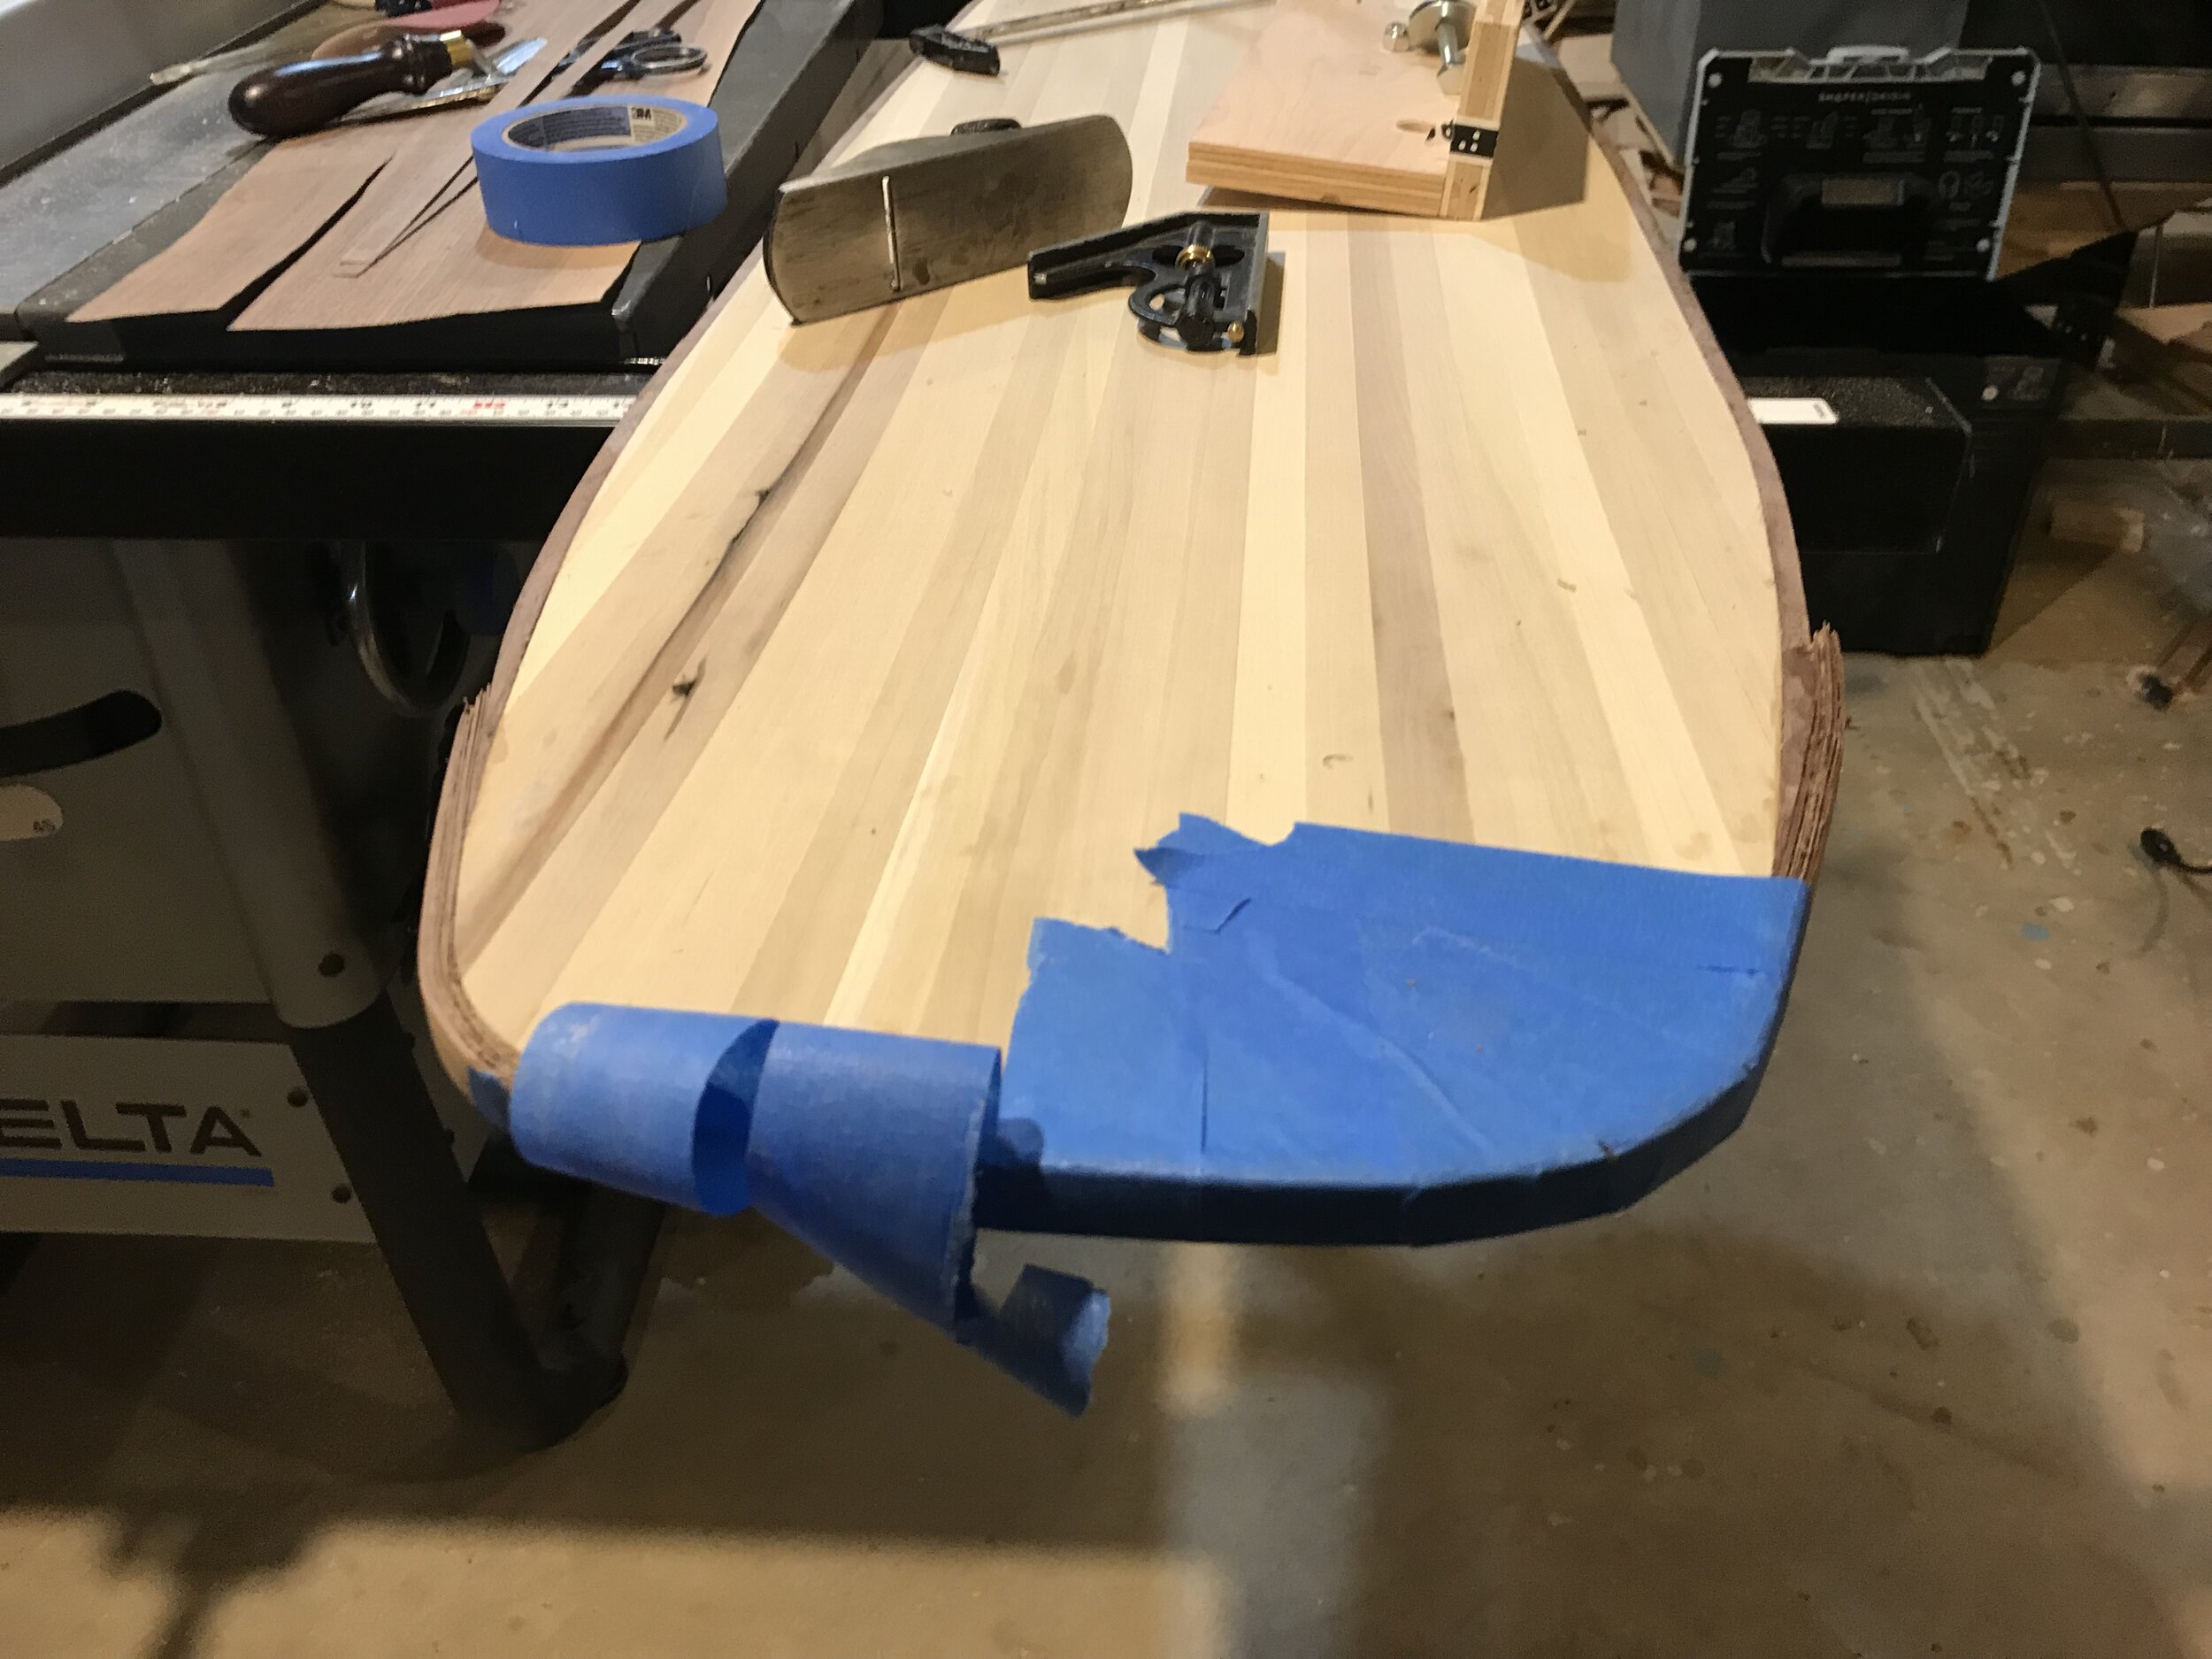
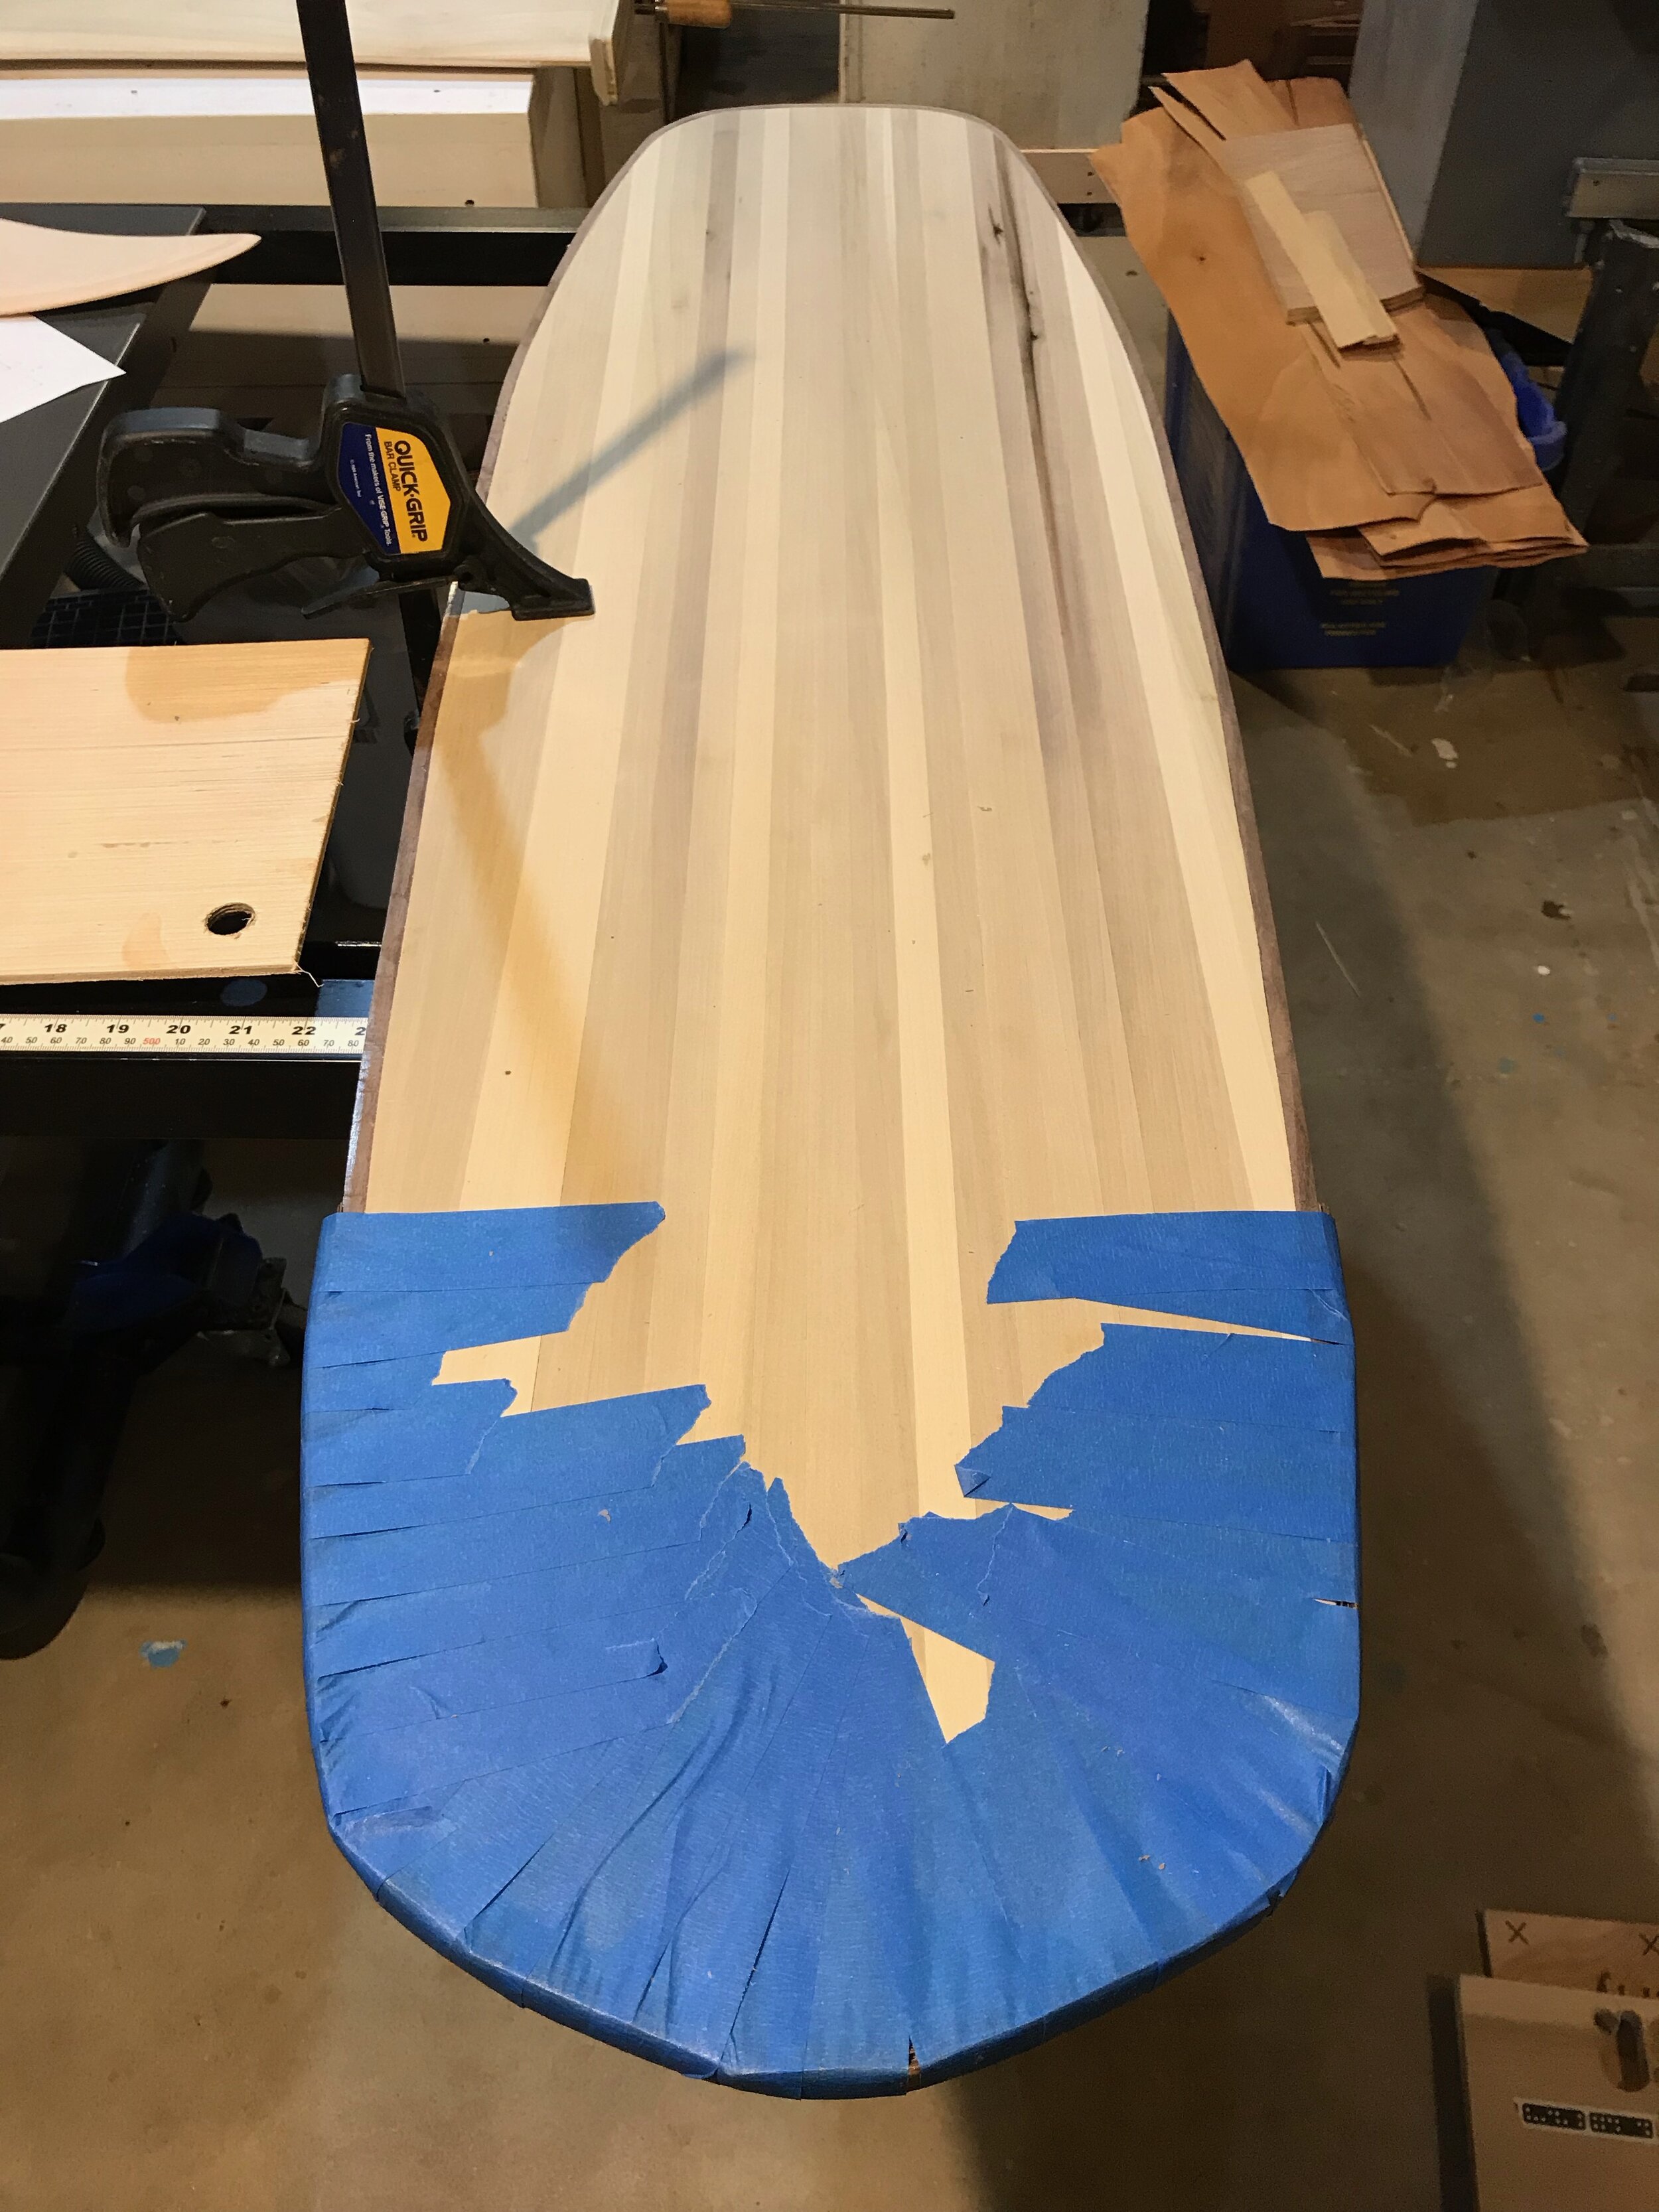
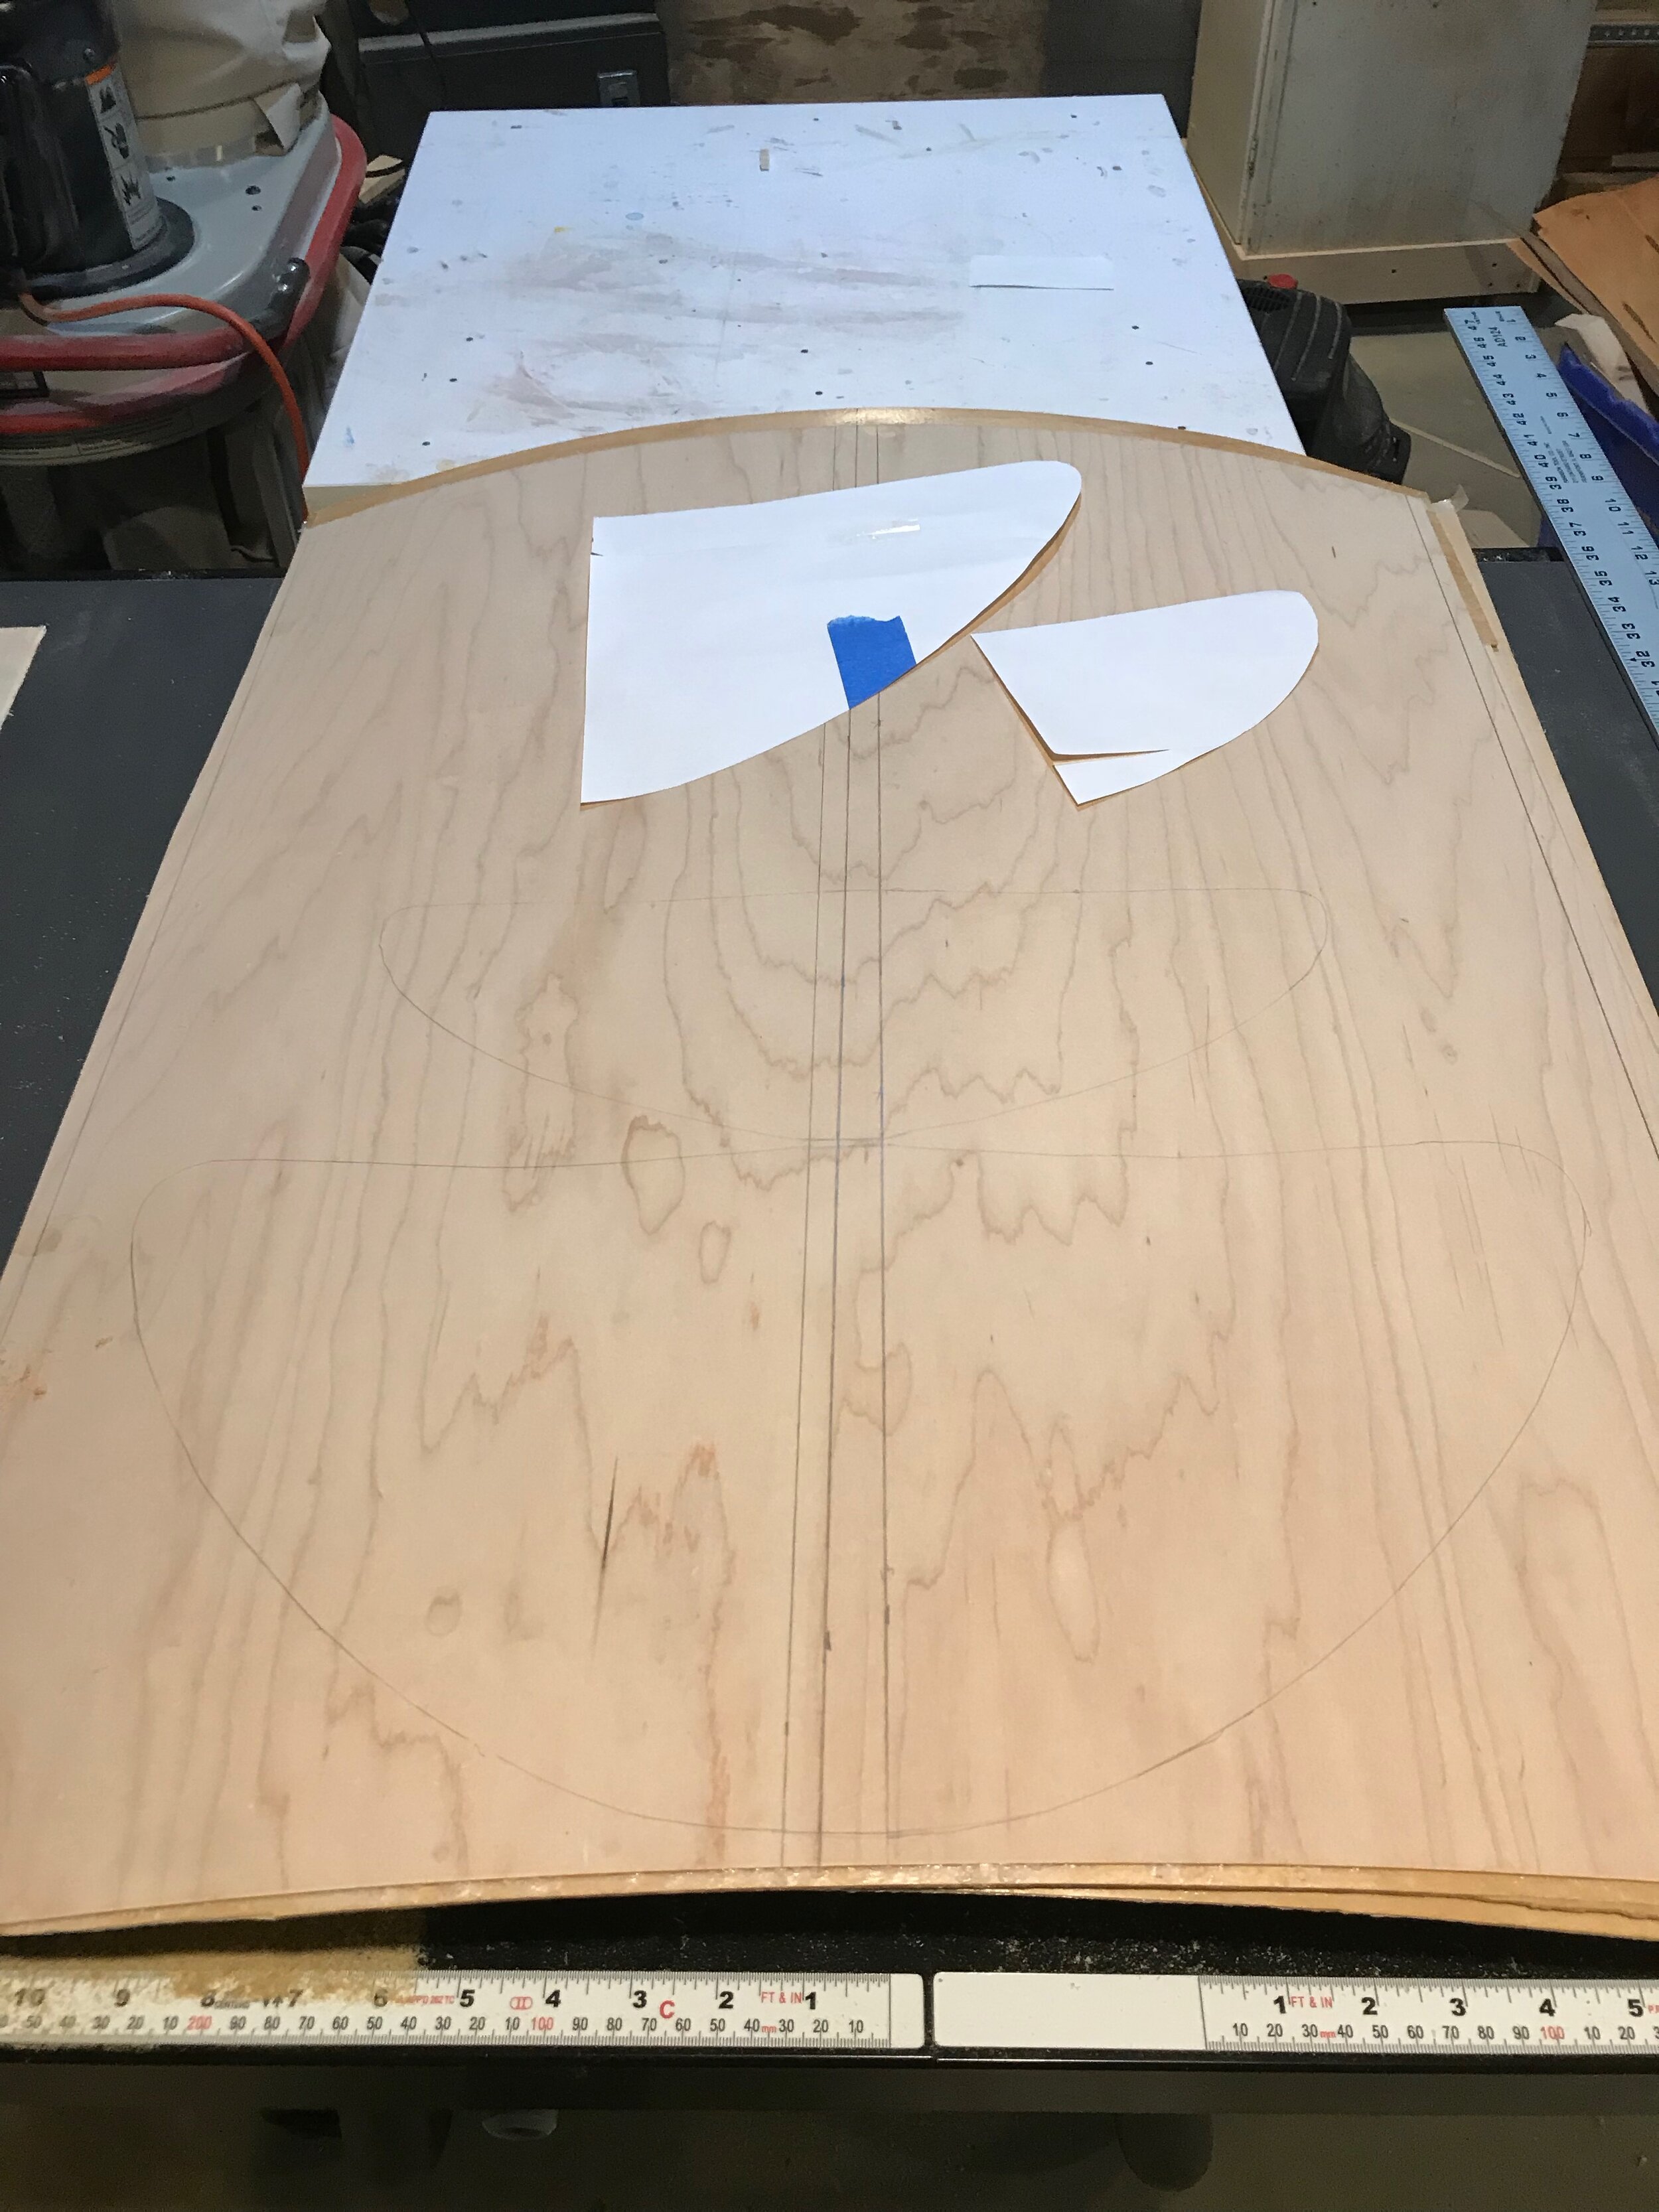
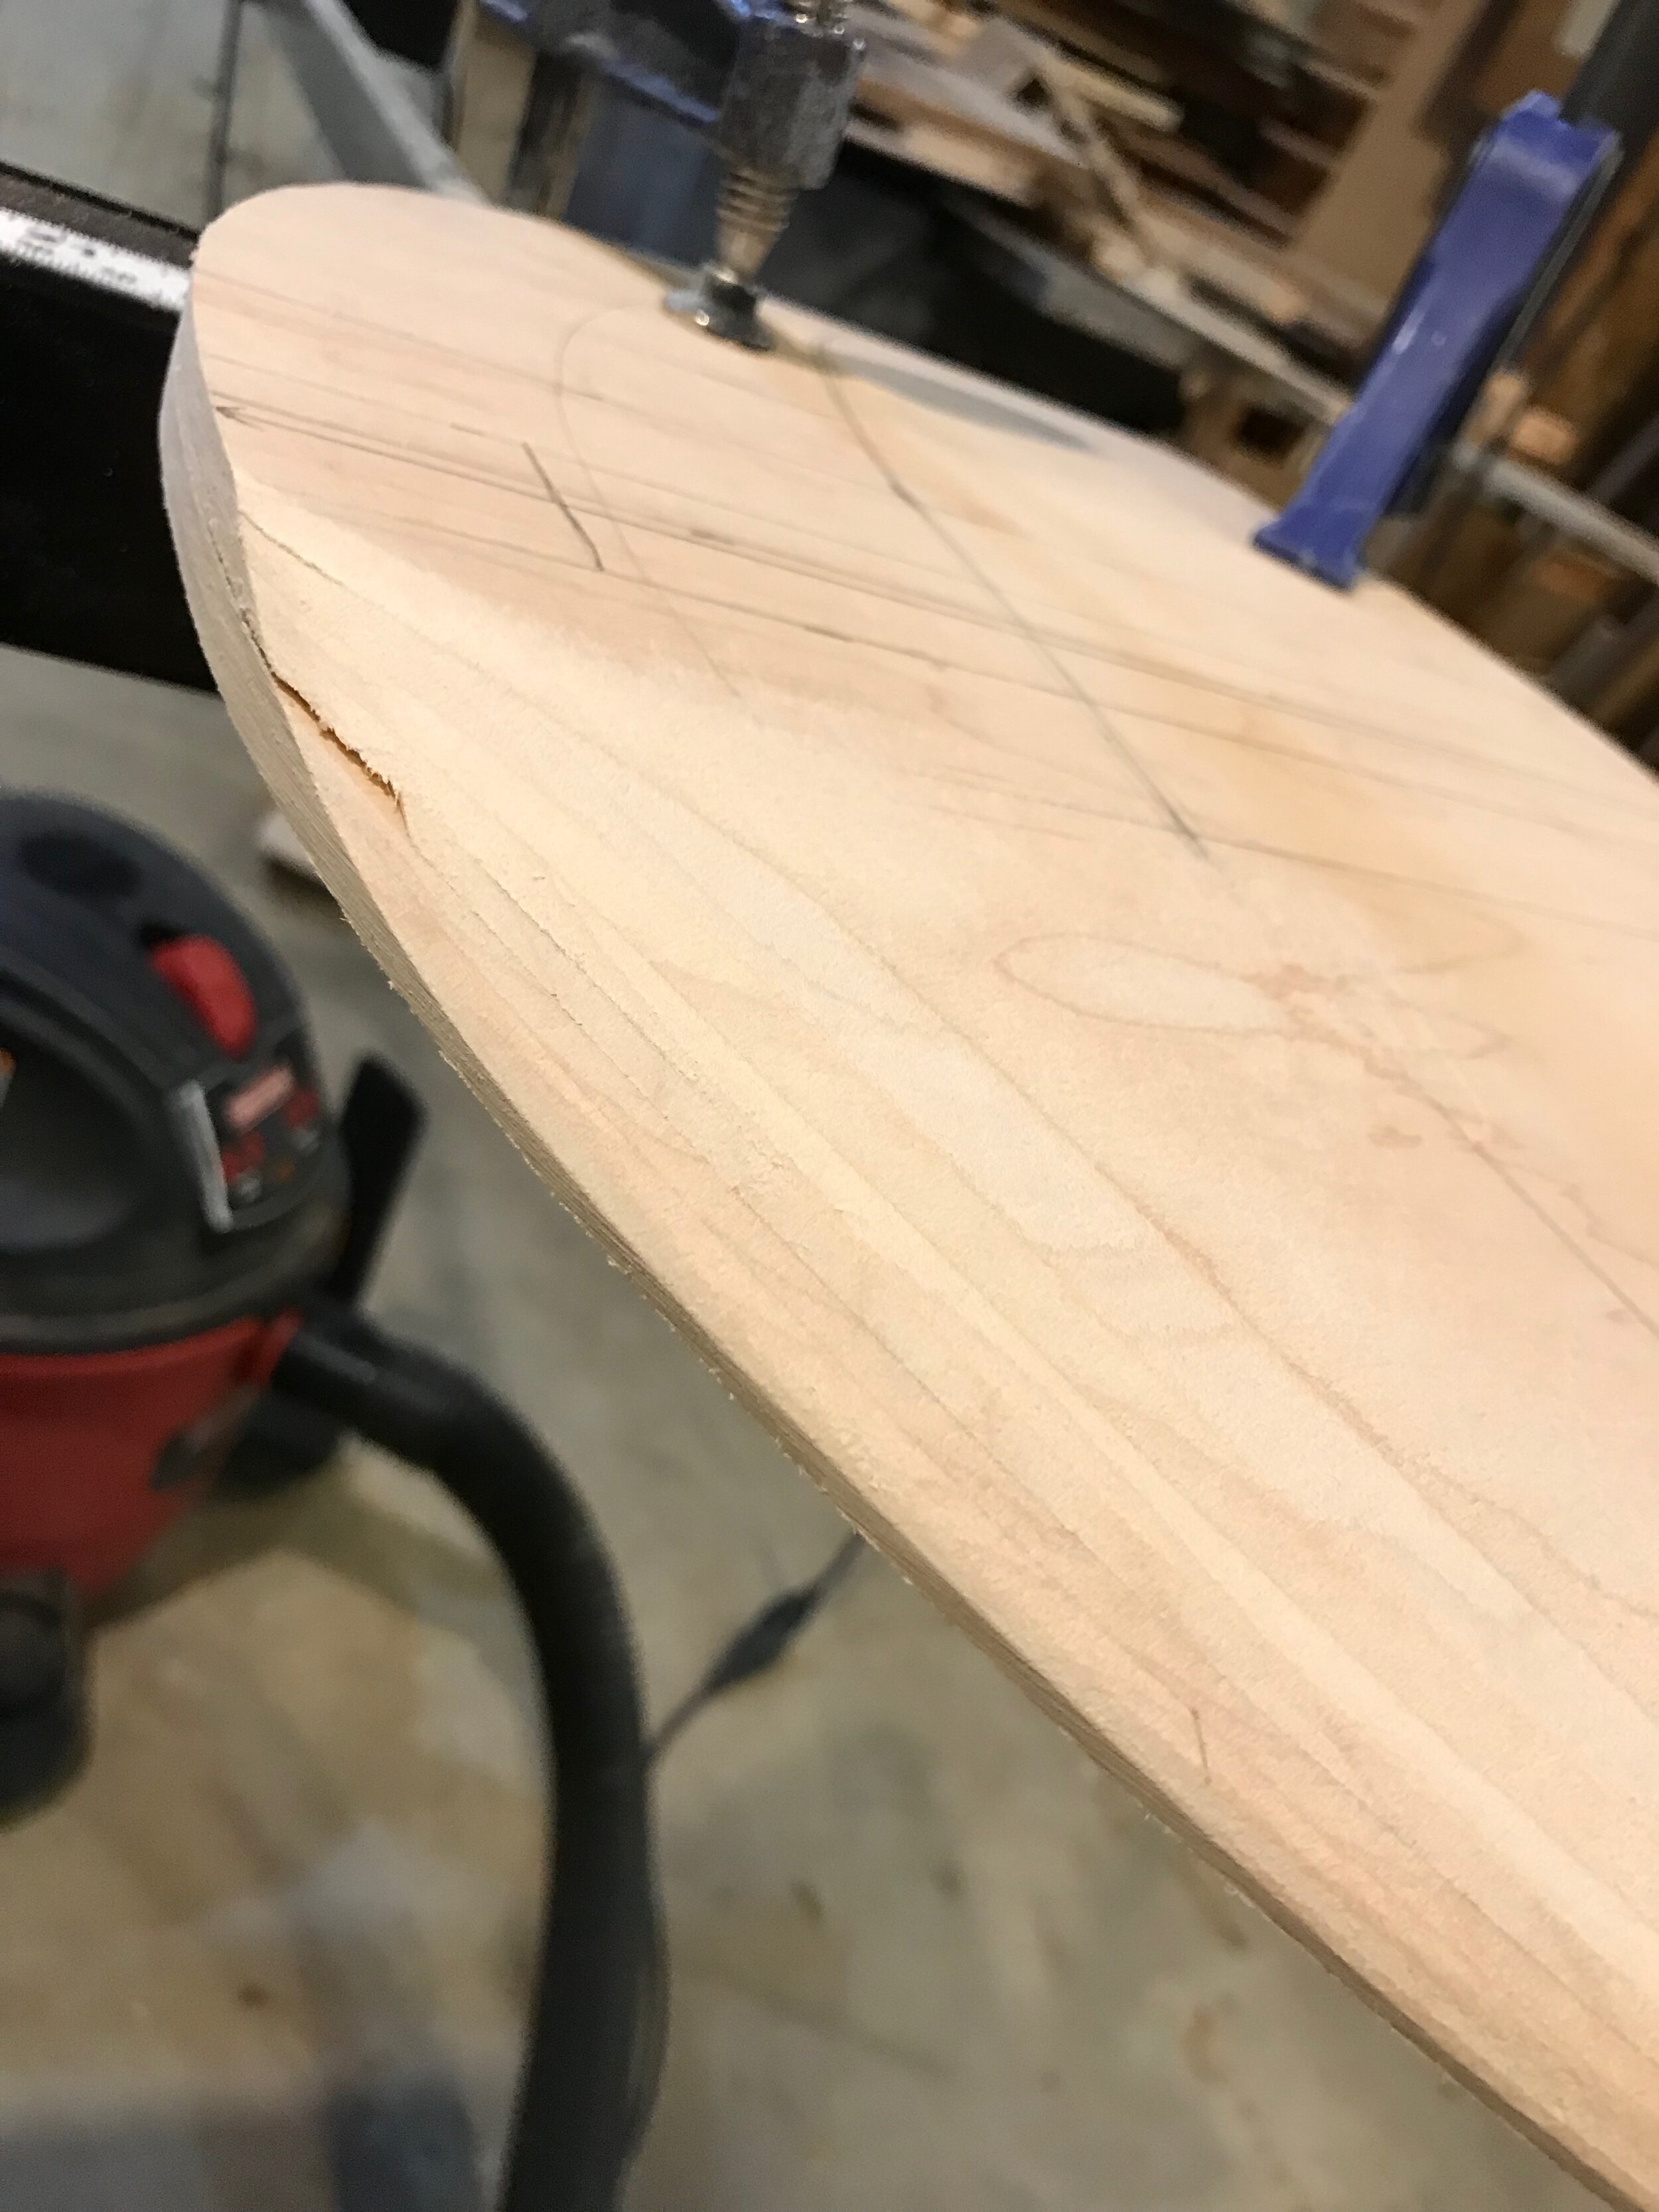
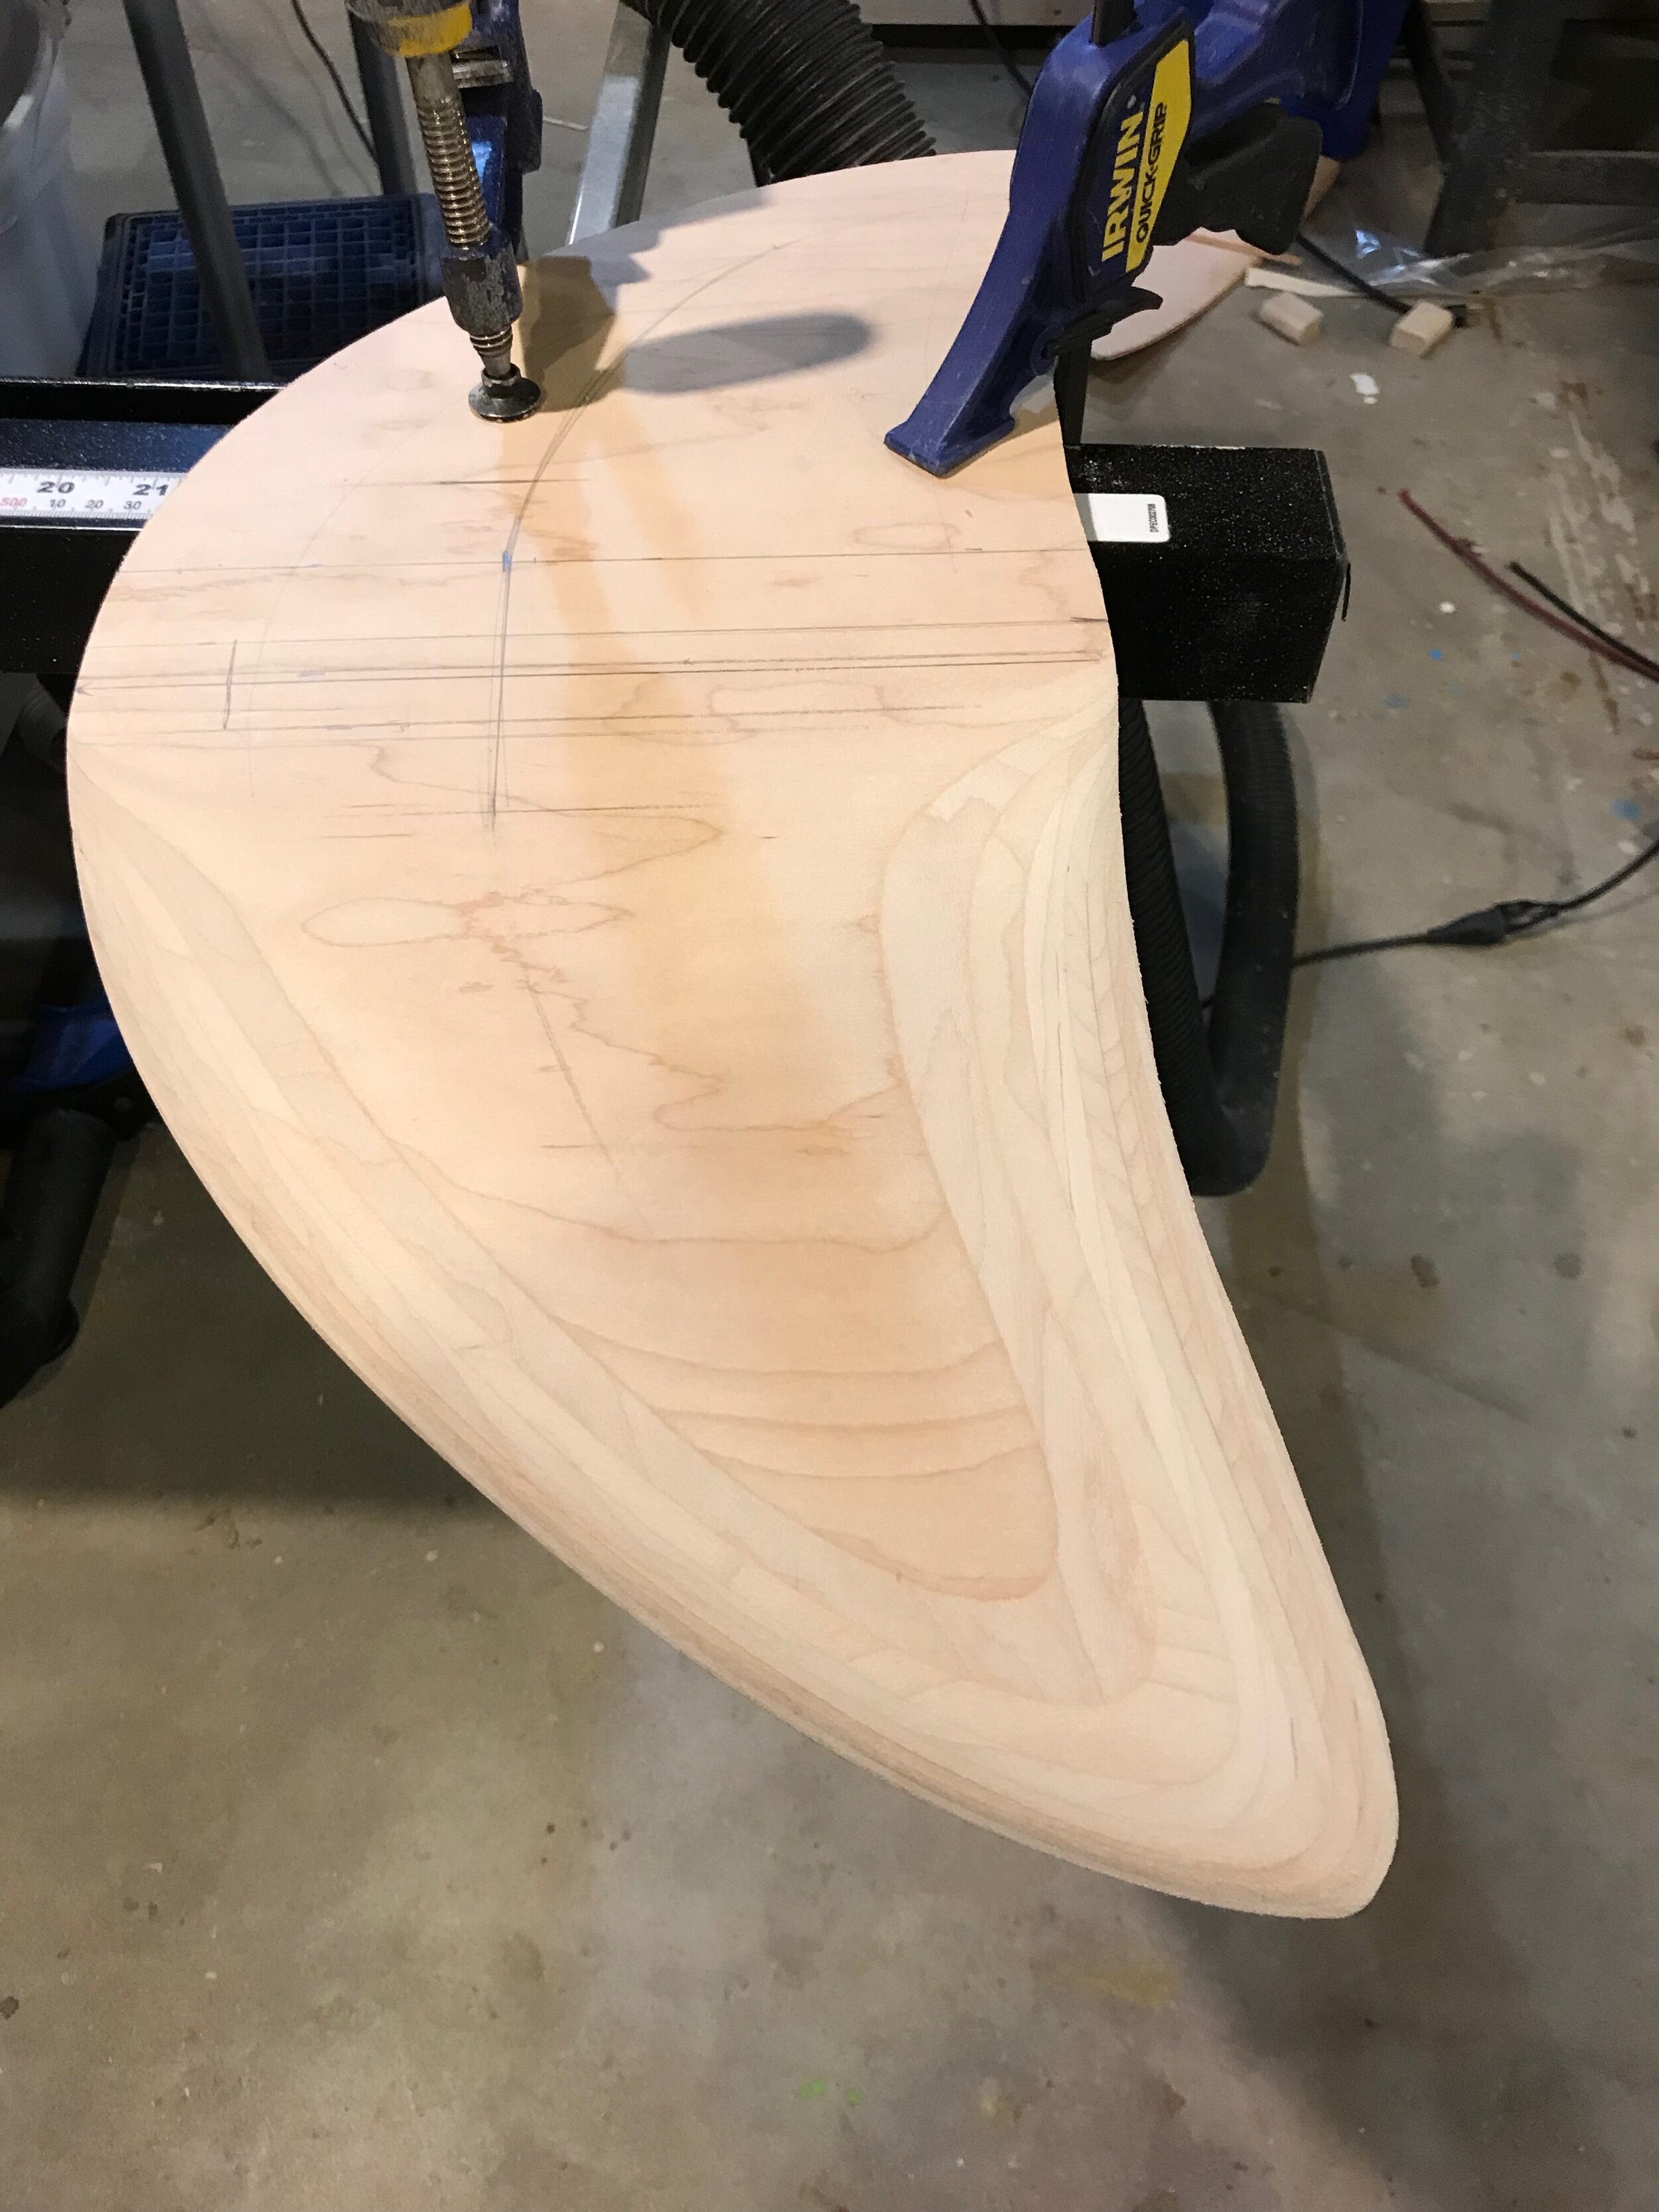
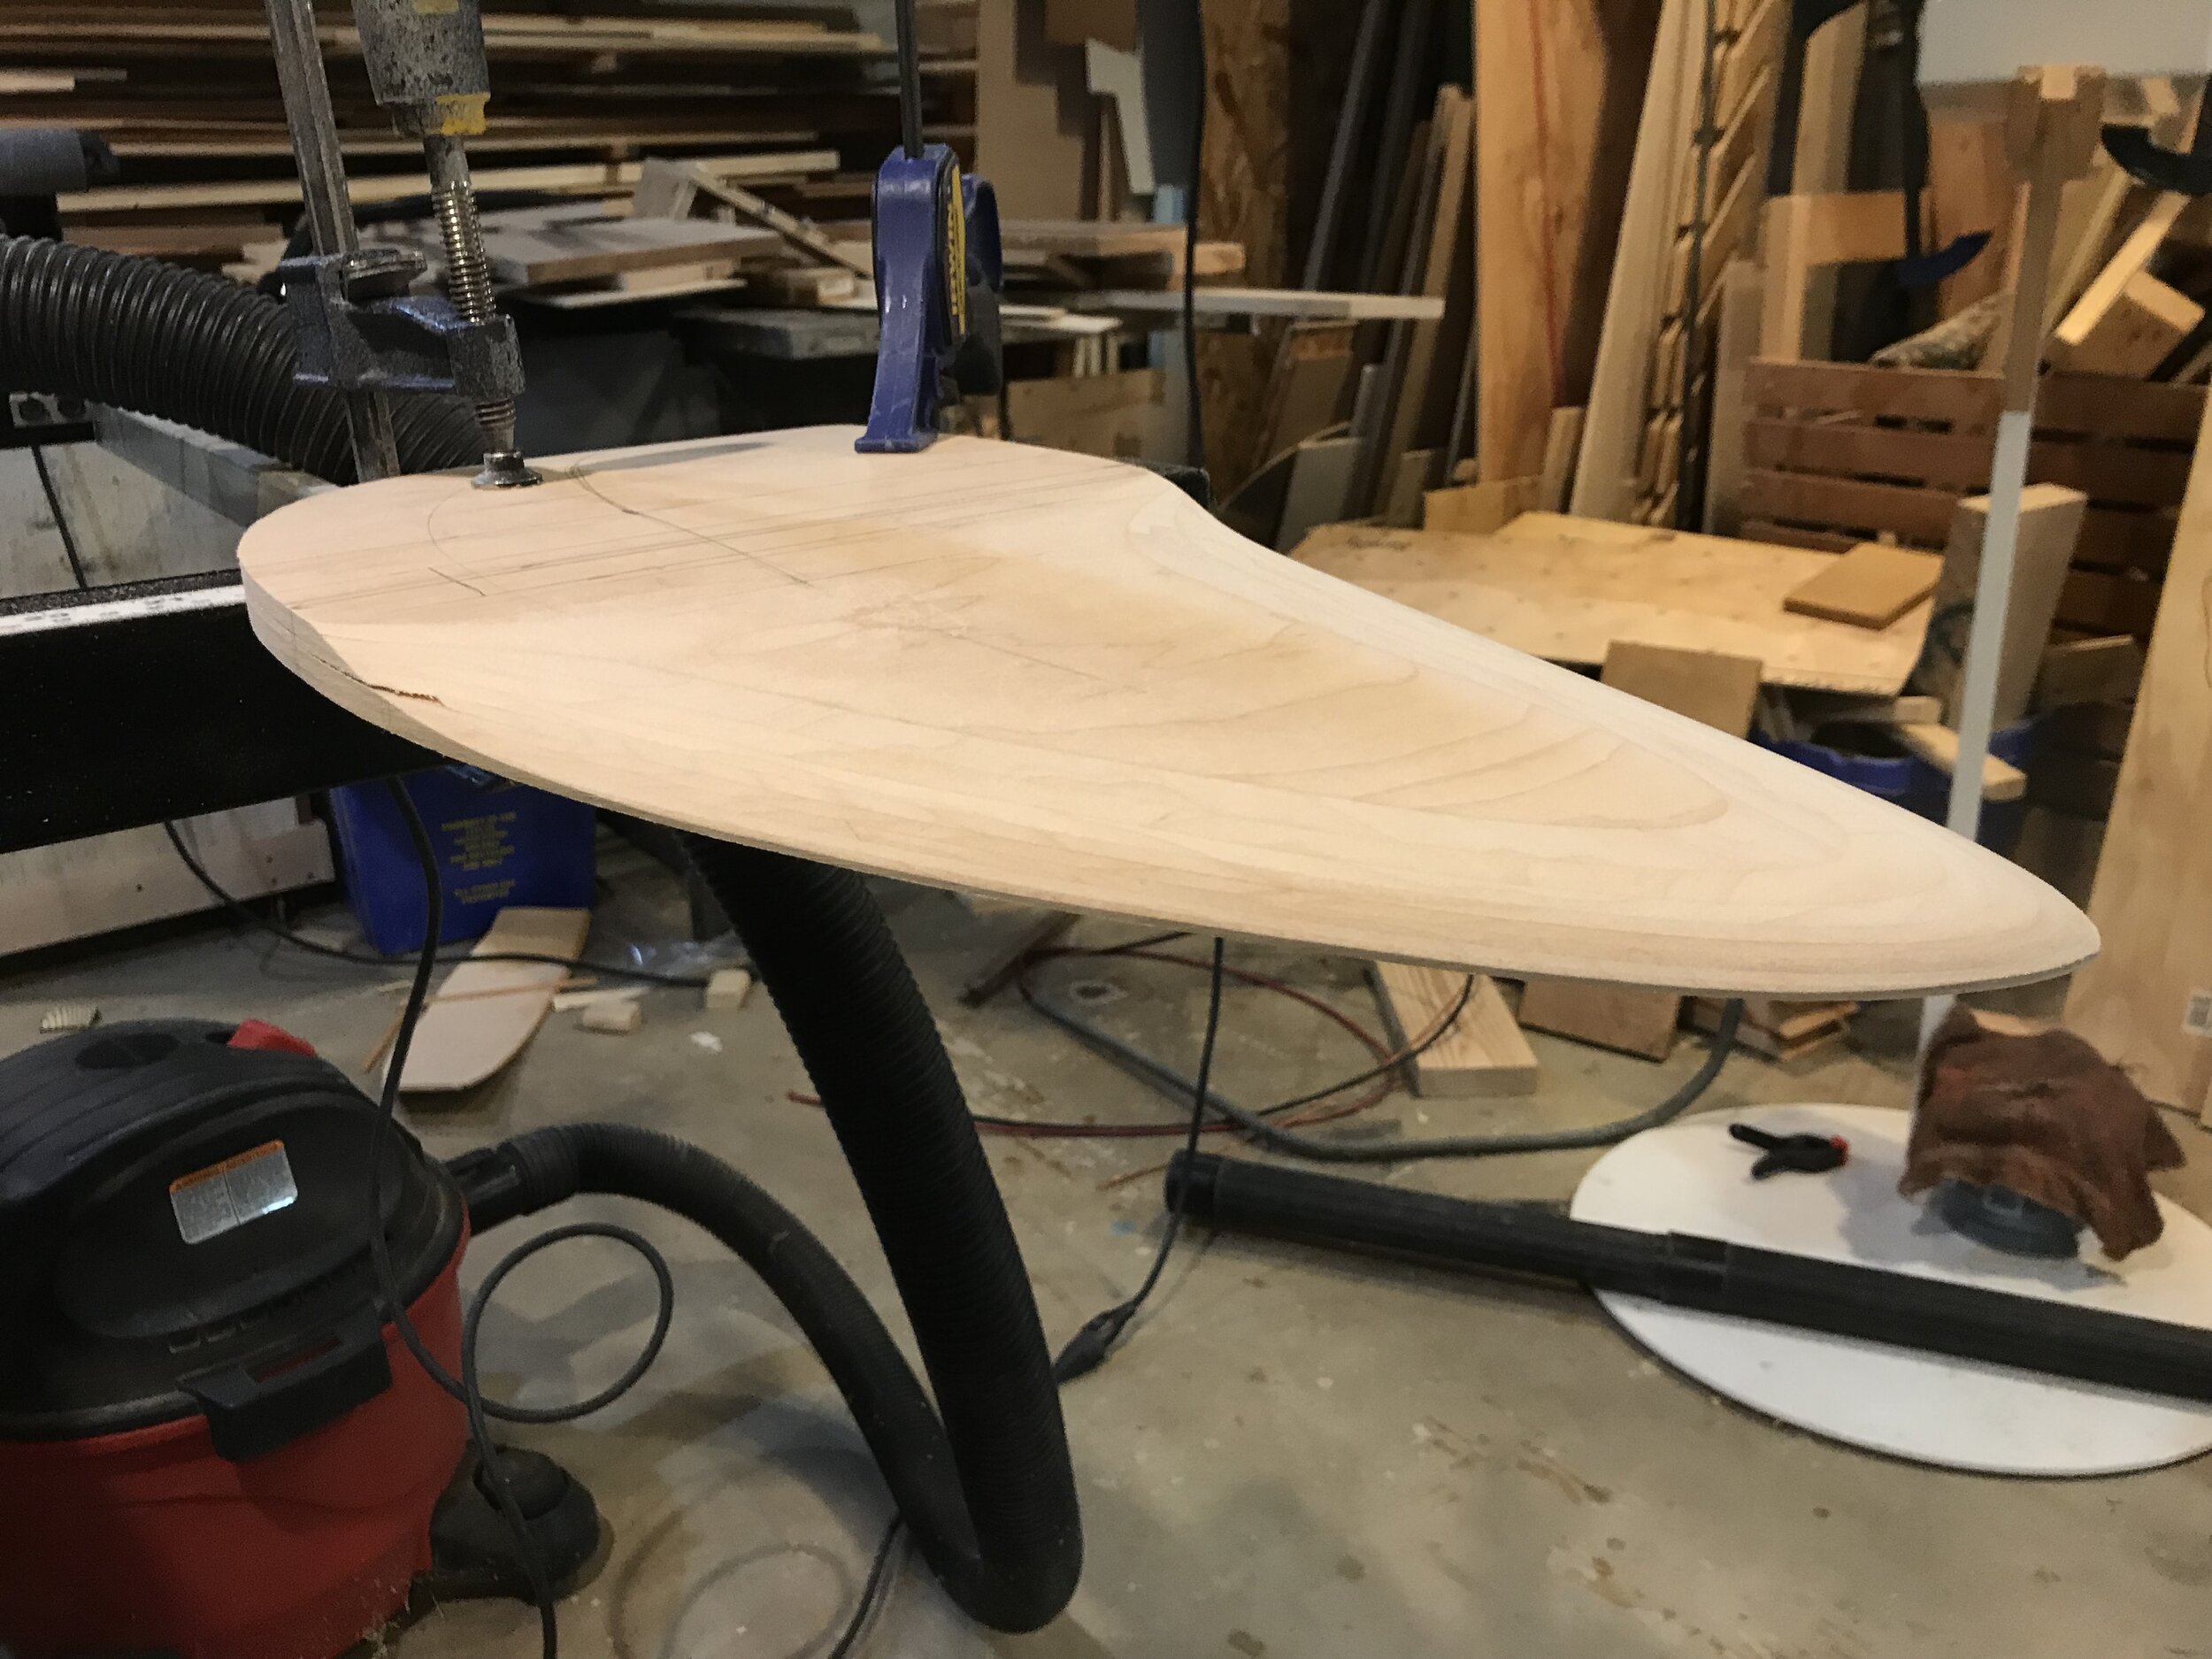
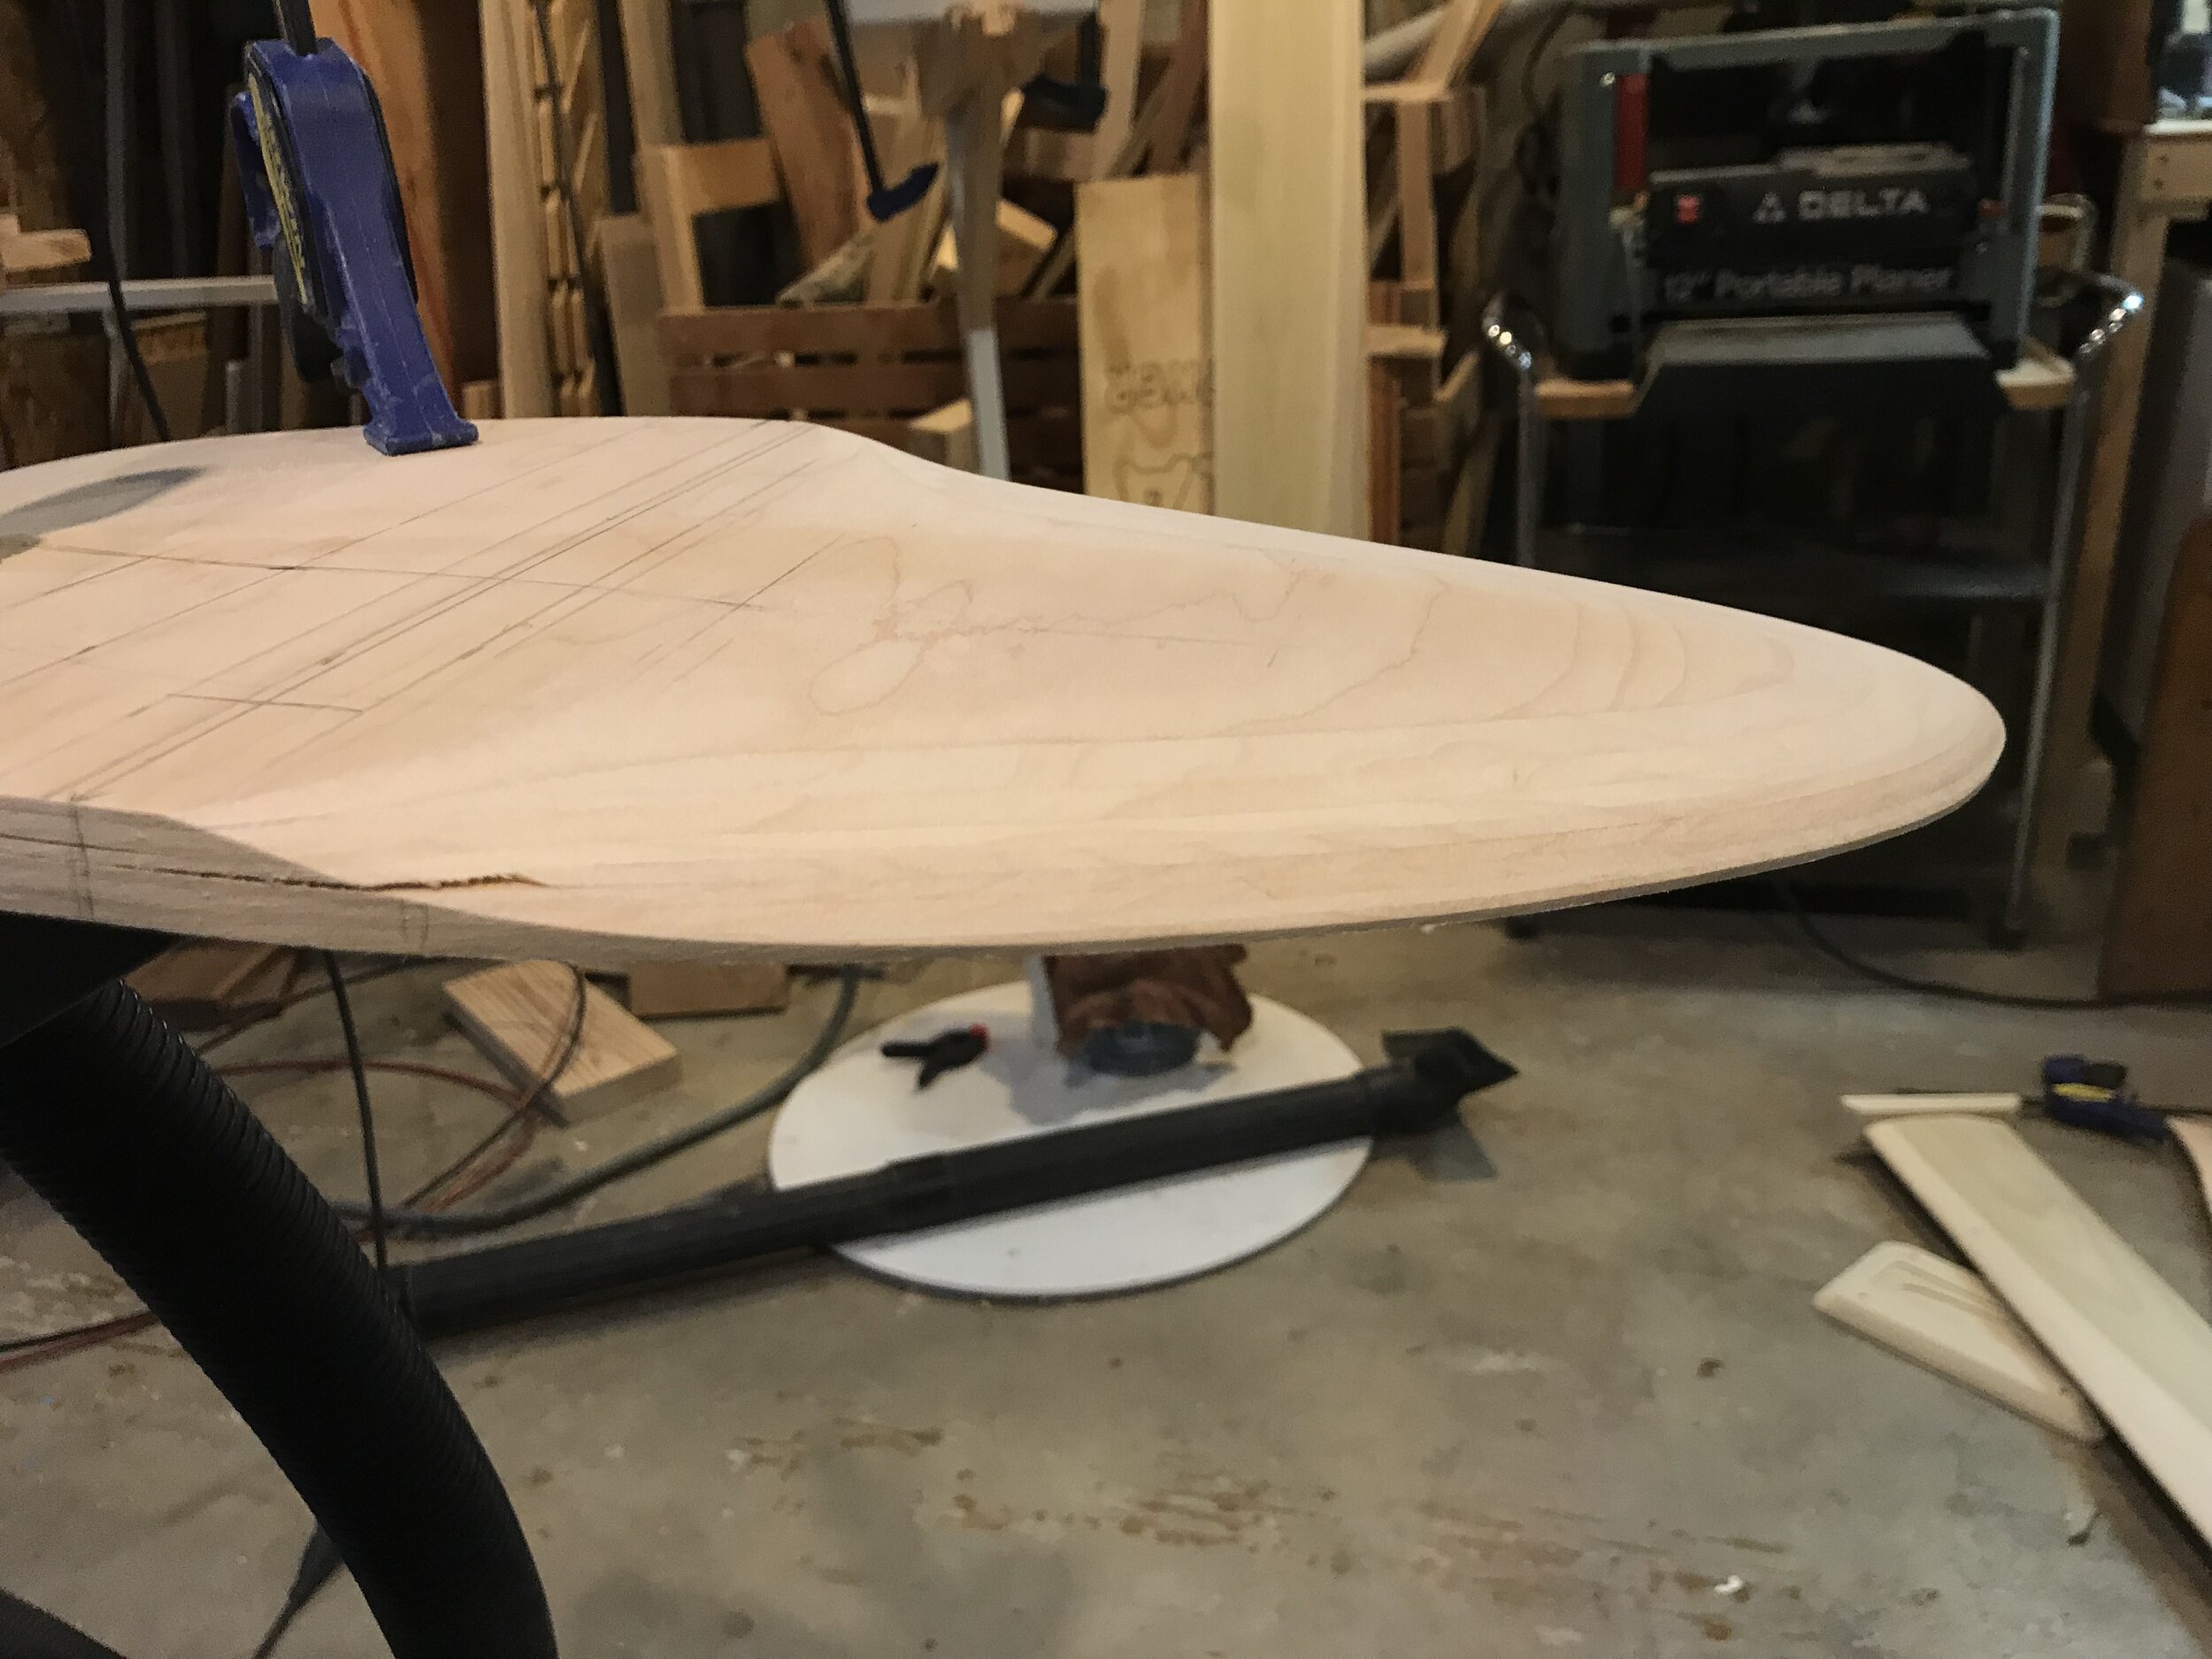
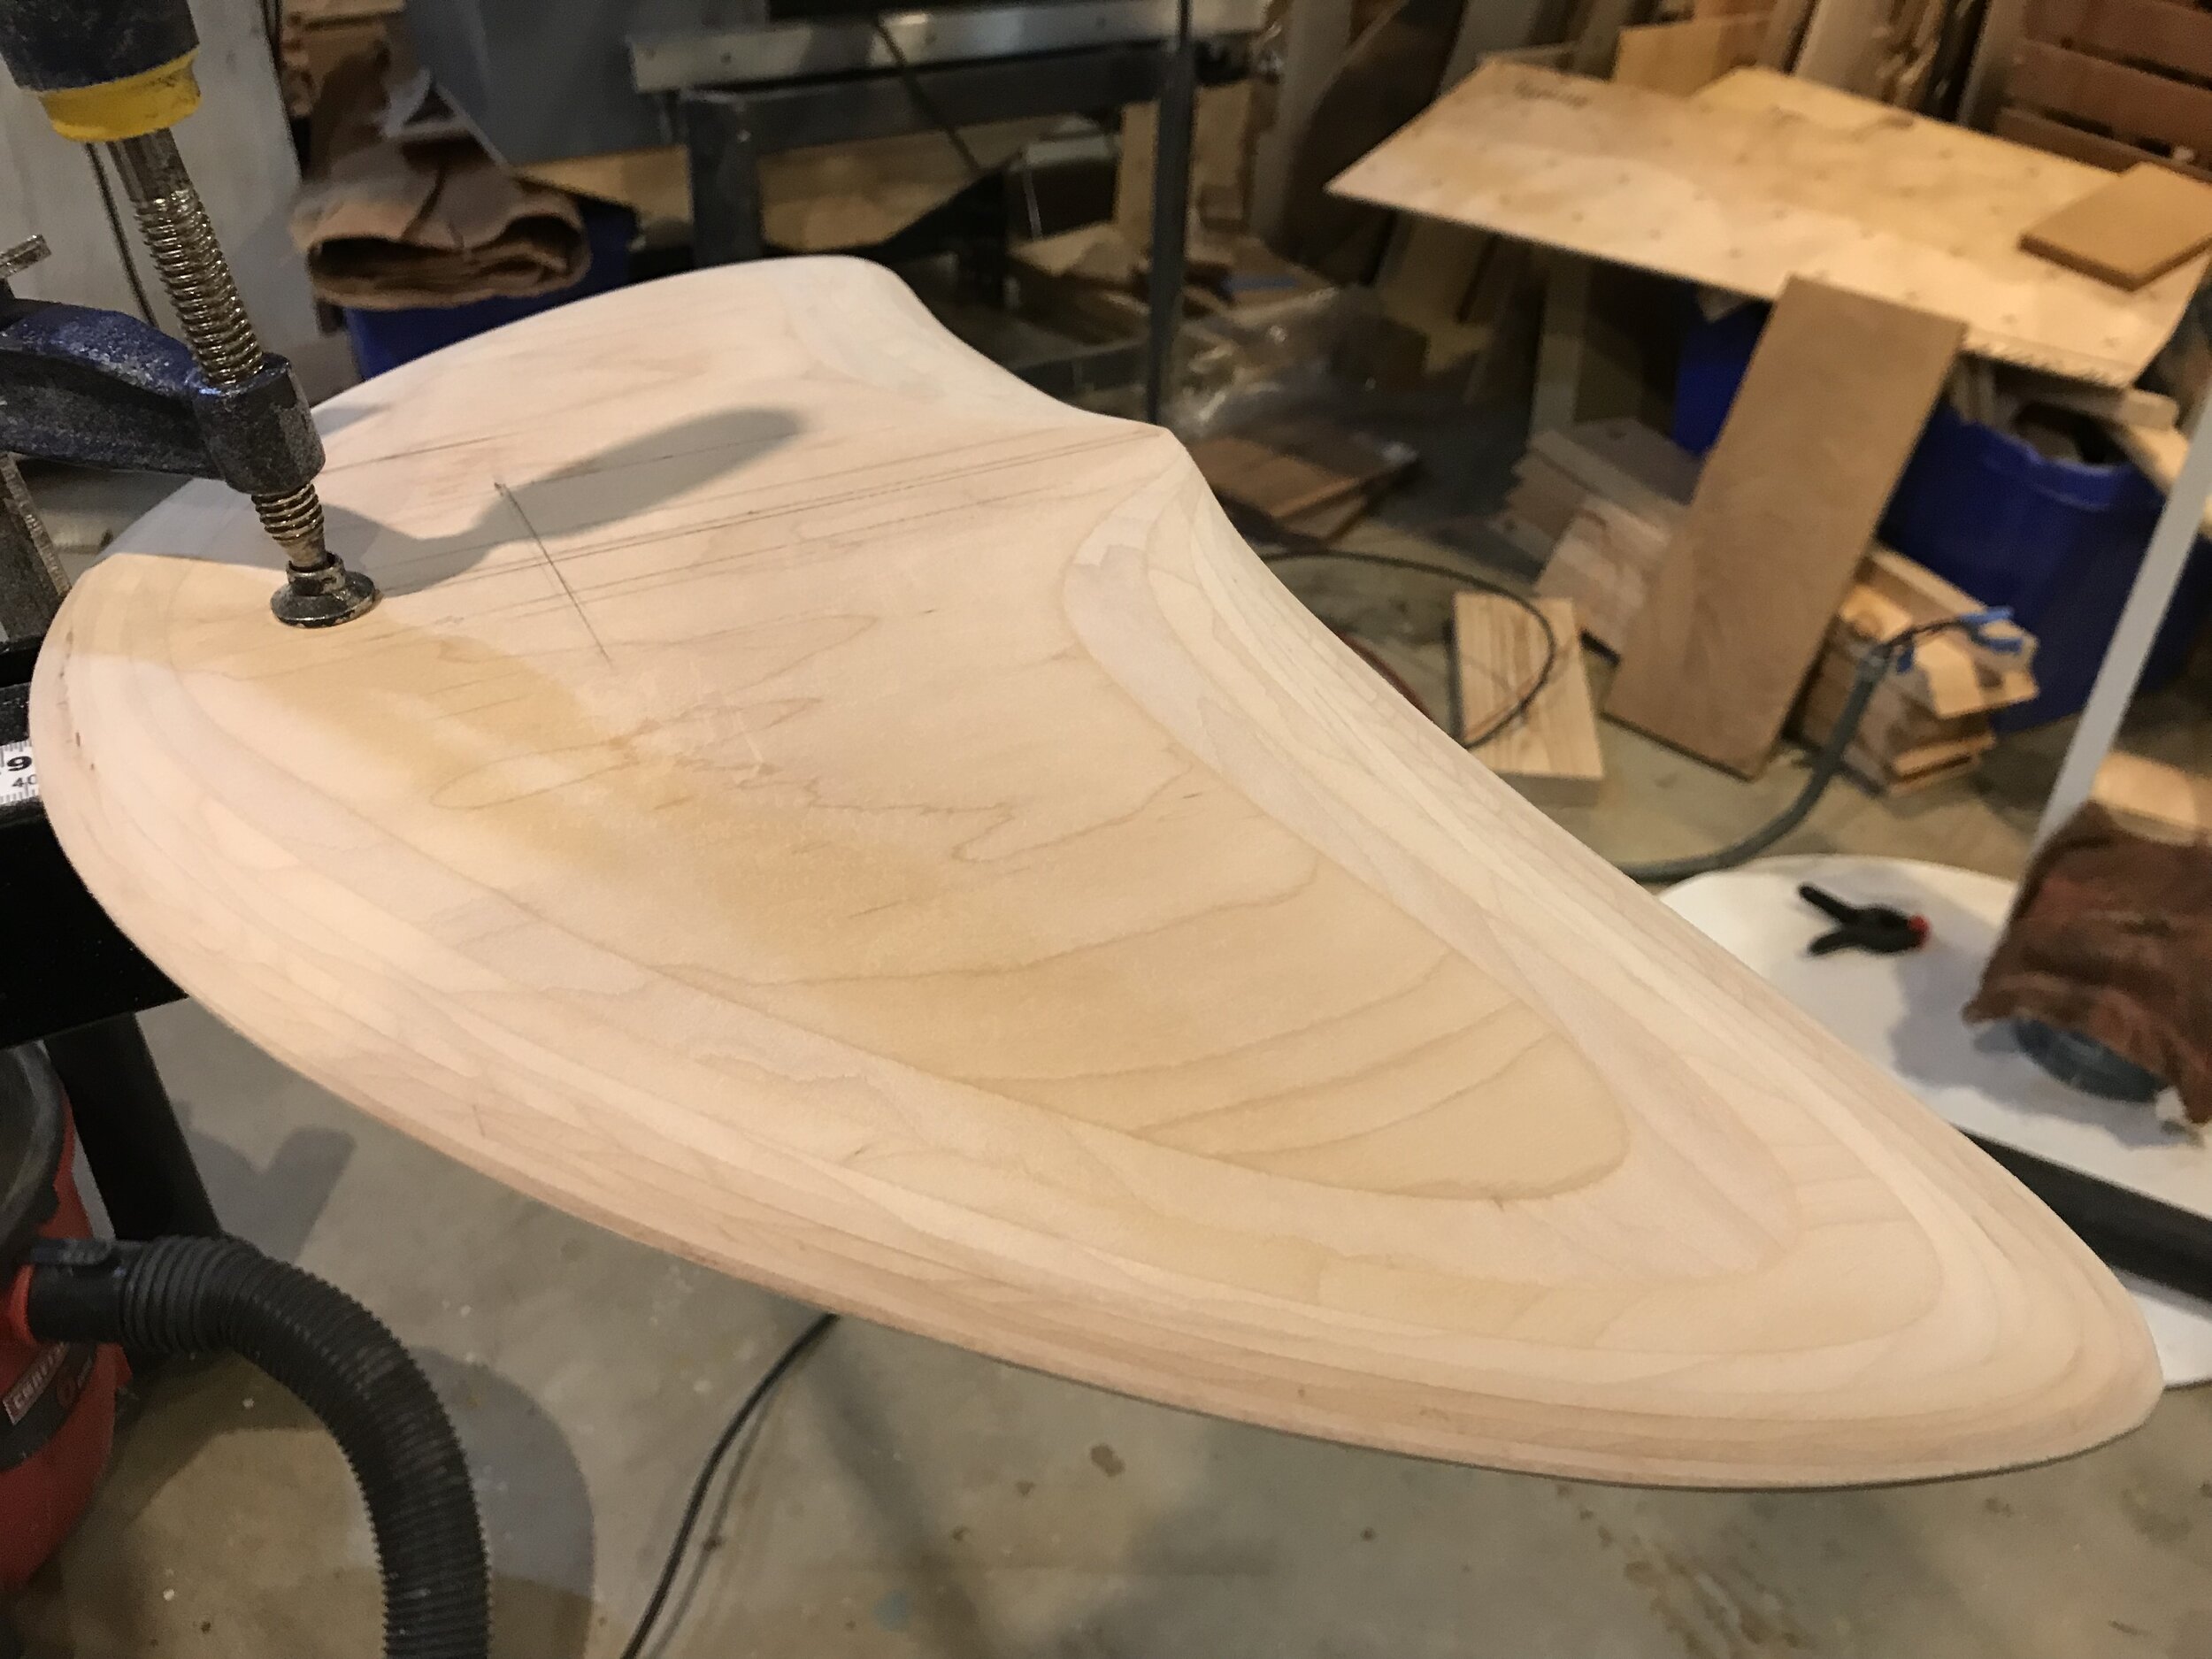
Cut profile. Edge banded the board.
Finish sanded it all.
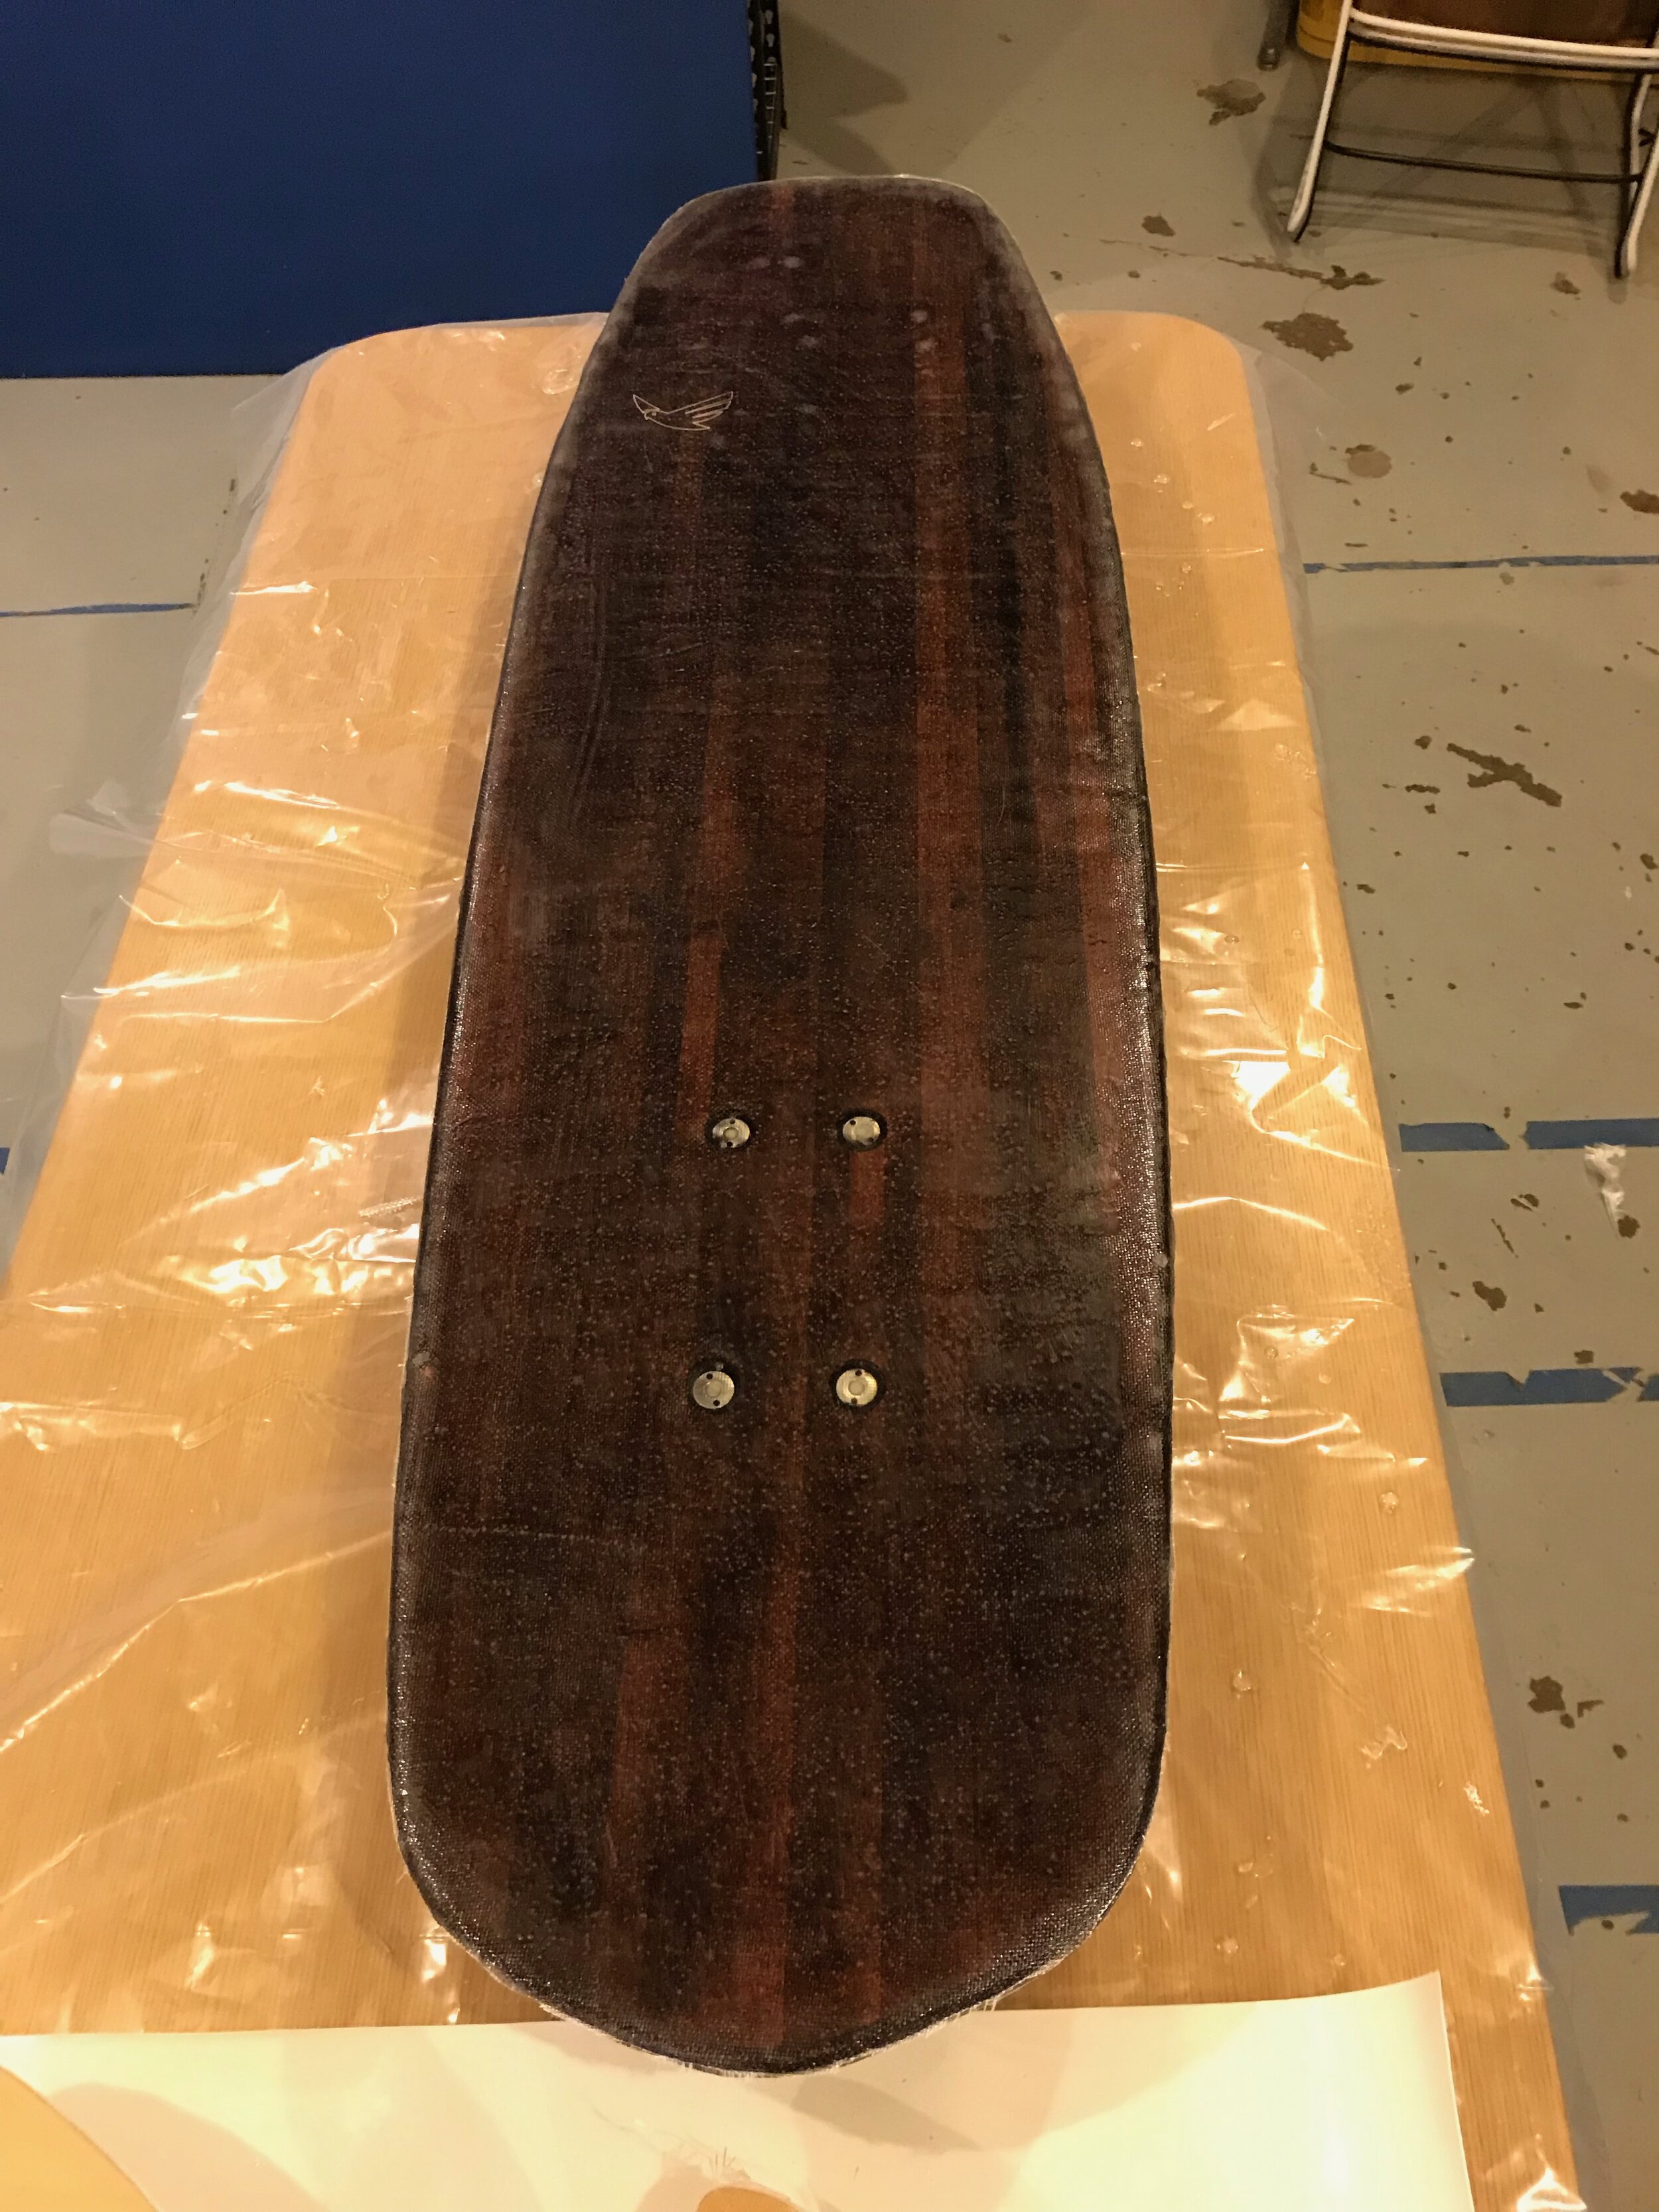
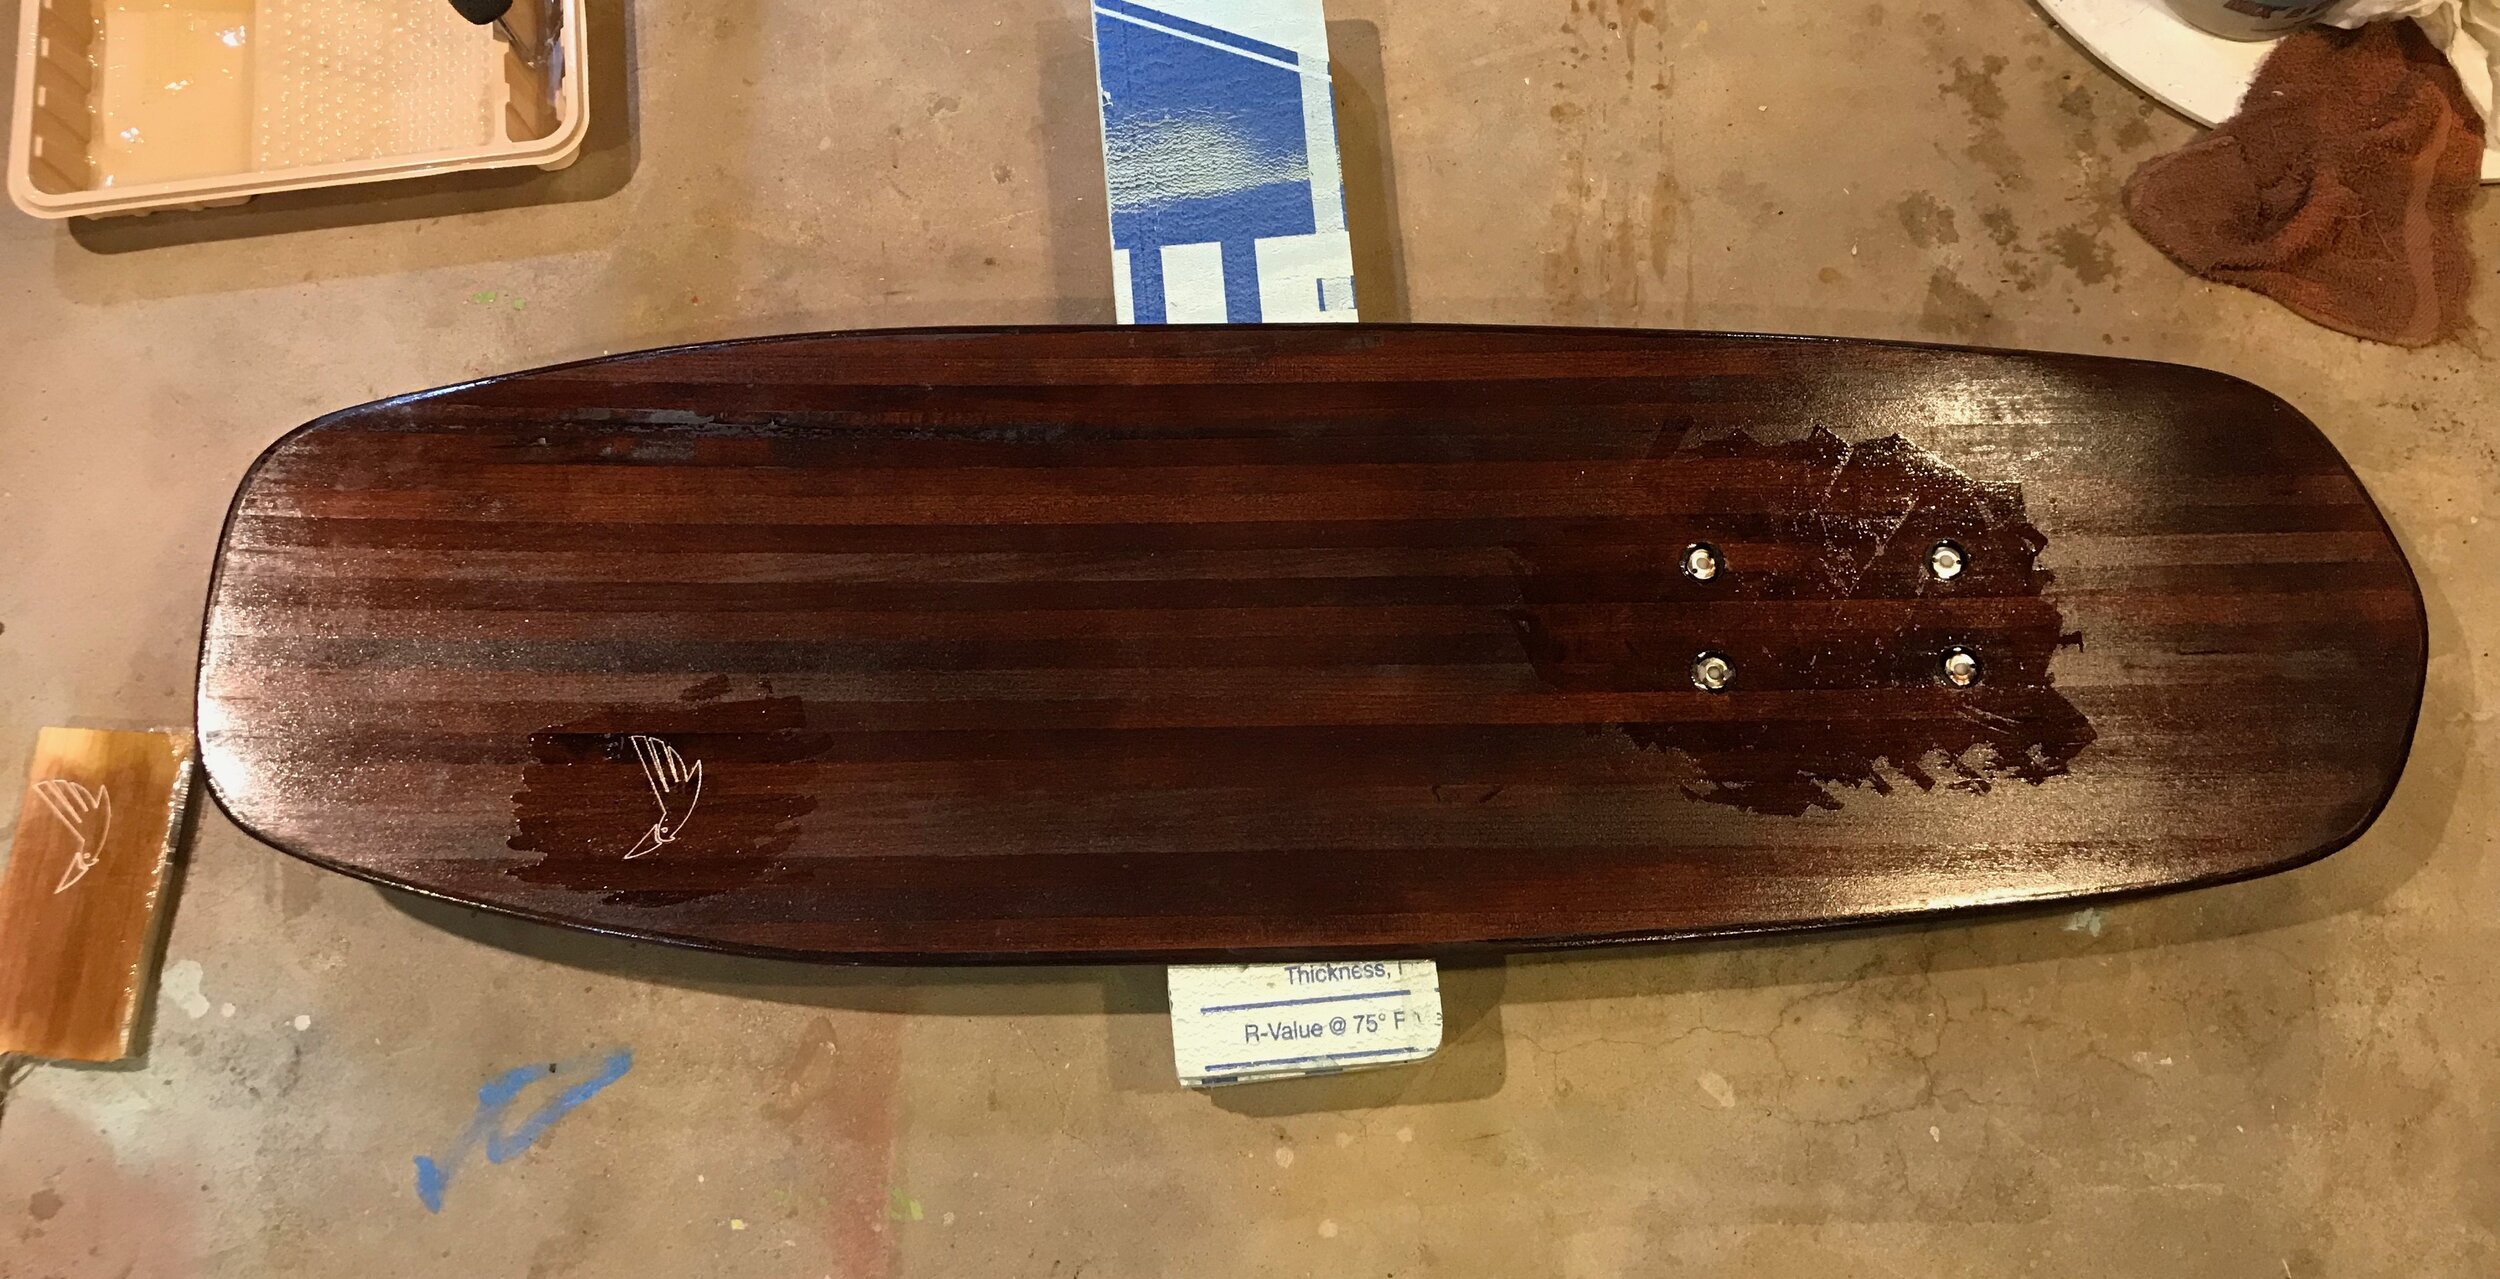
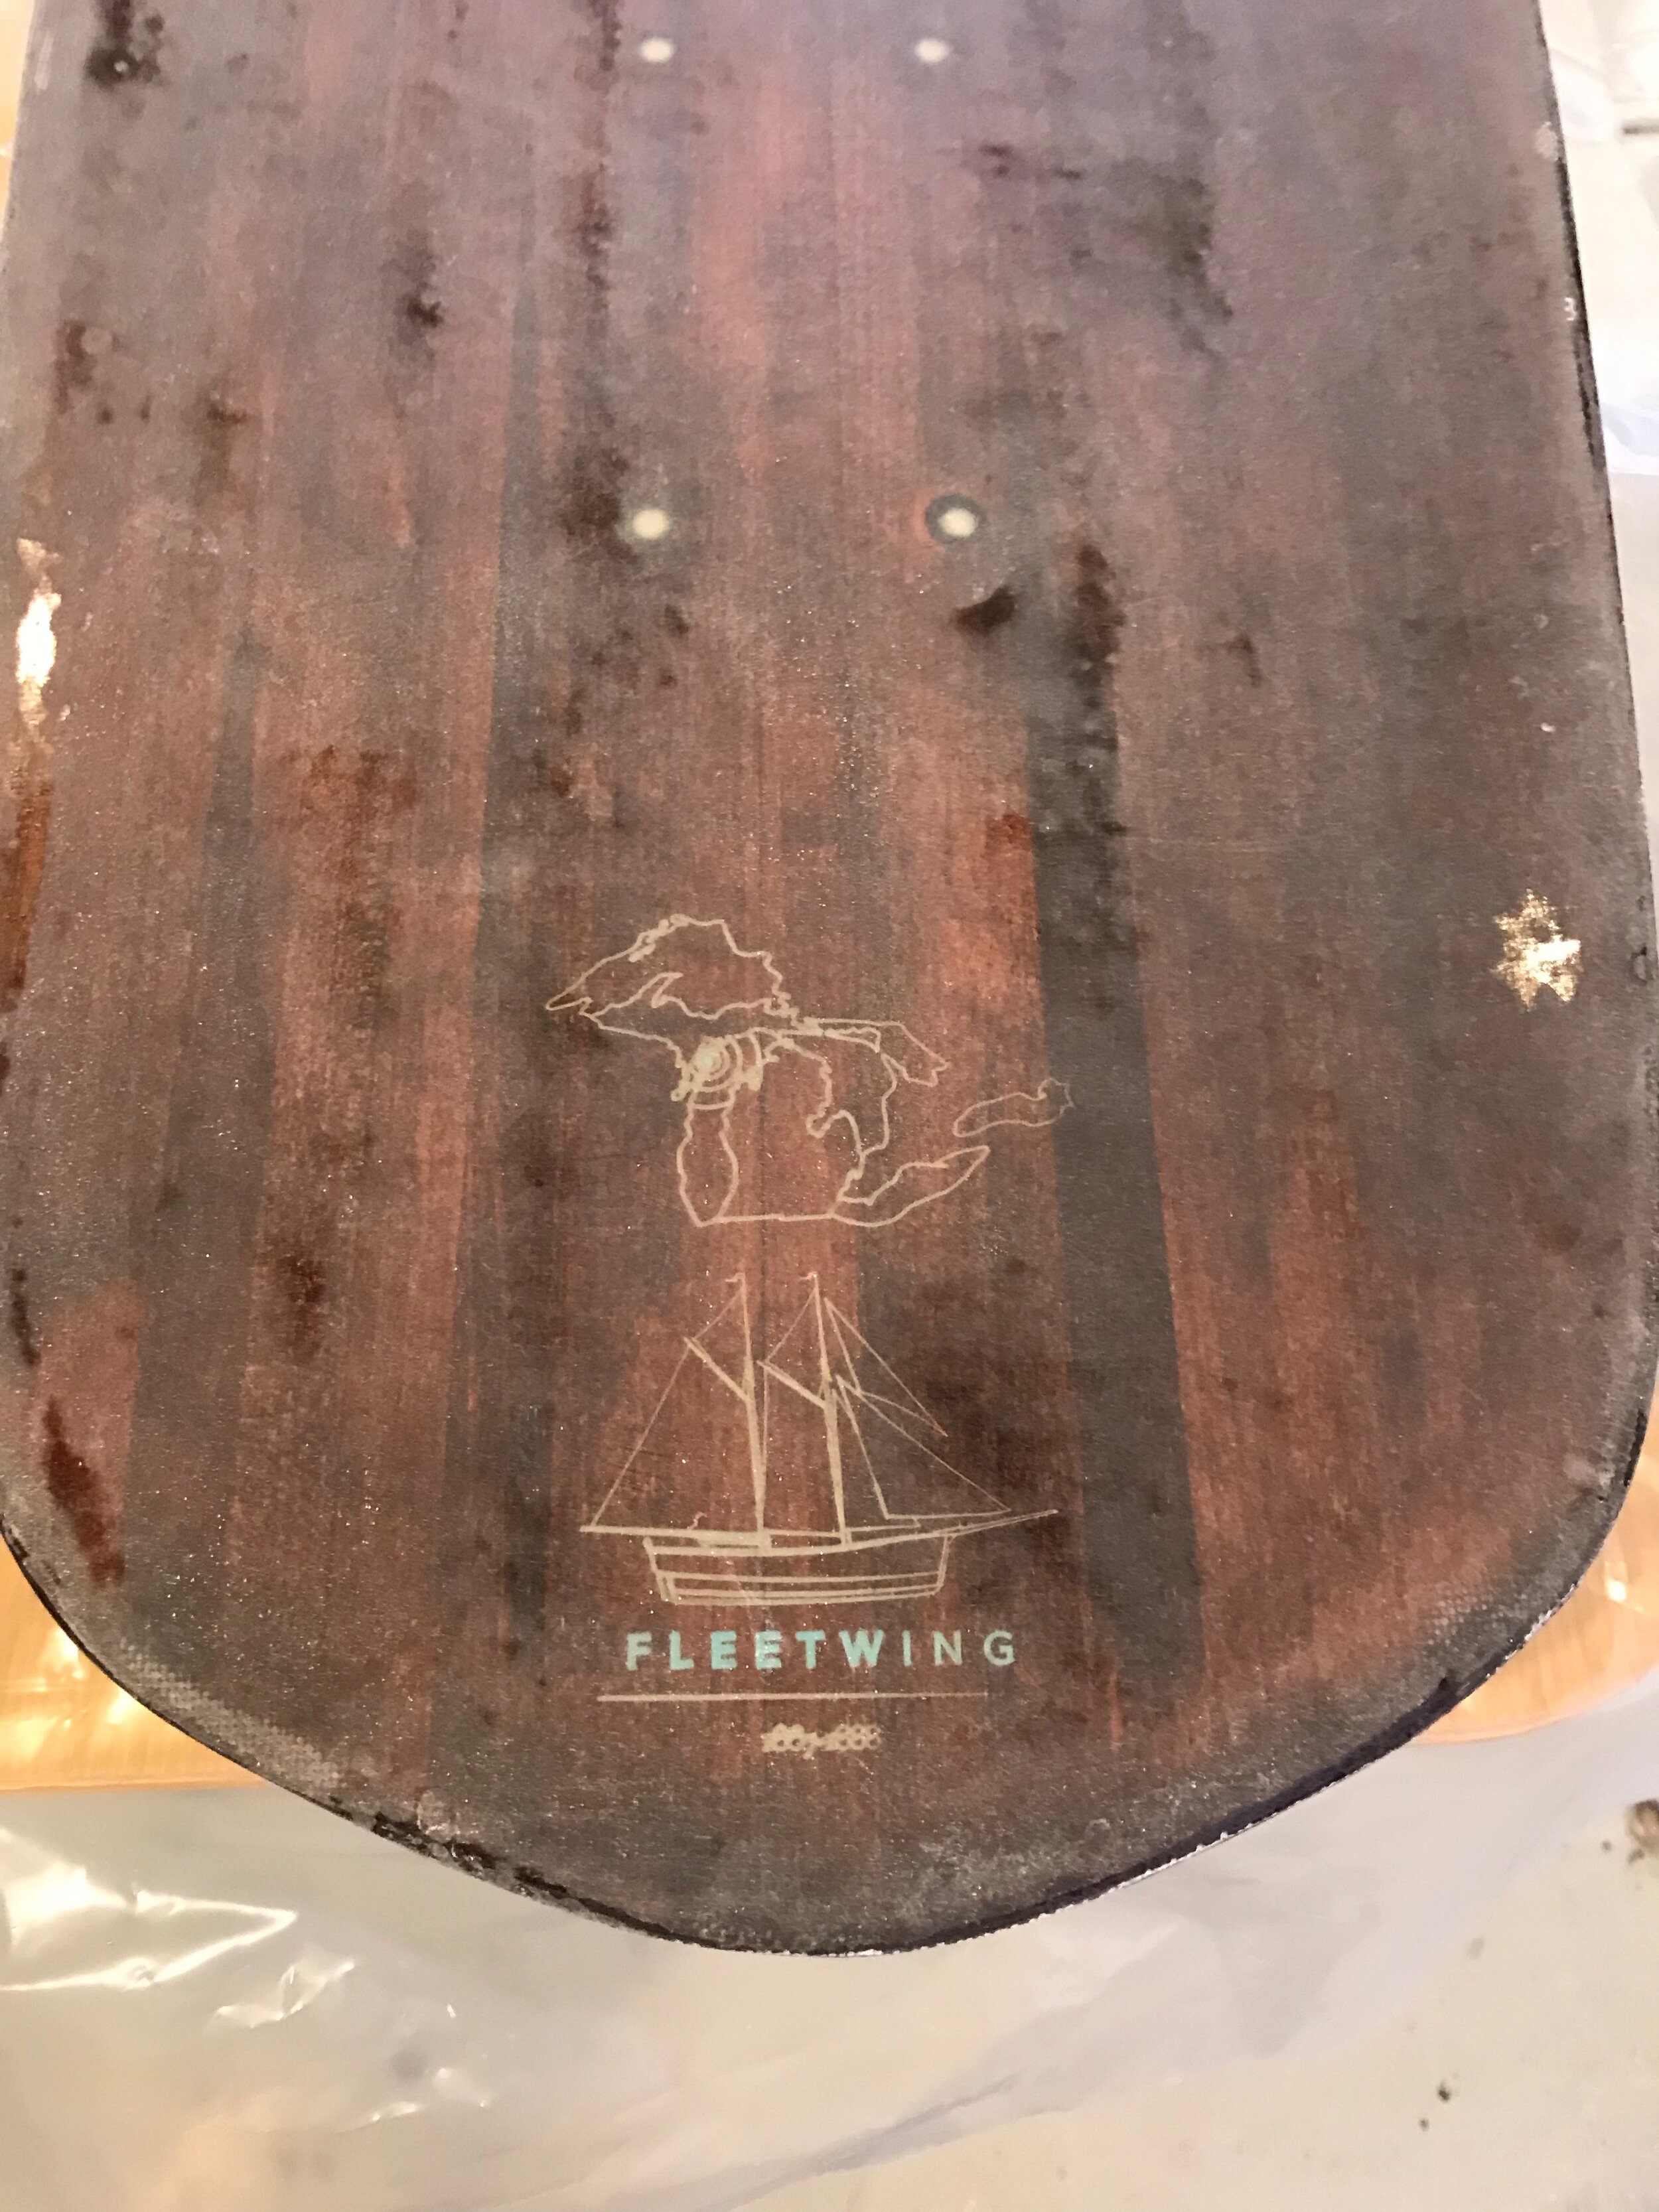
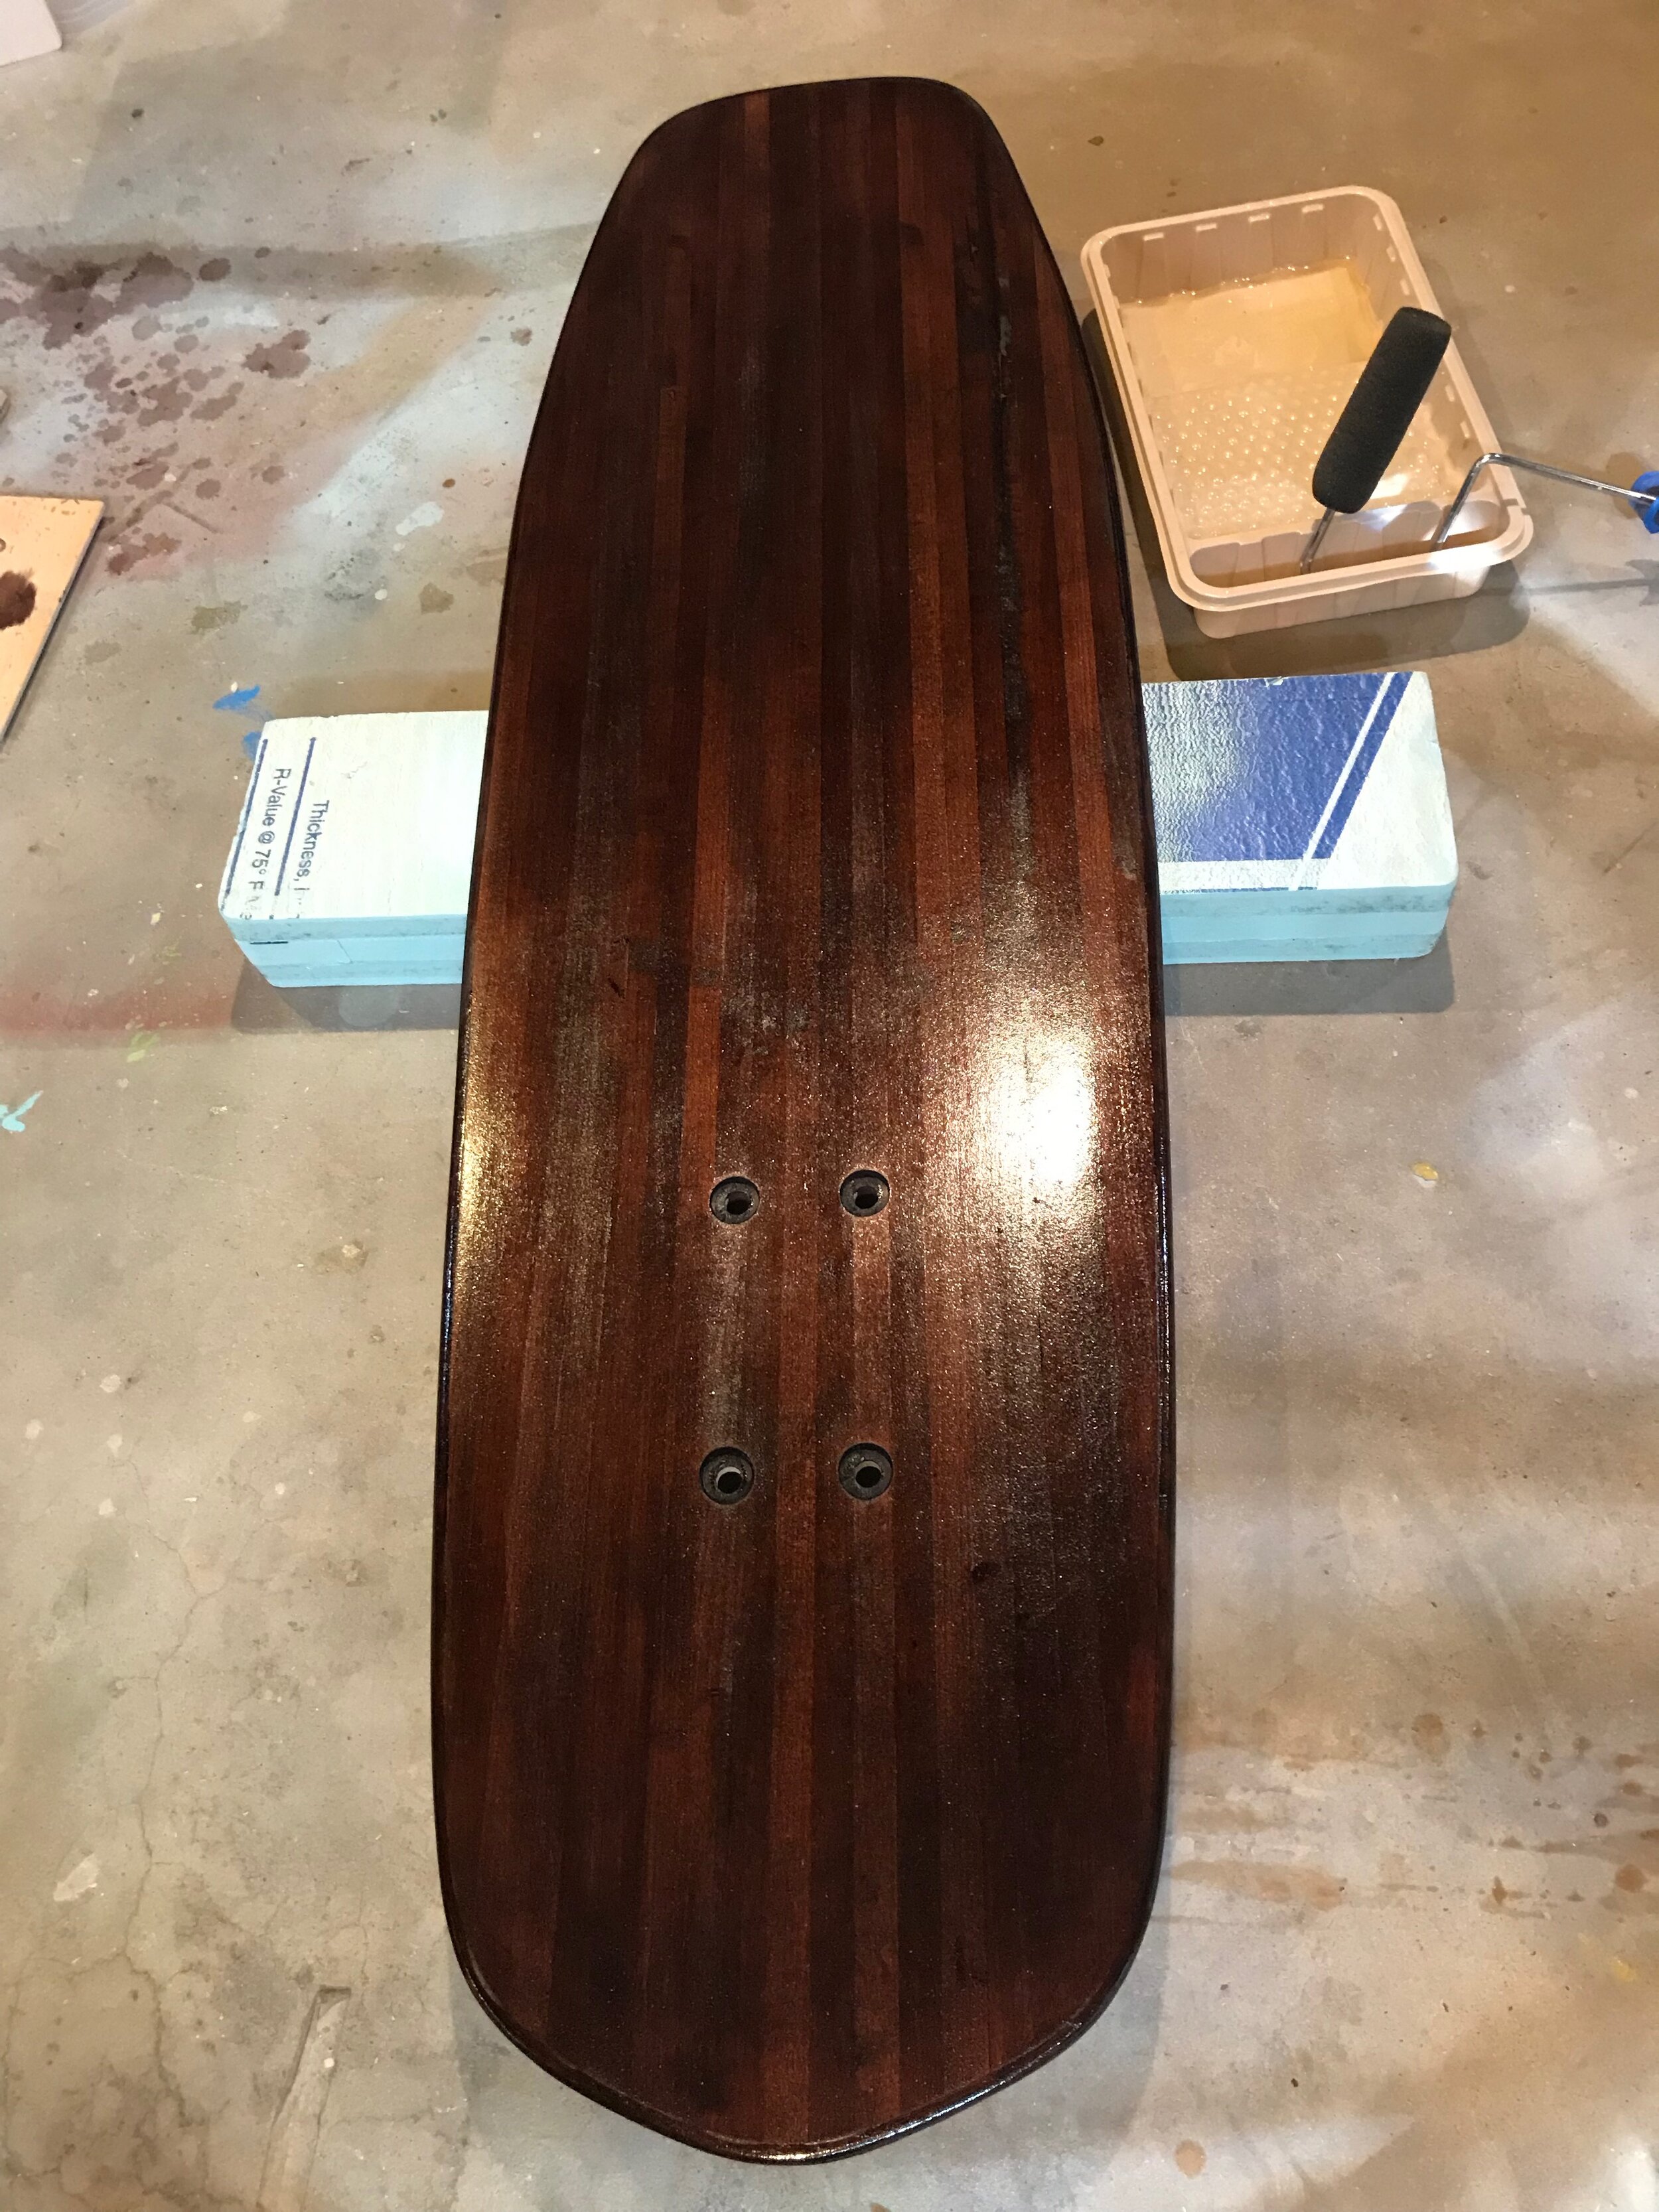
Wood dye the board.
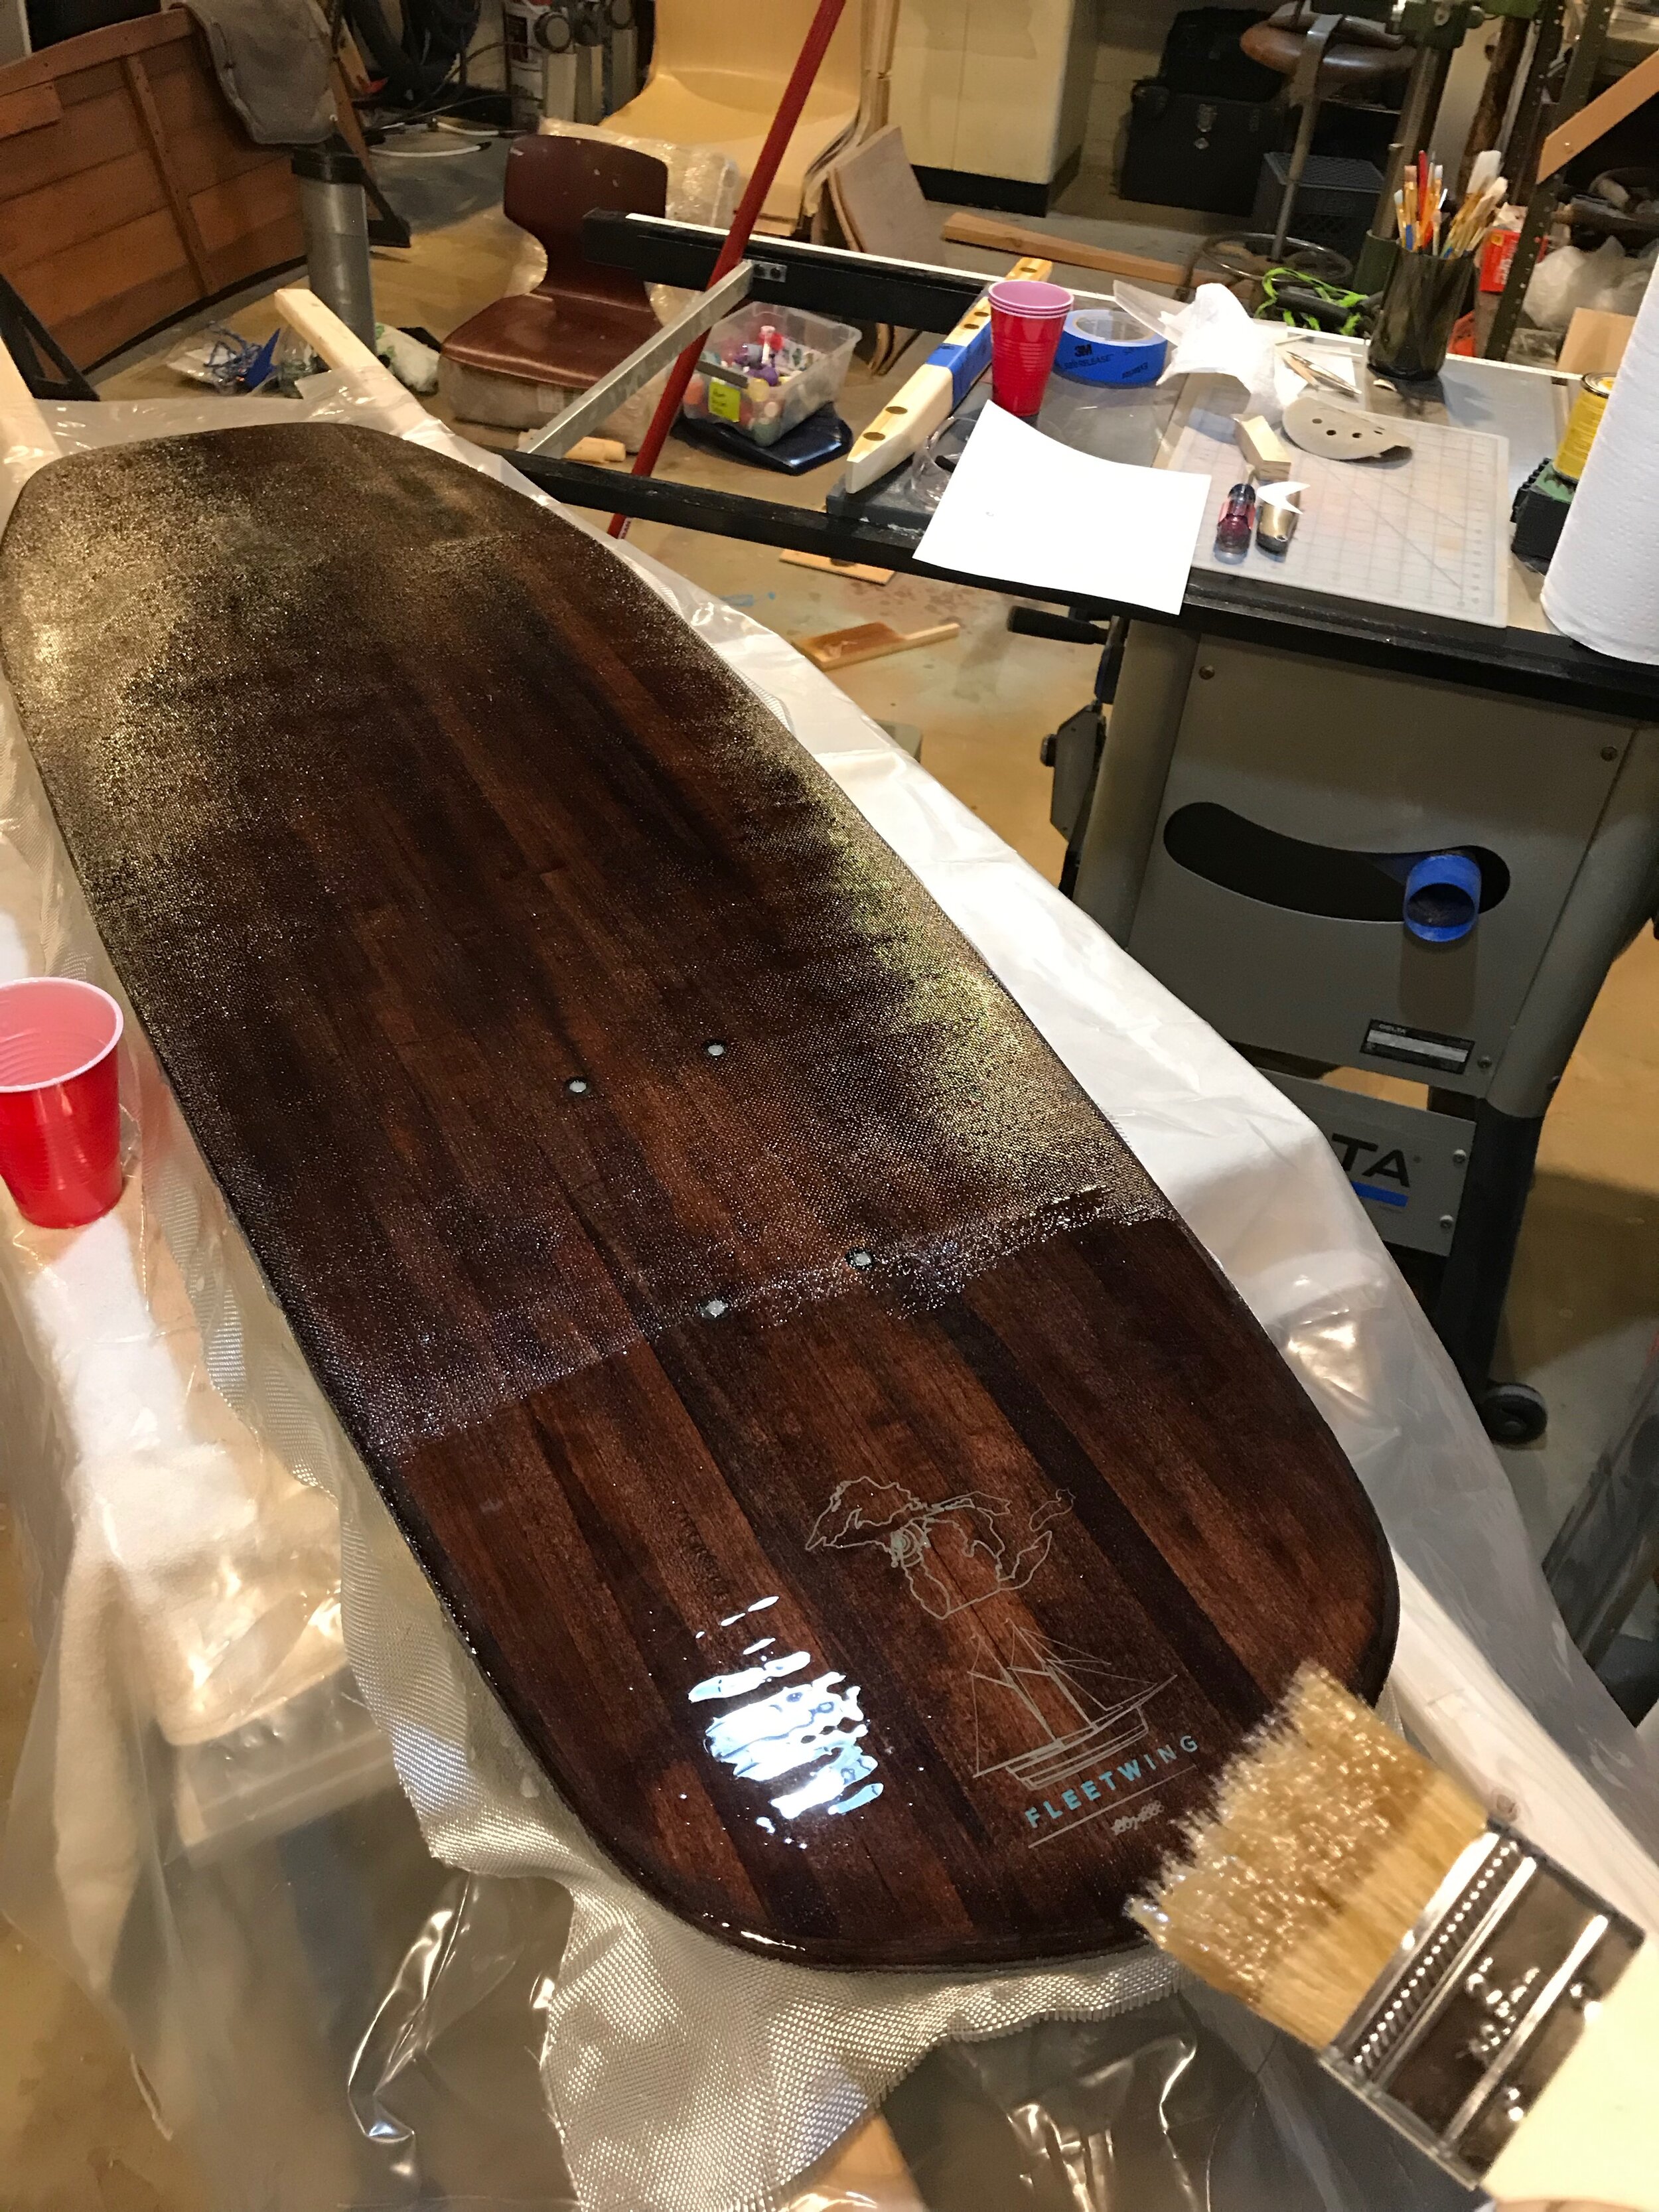
Roll epoxied where the graphics were going to go.
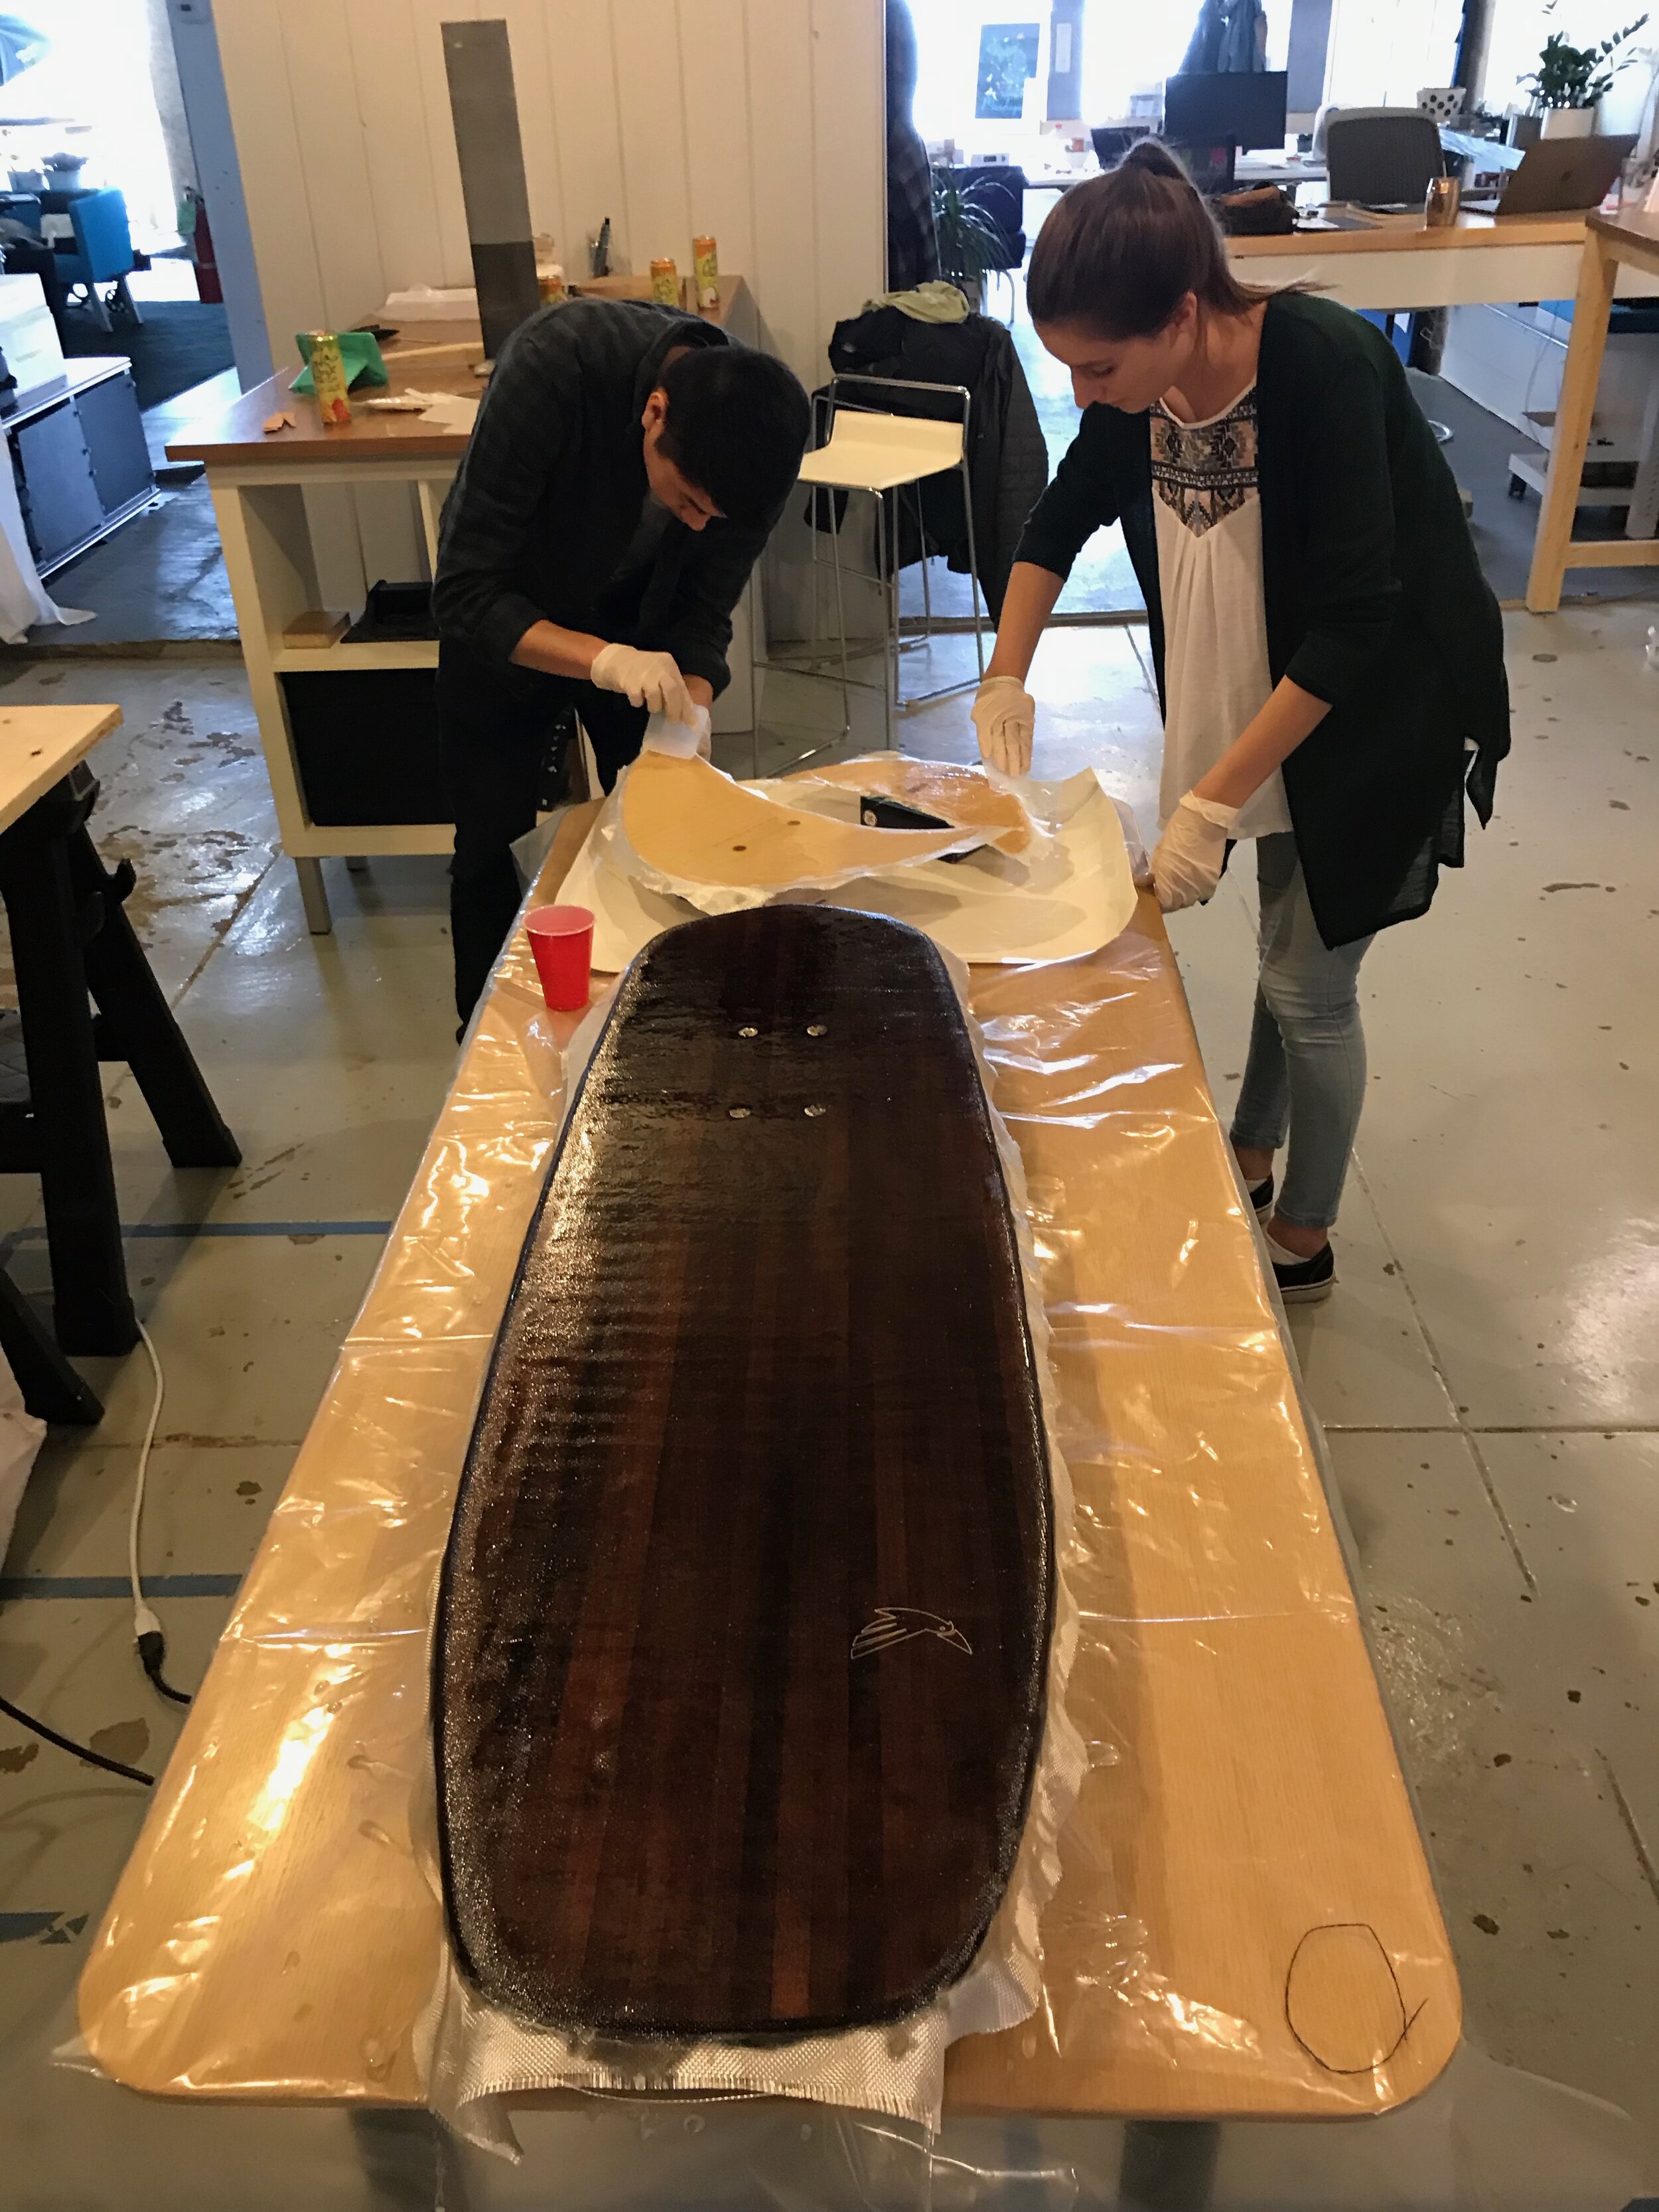
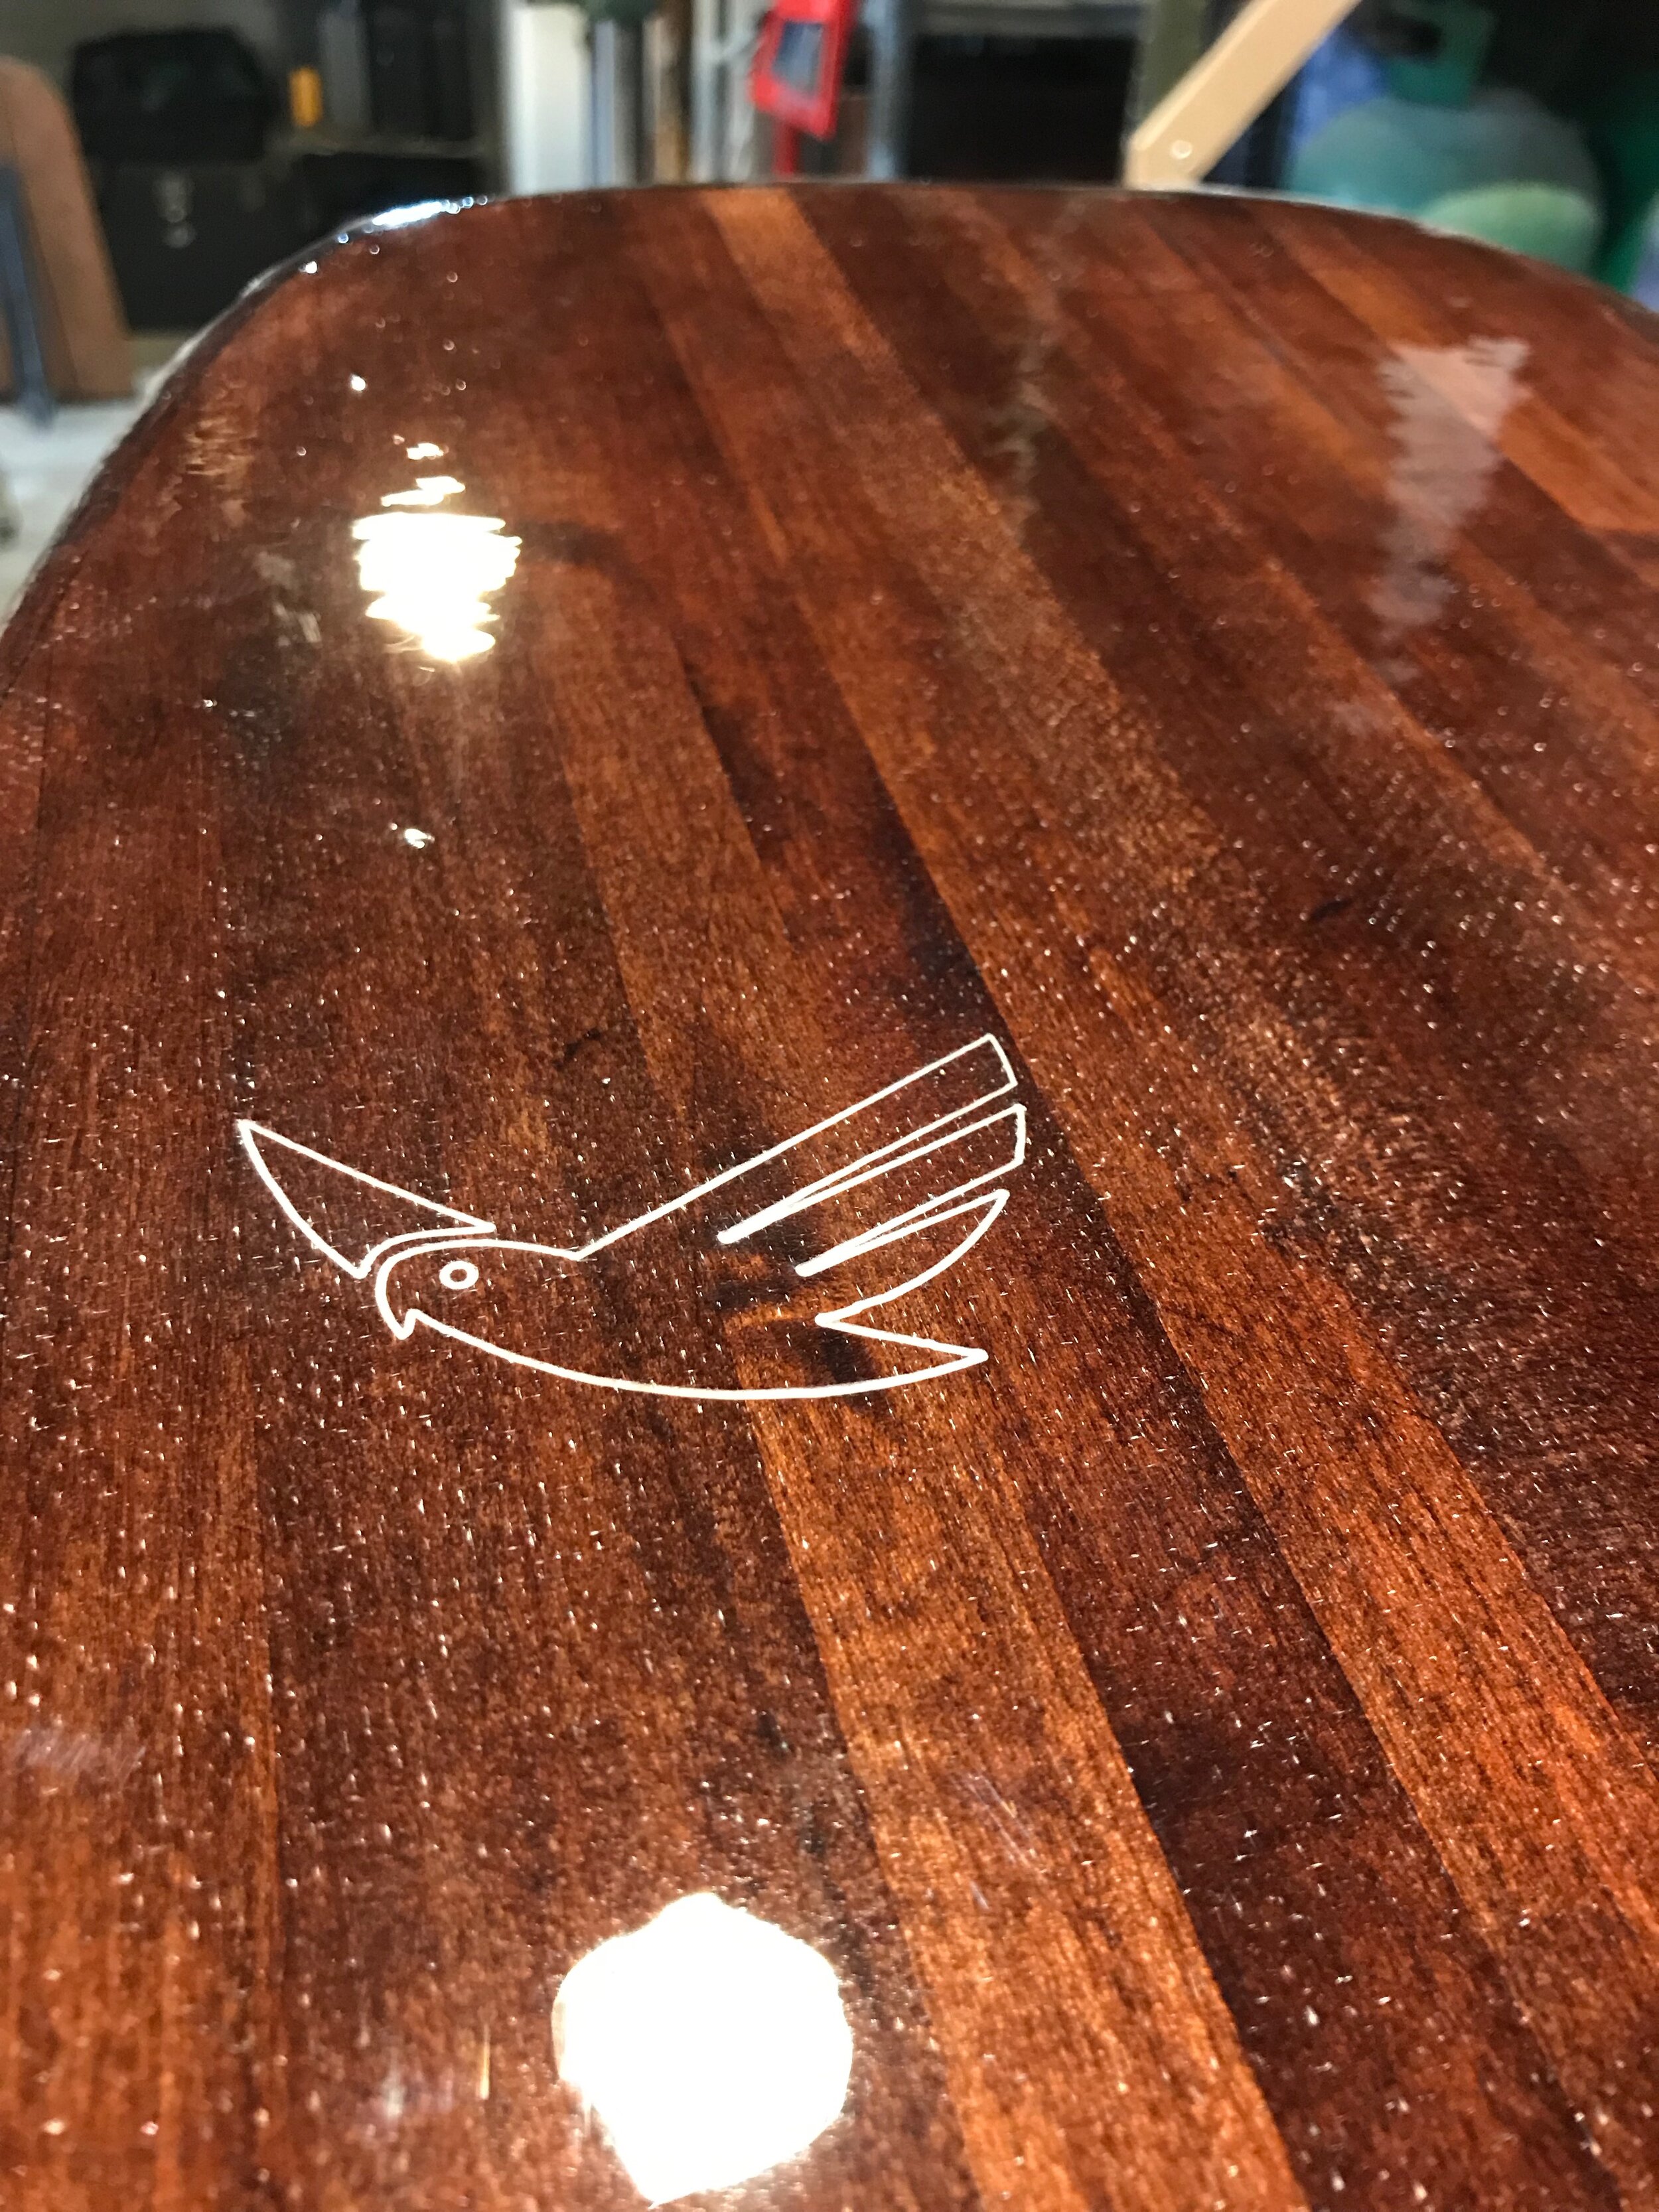
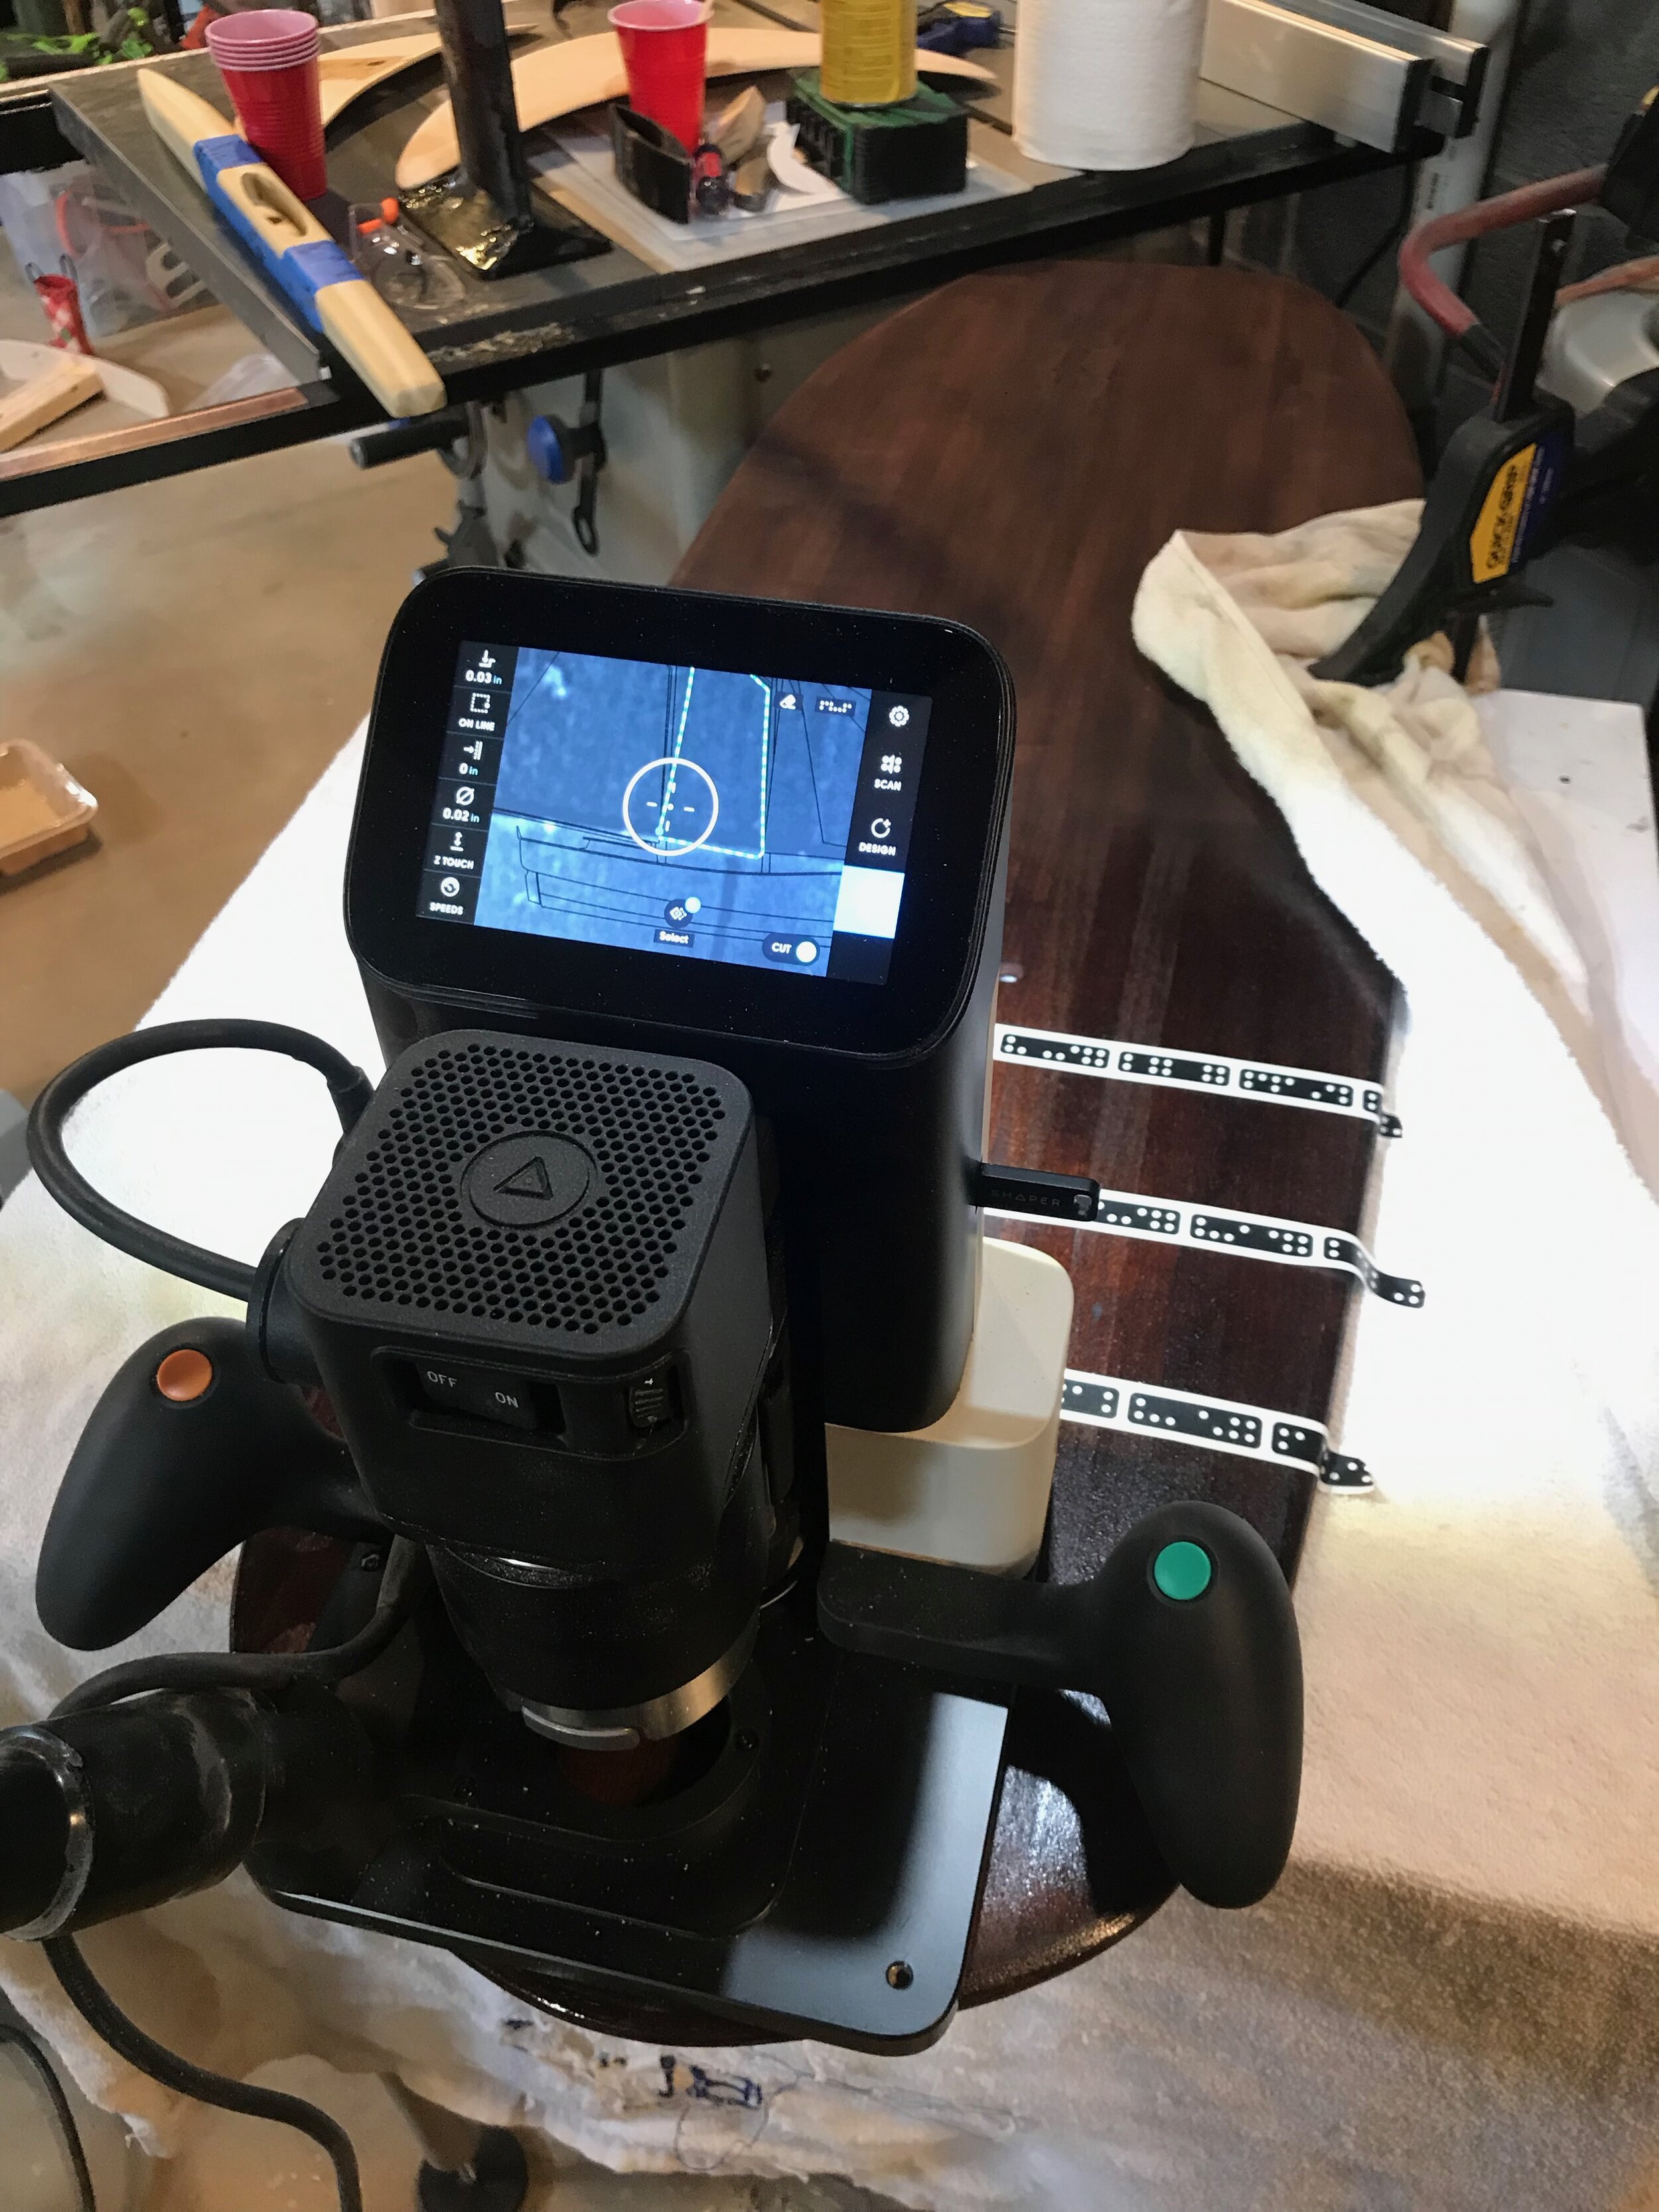
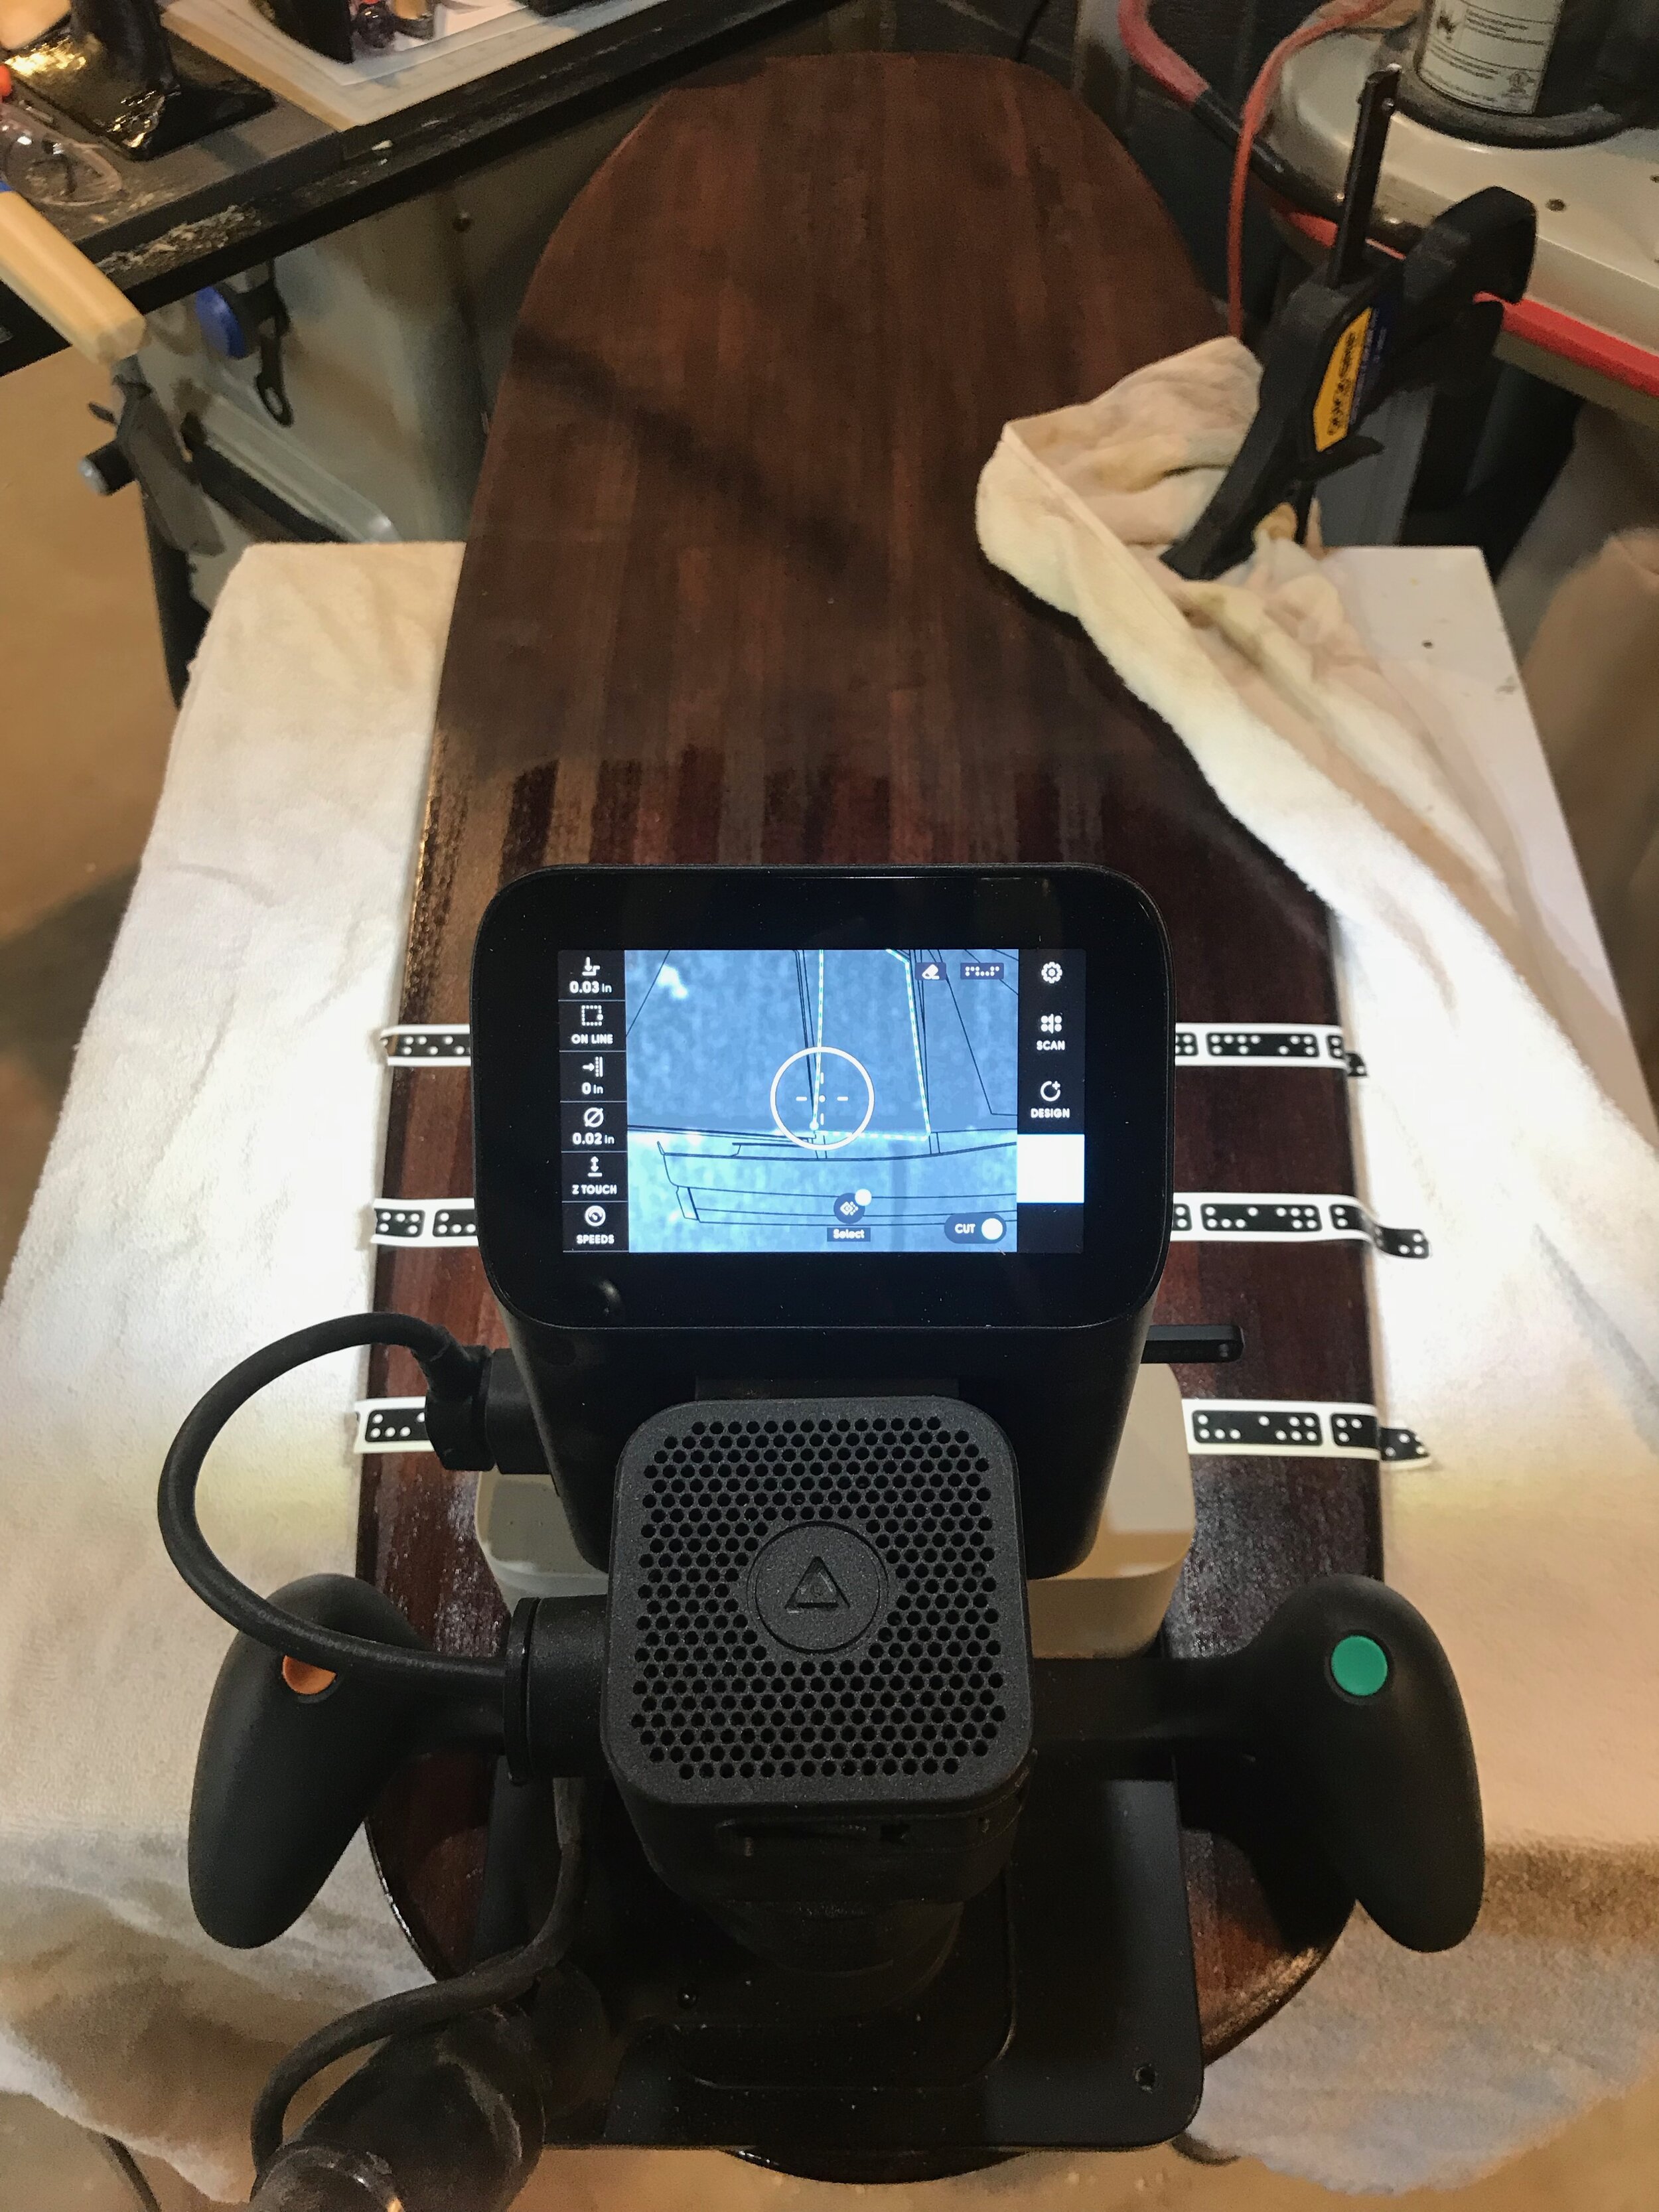
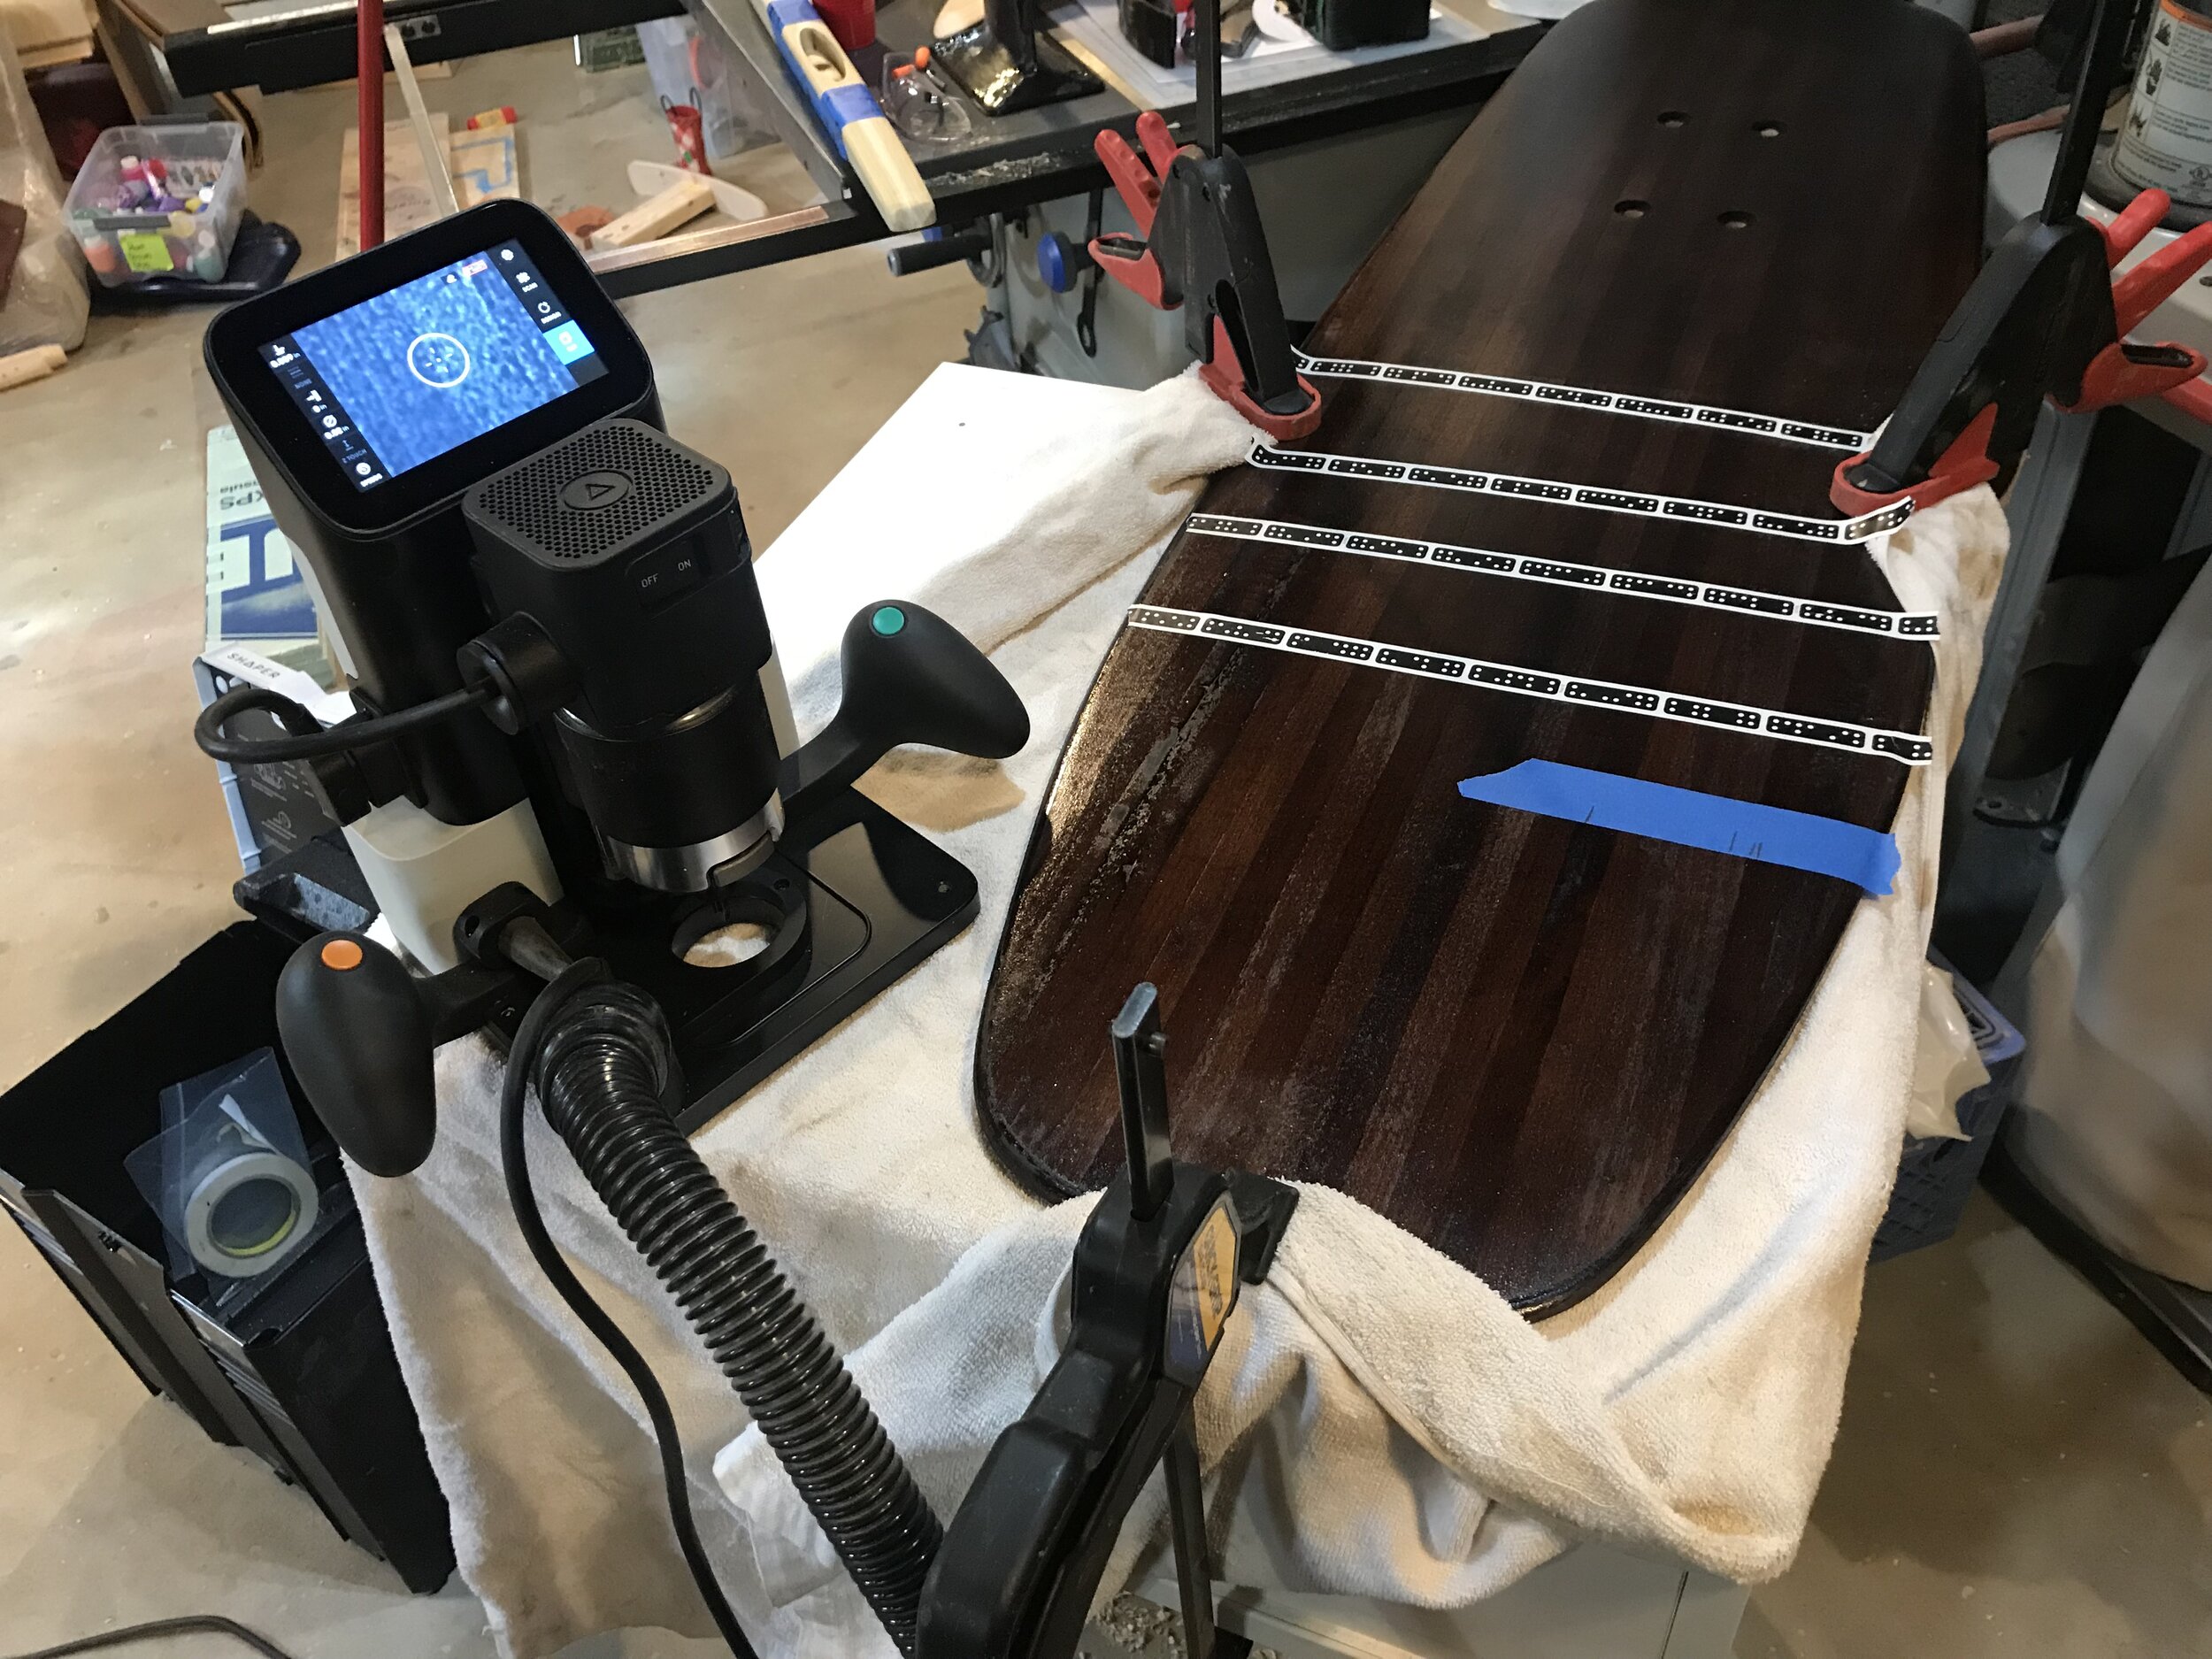
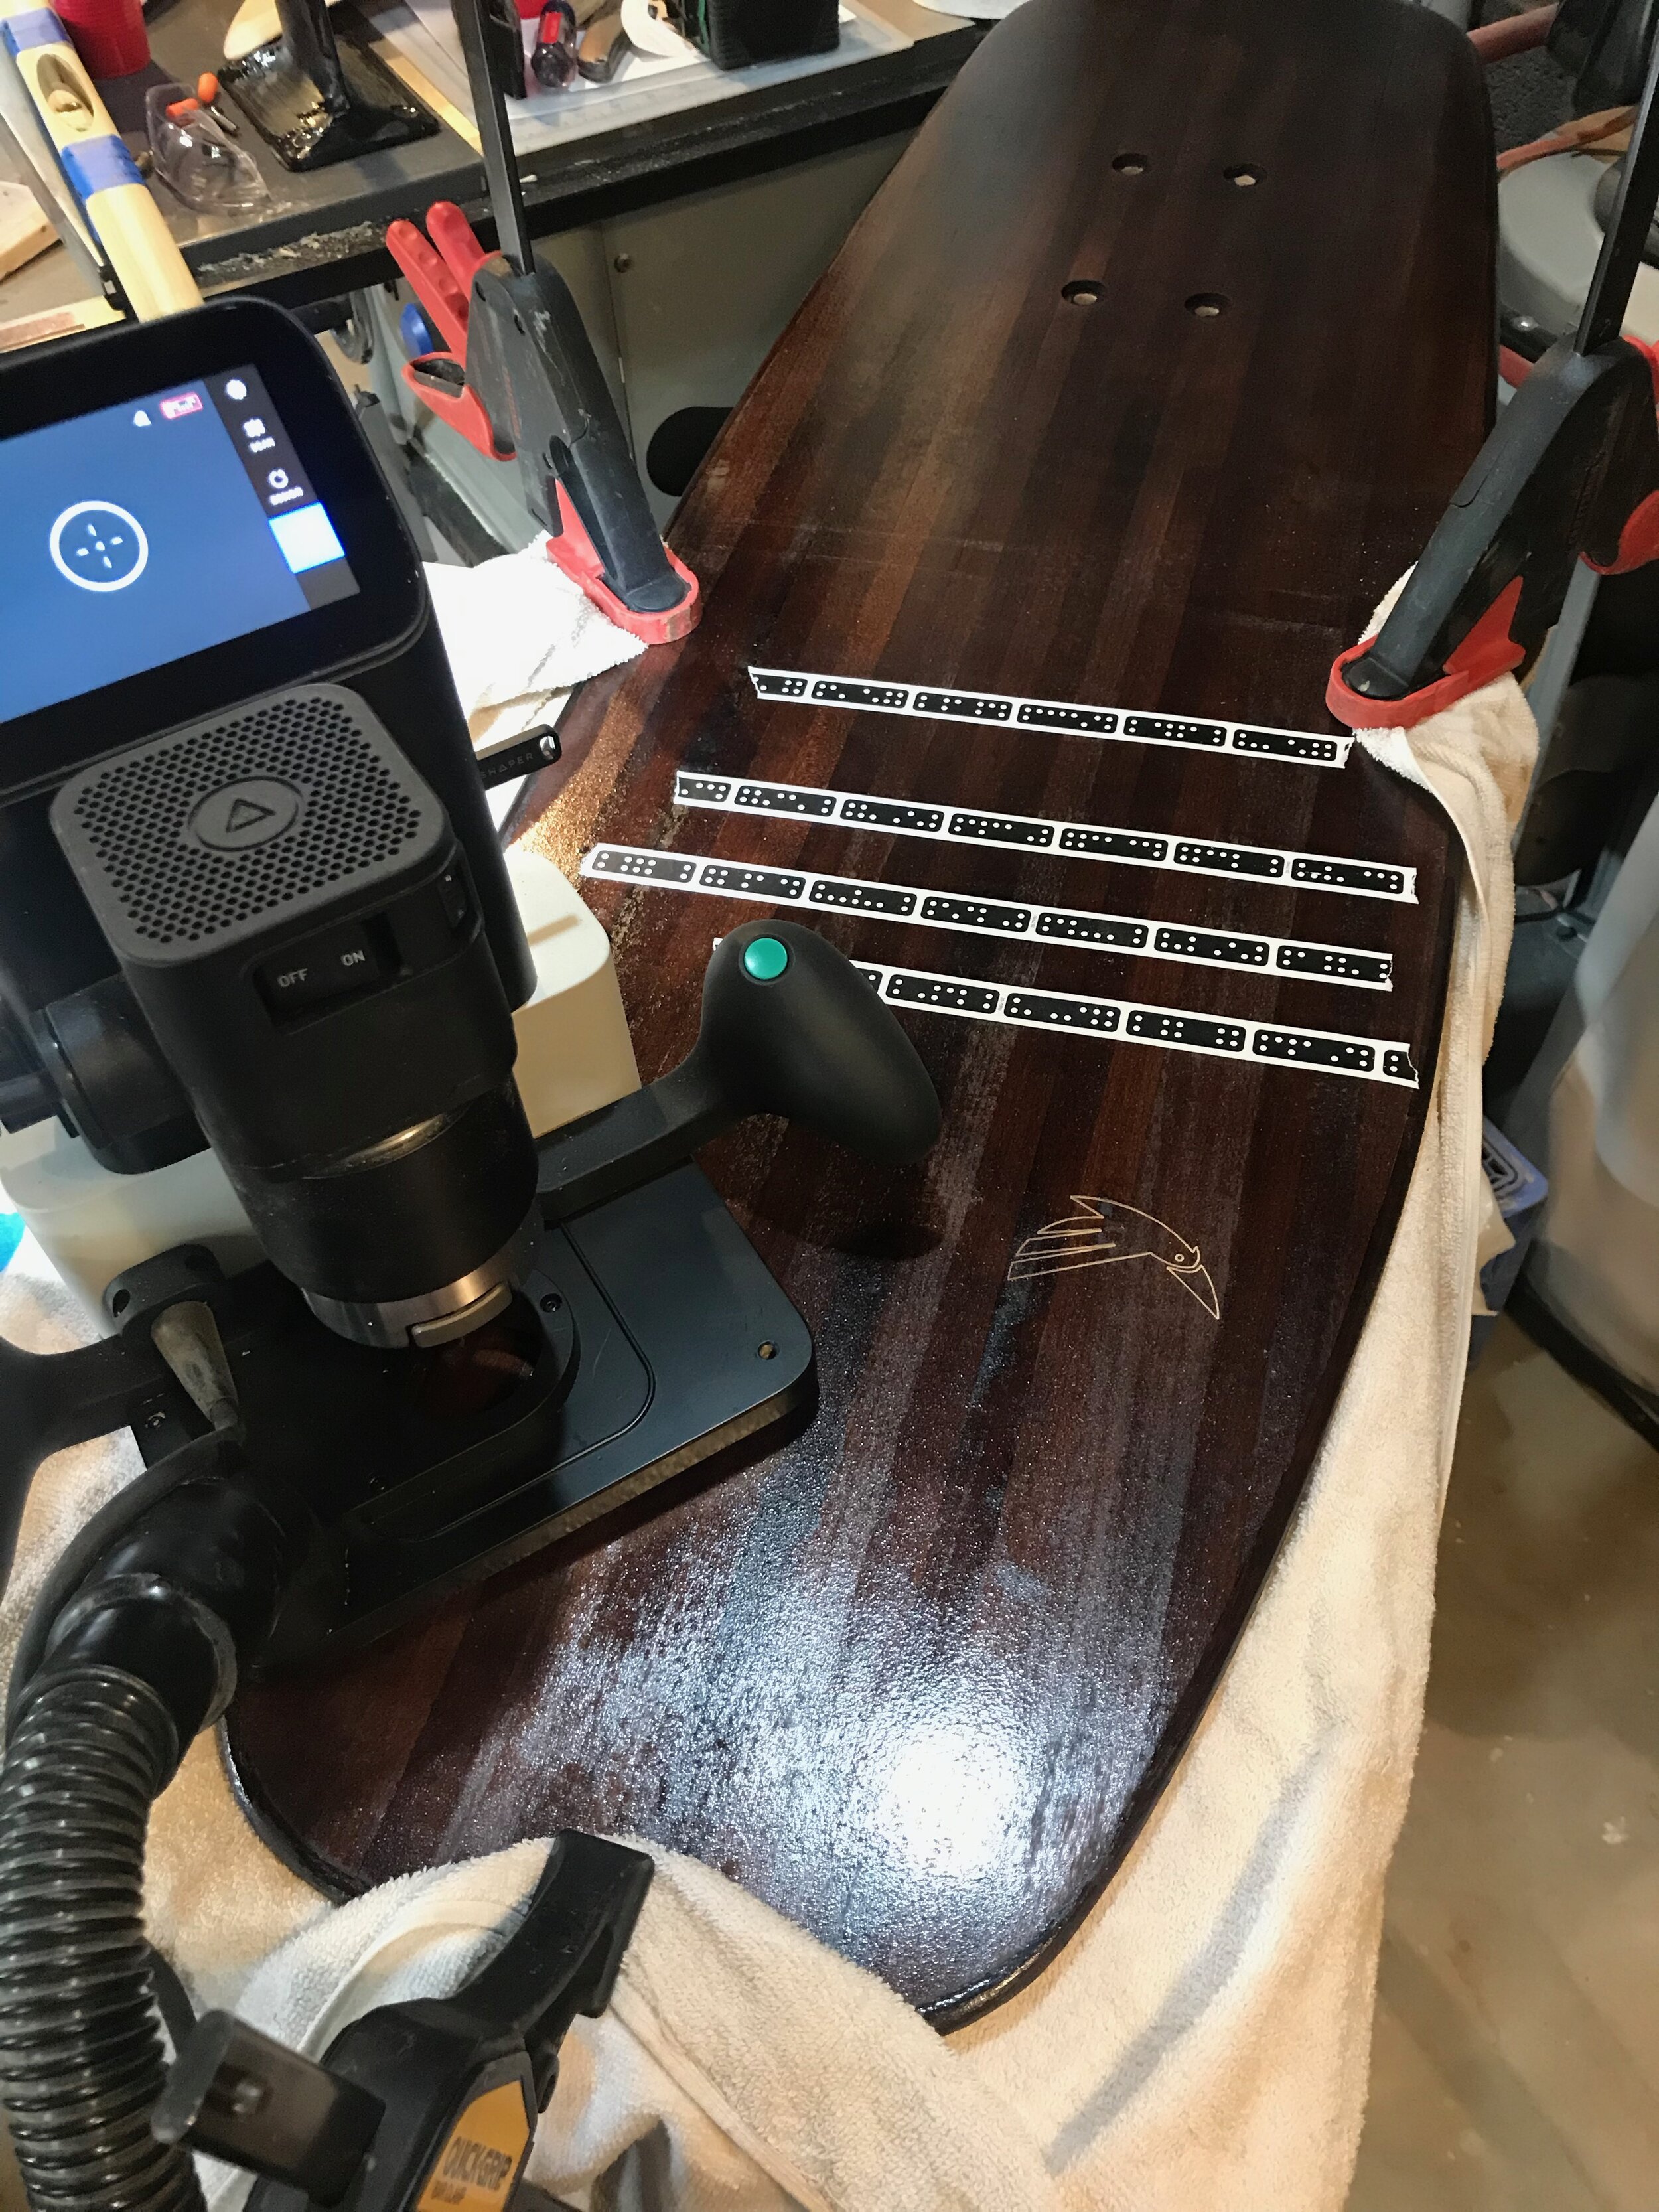
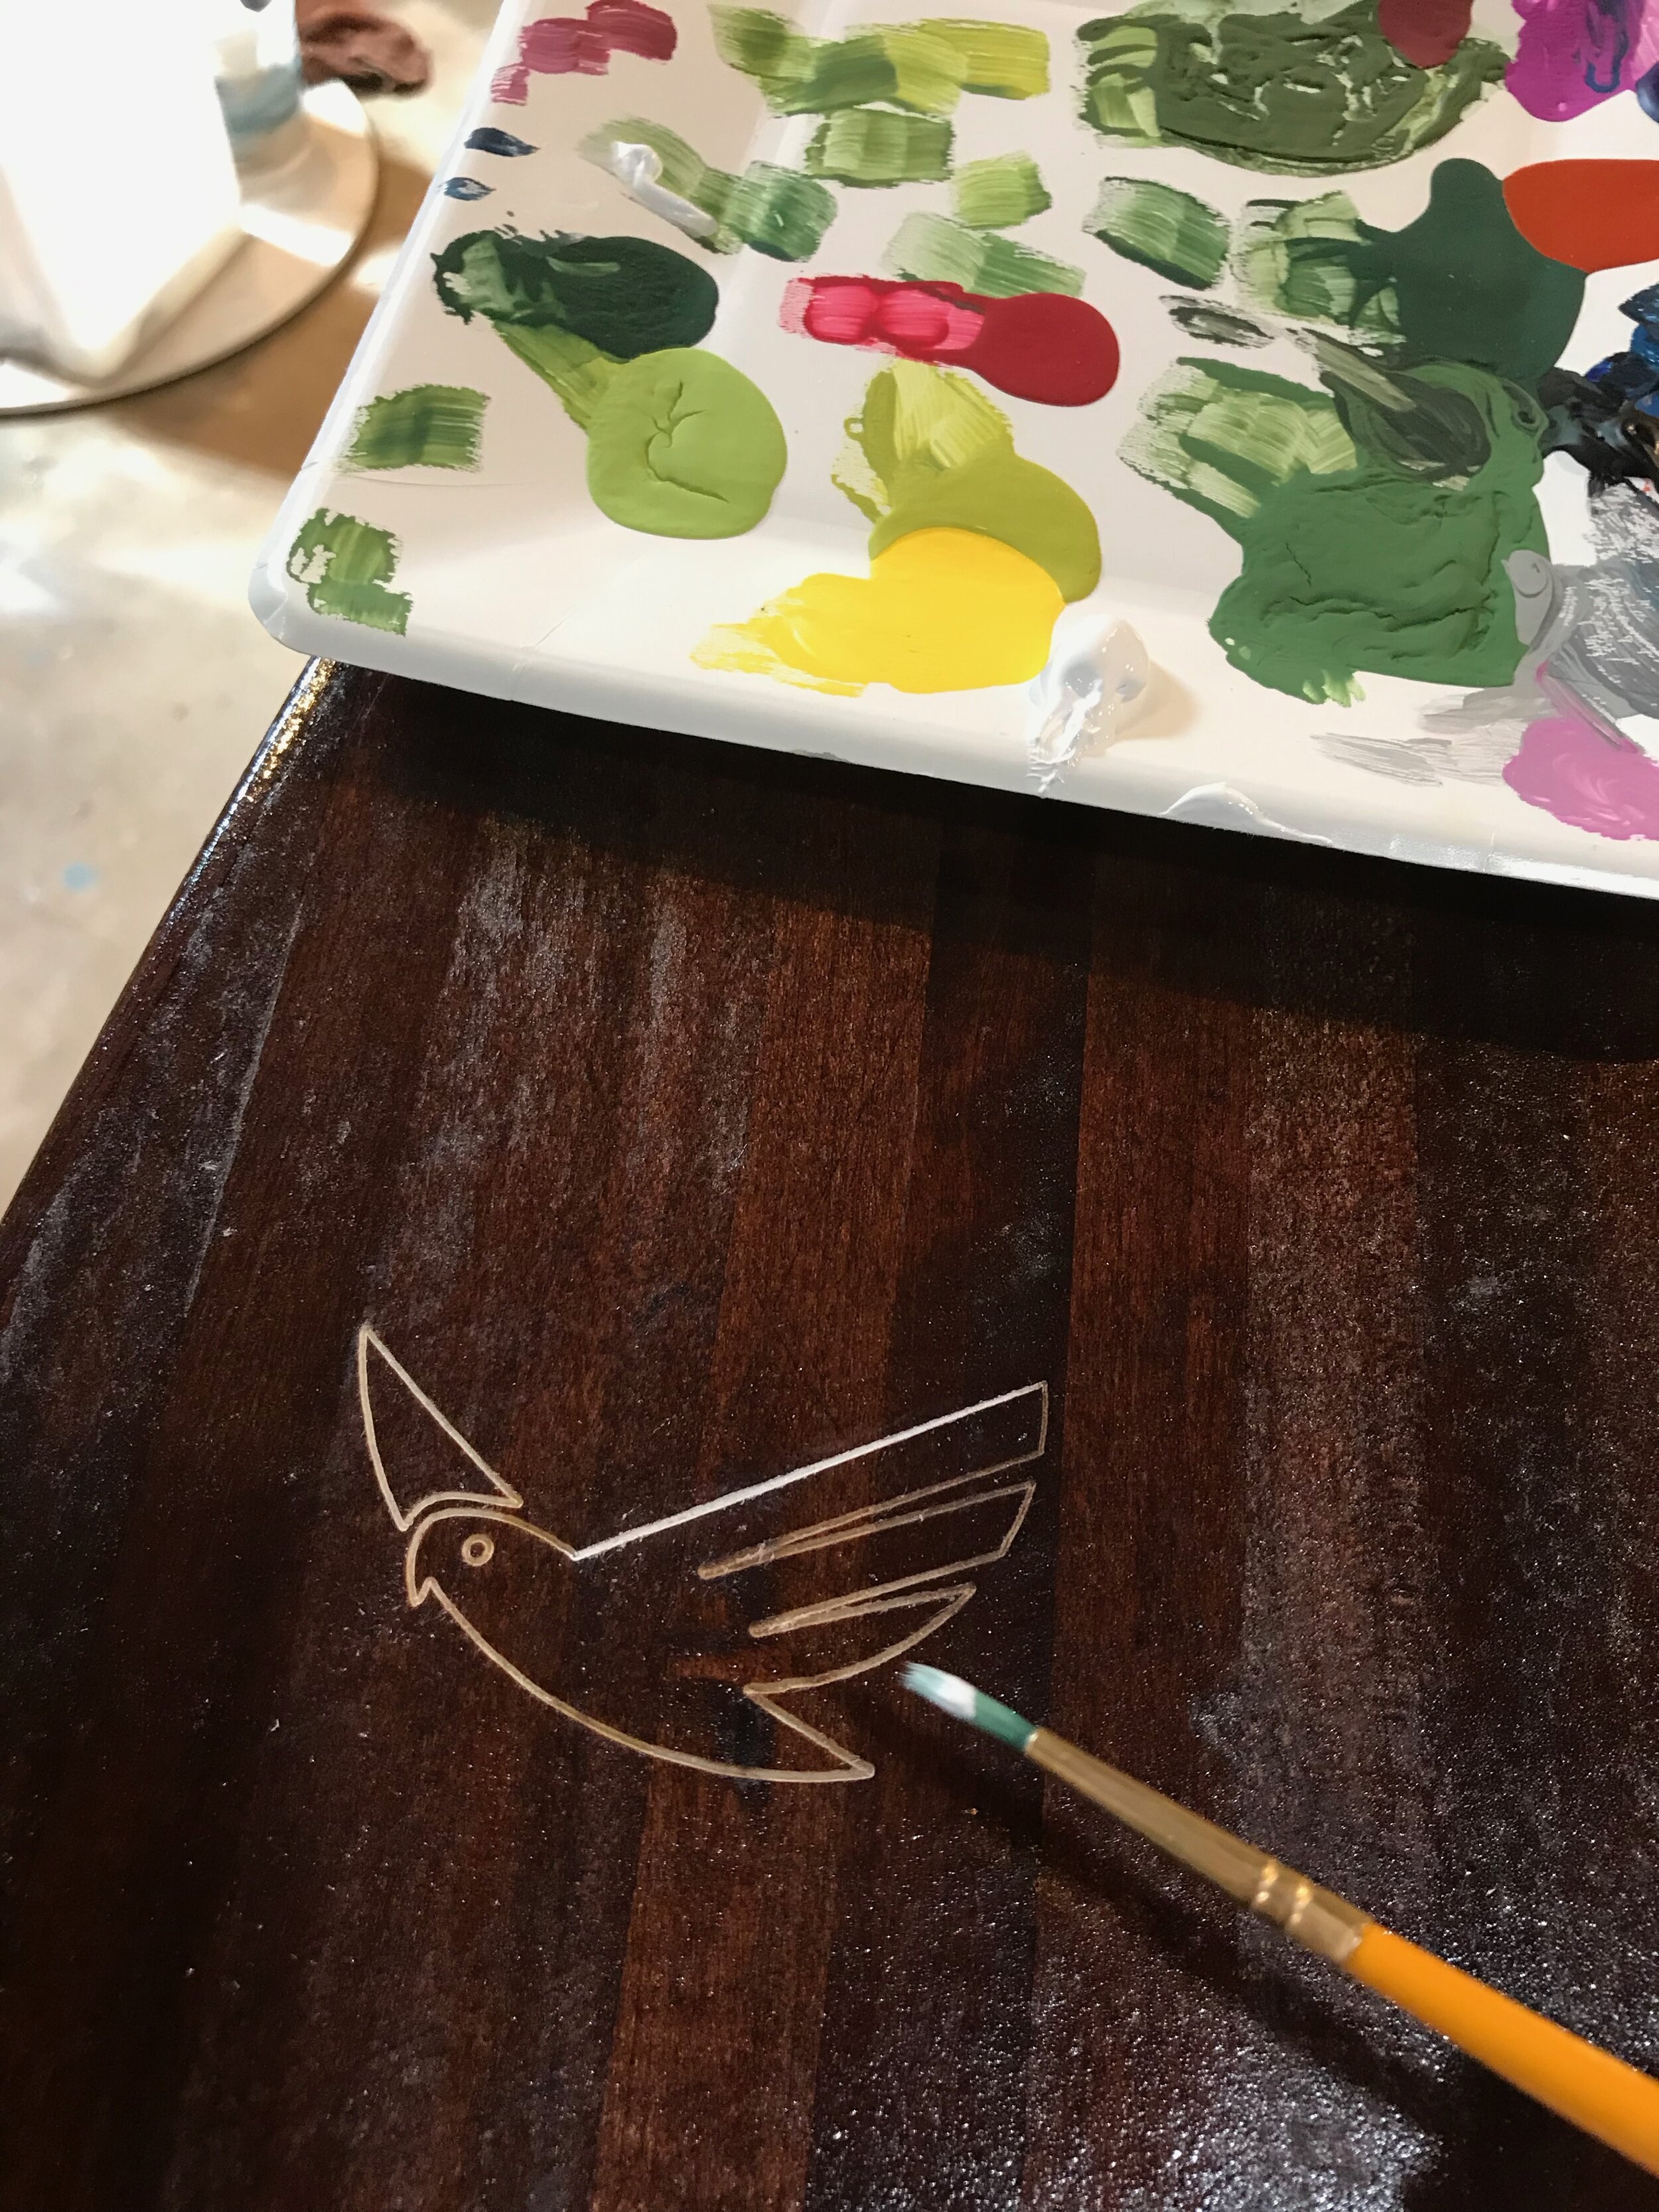
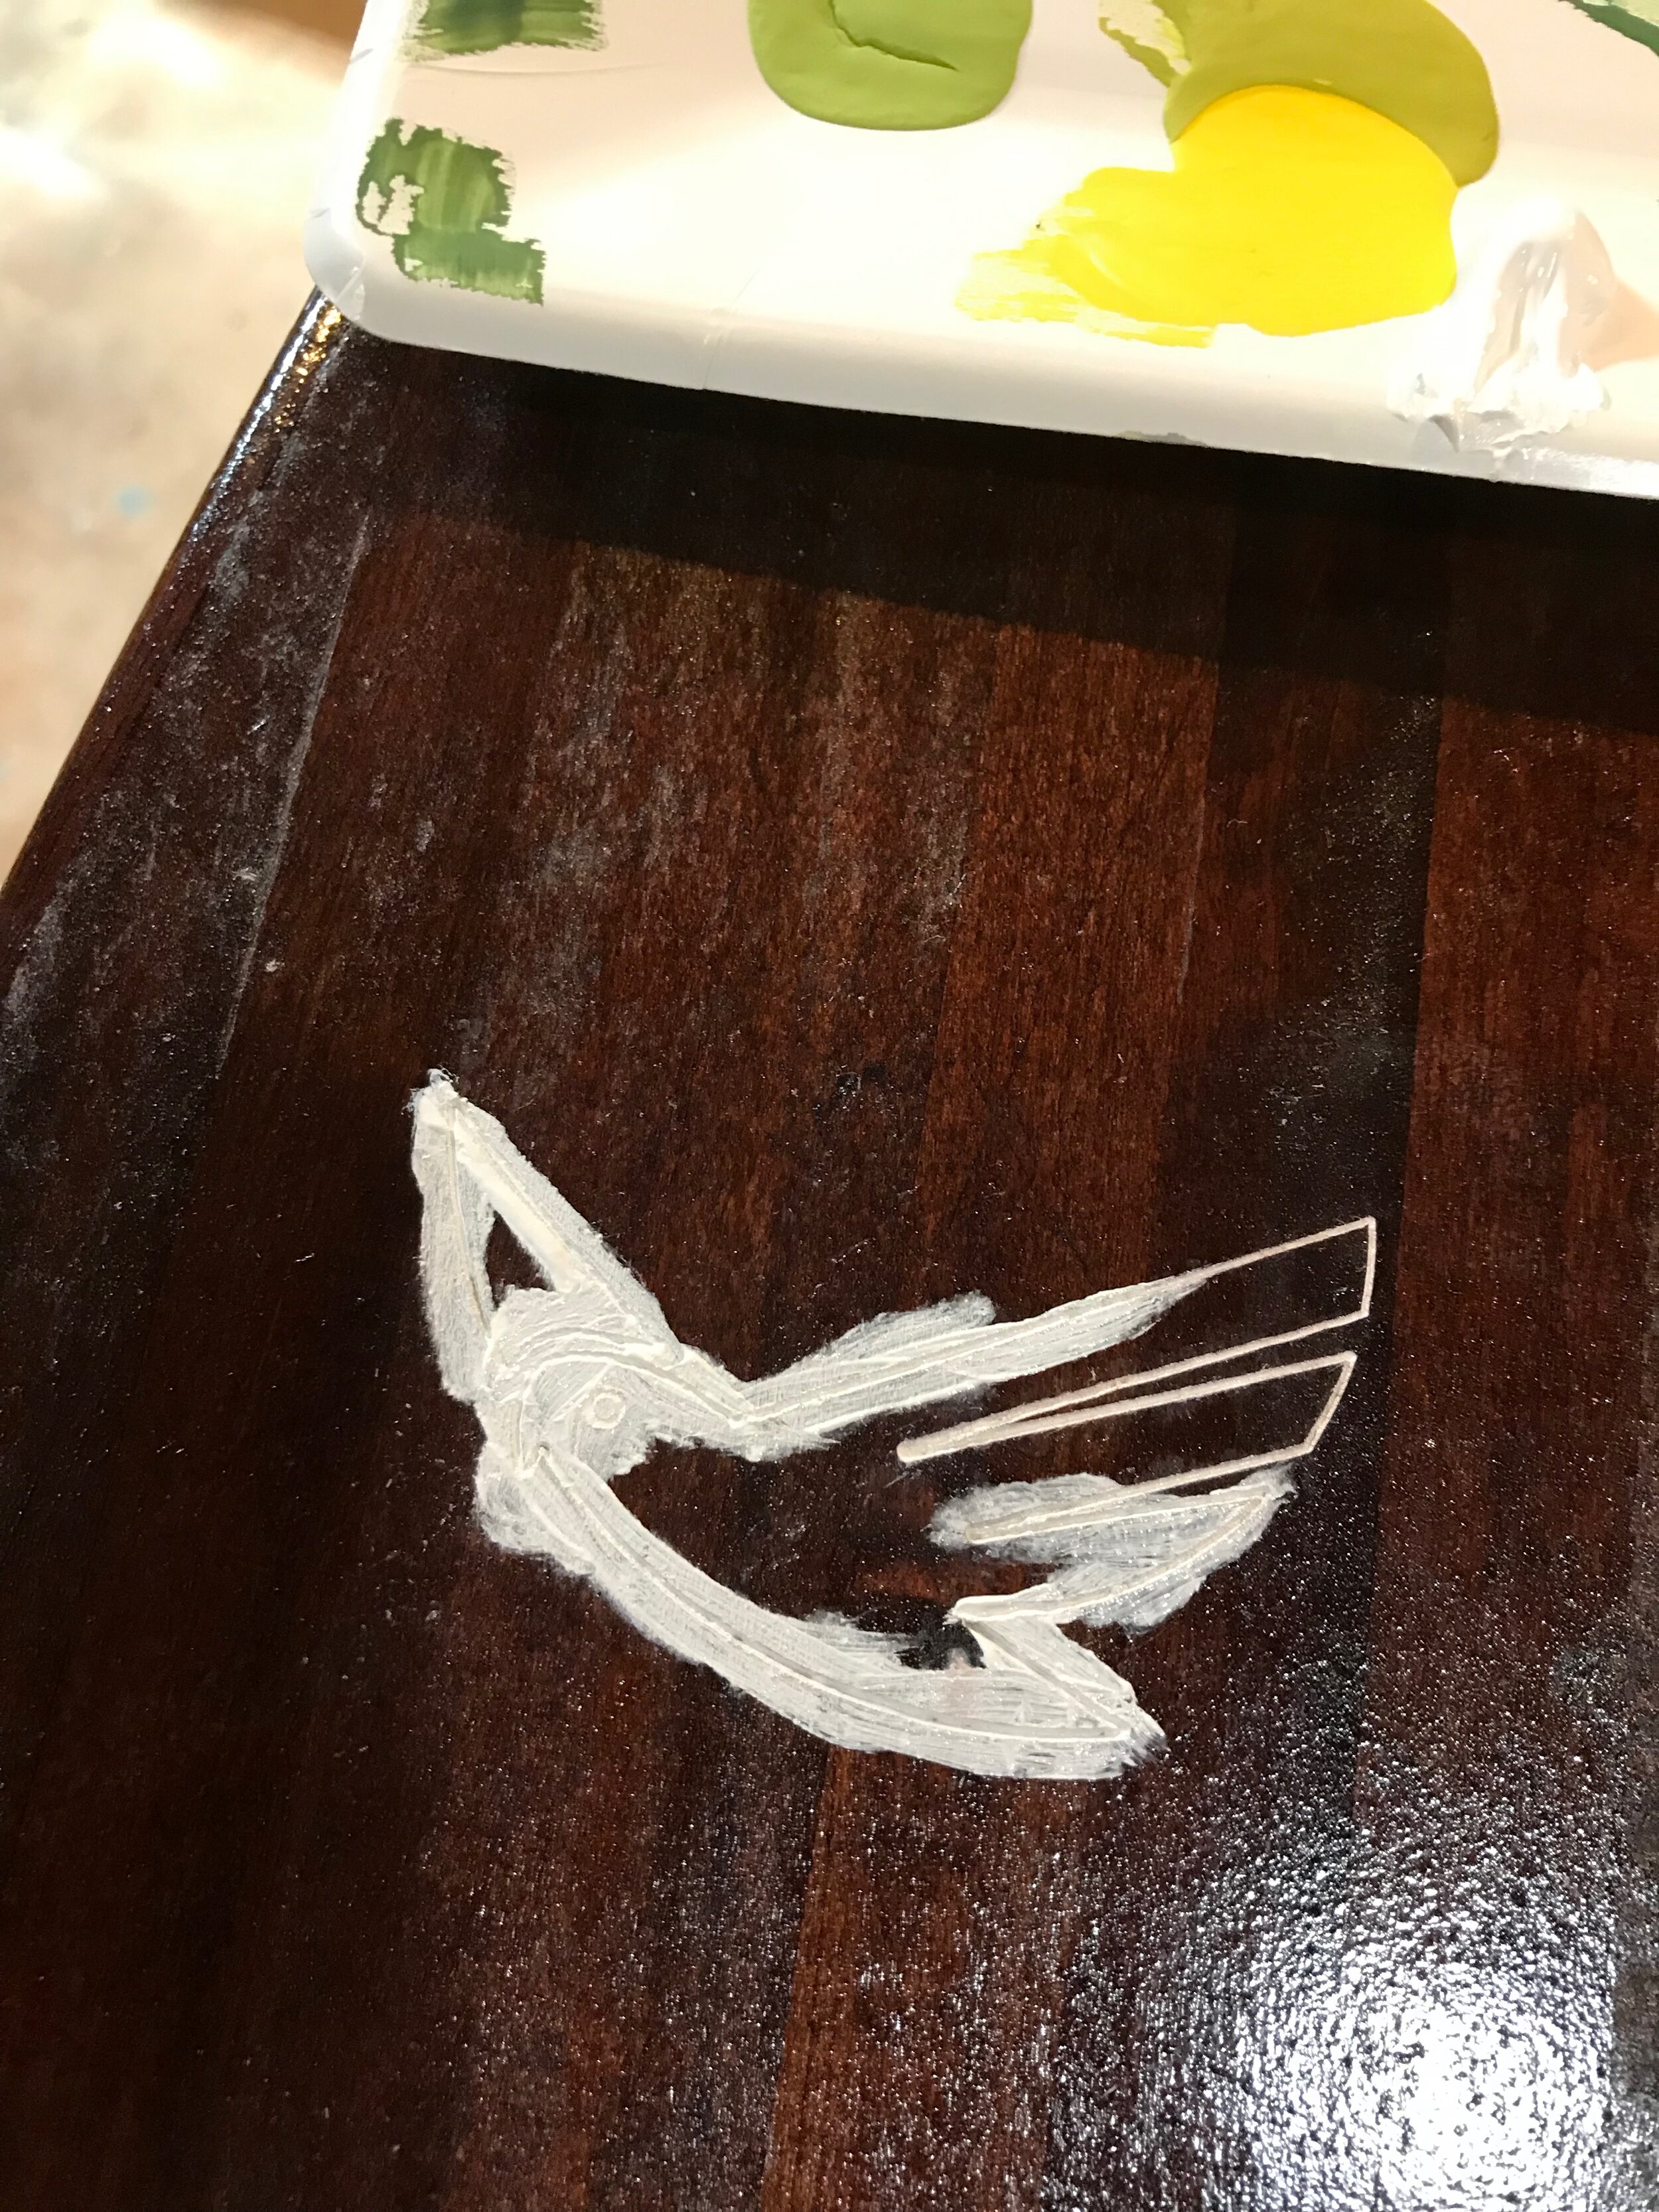
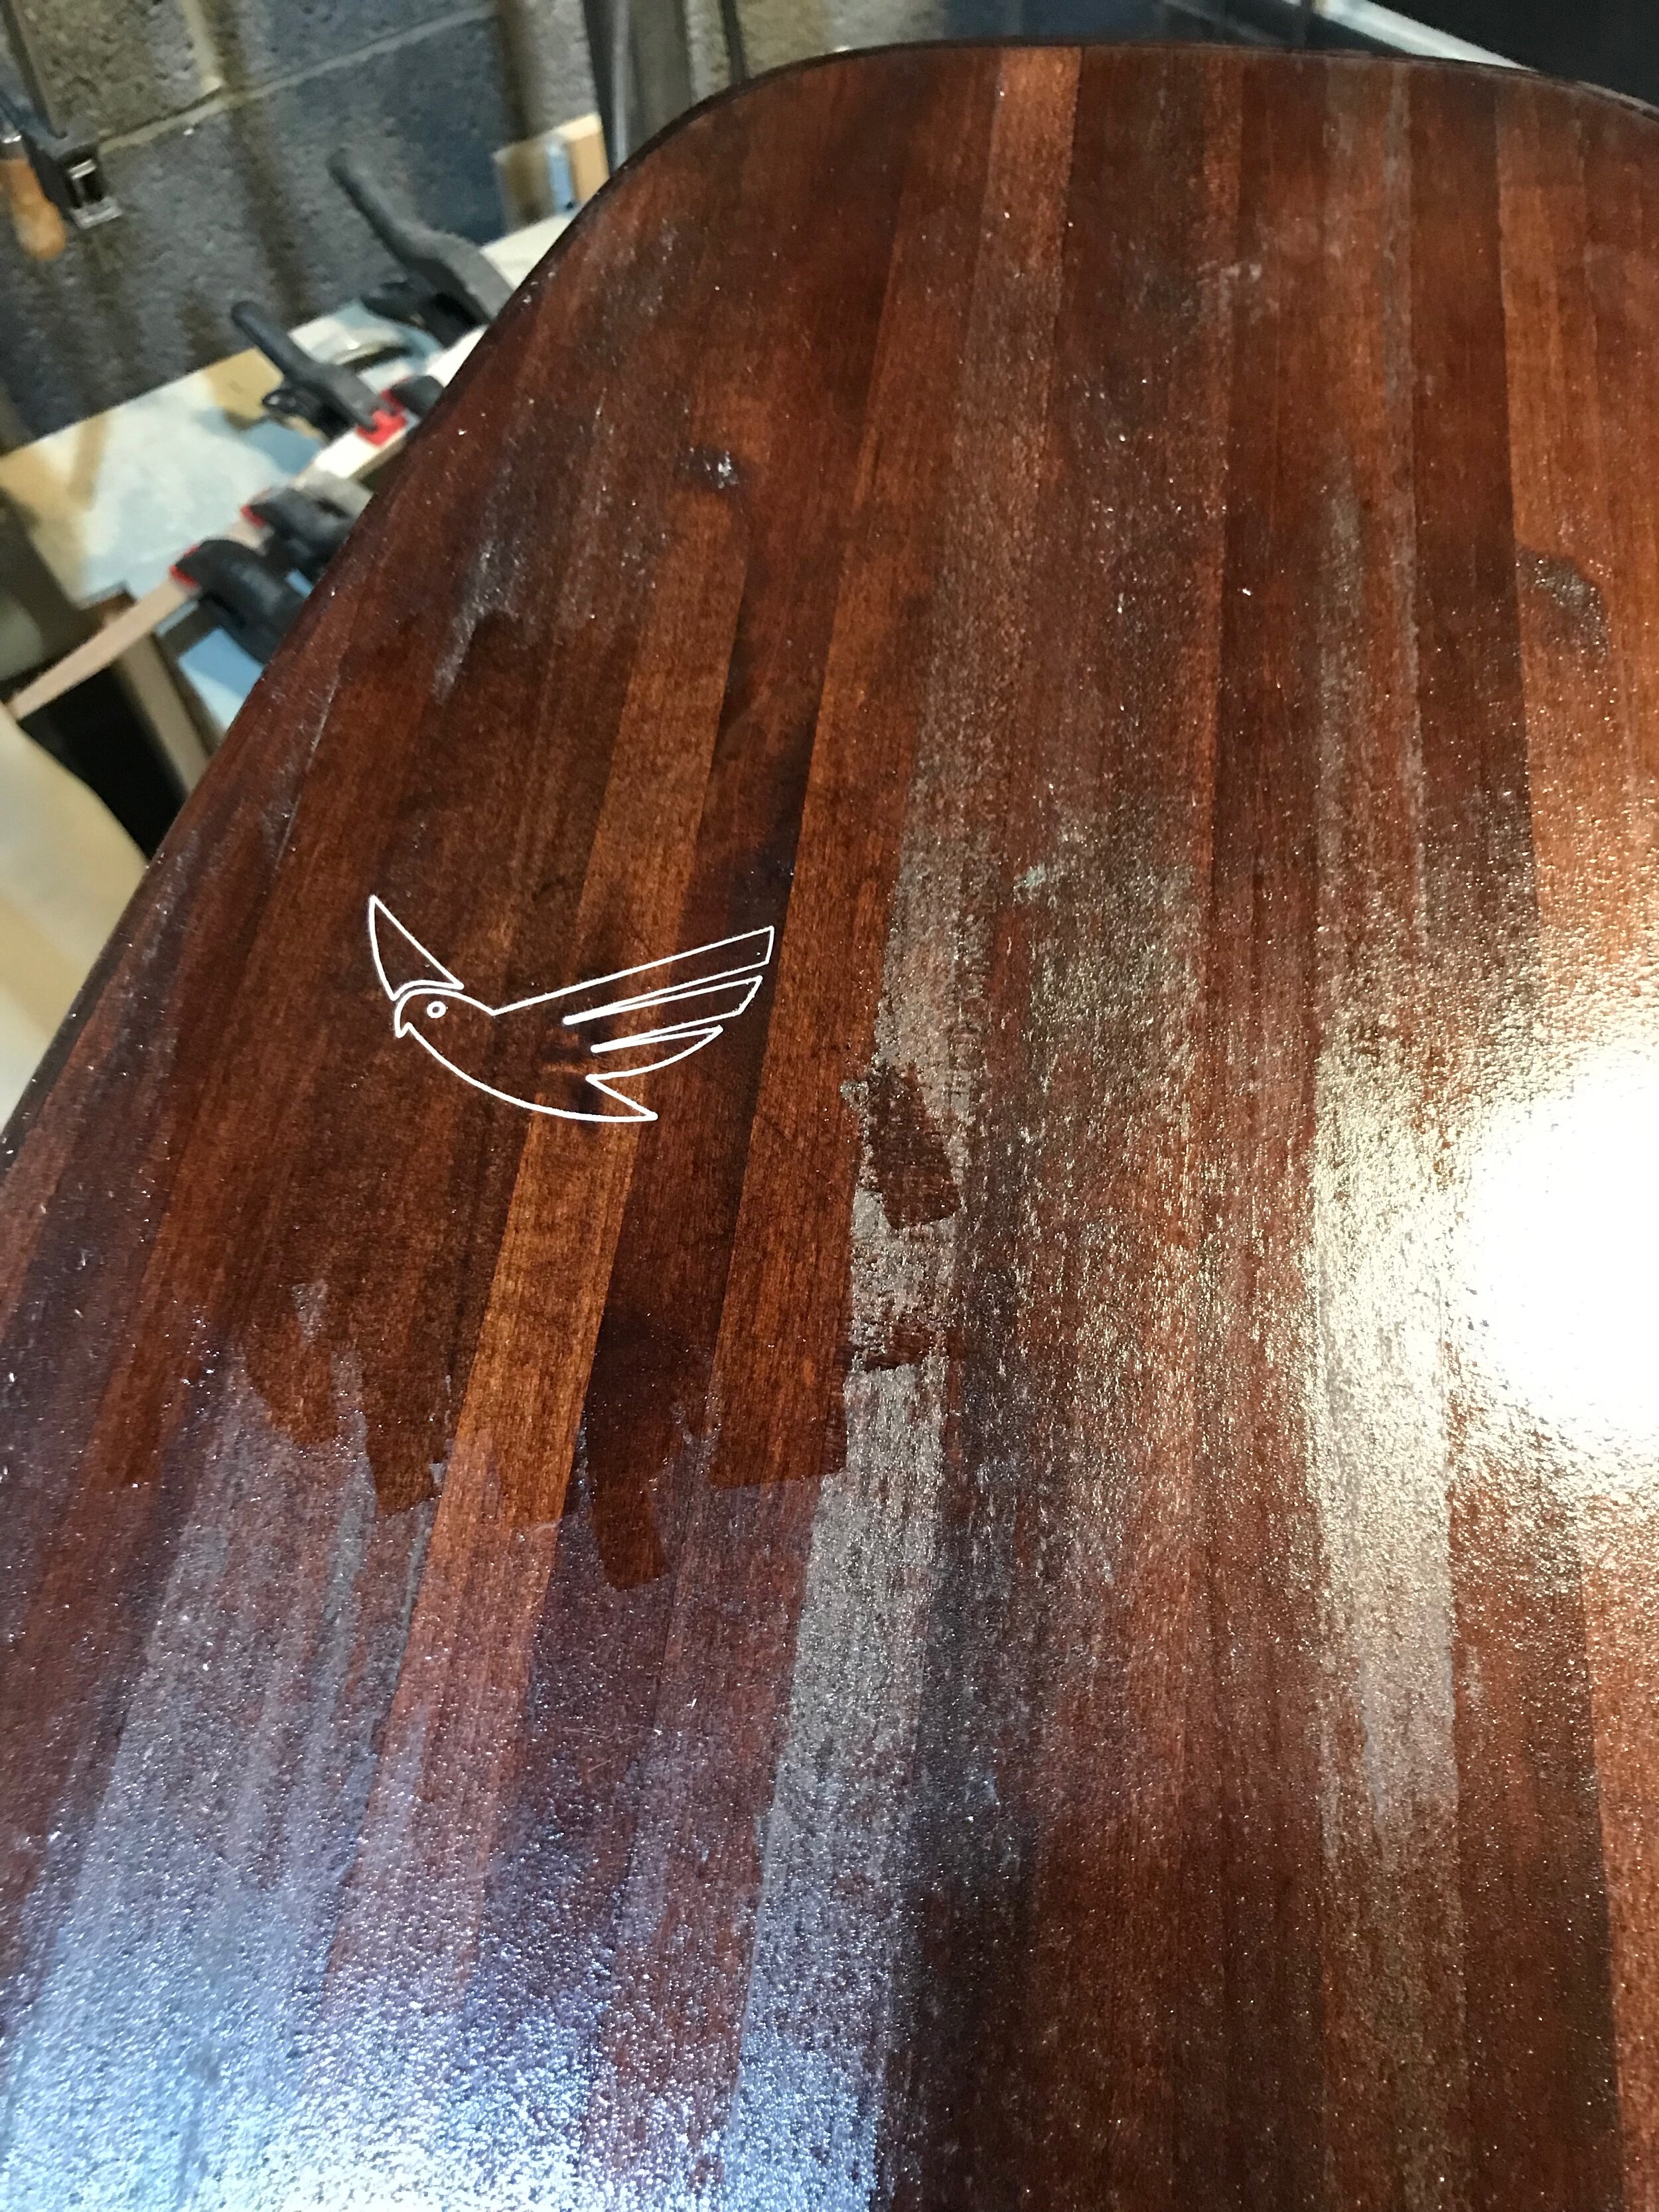
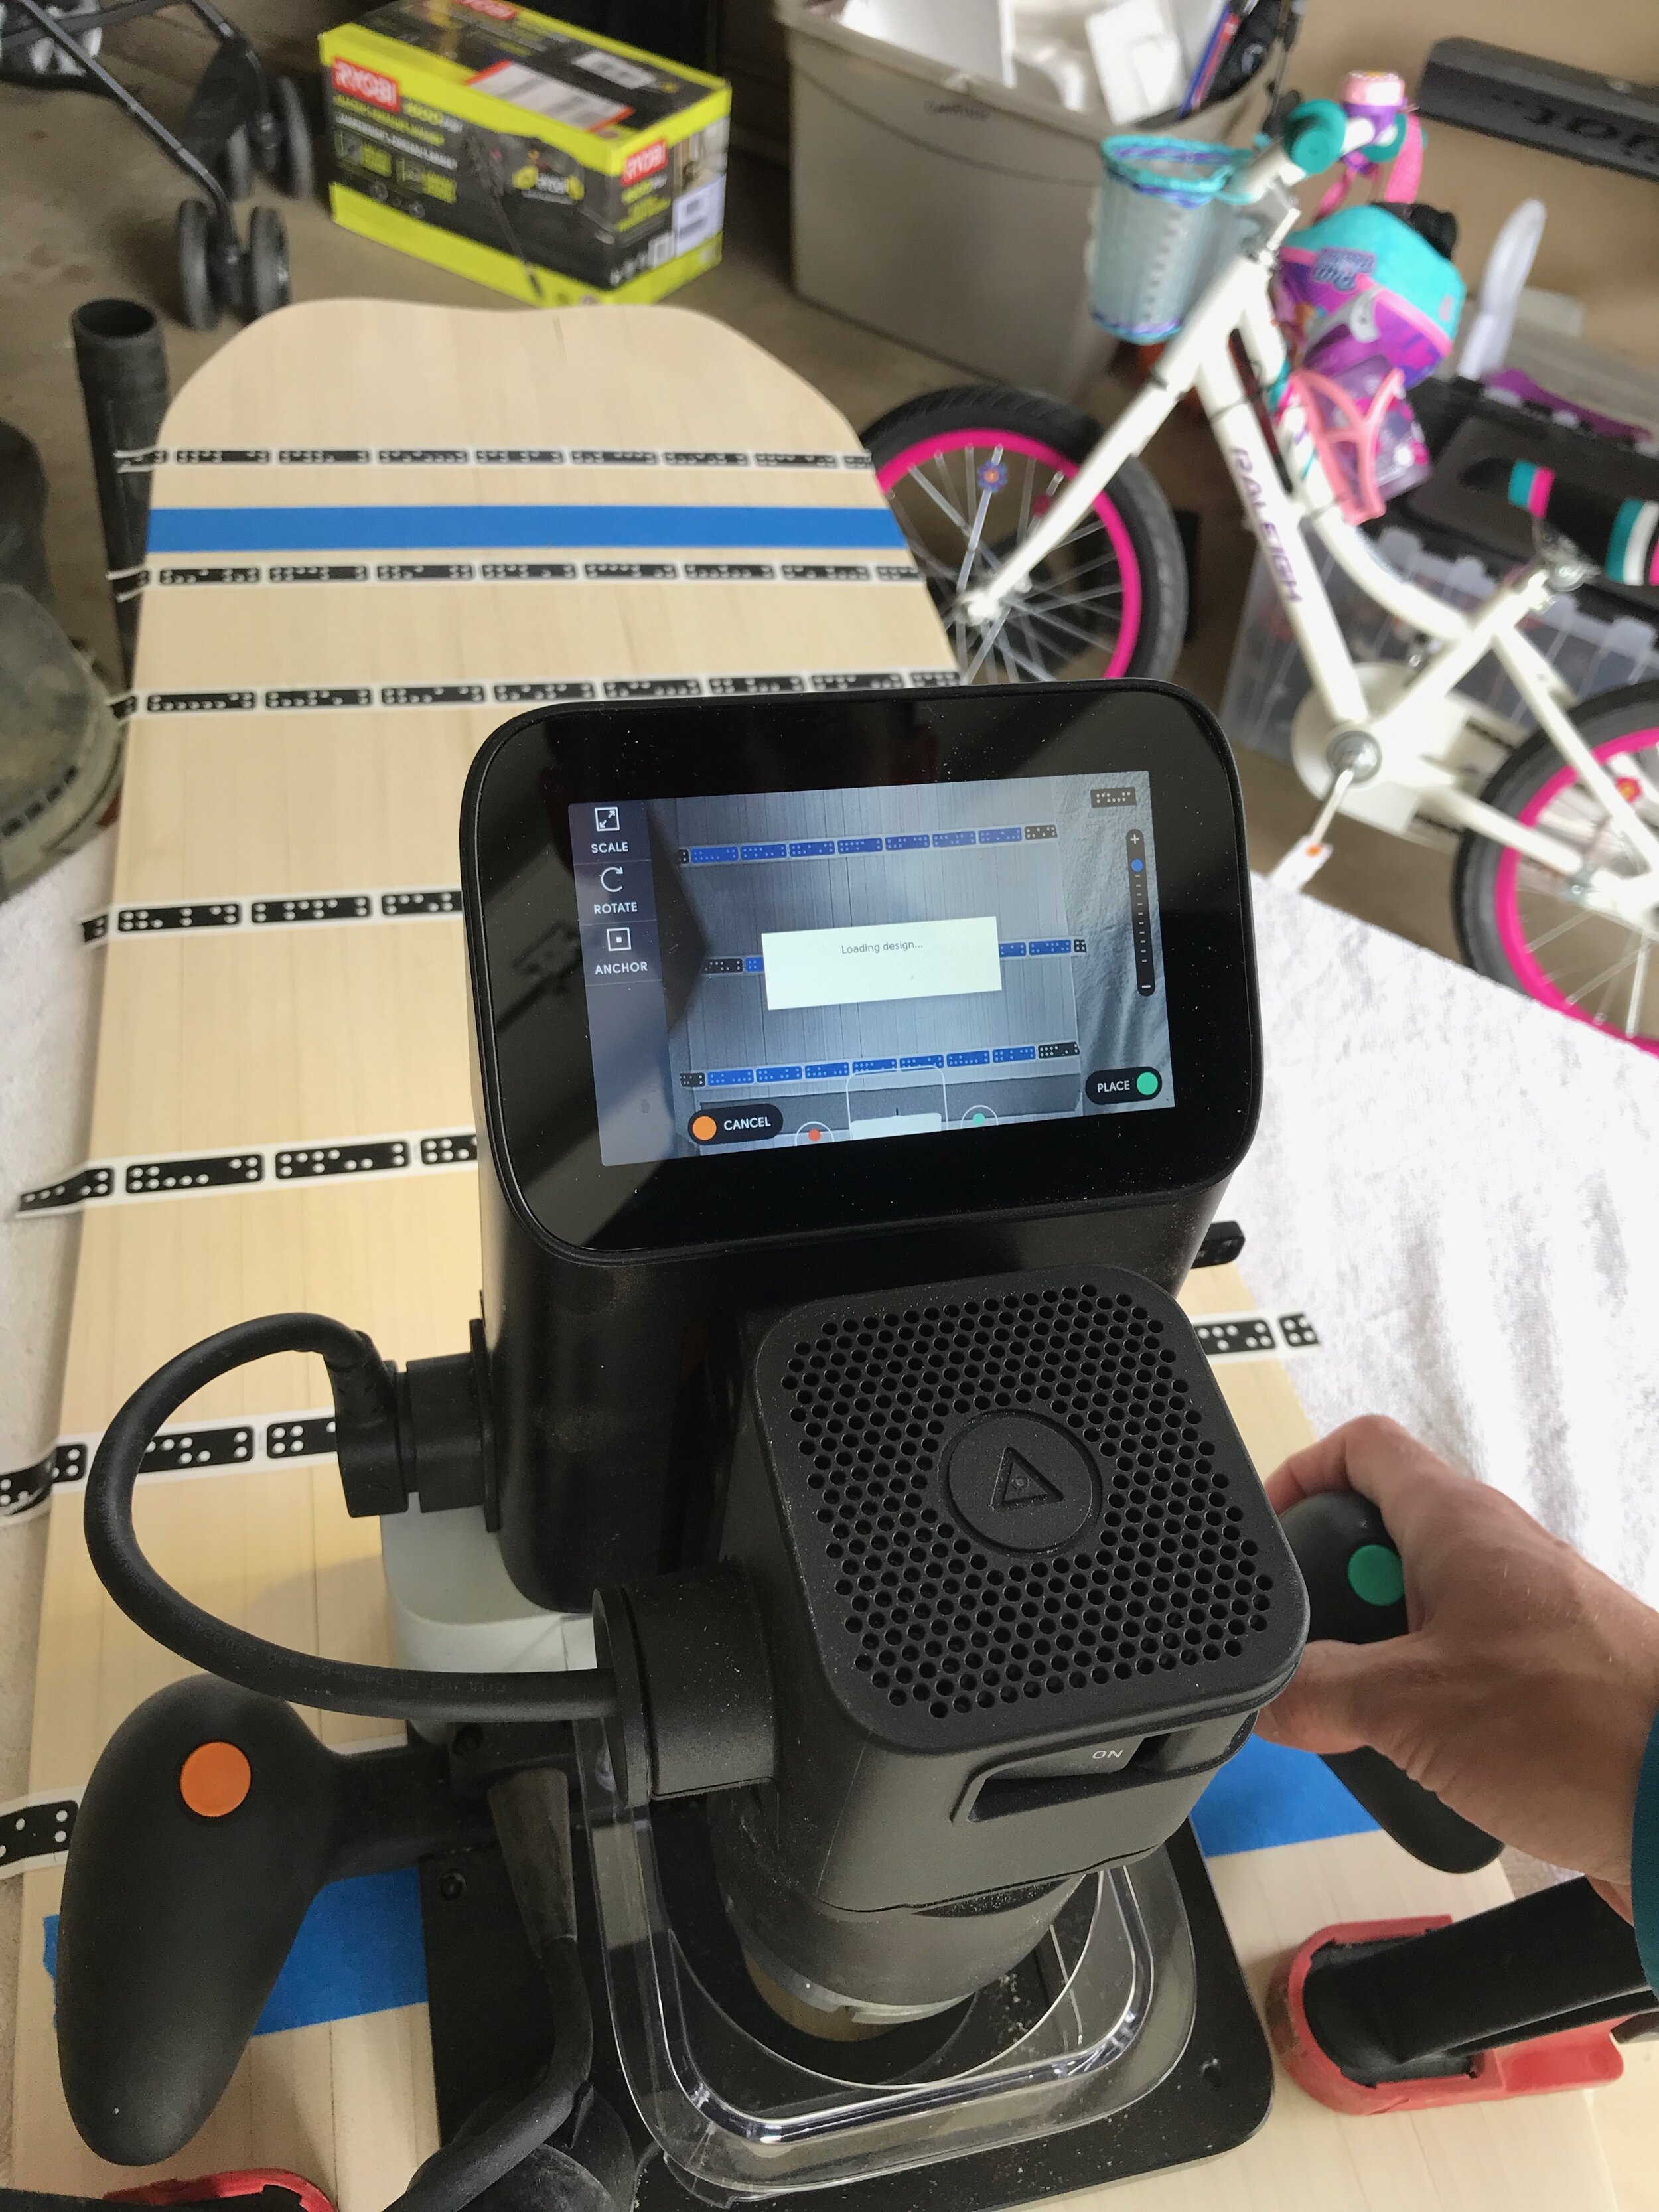
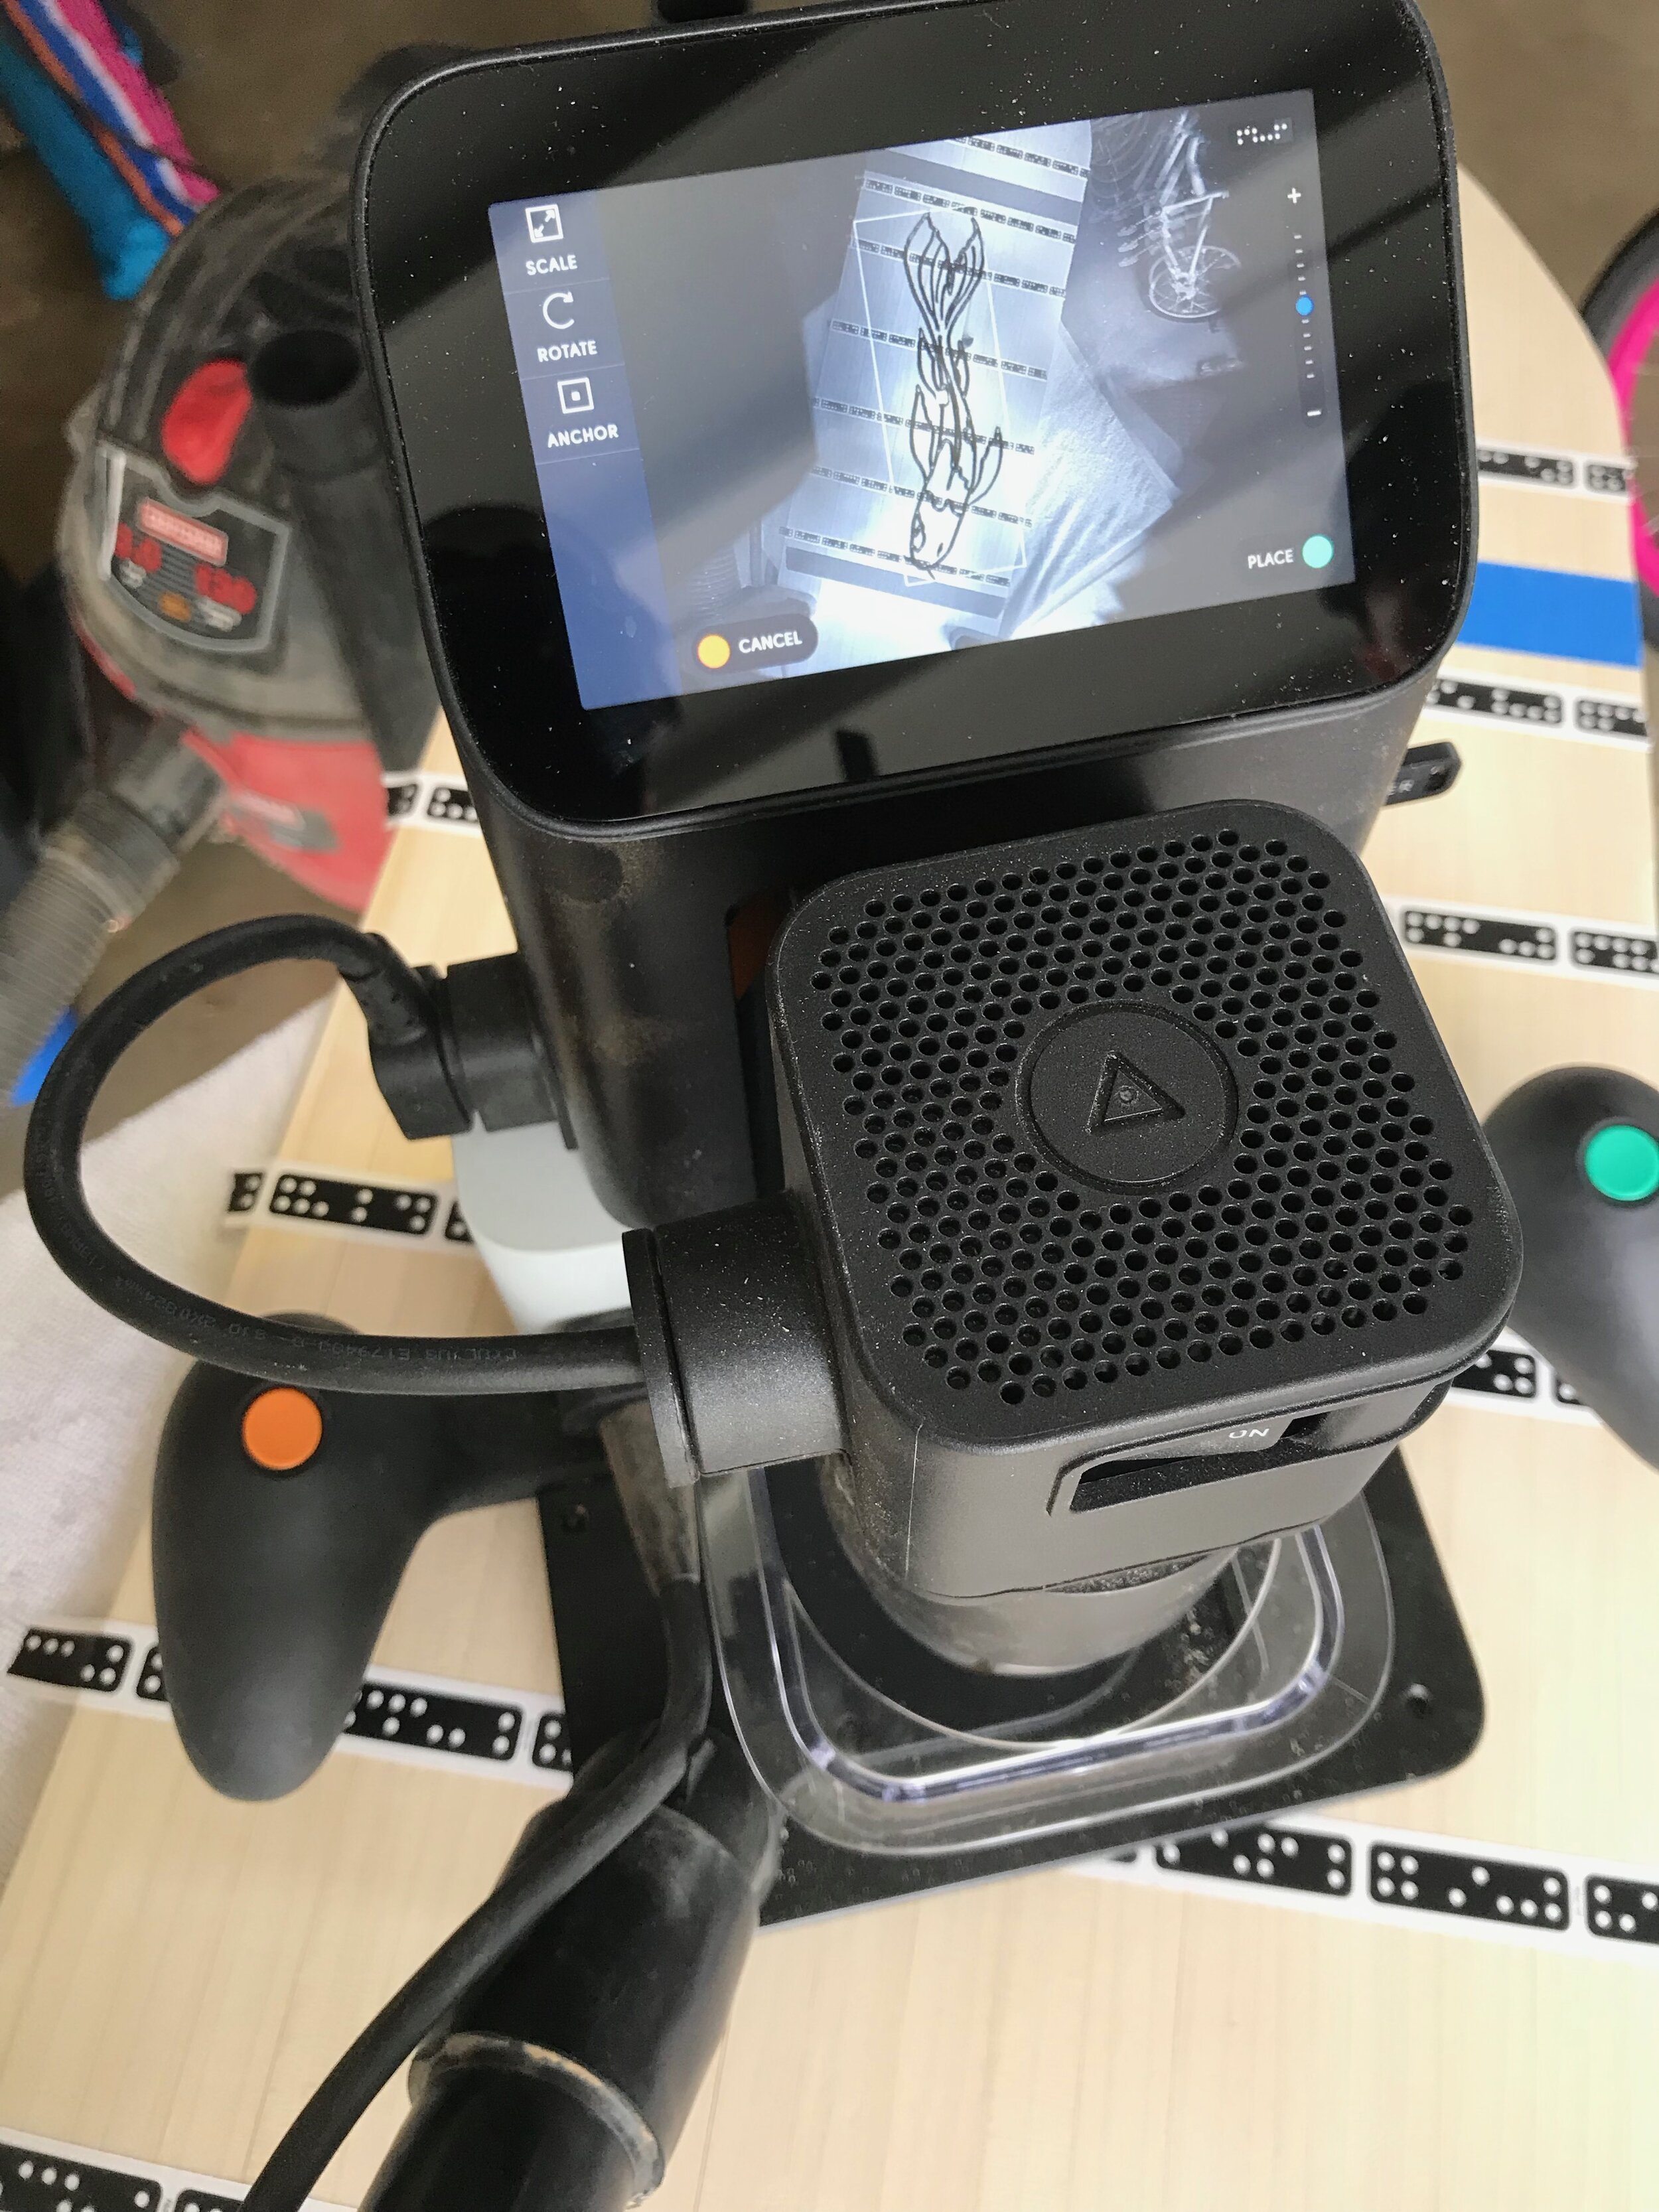
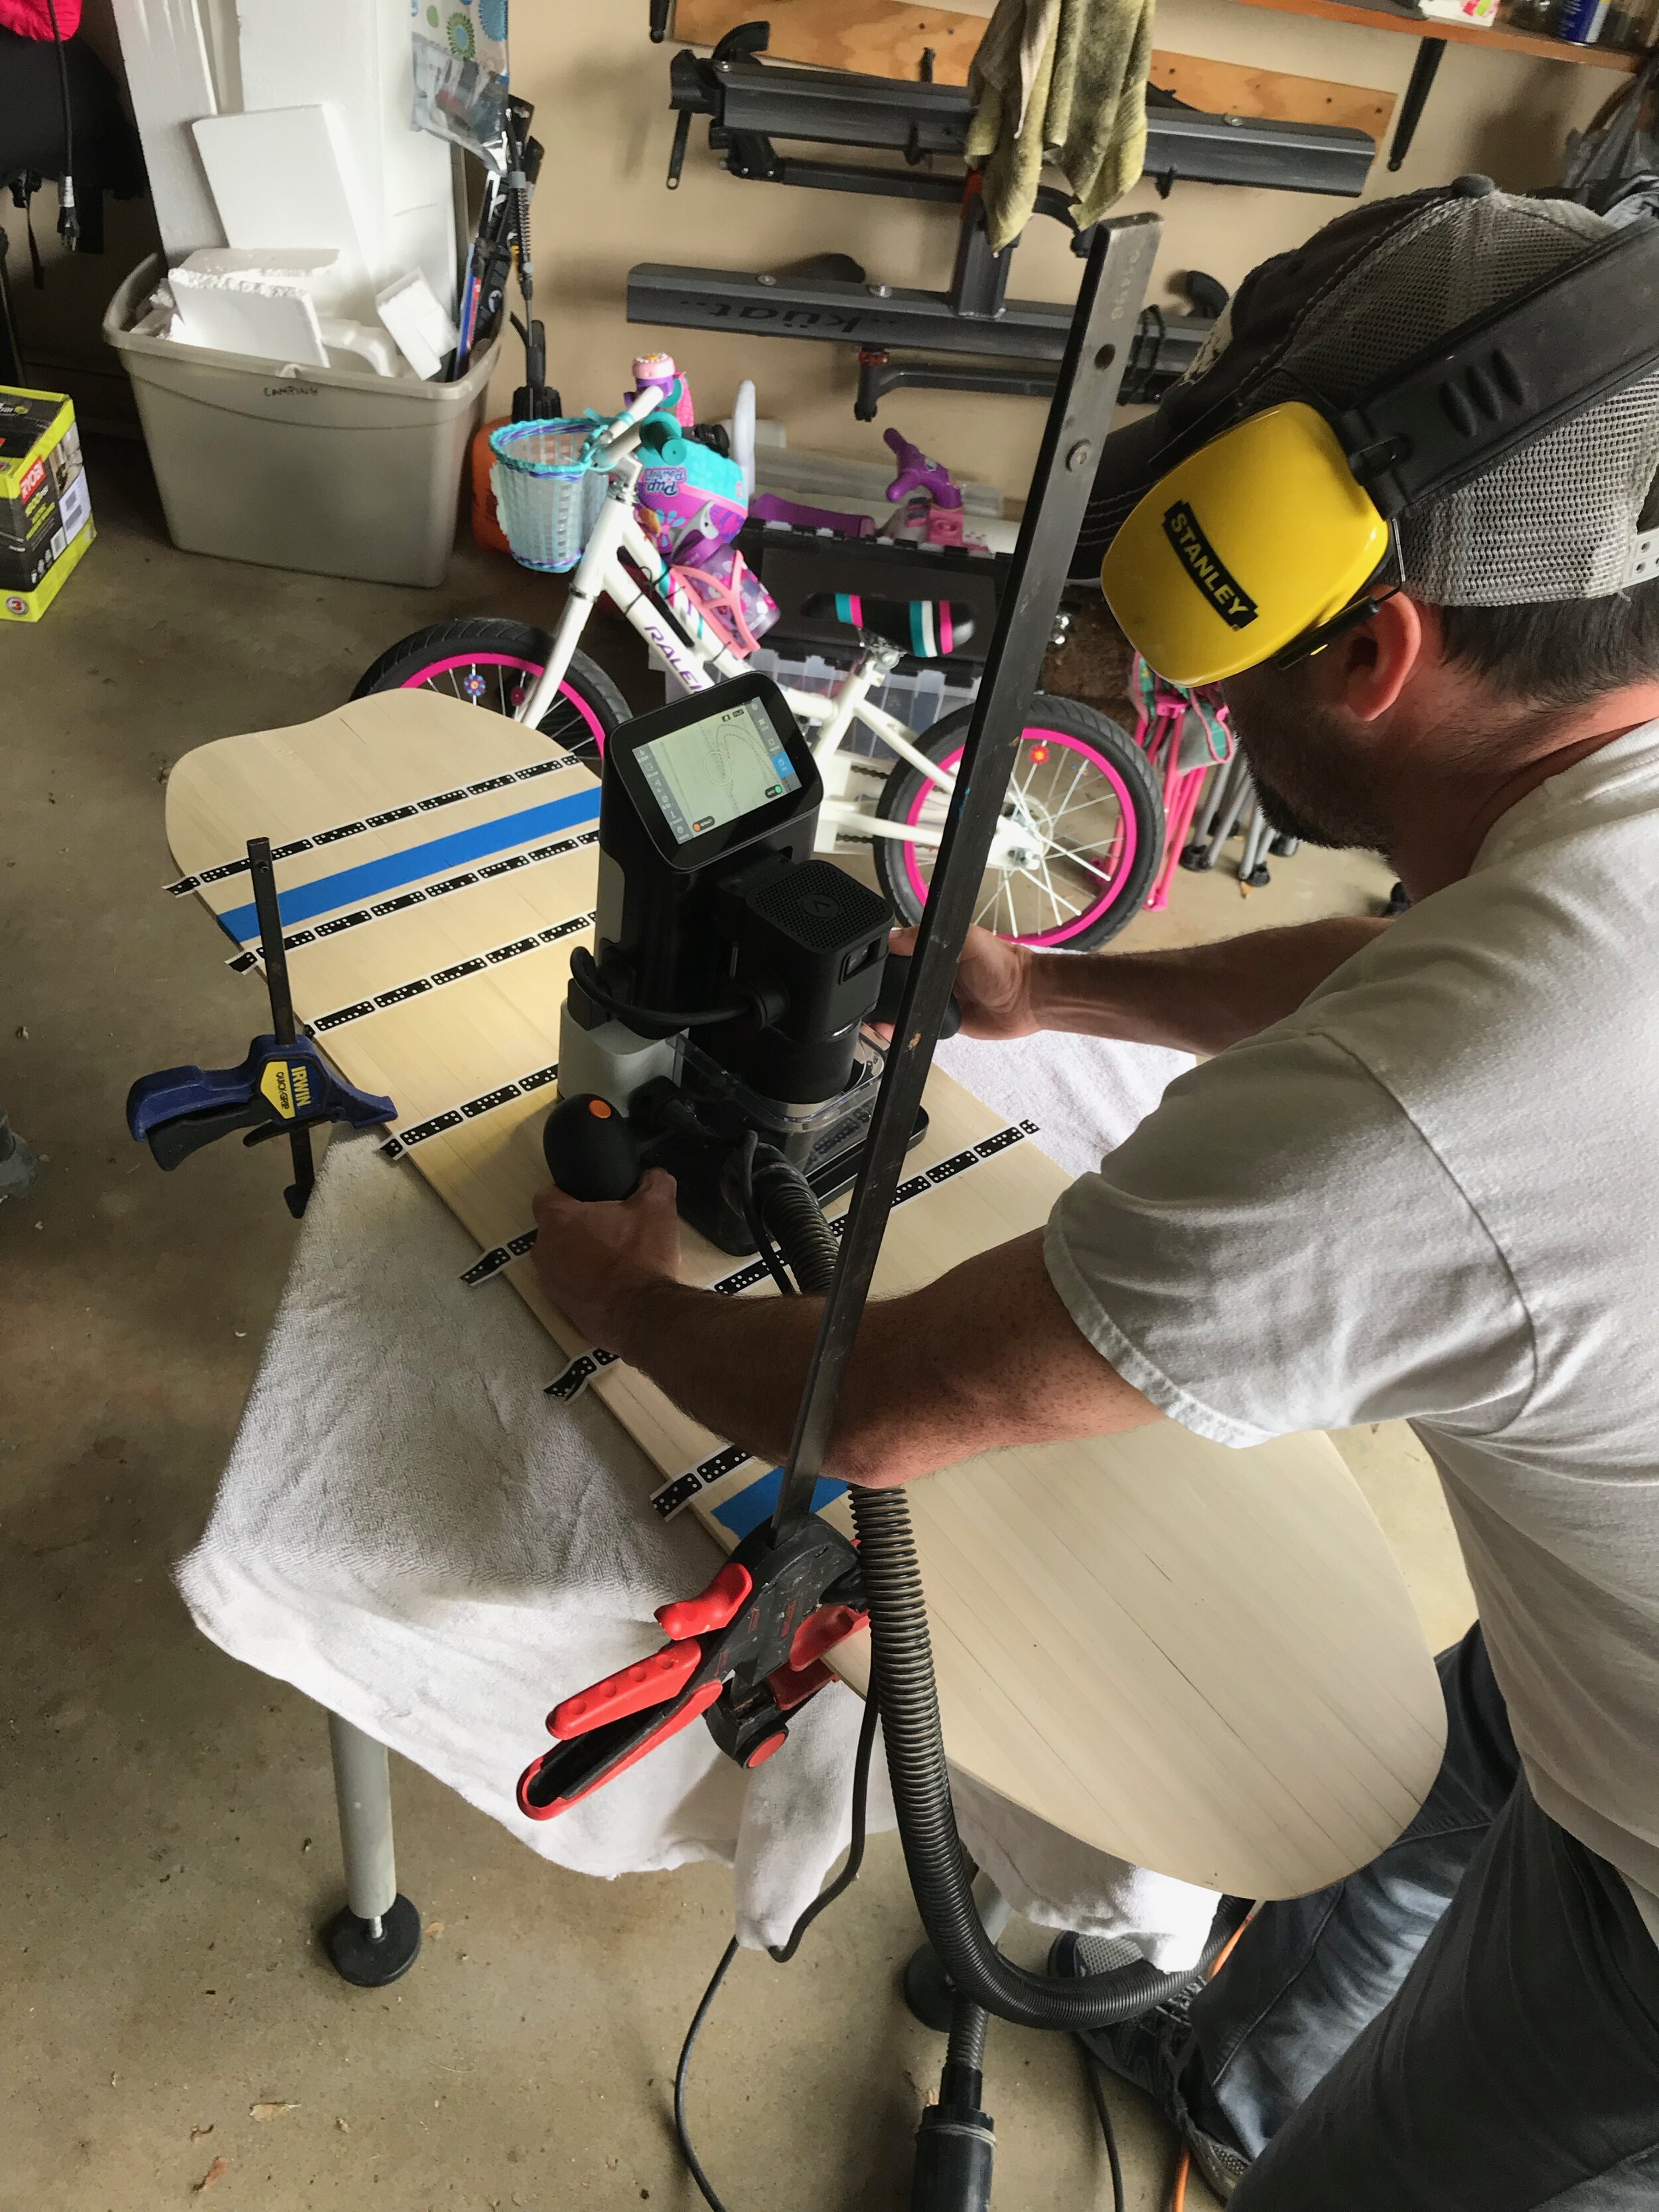
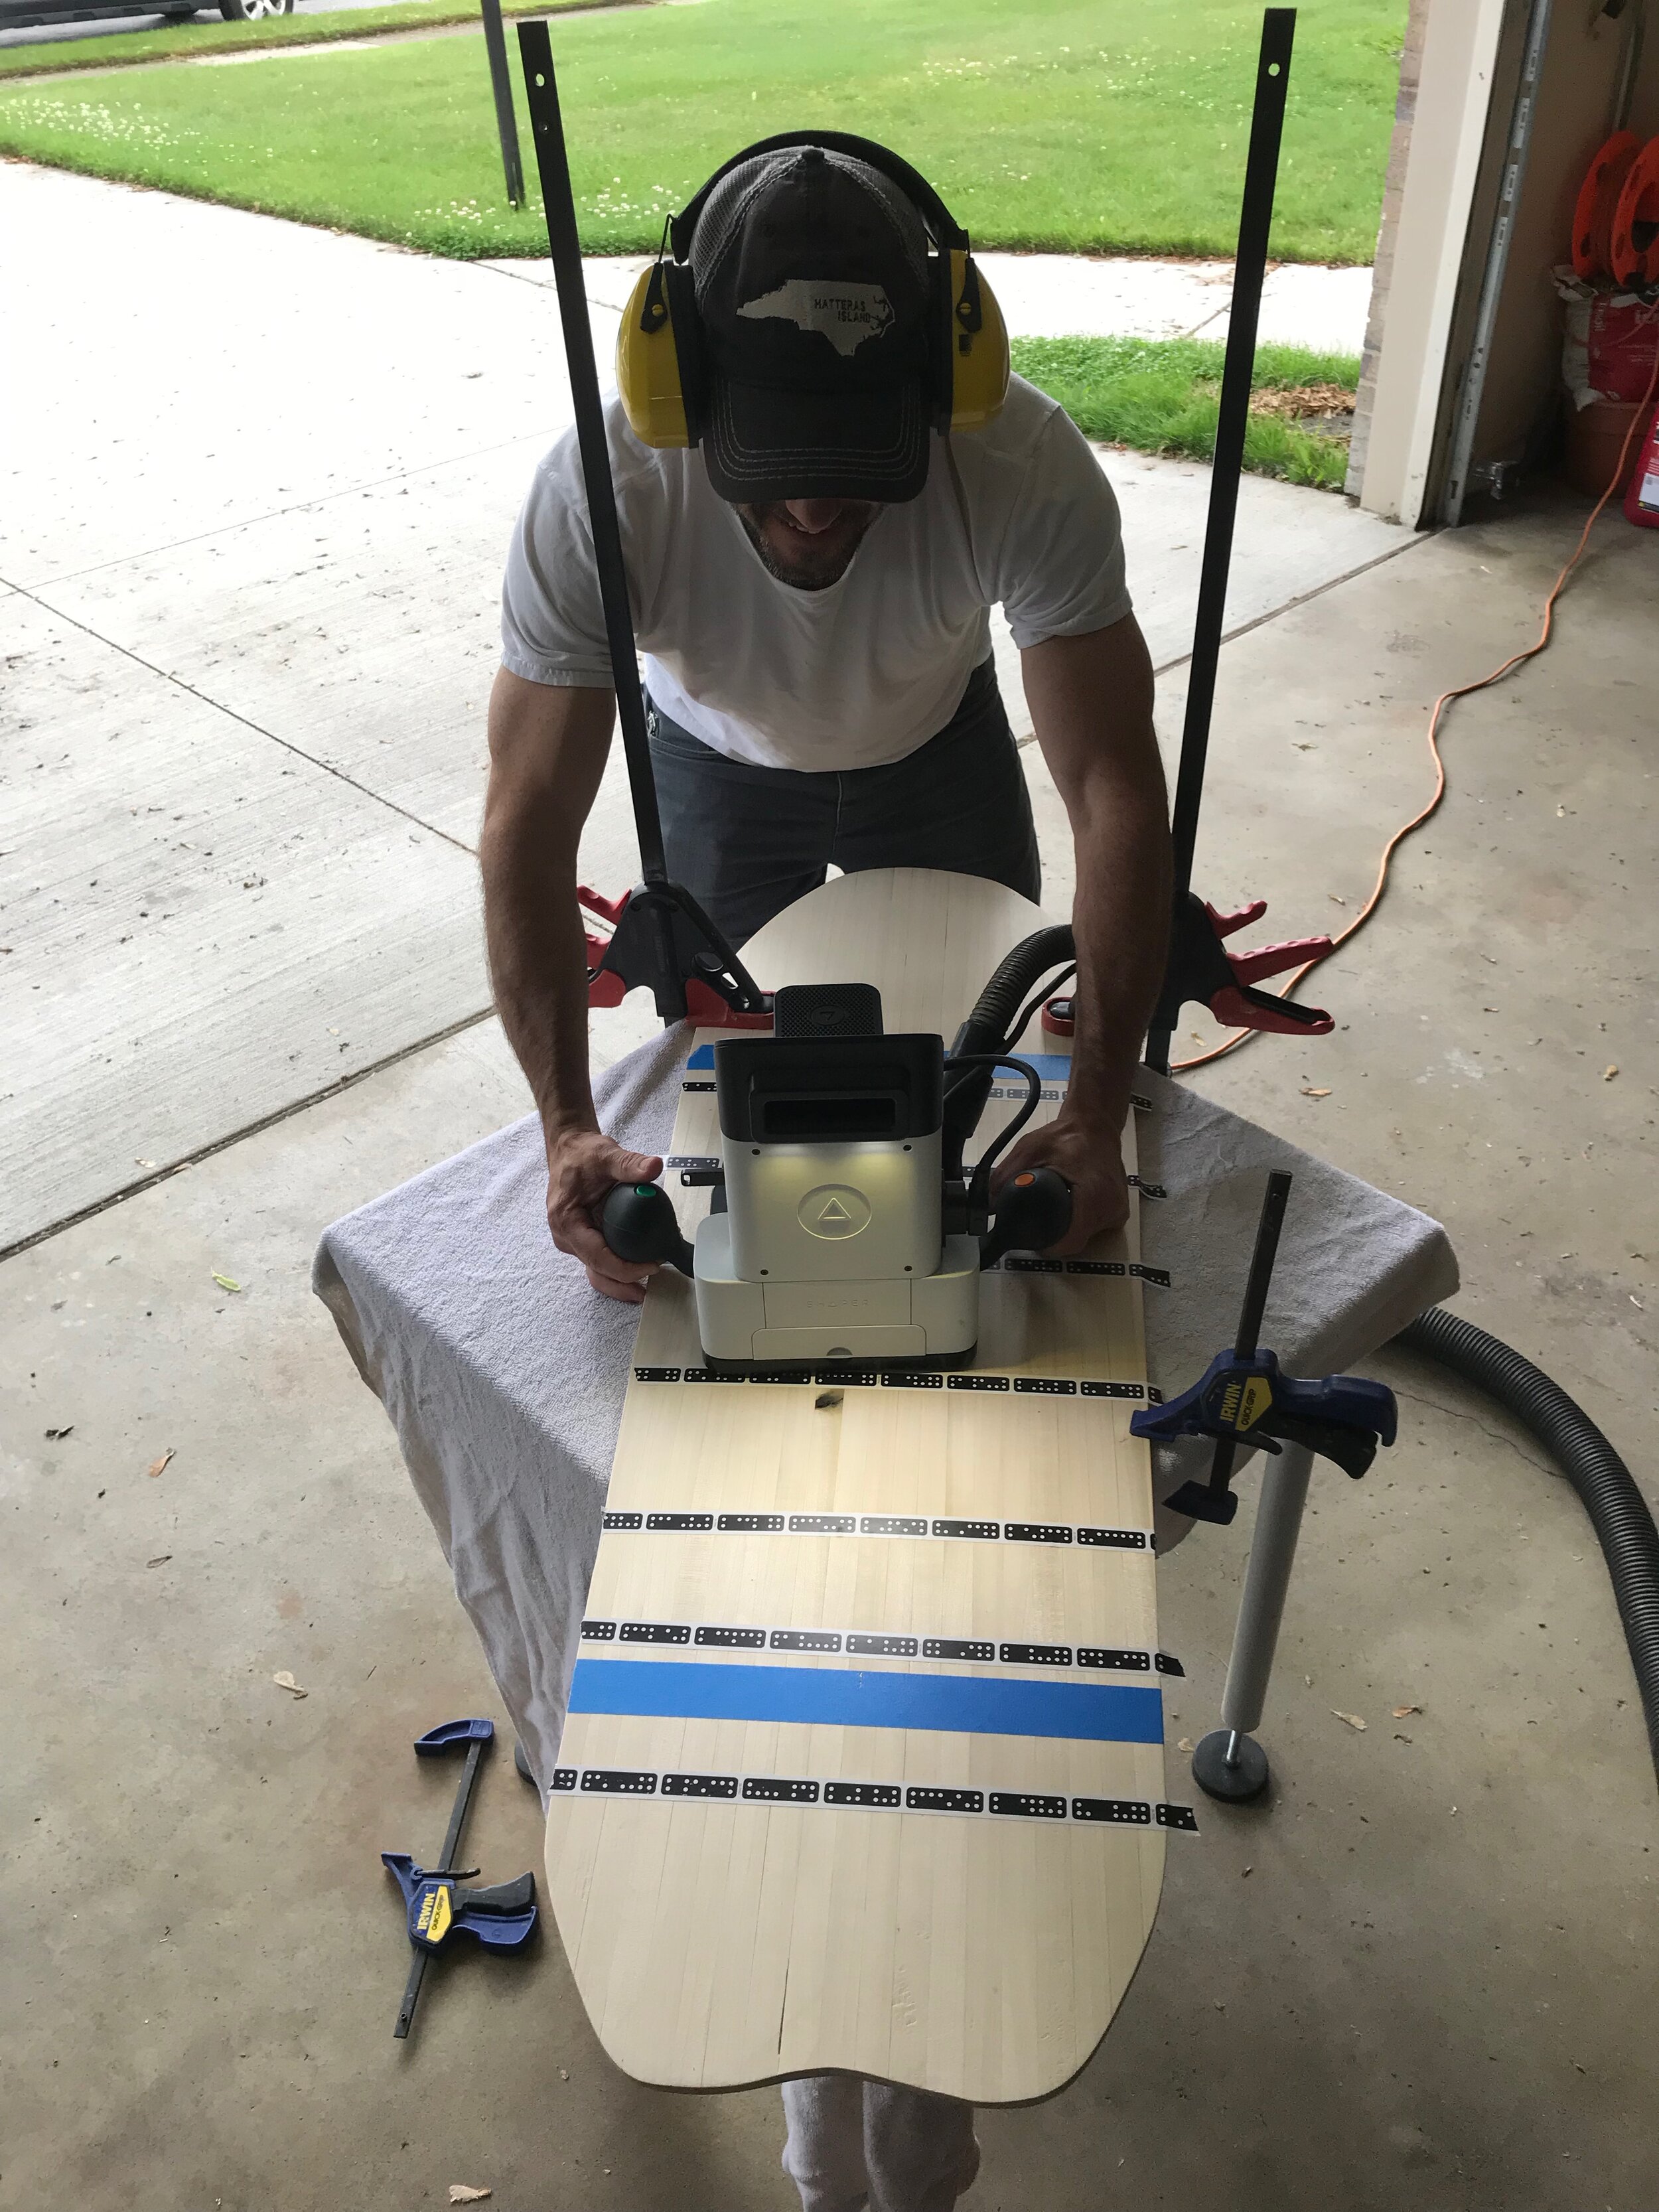
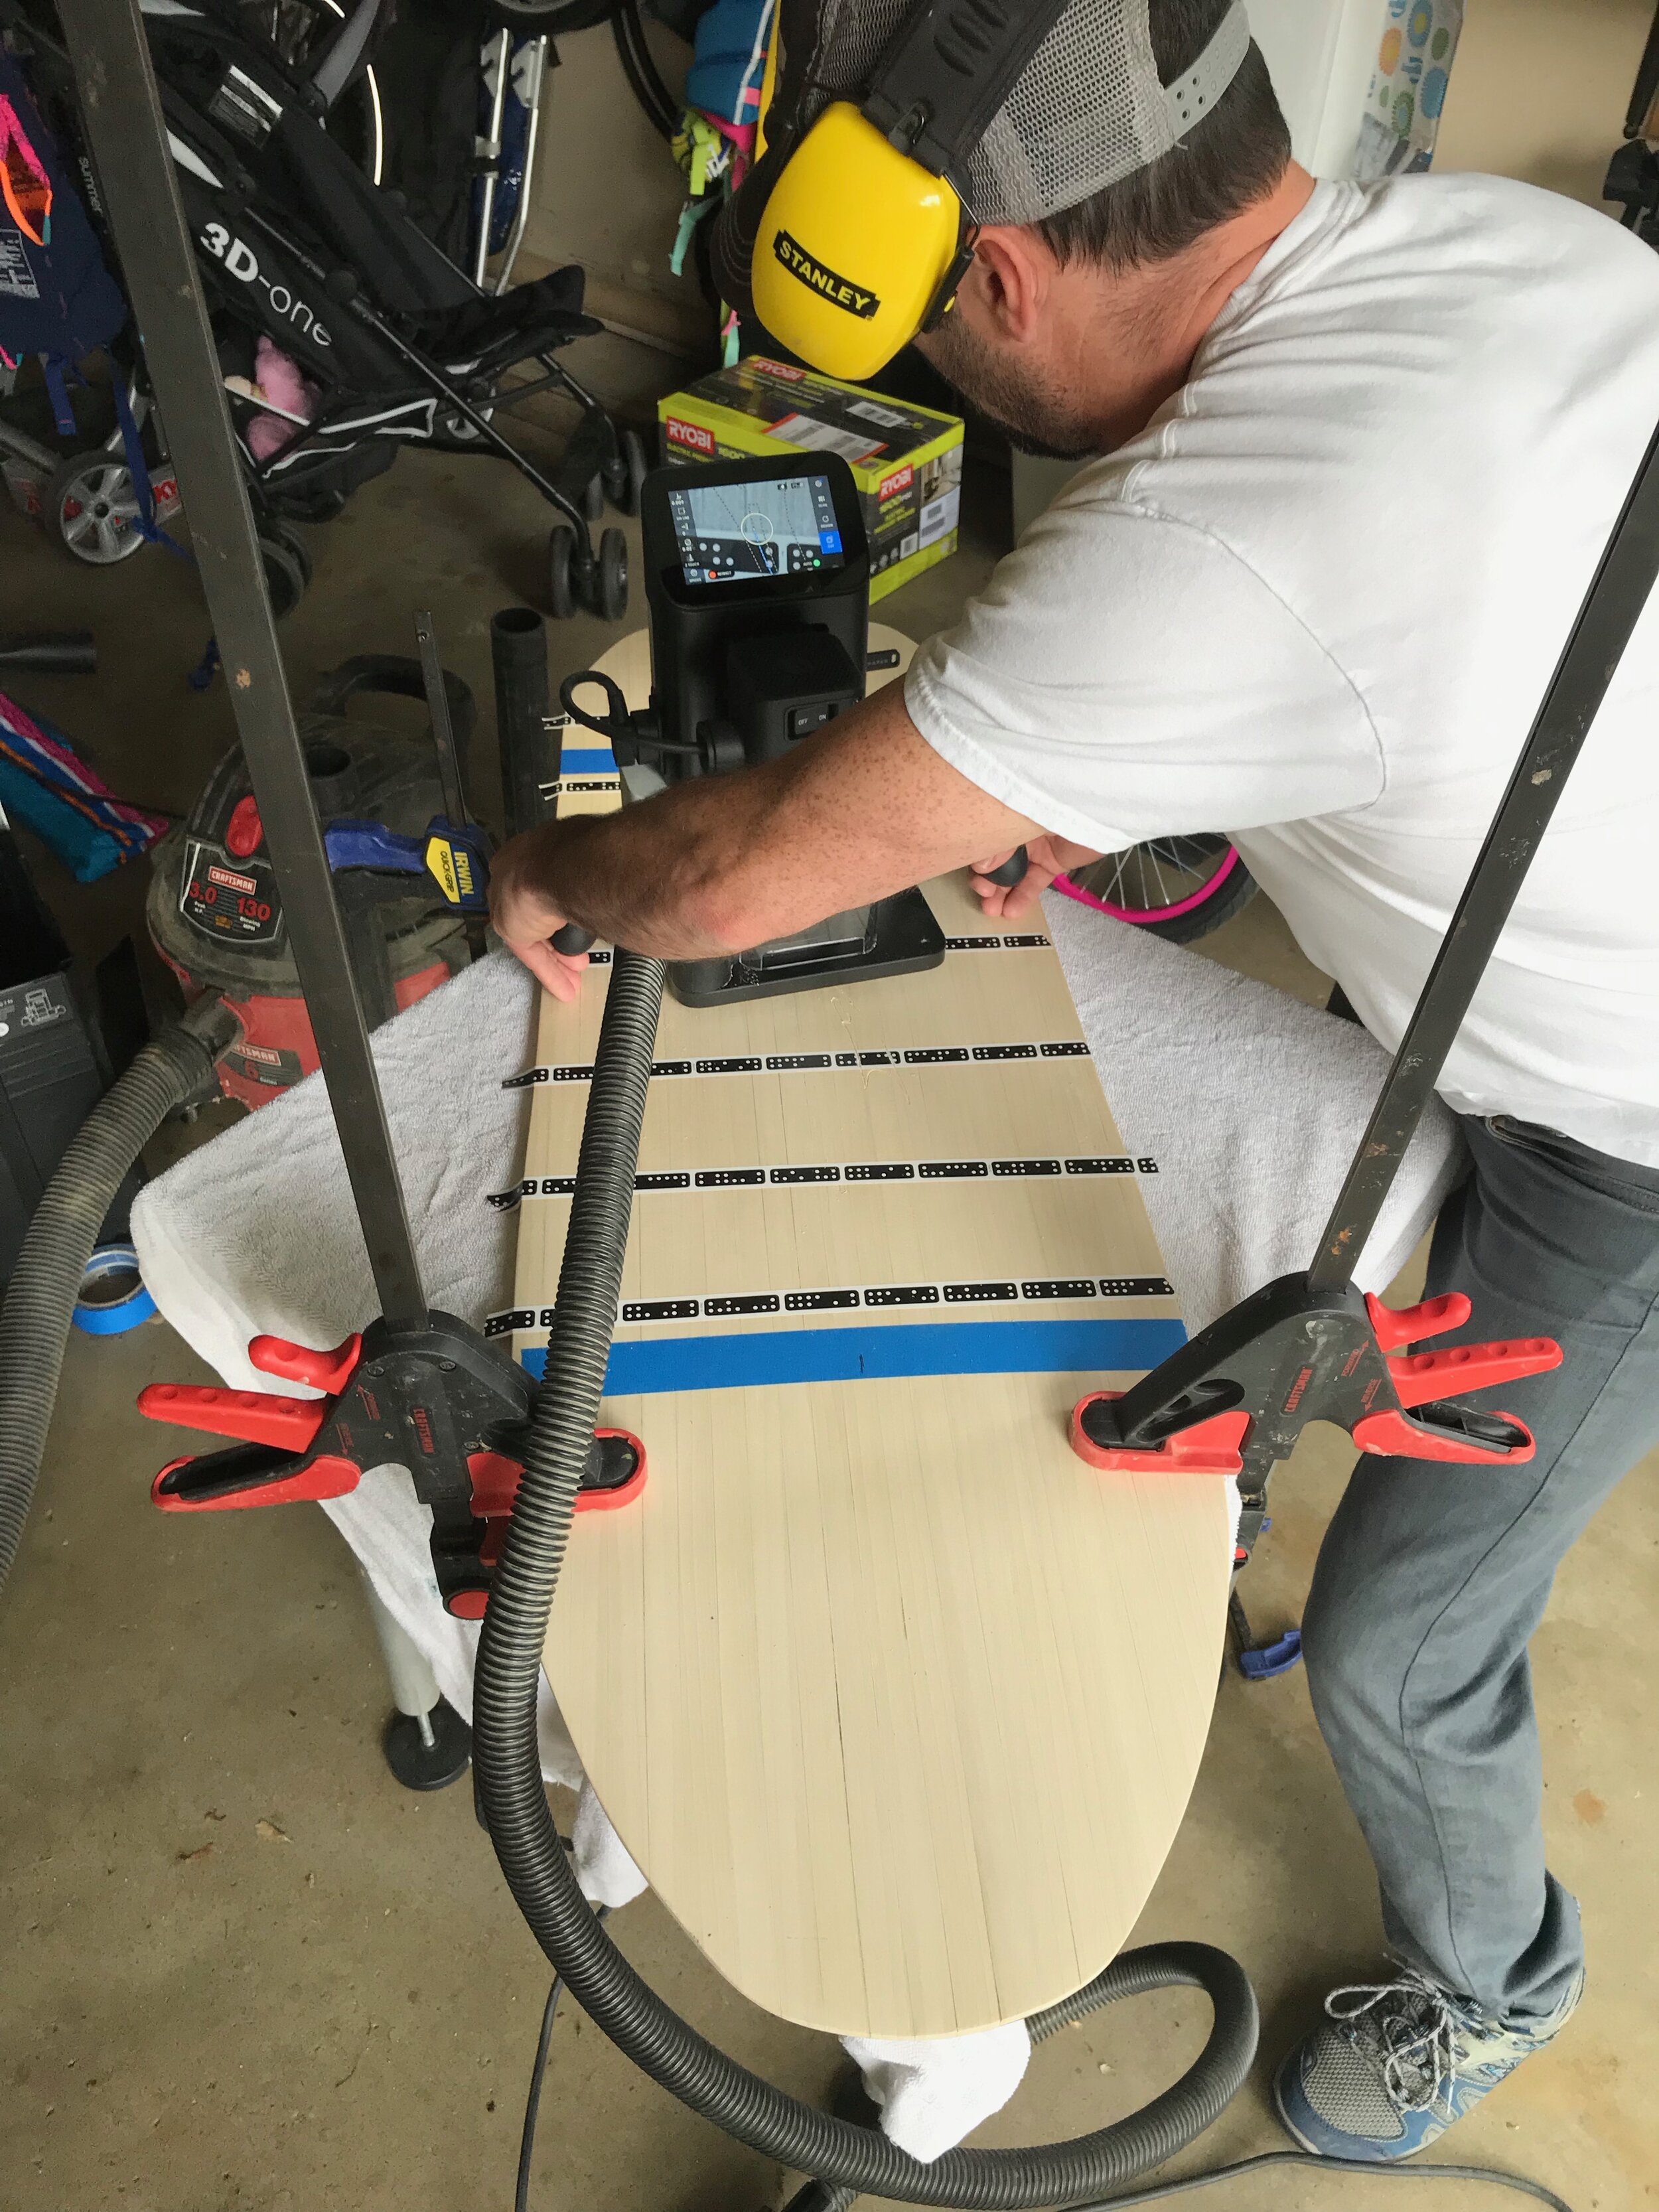
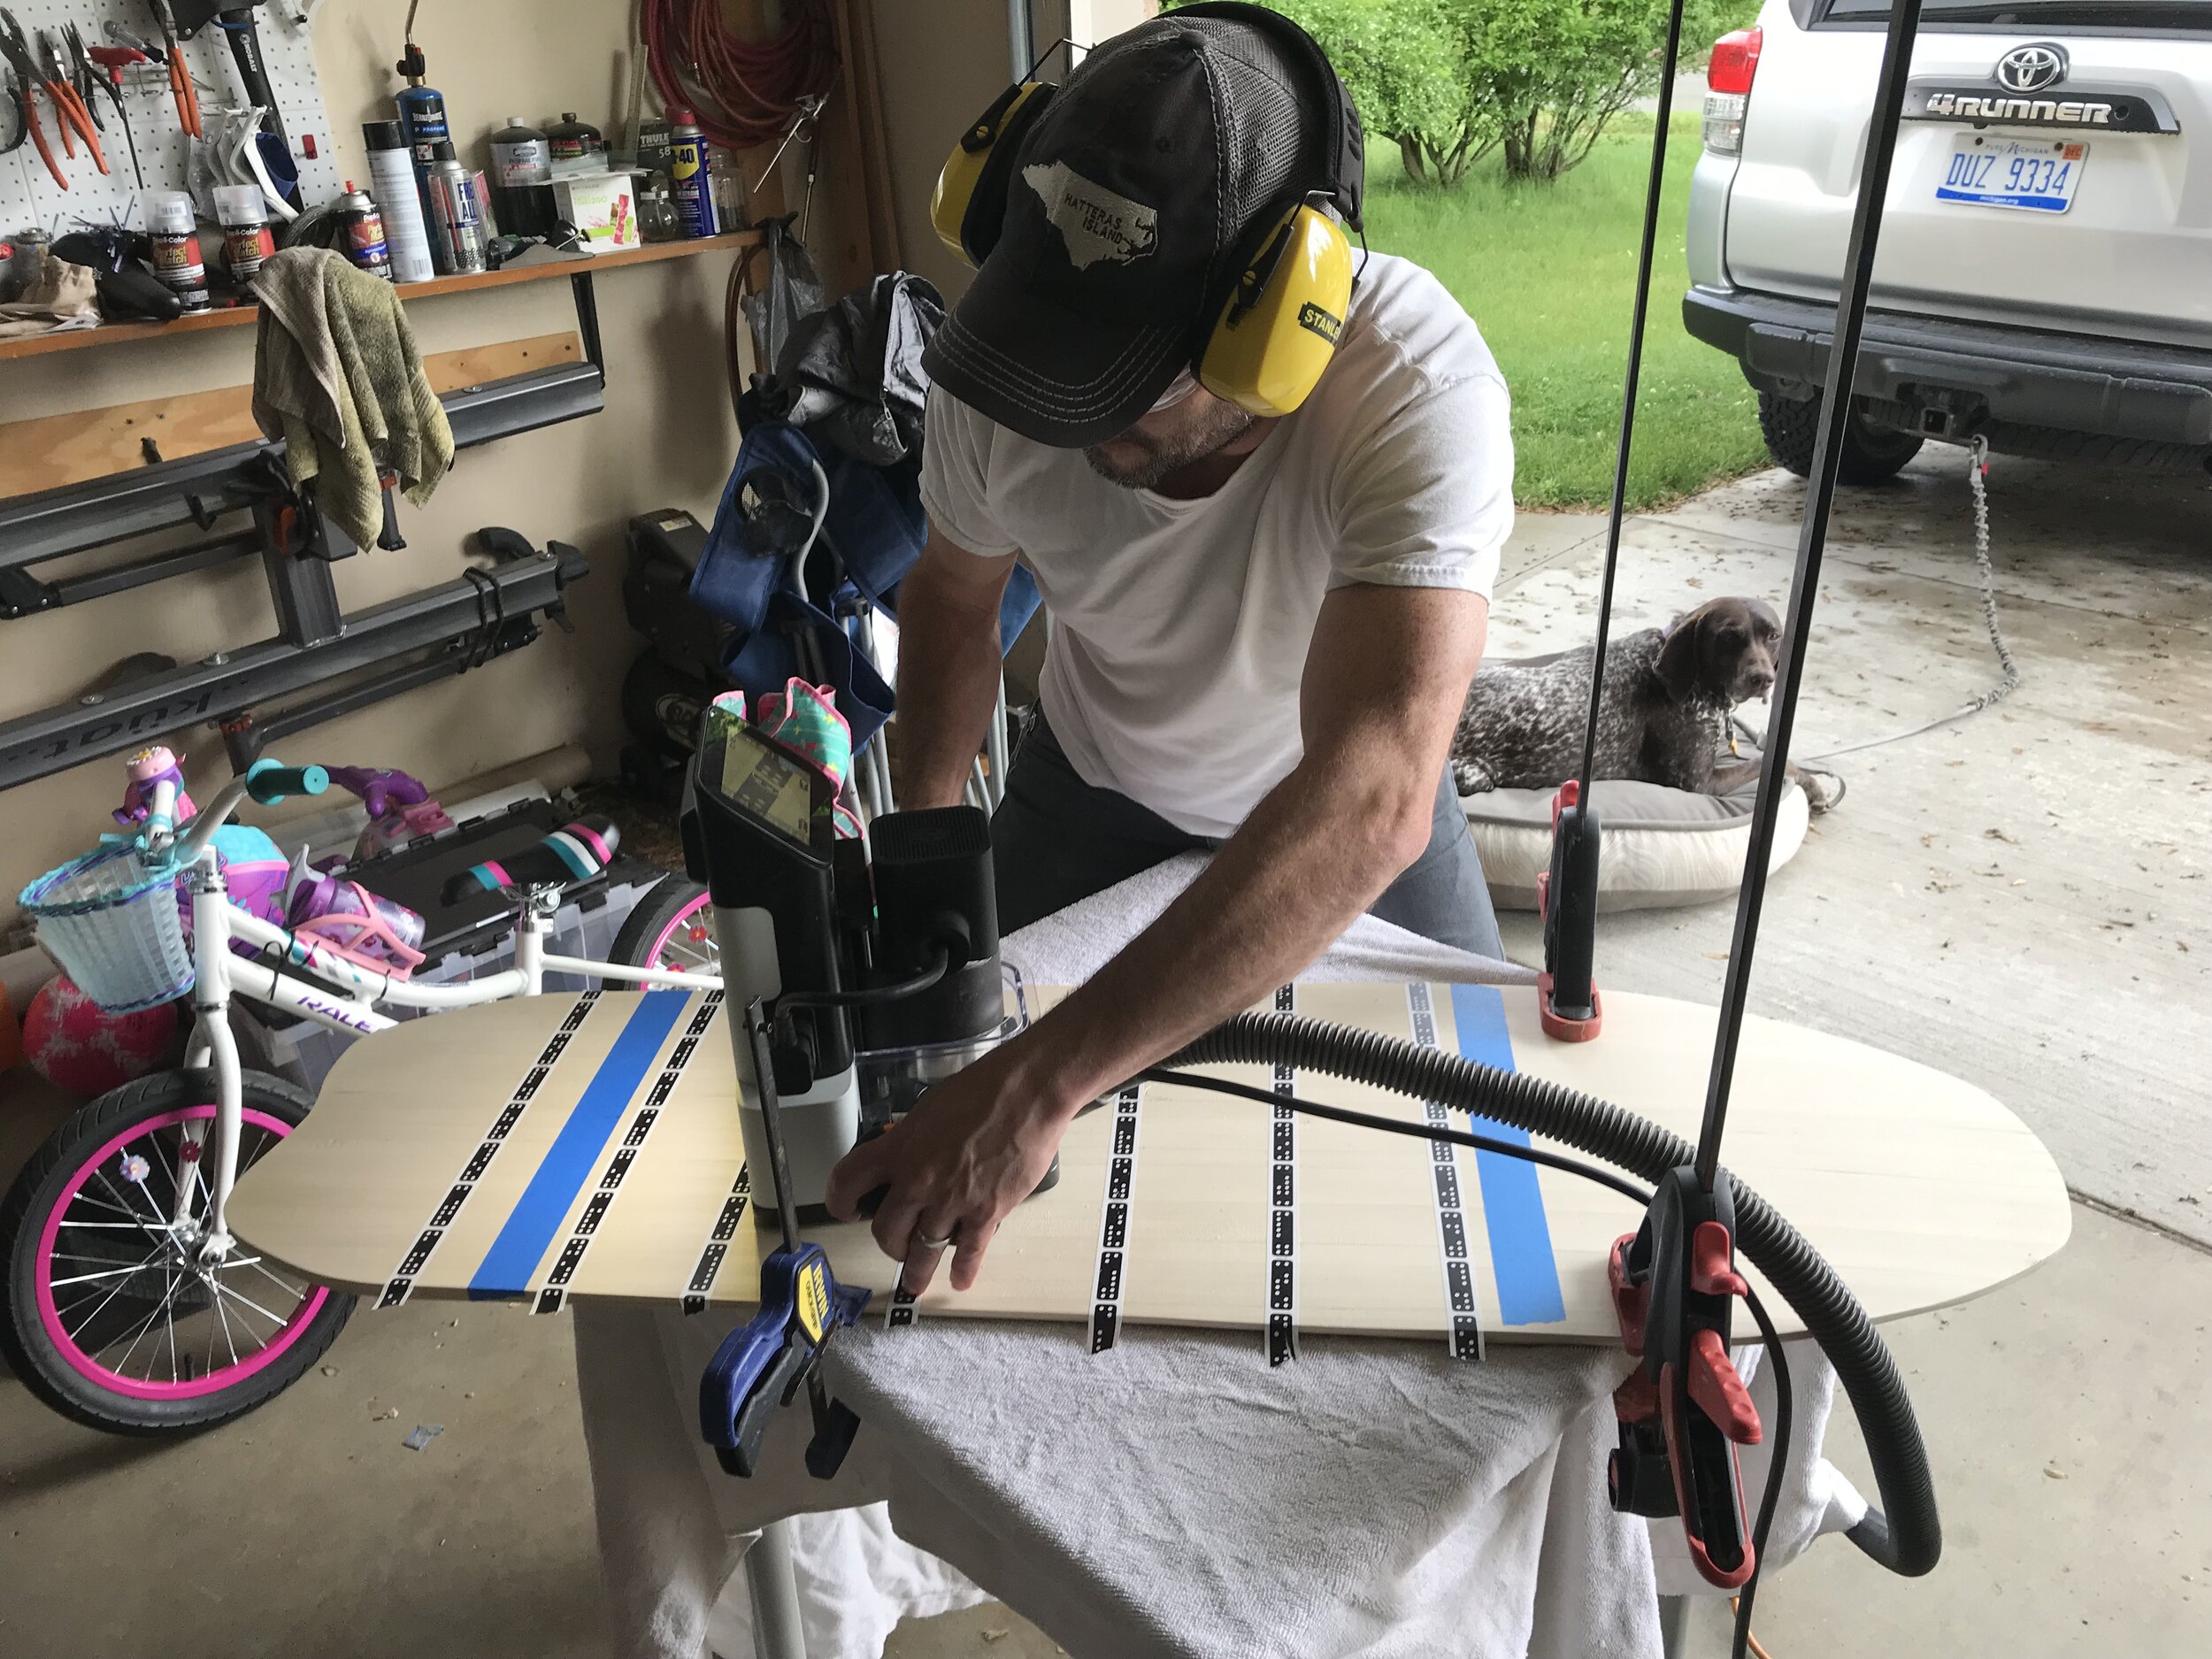
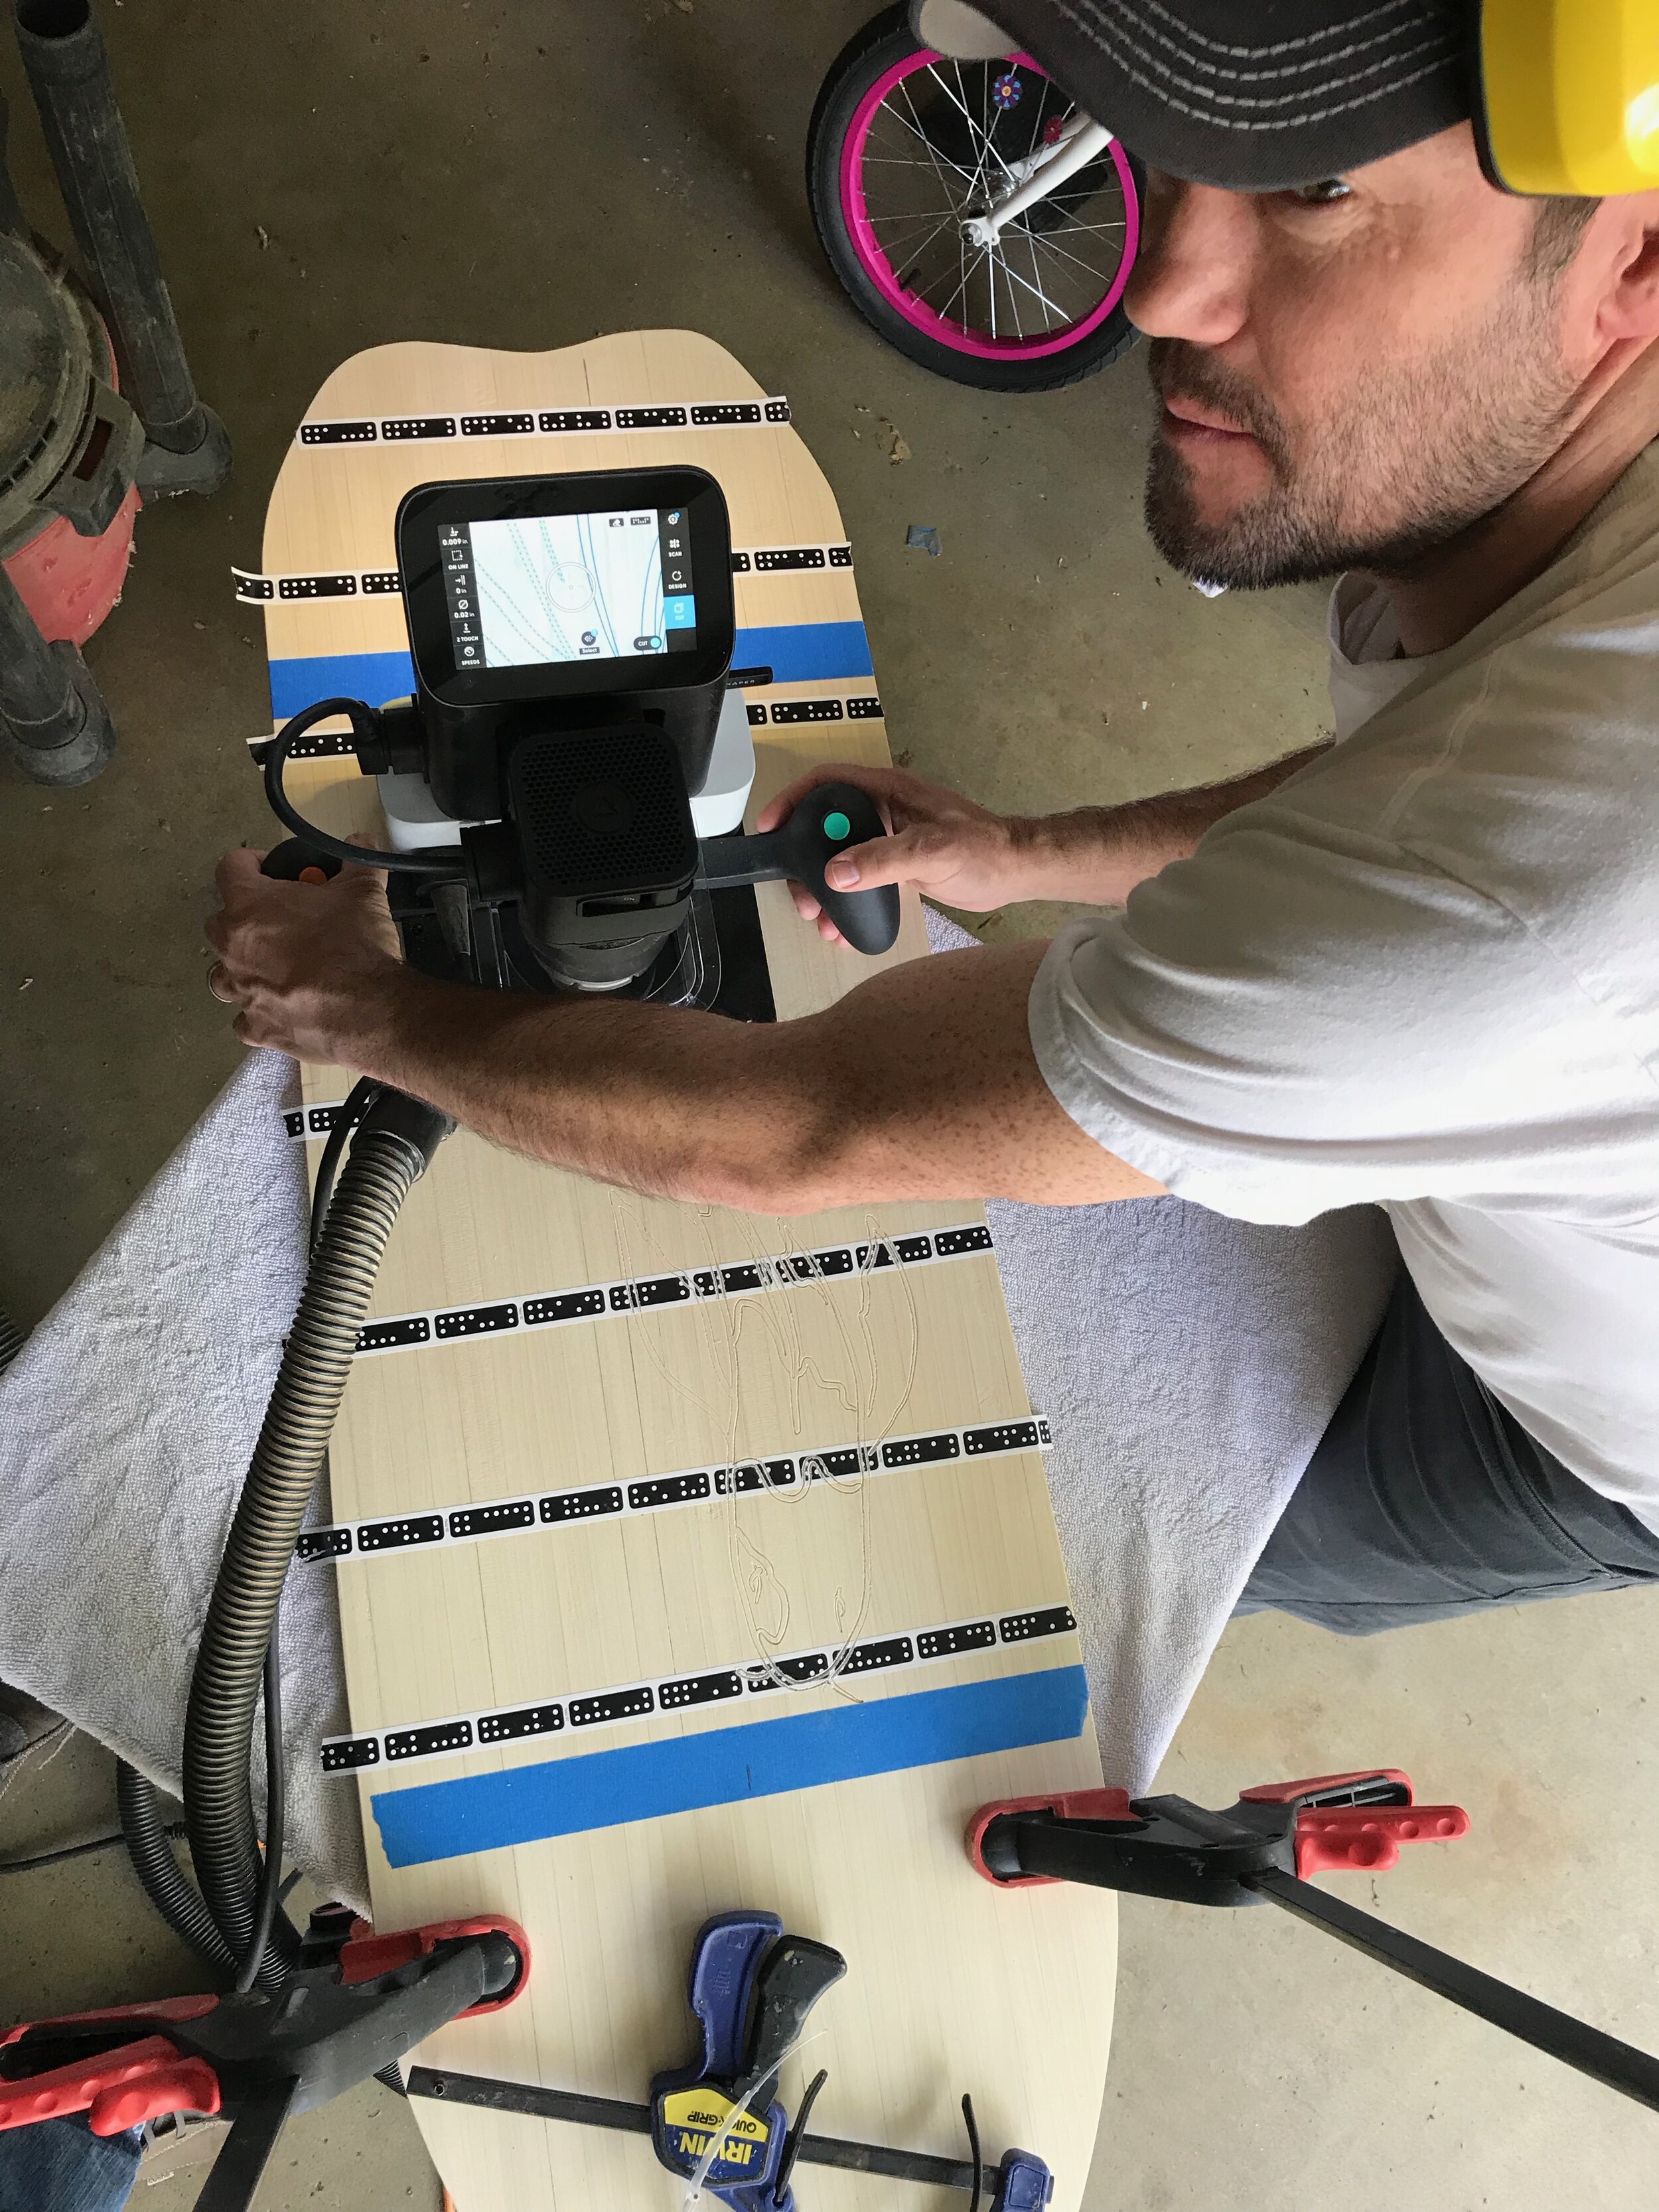
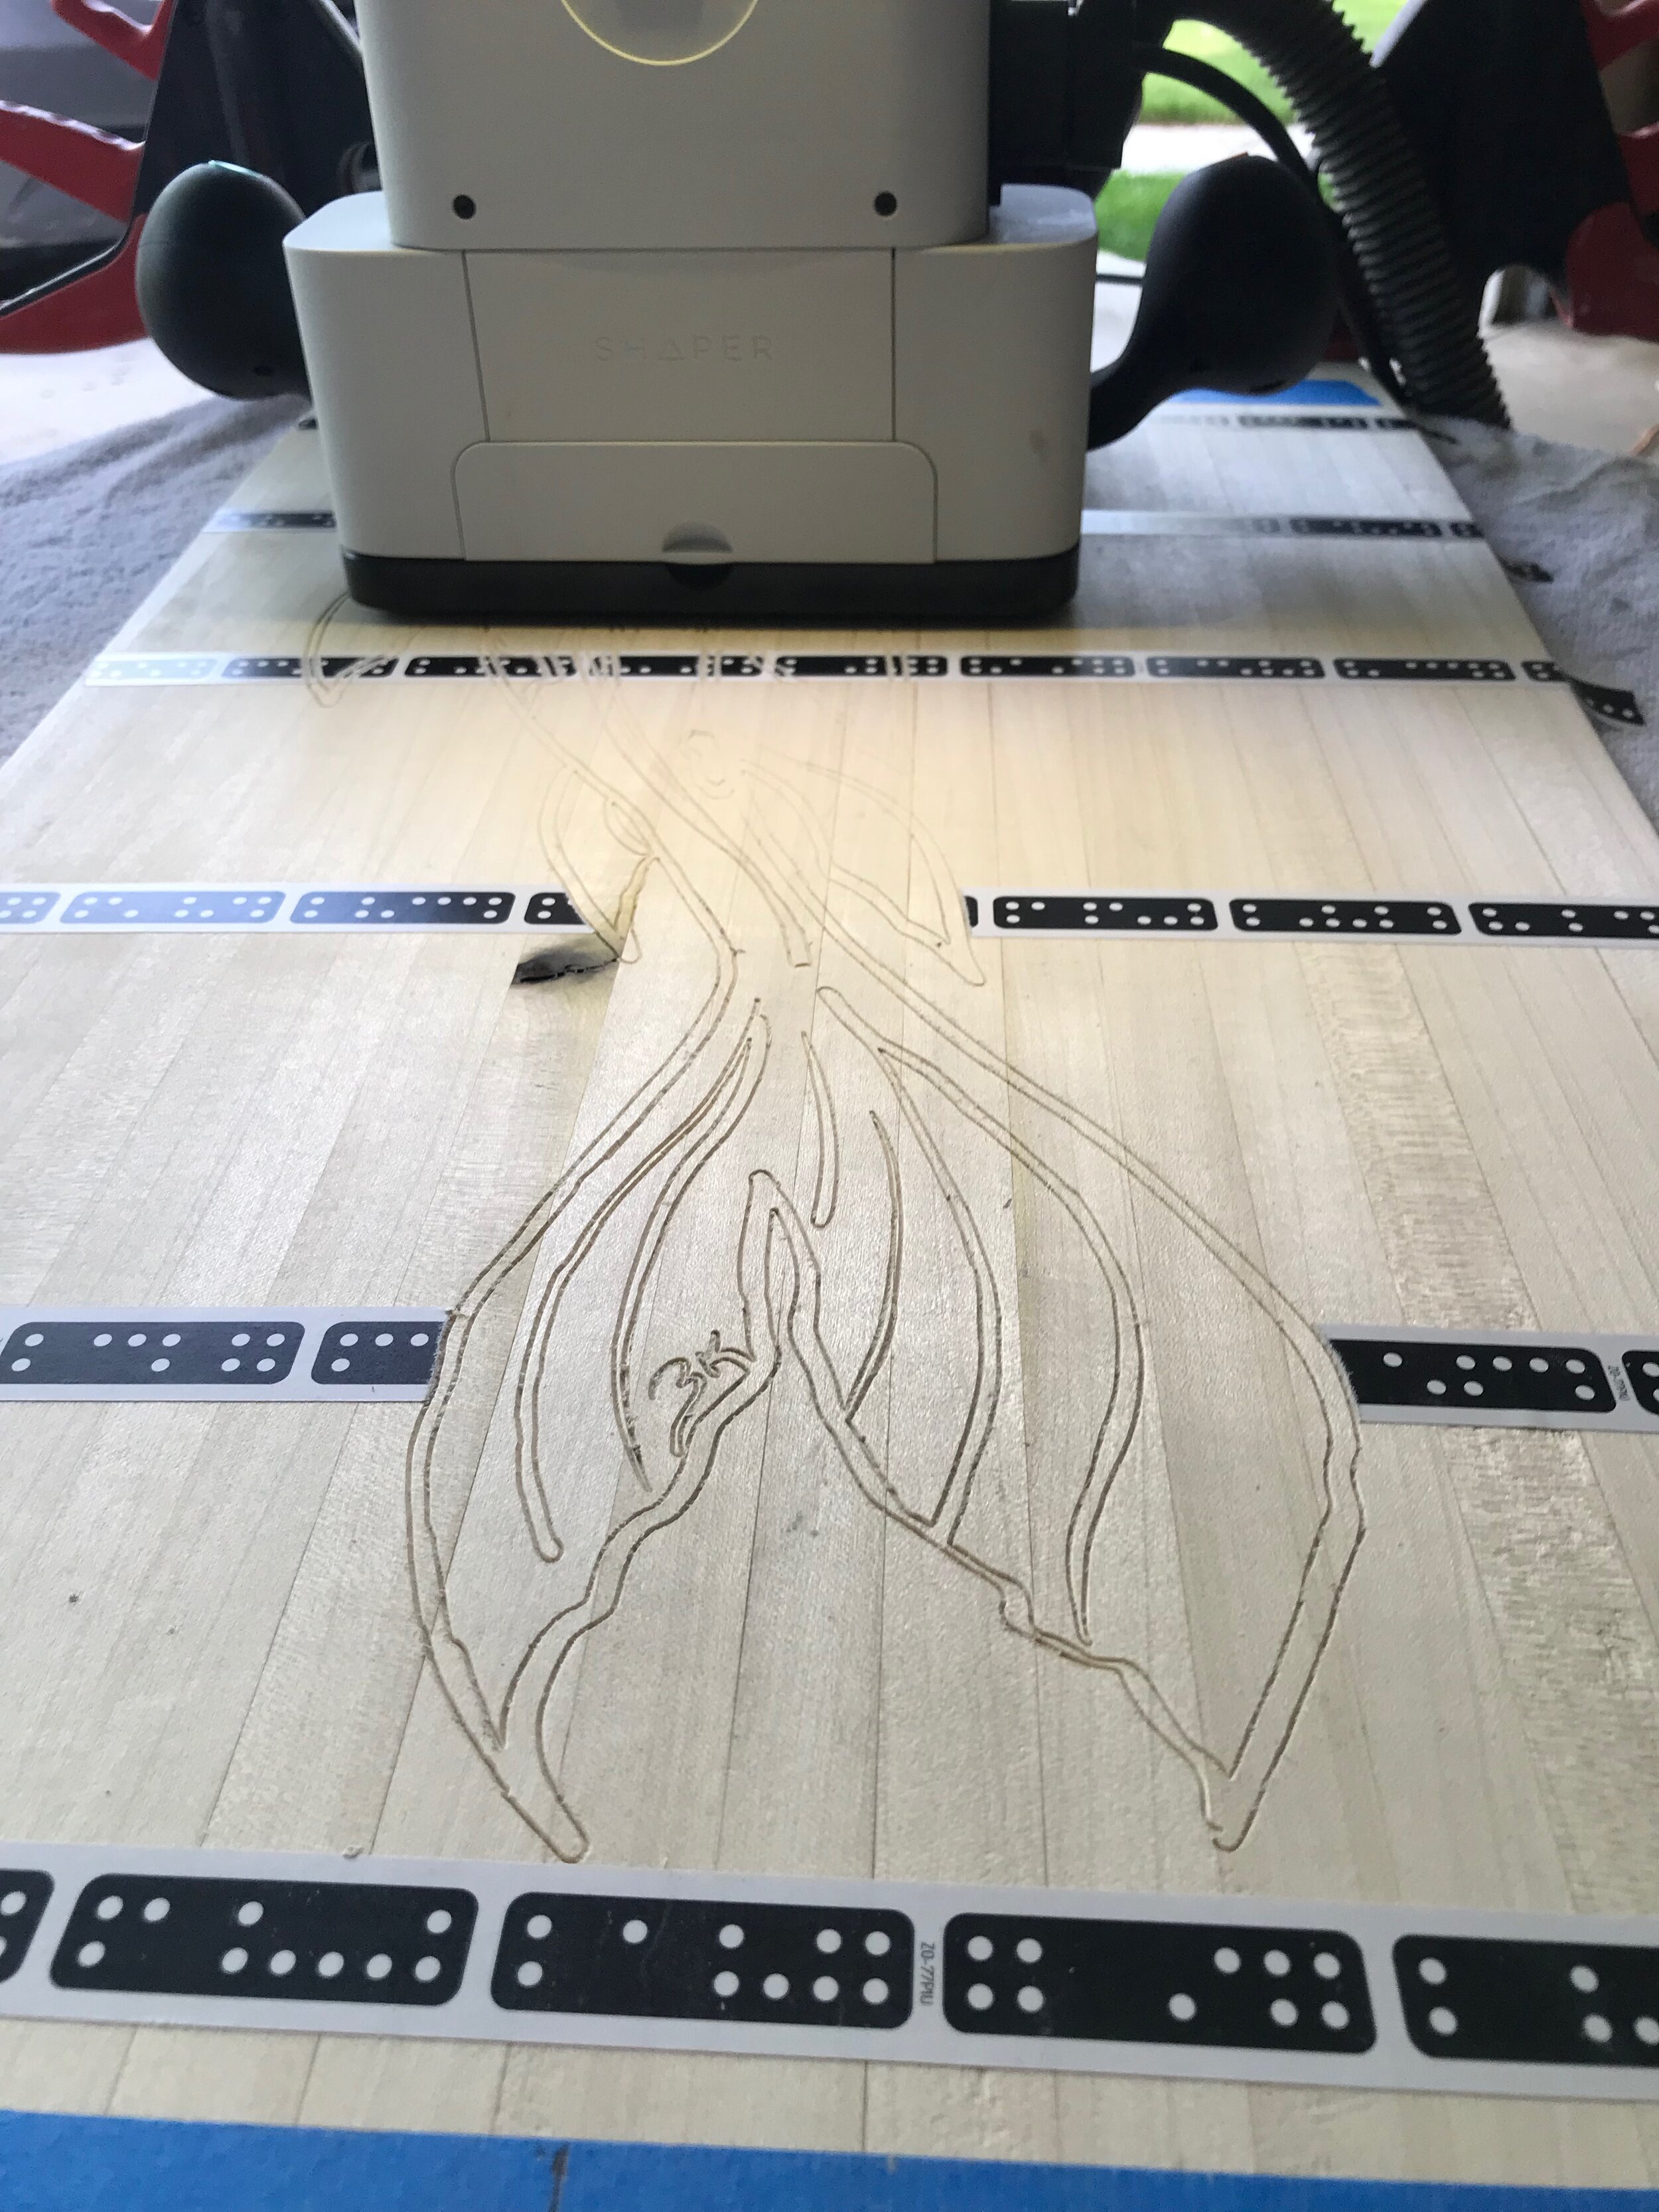
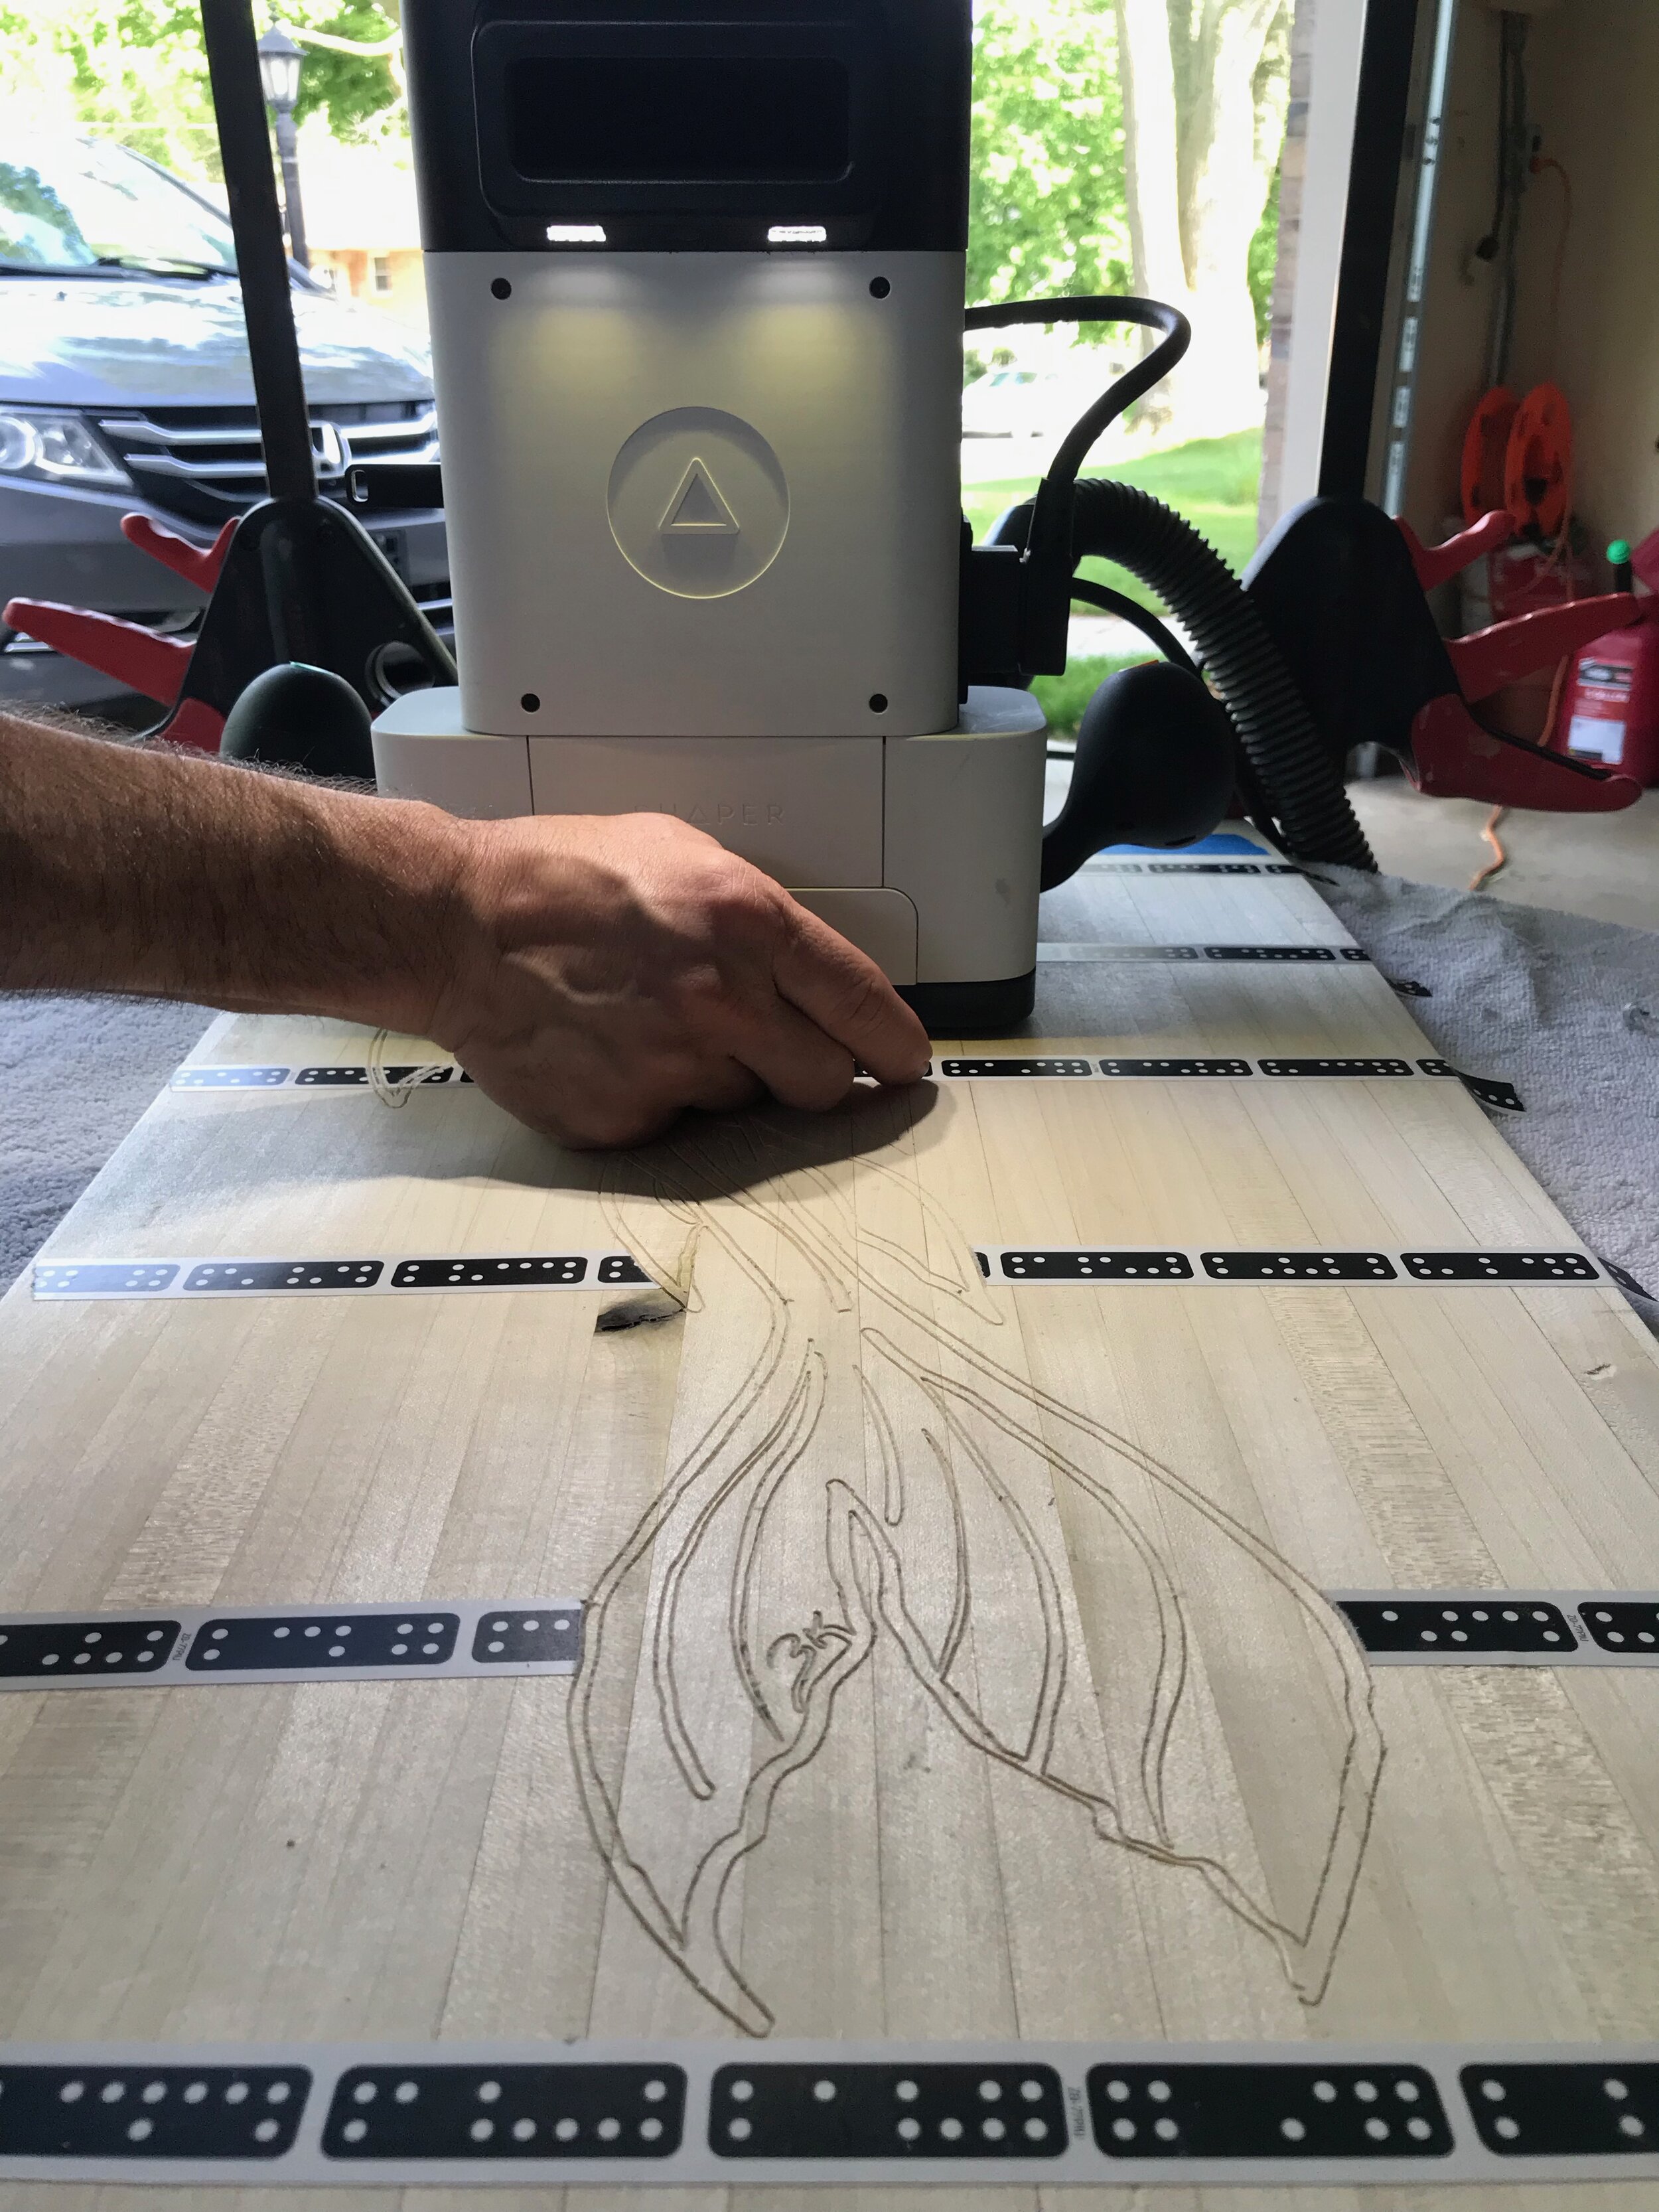
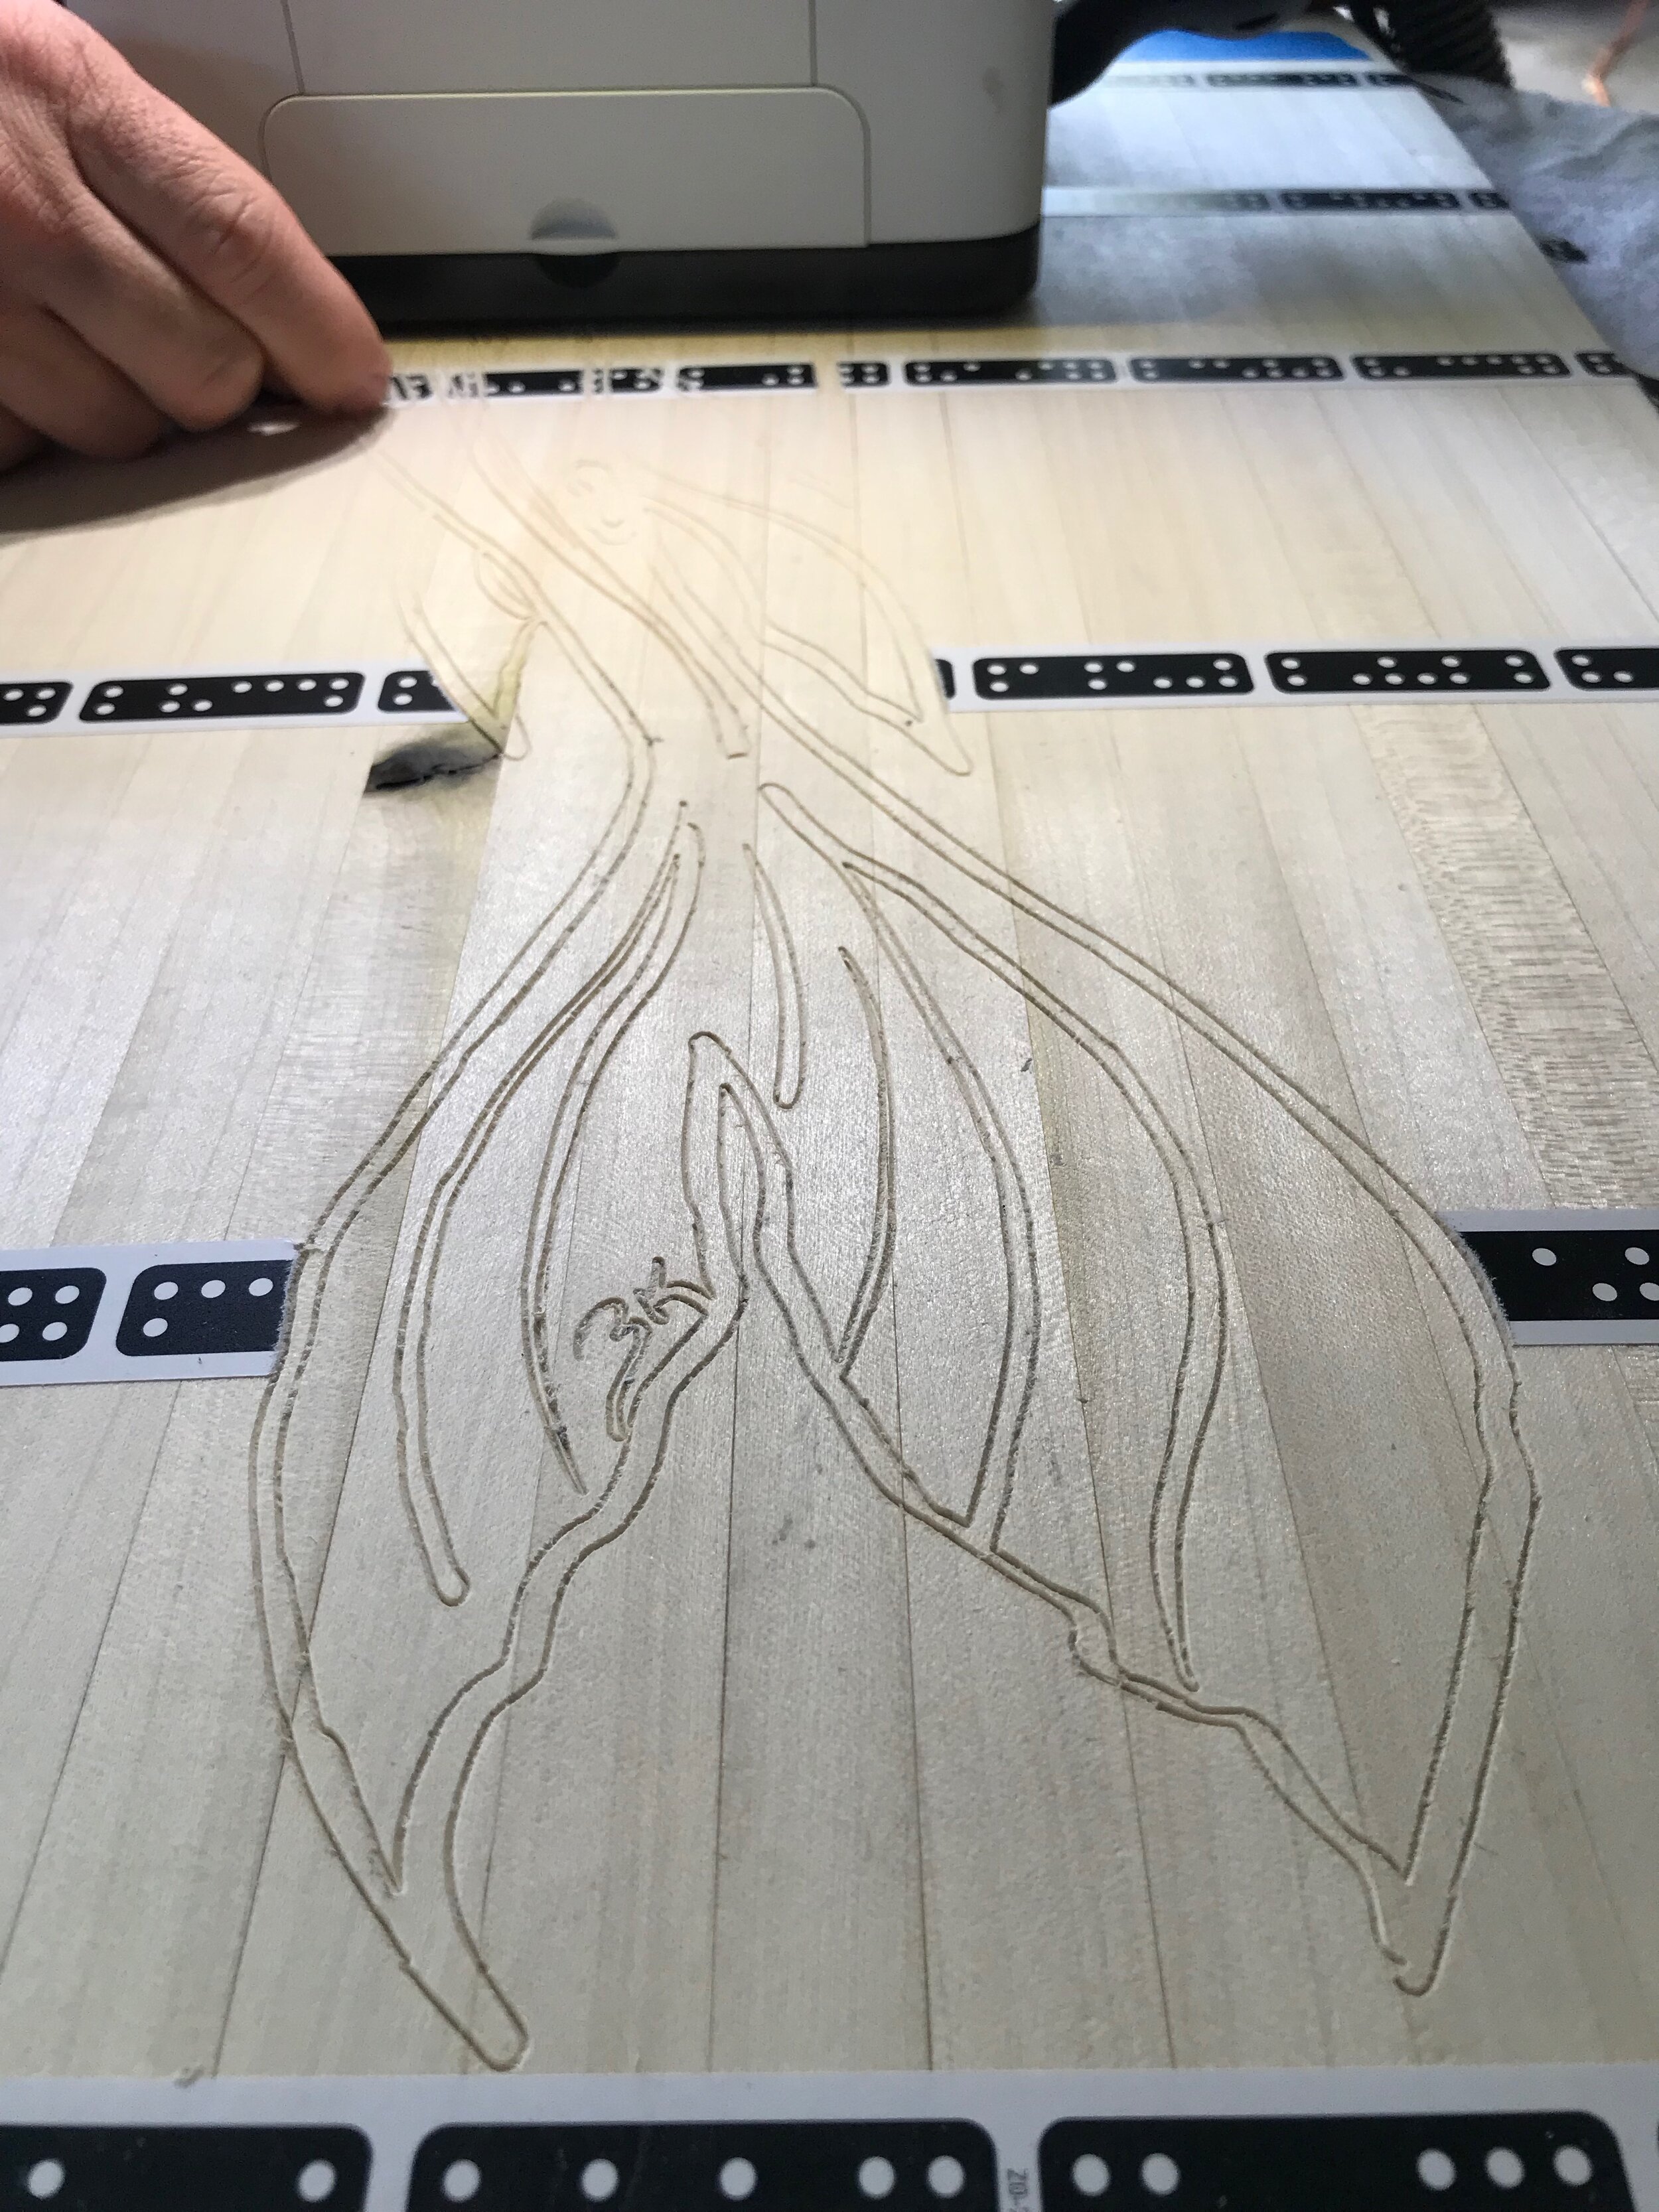
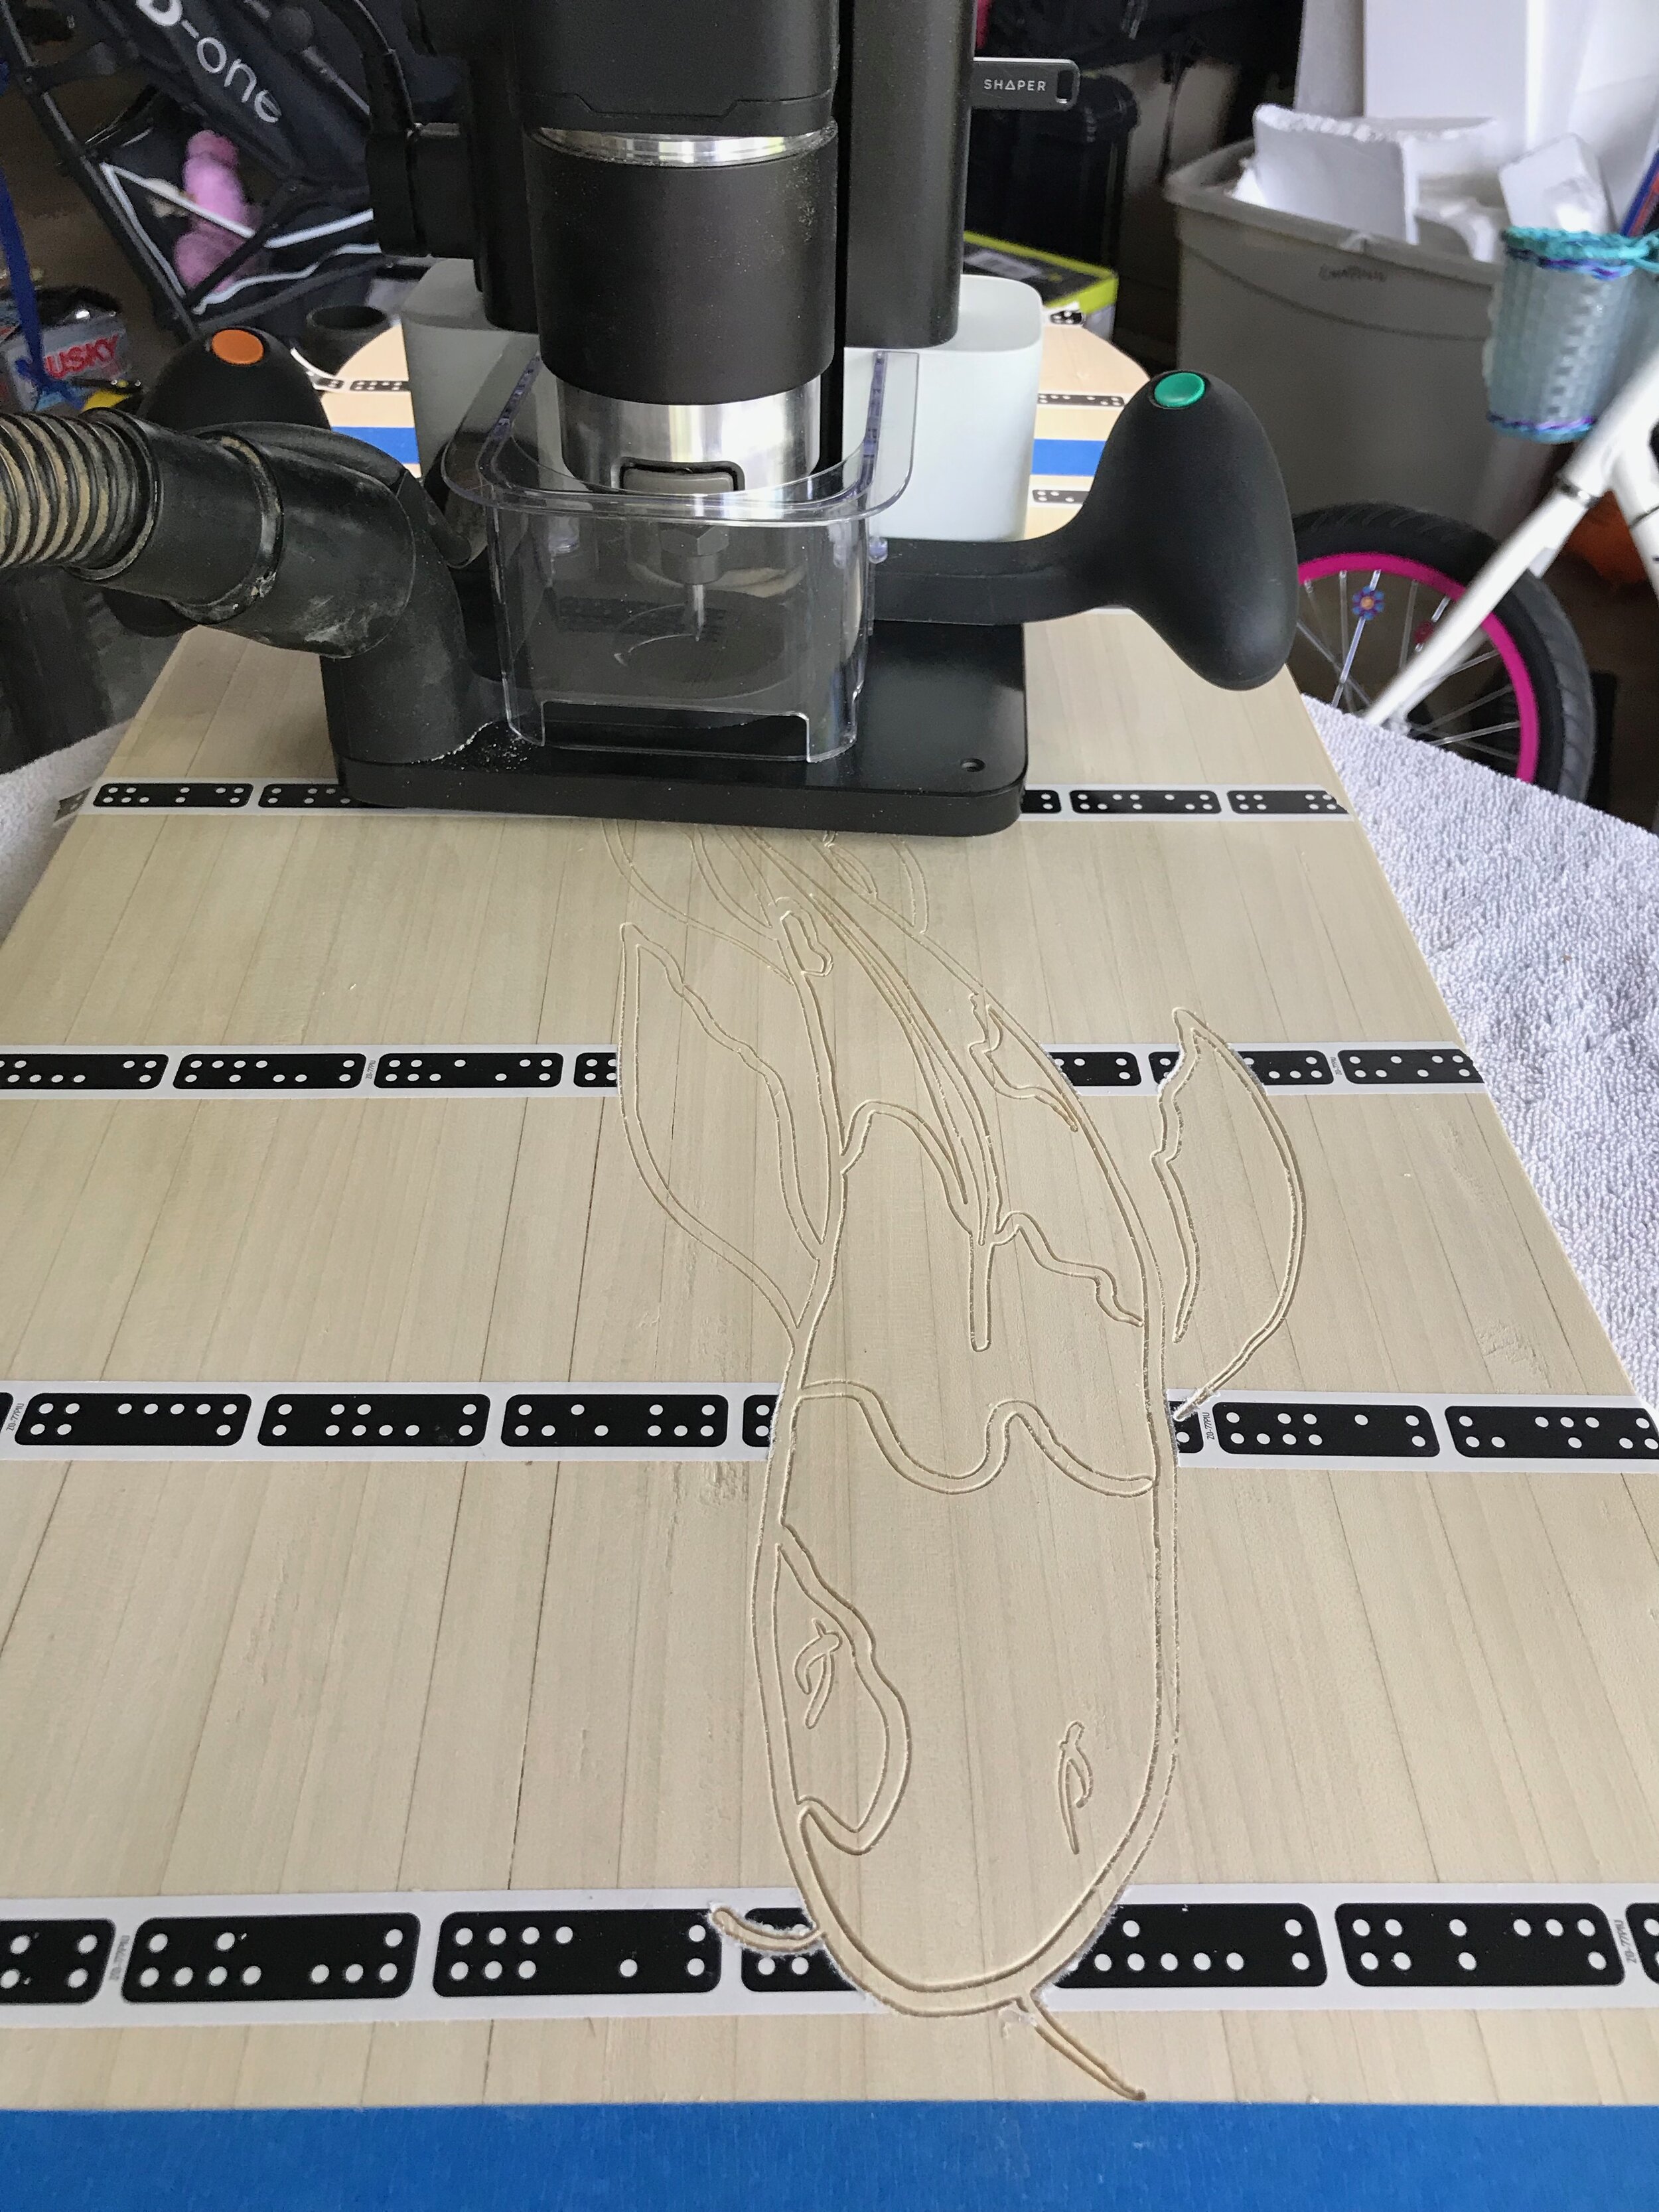
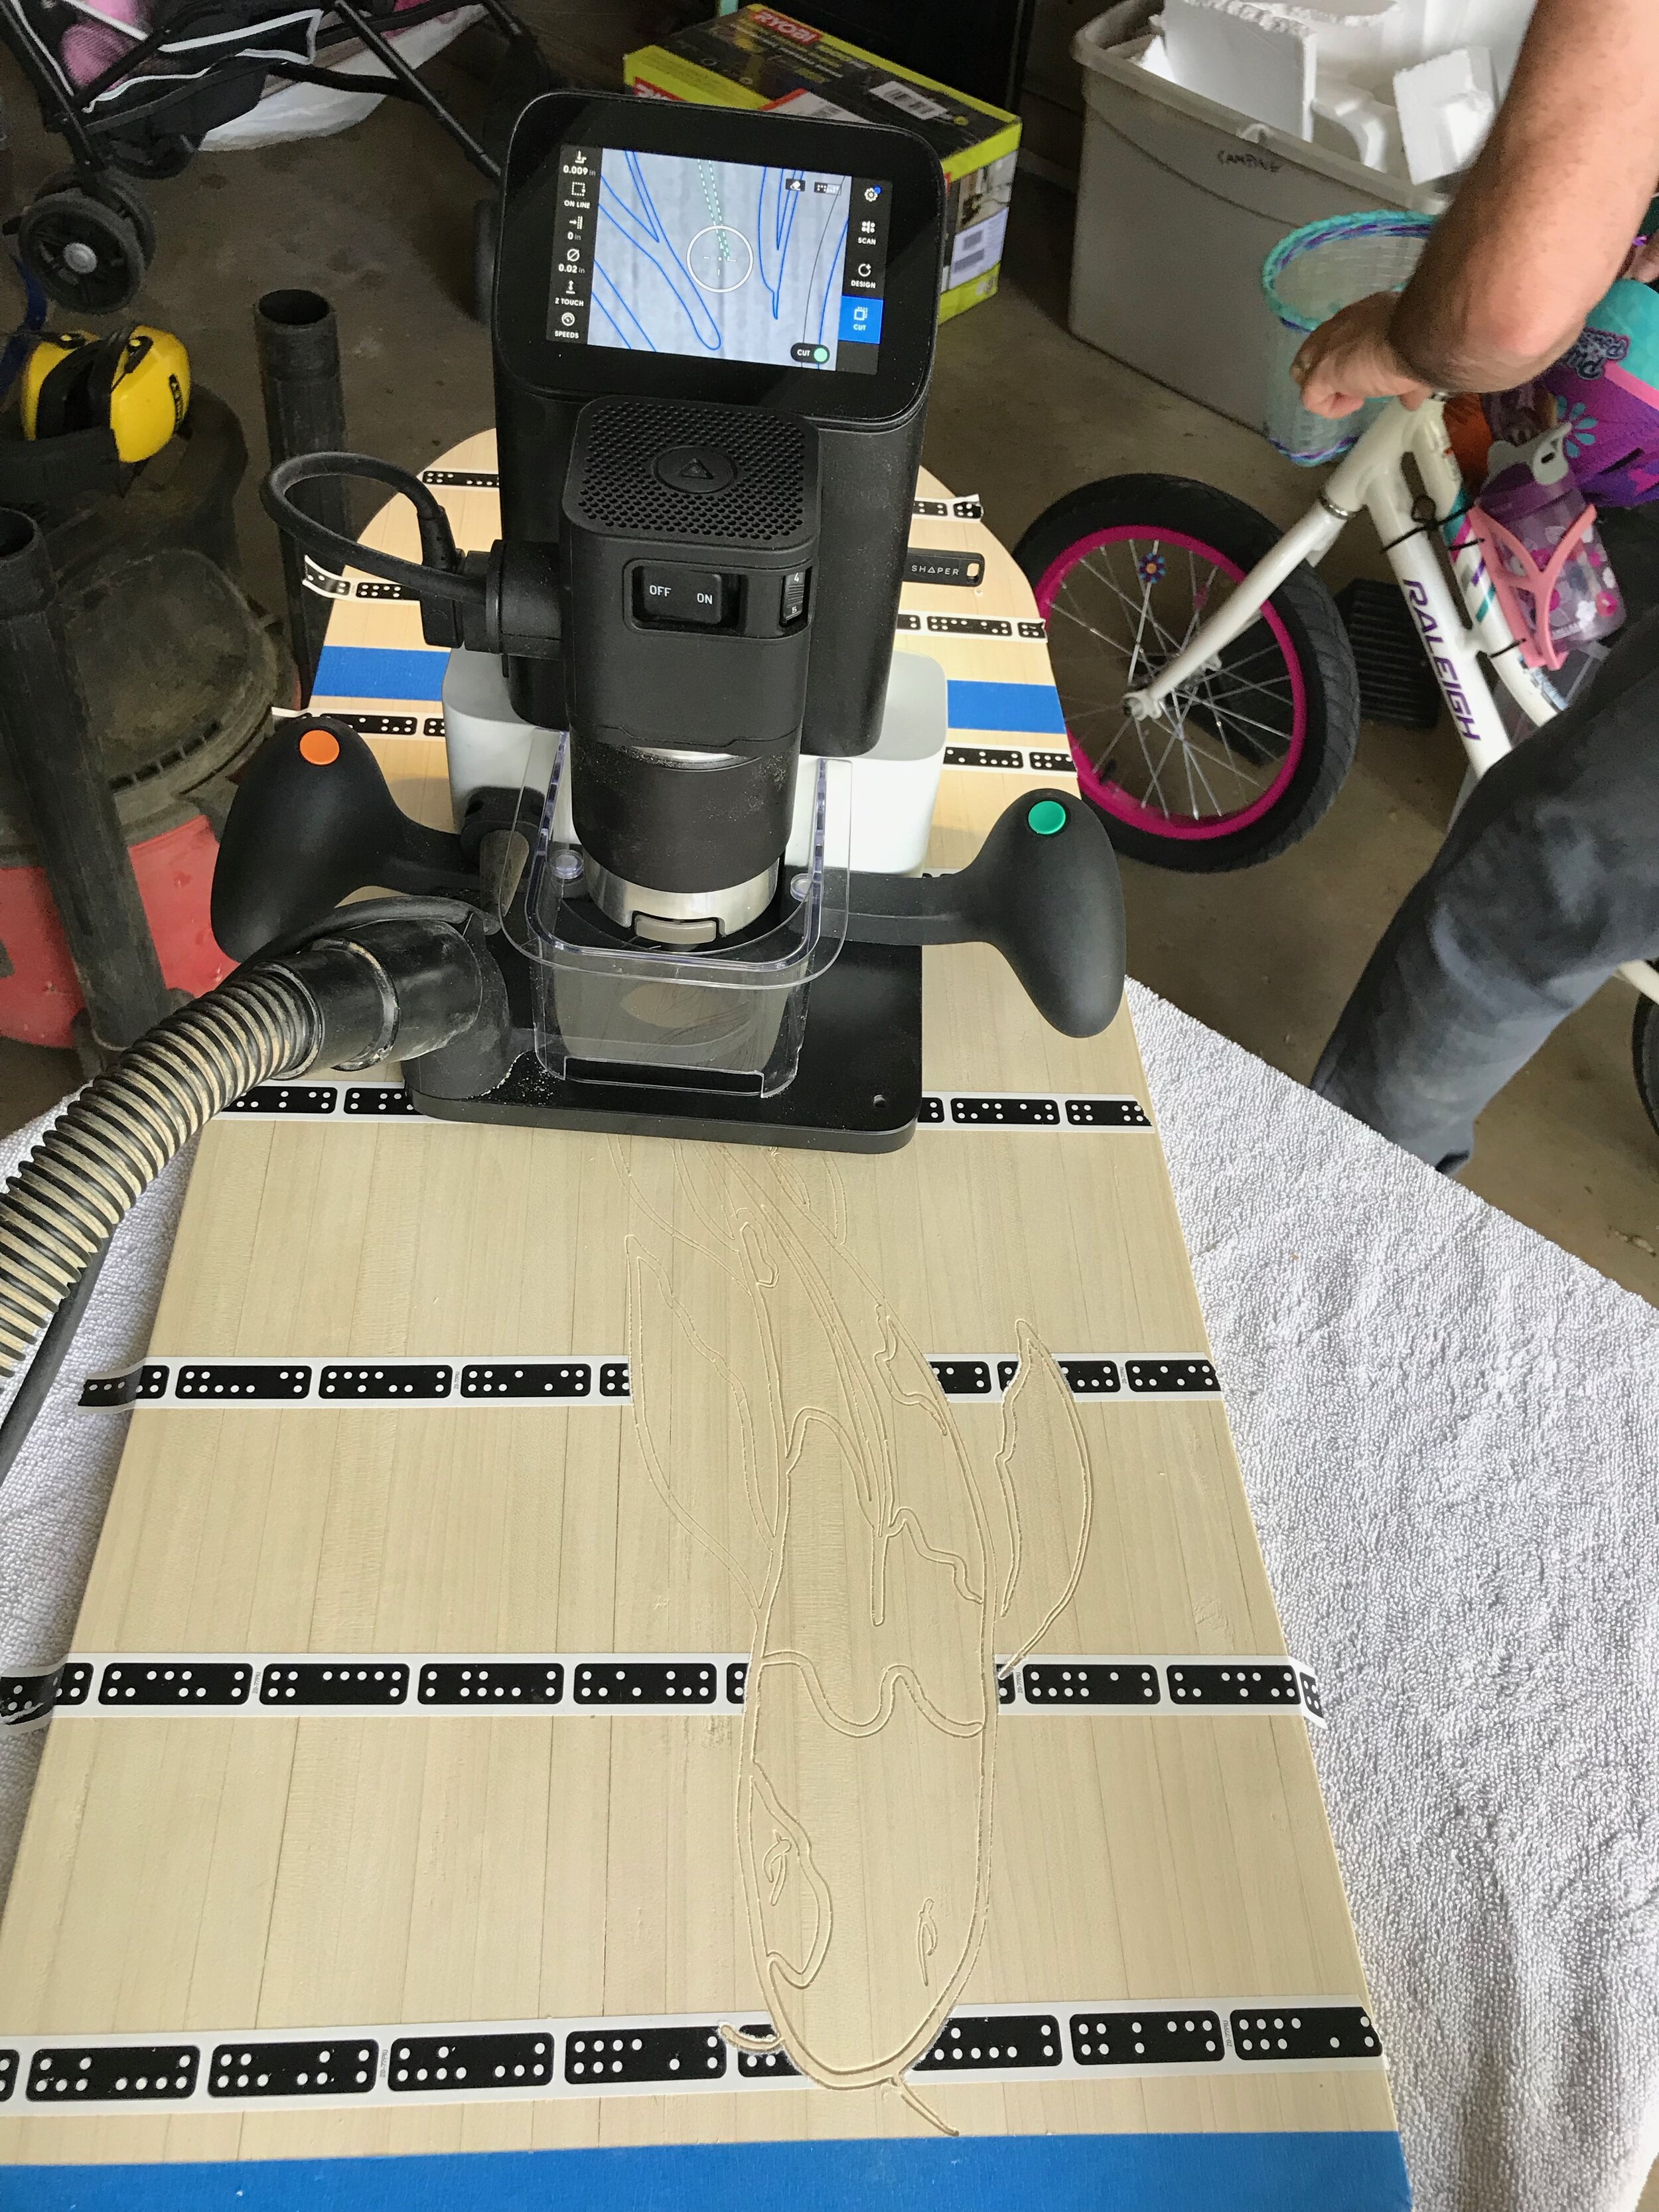
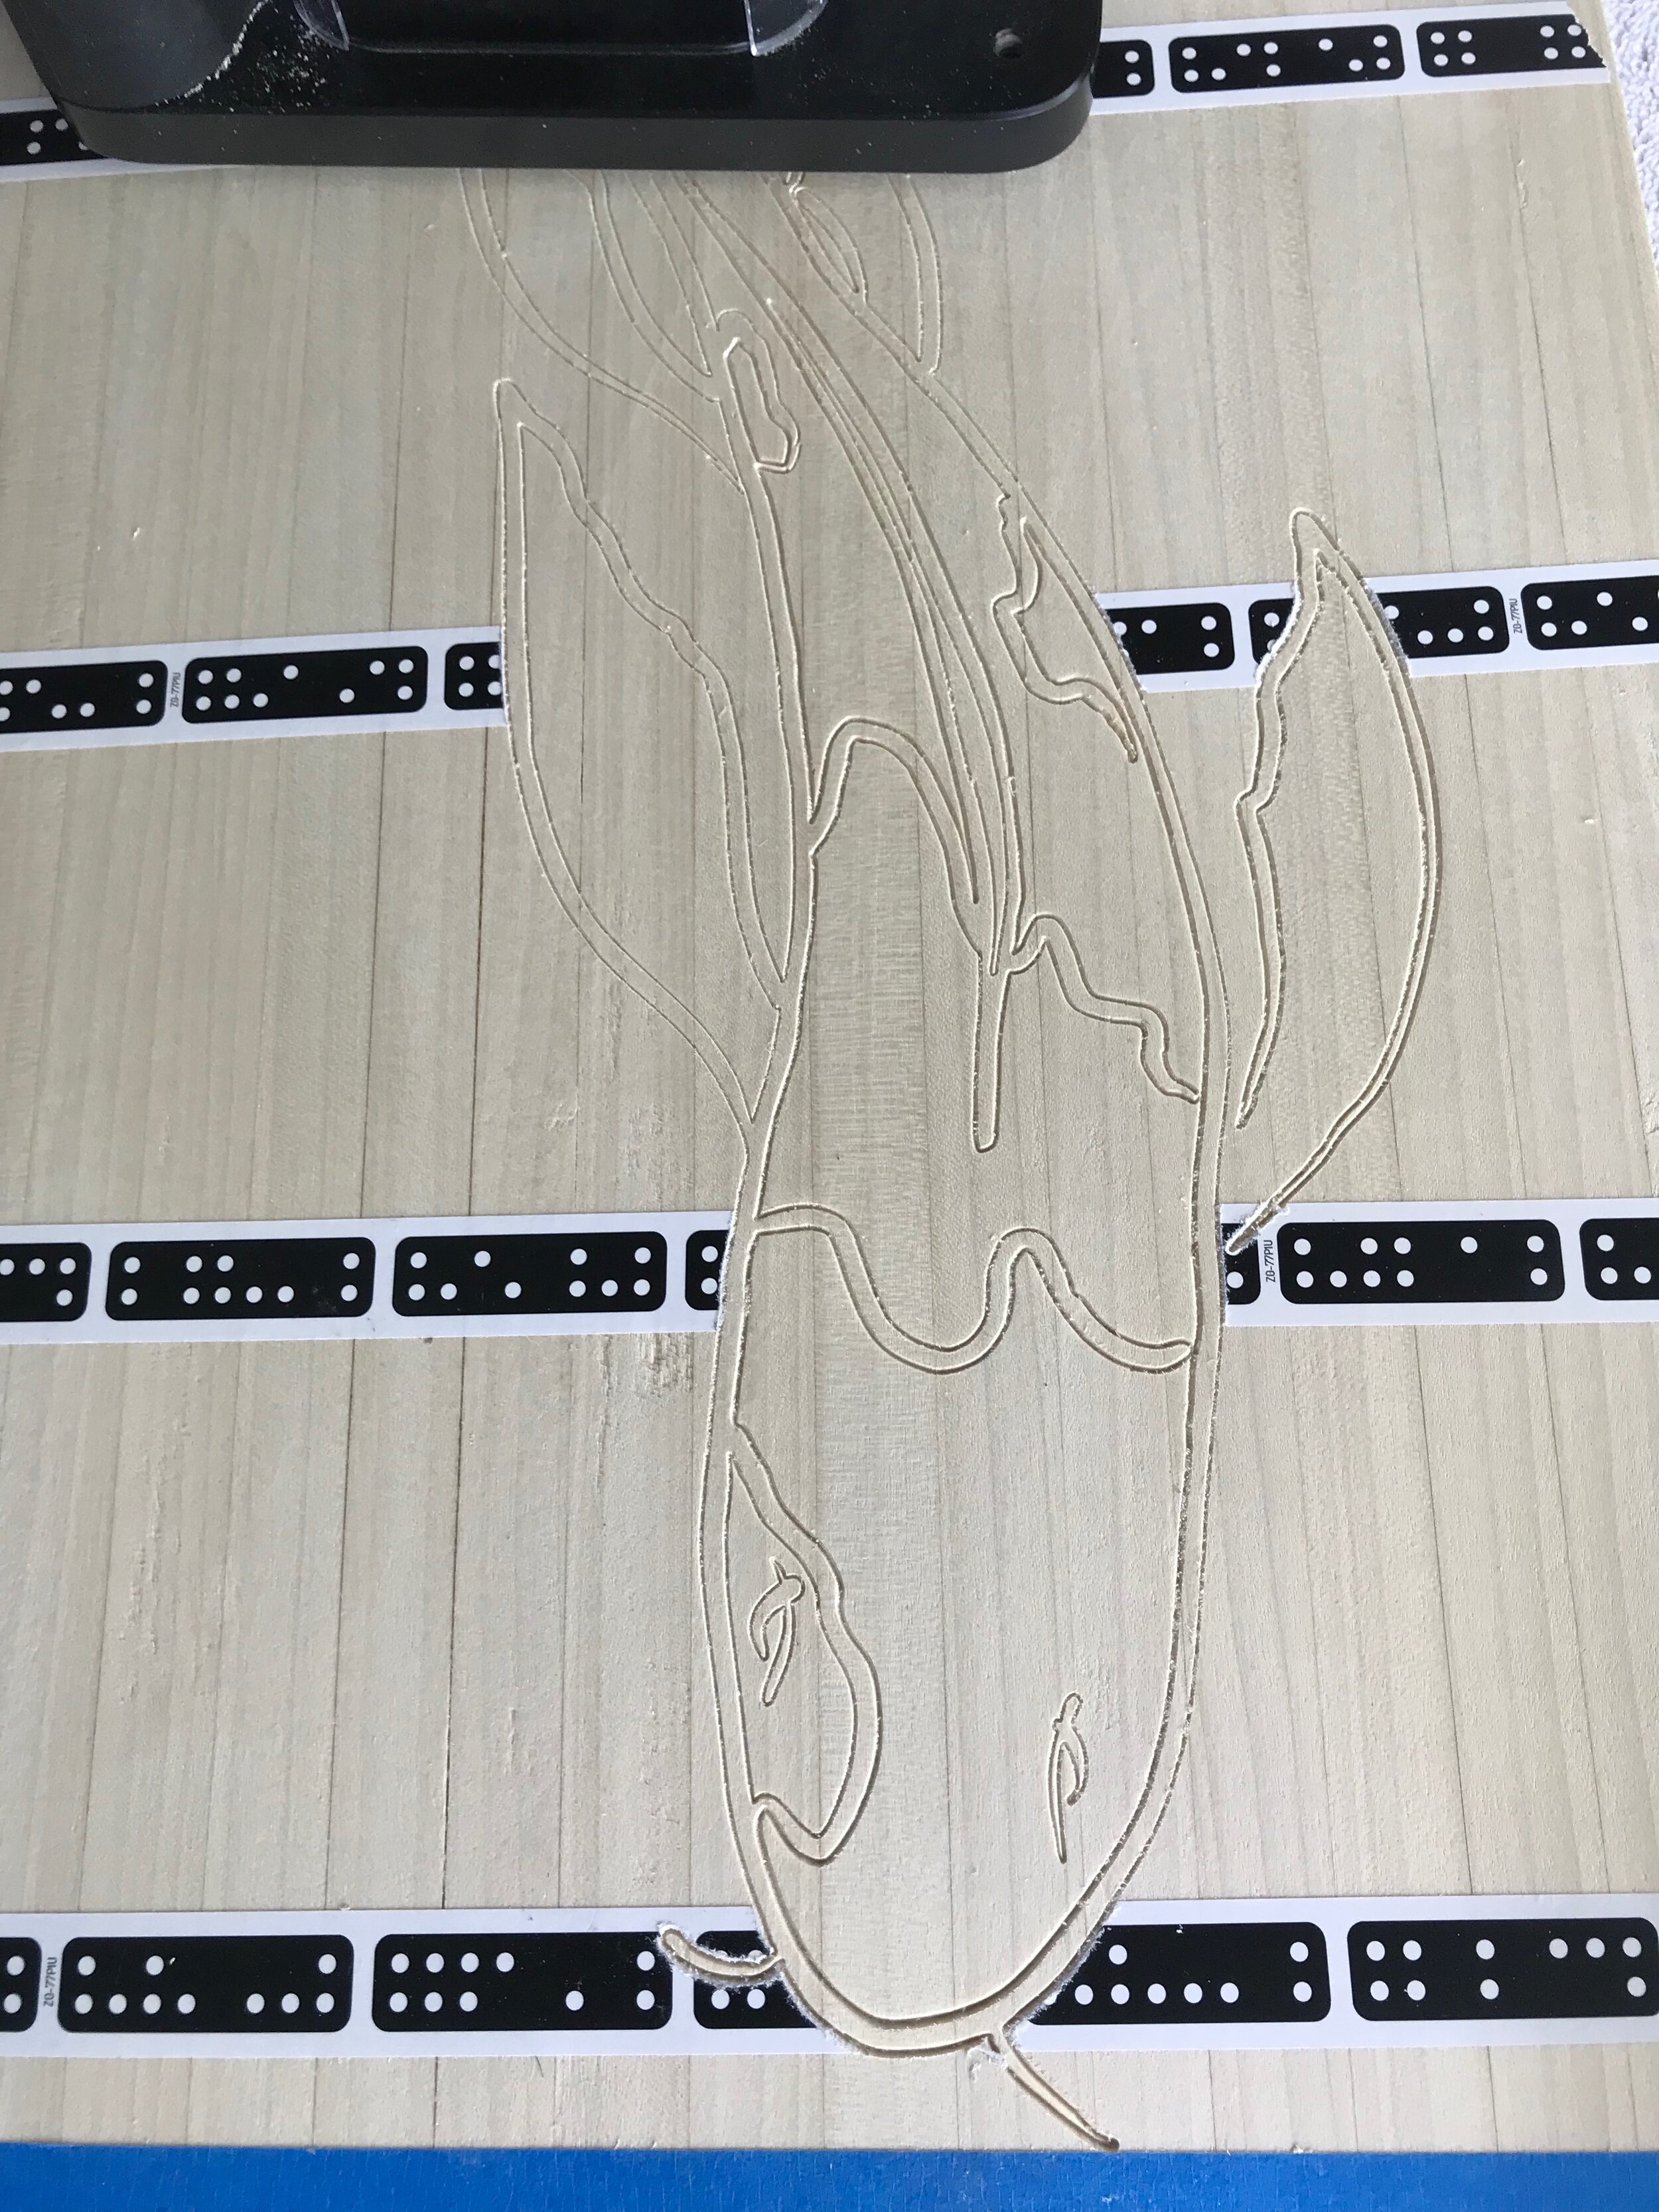
CNC cut the bird and boat on top and bottom.
Filled graphics with paint to contrast the dark dye.
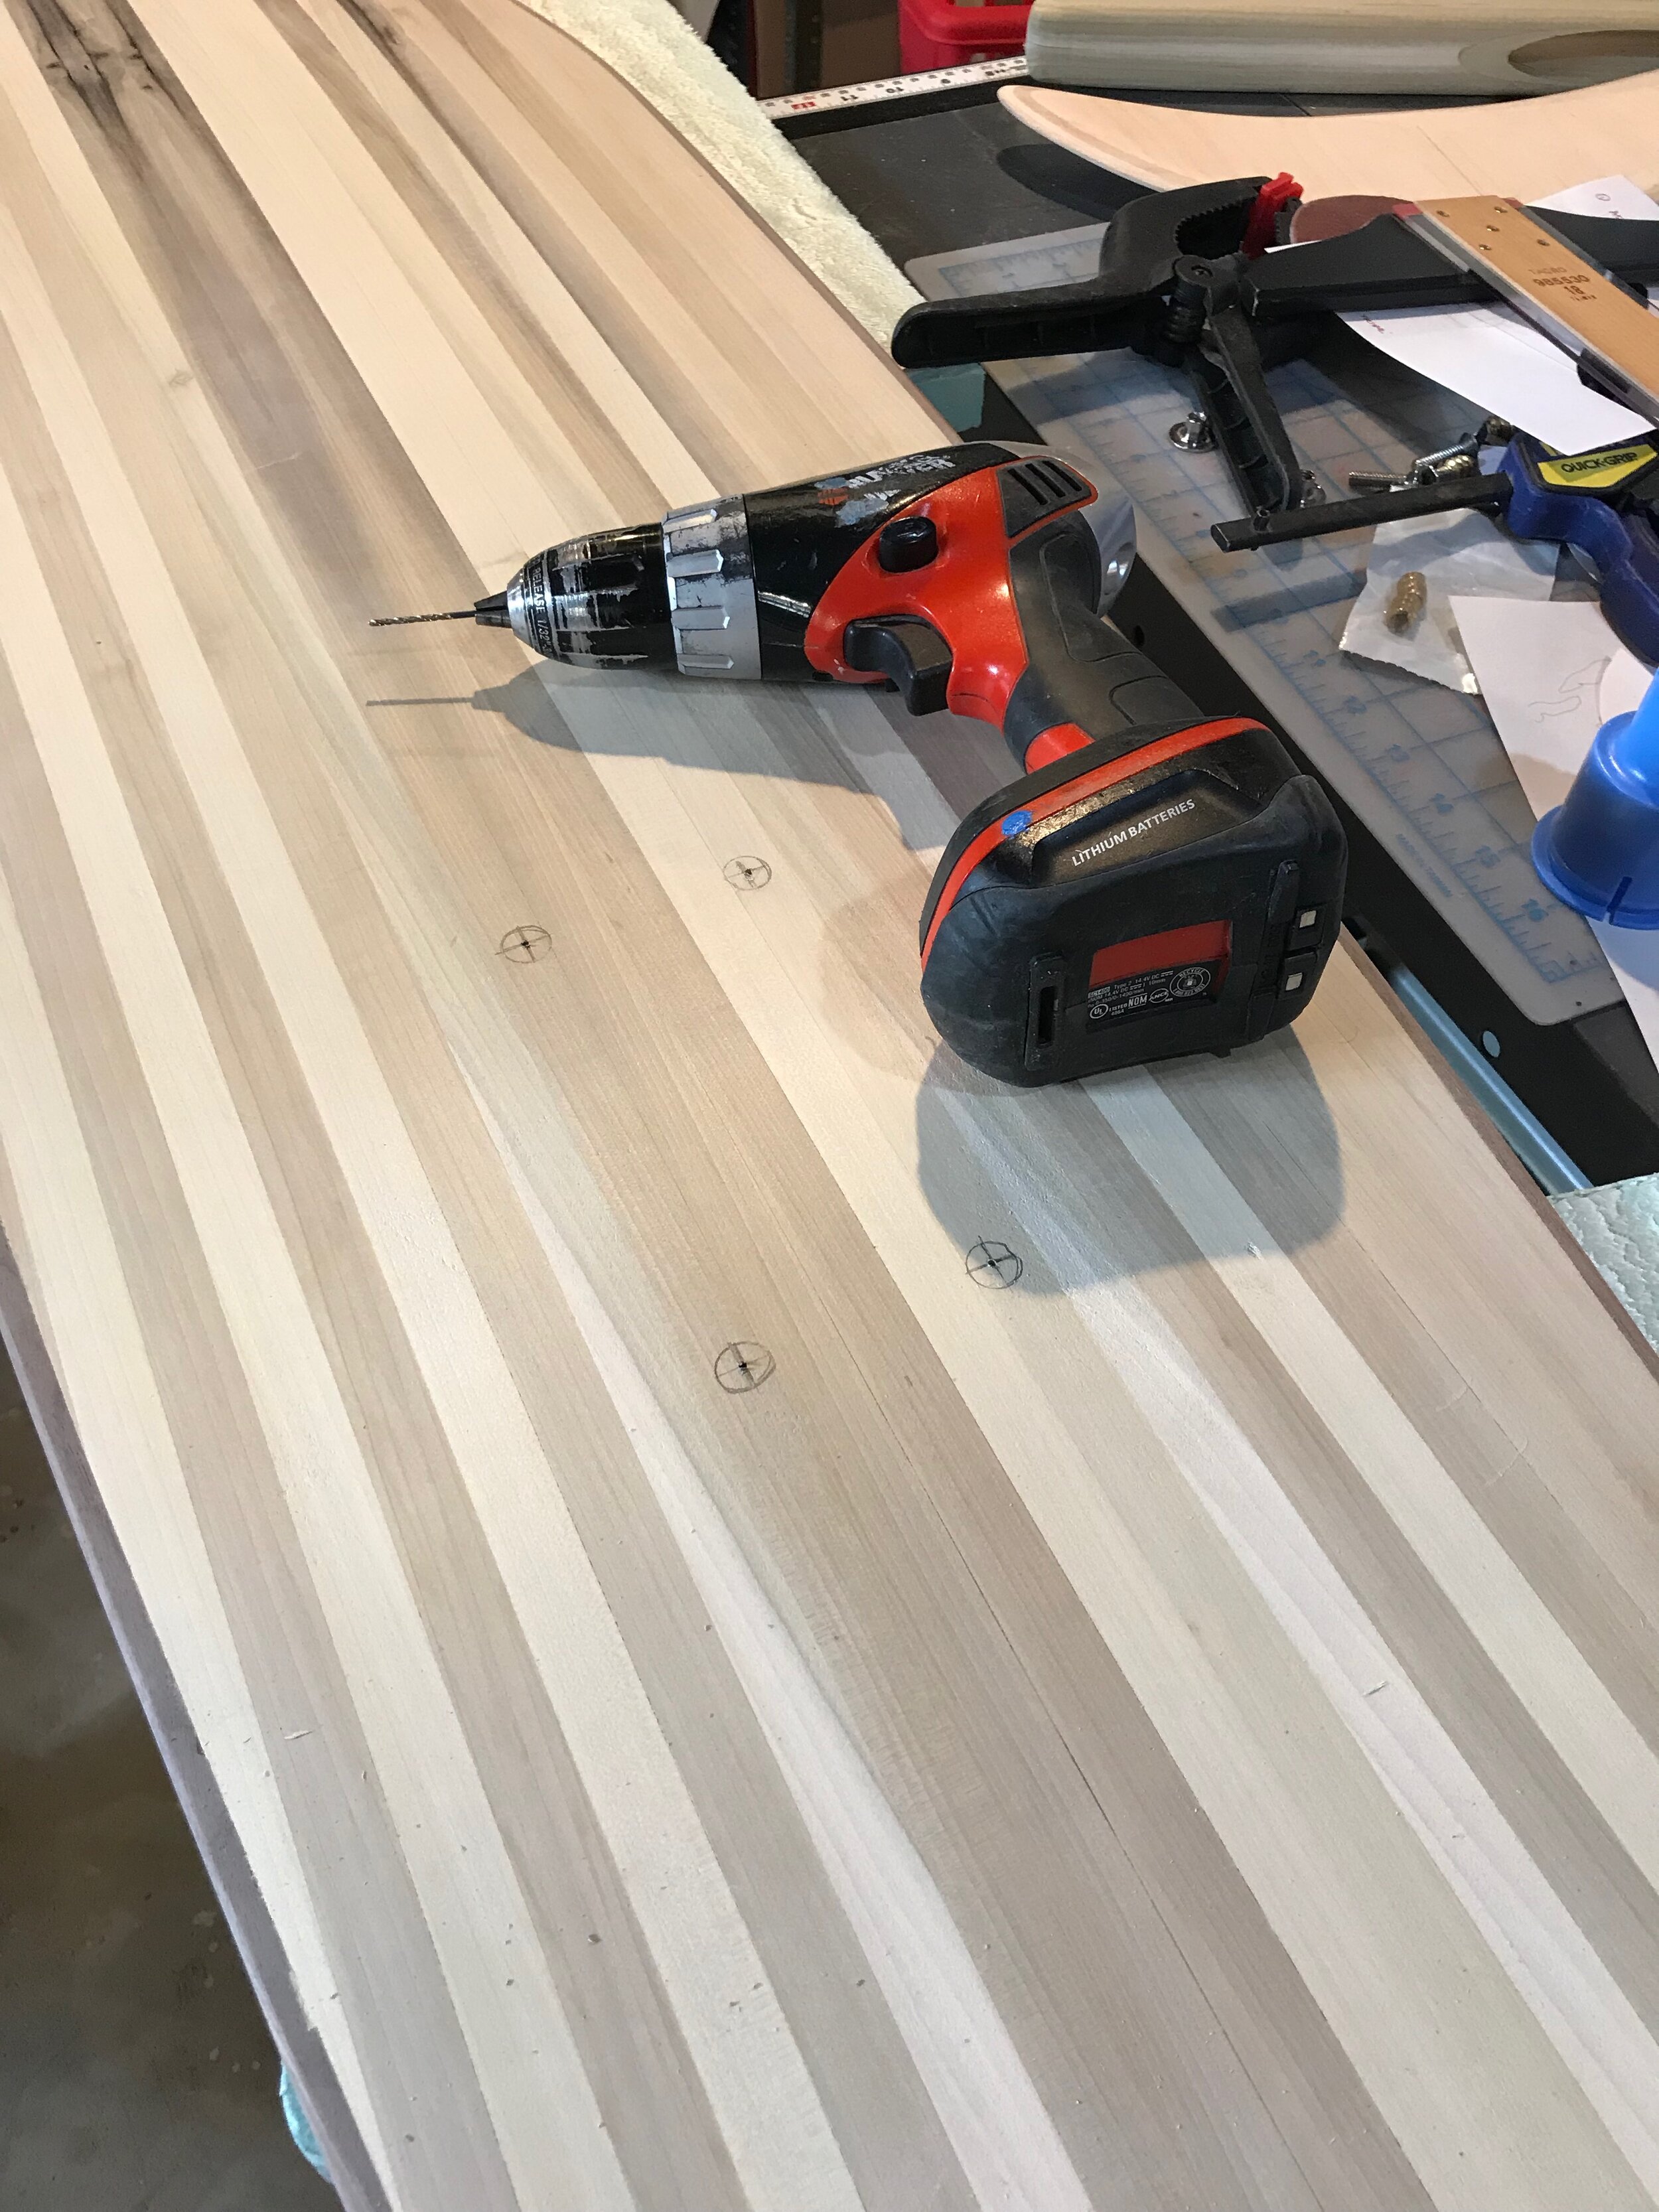
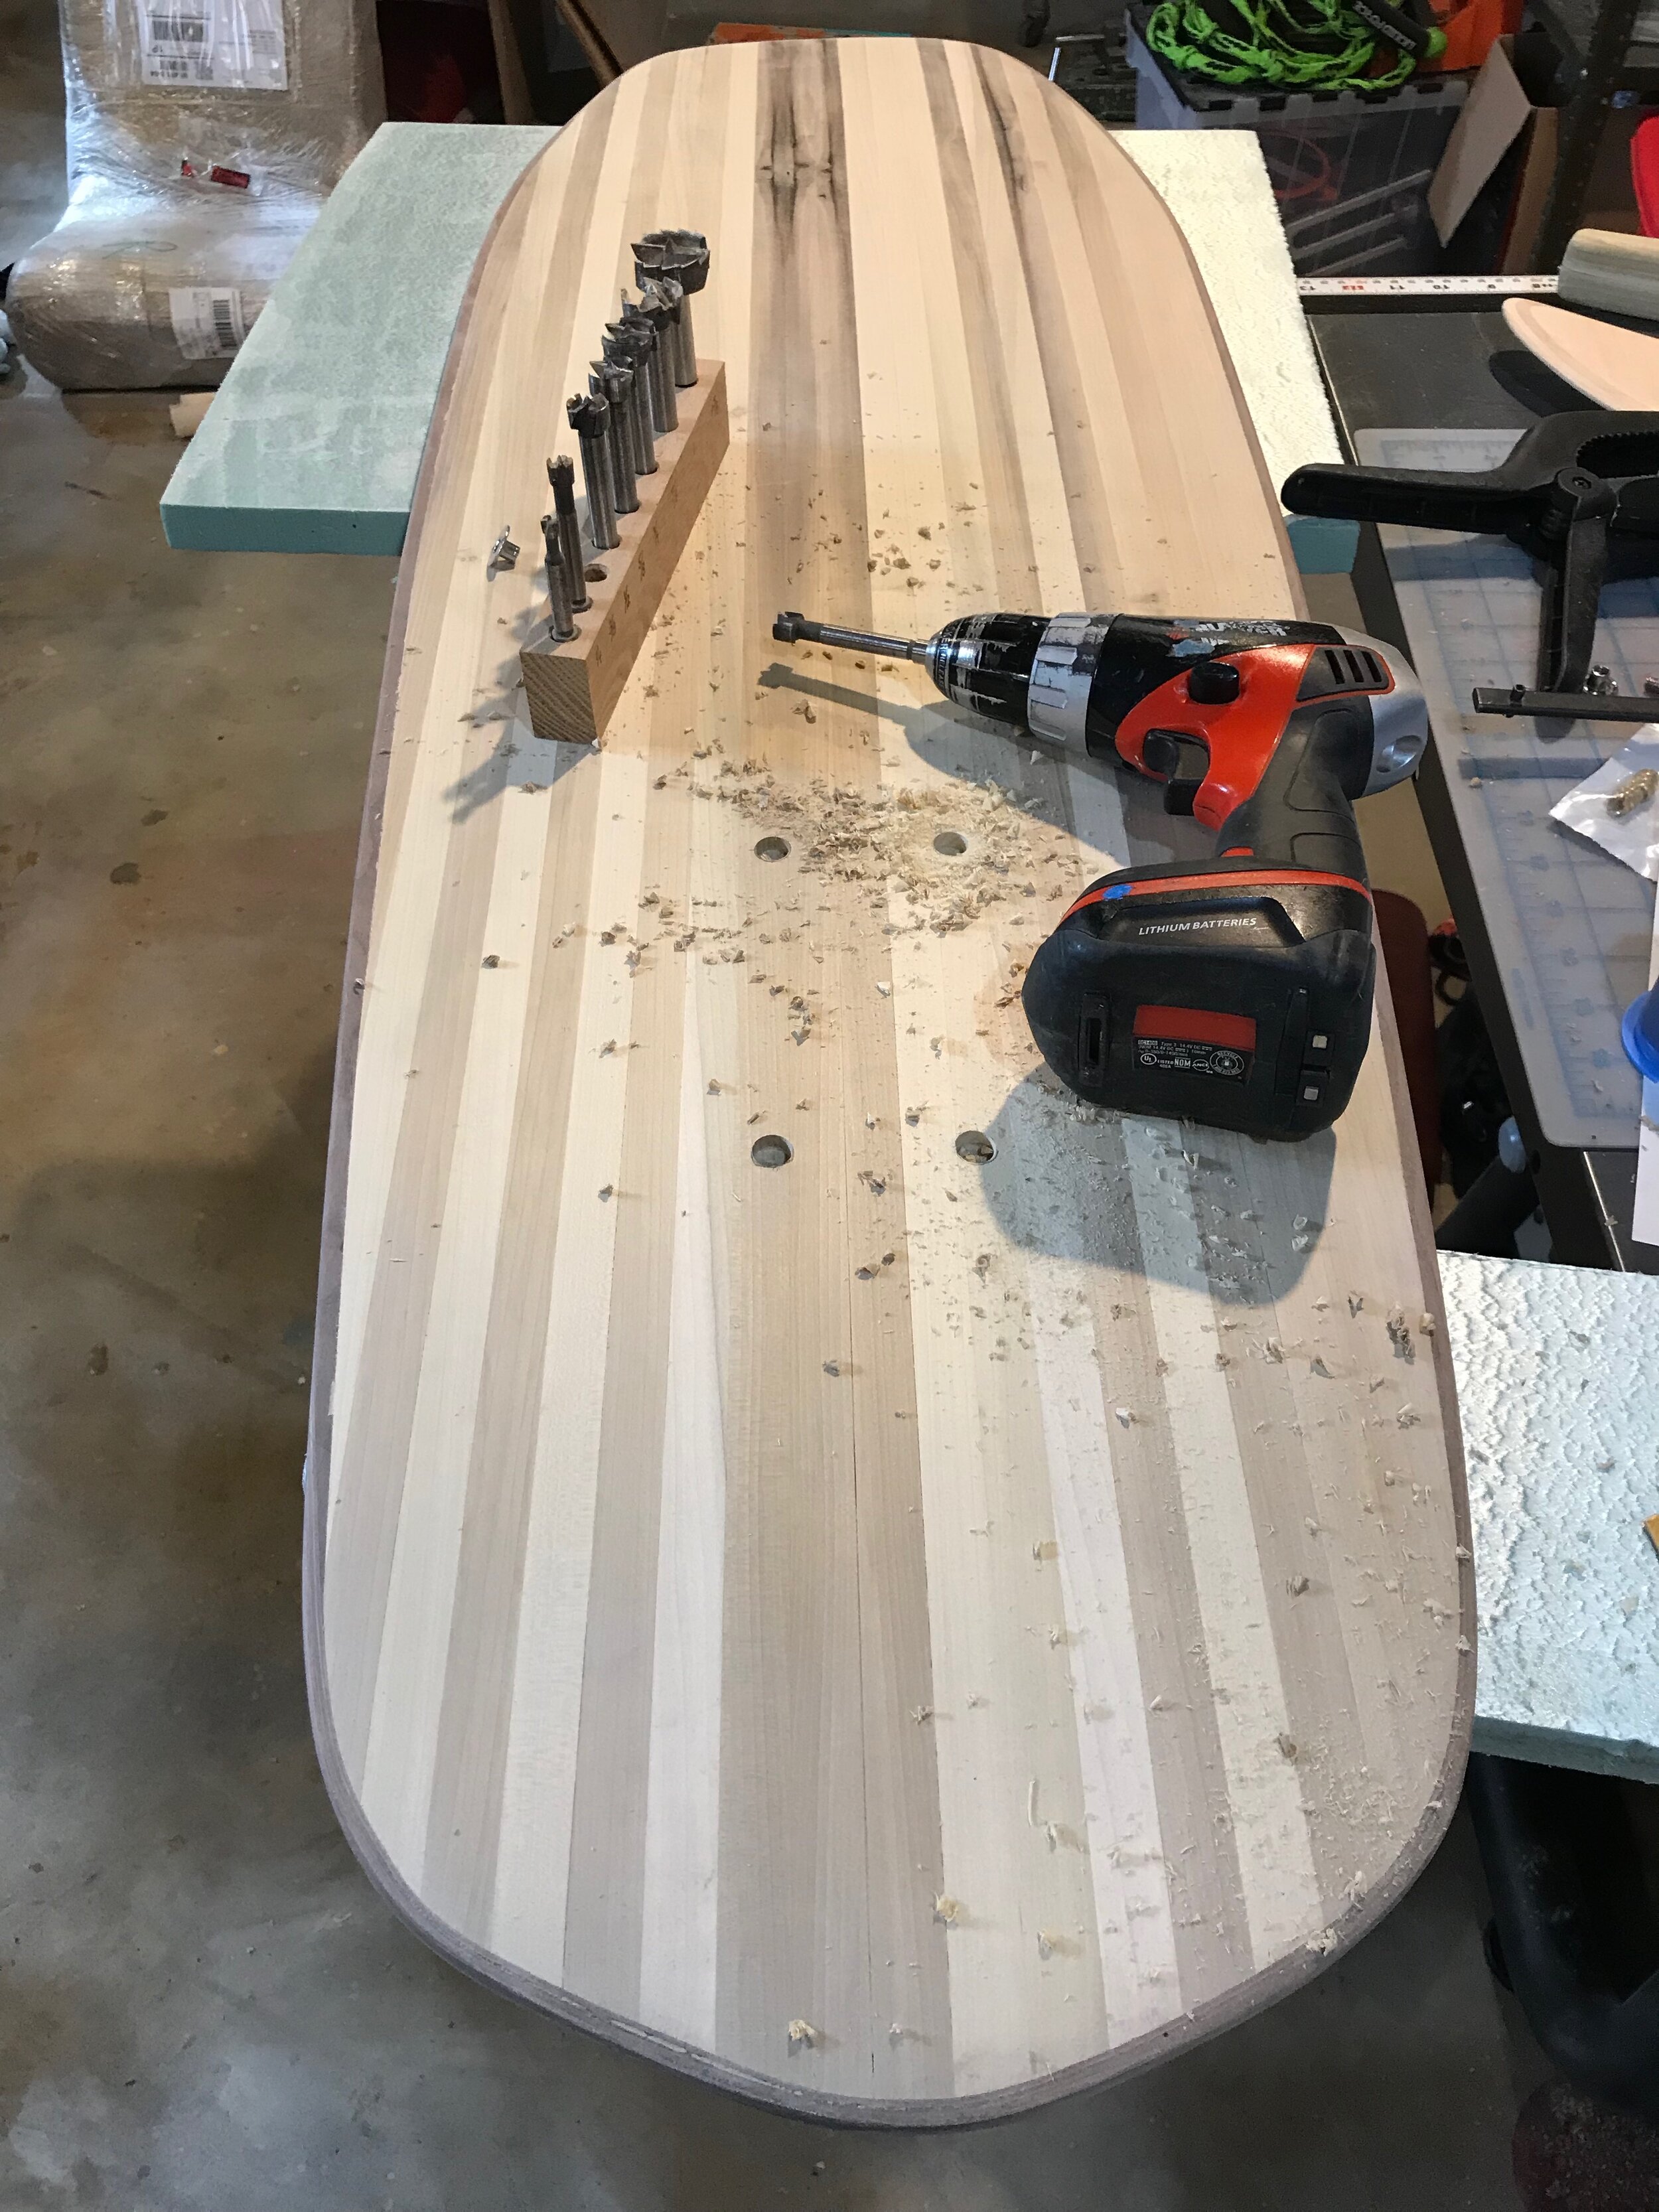
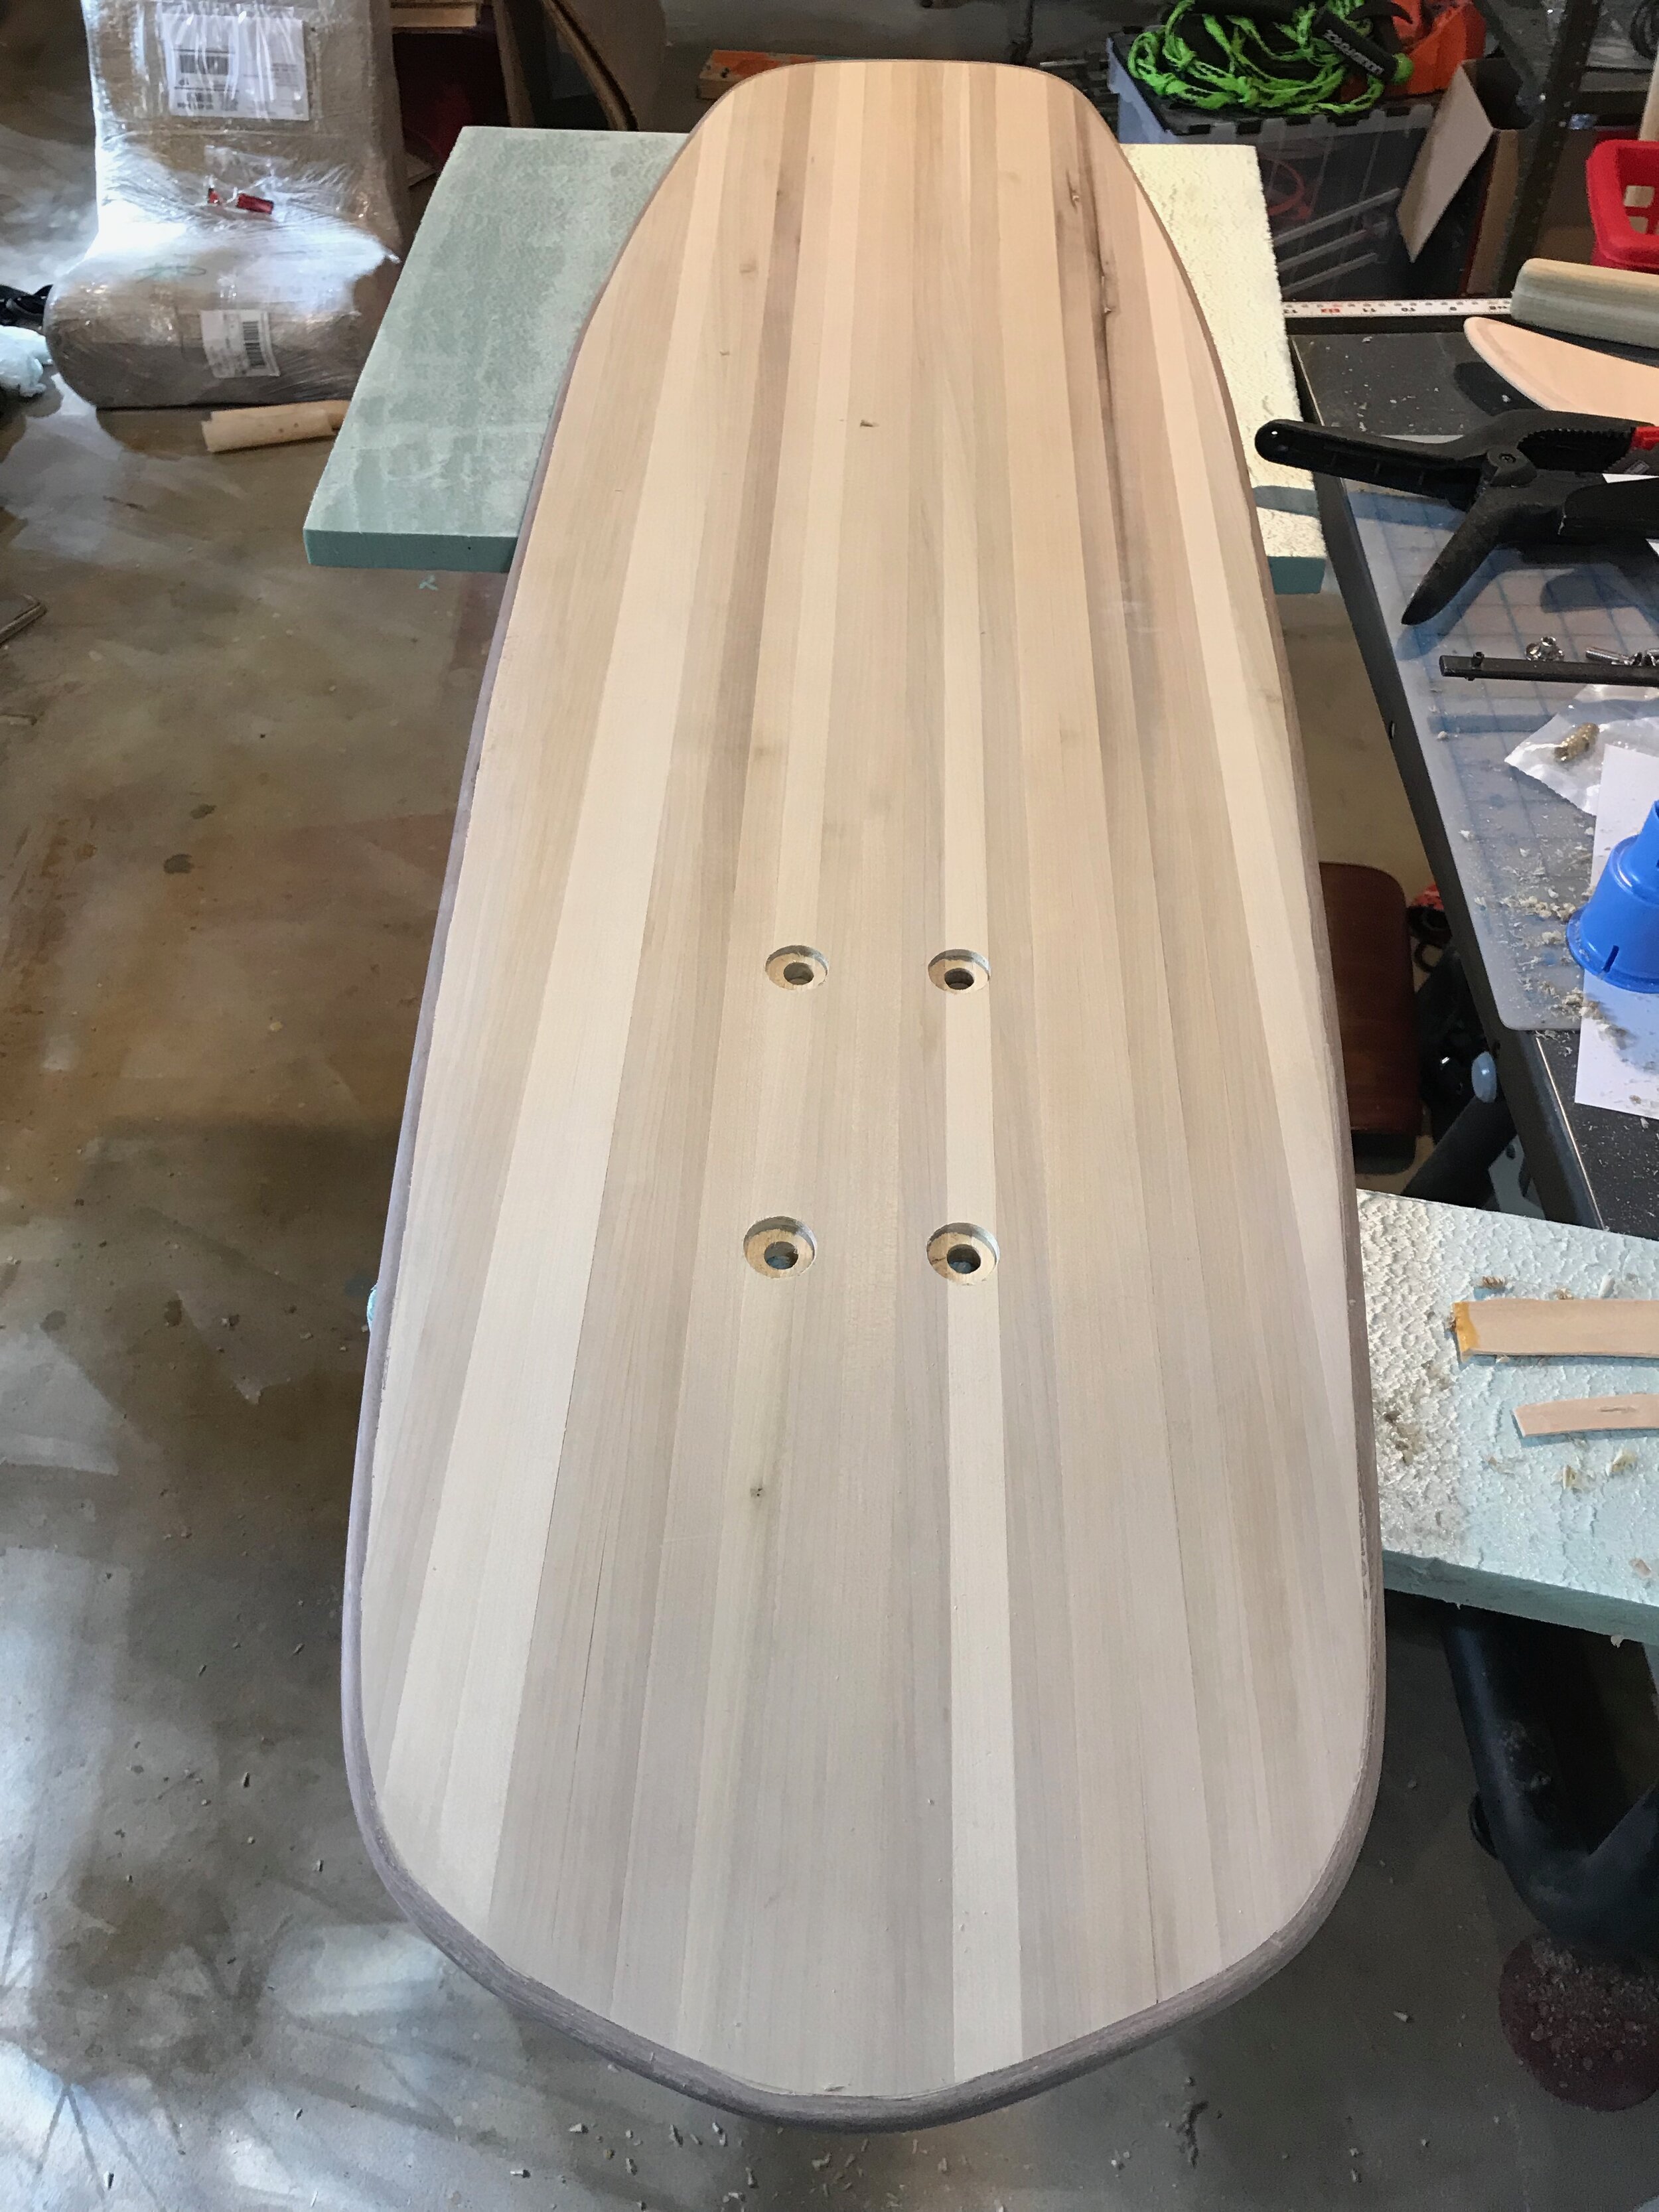
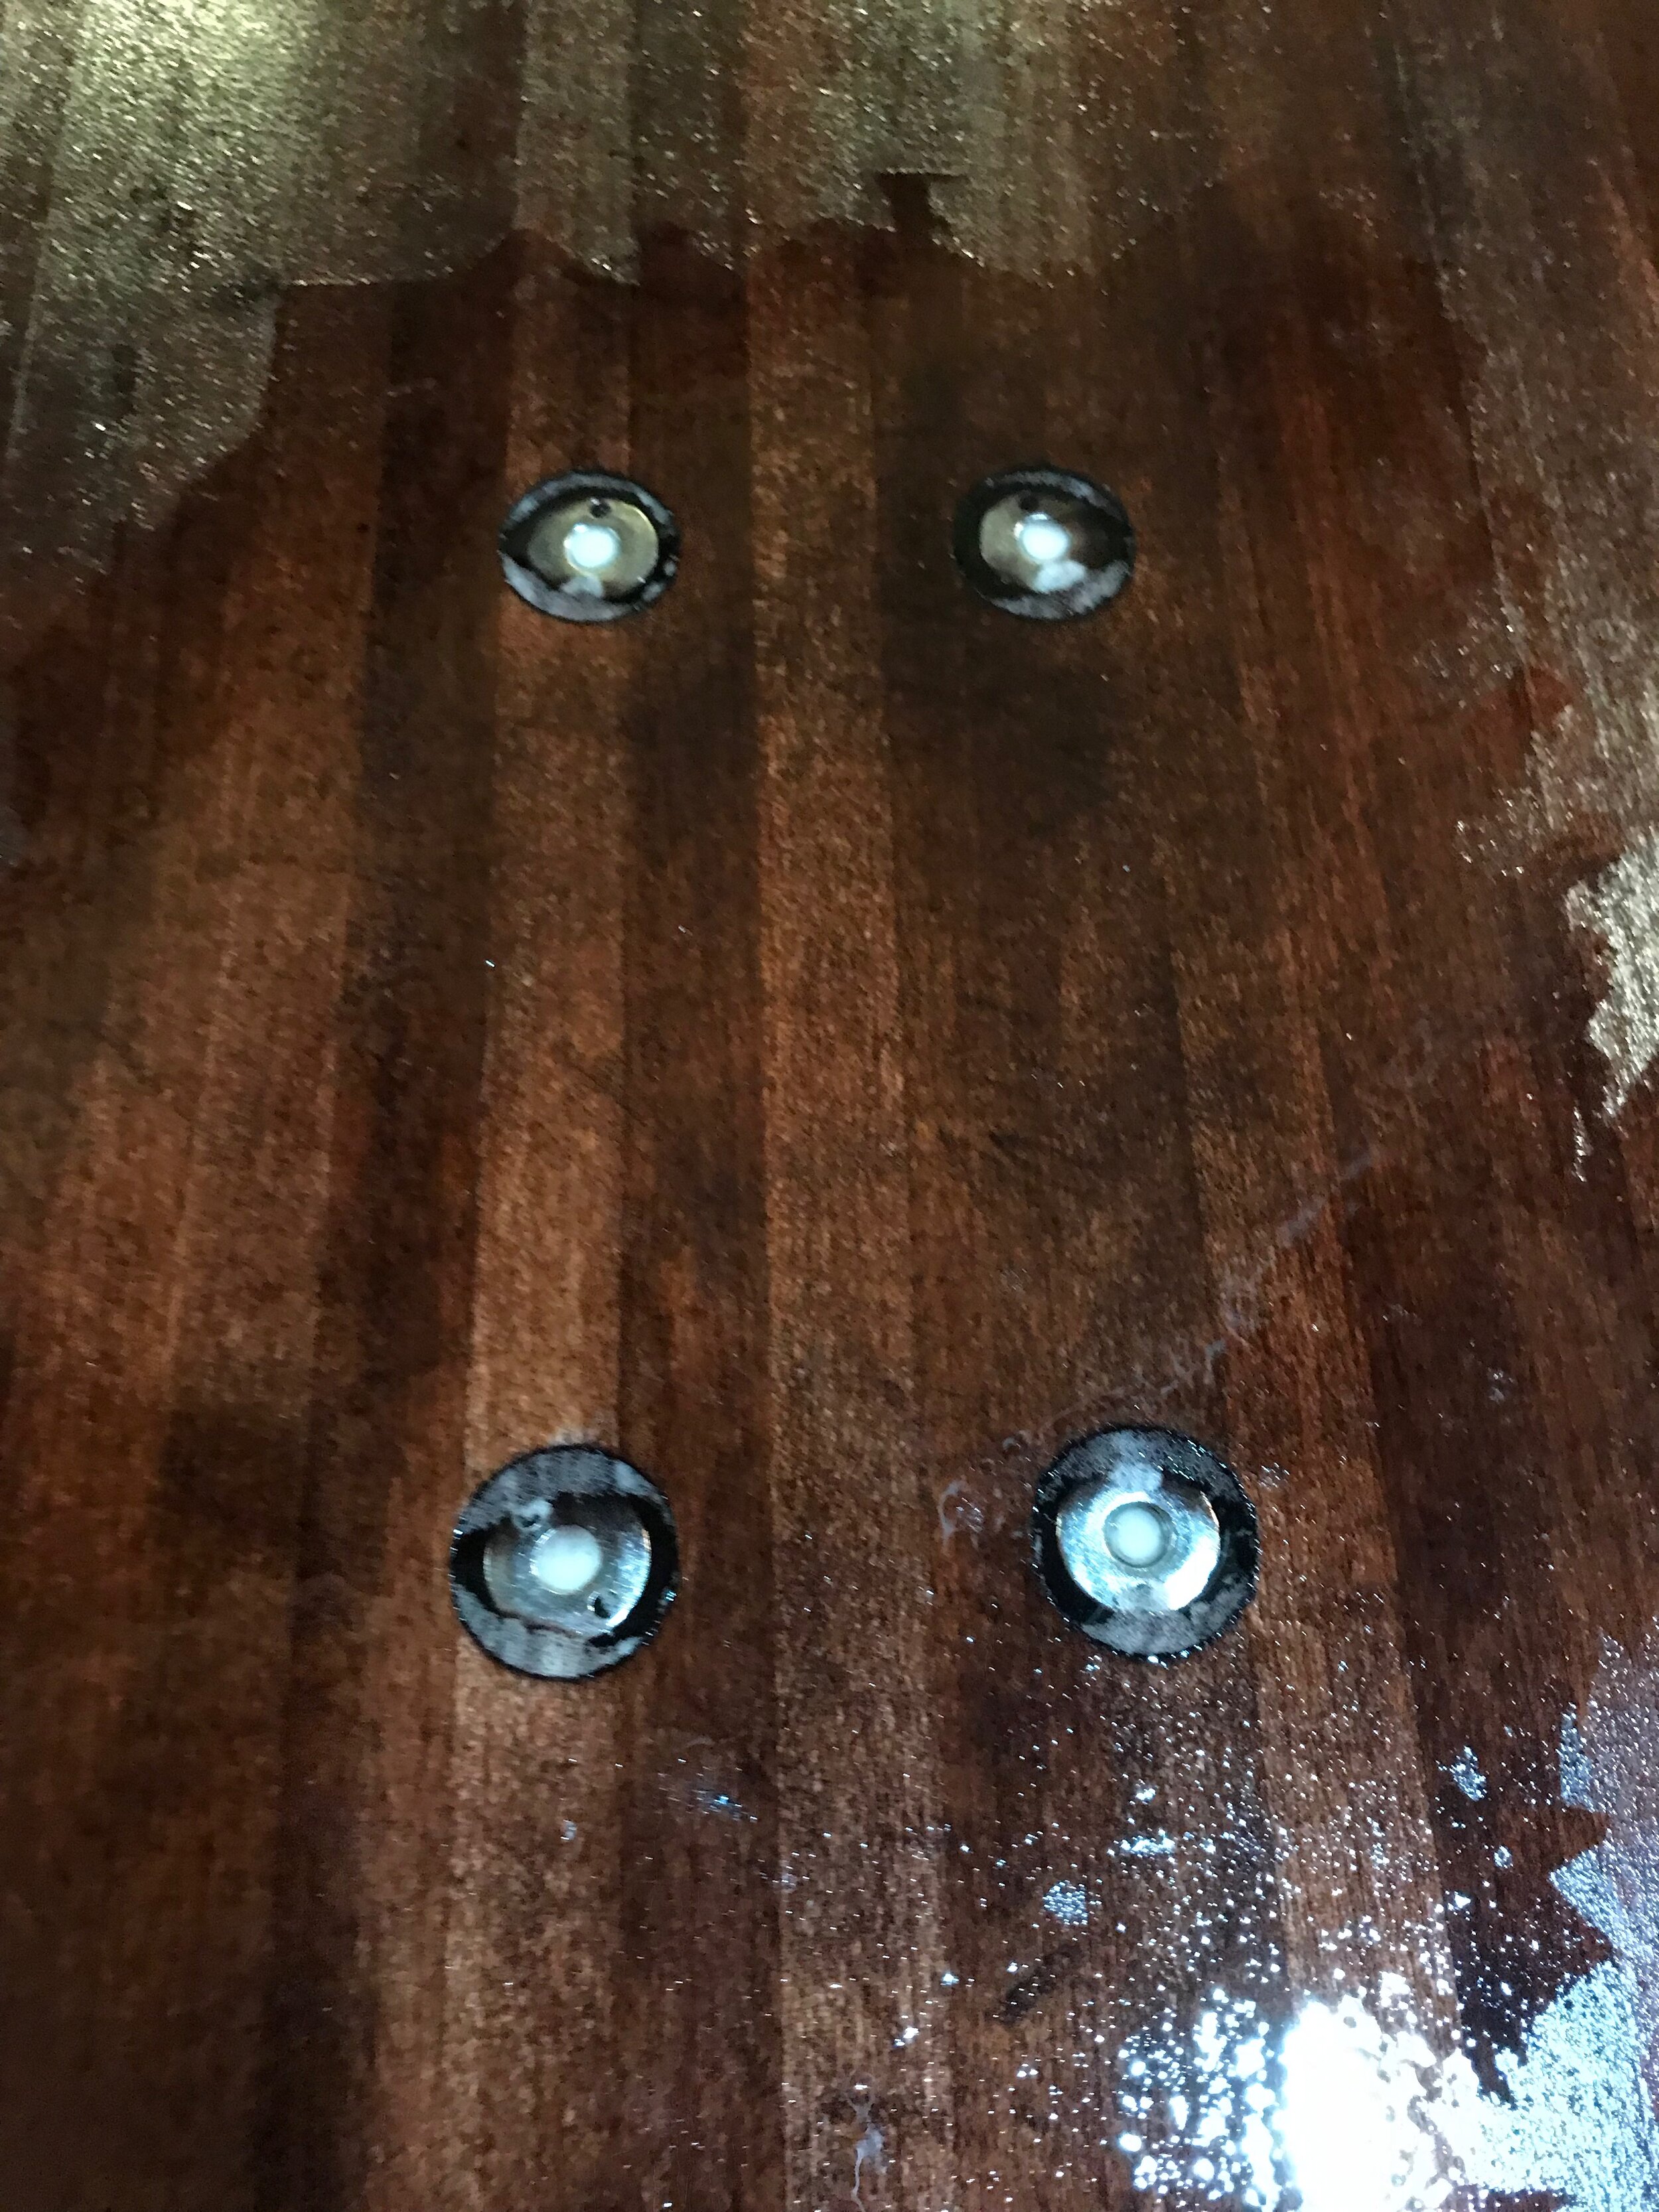
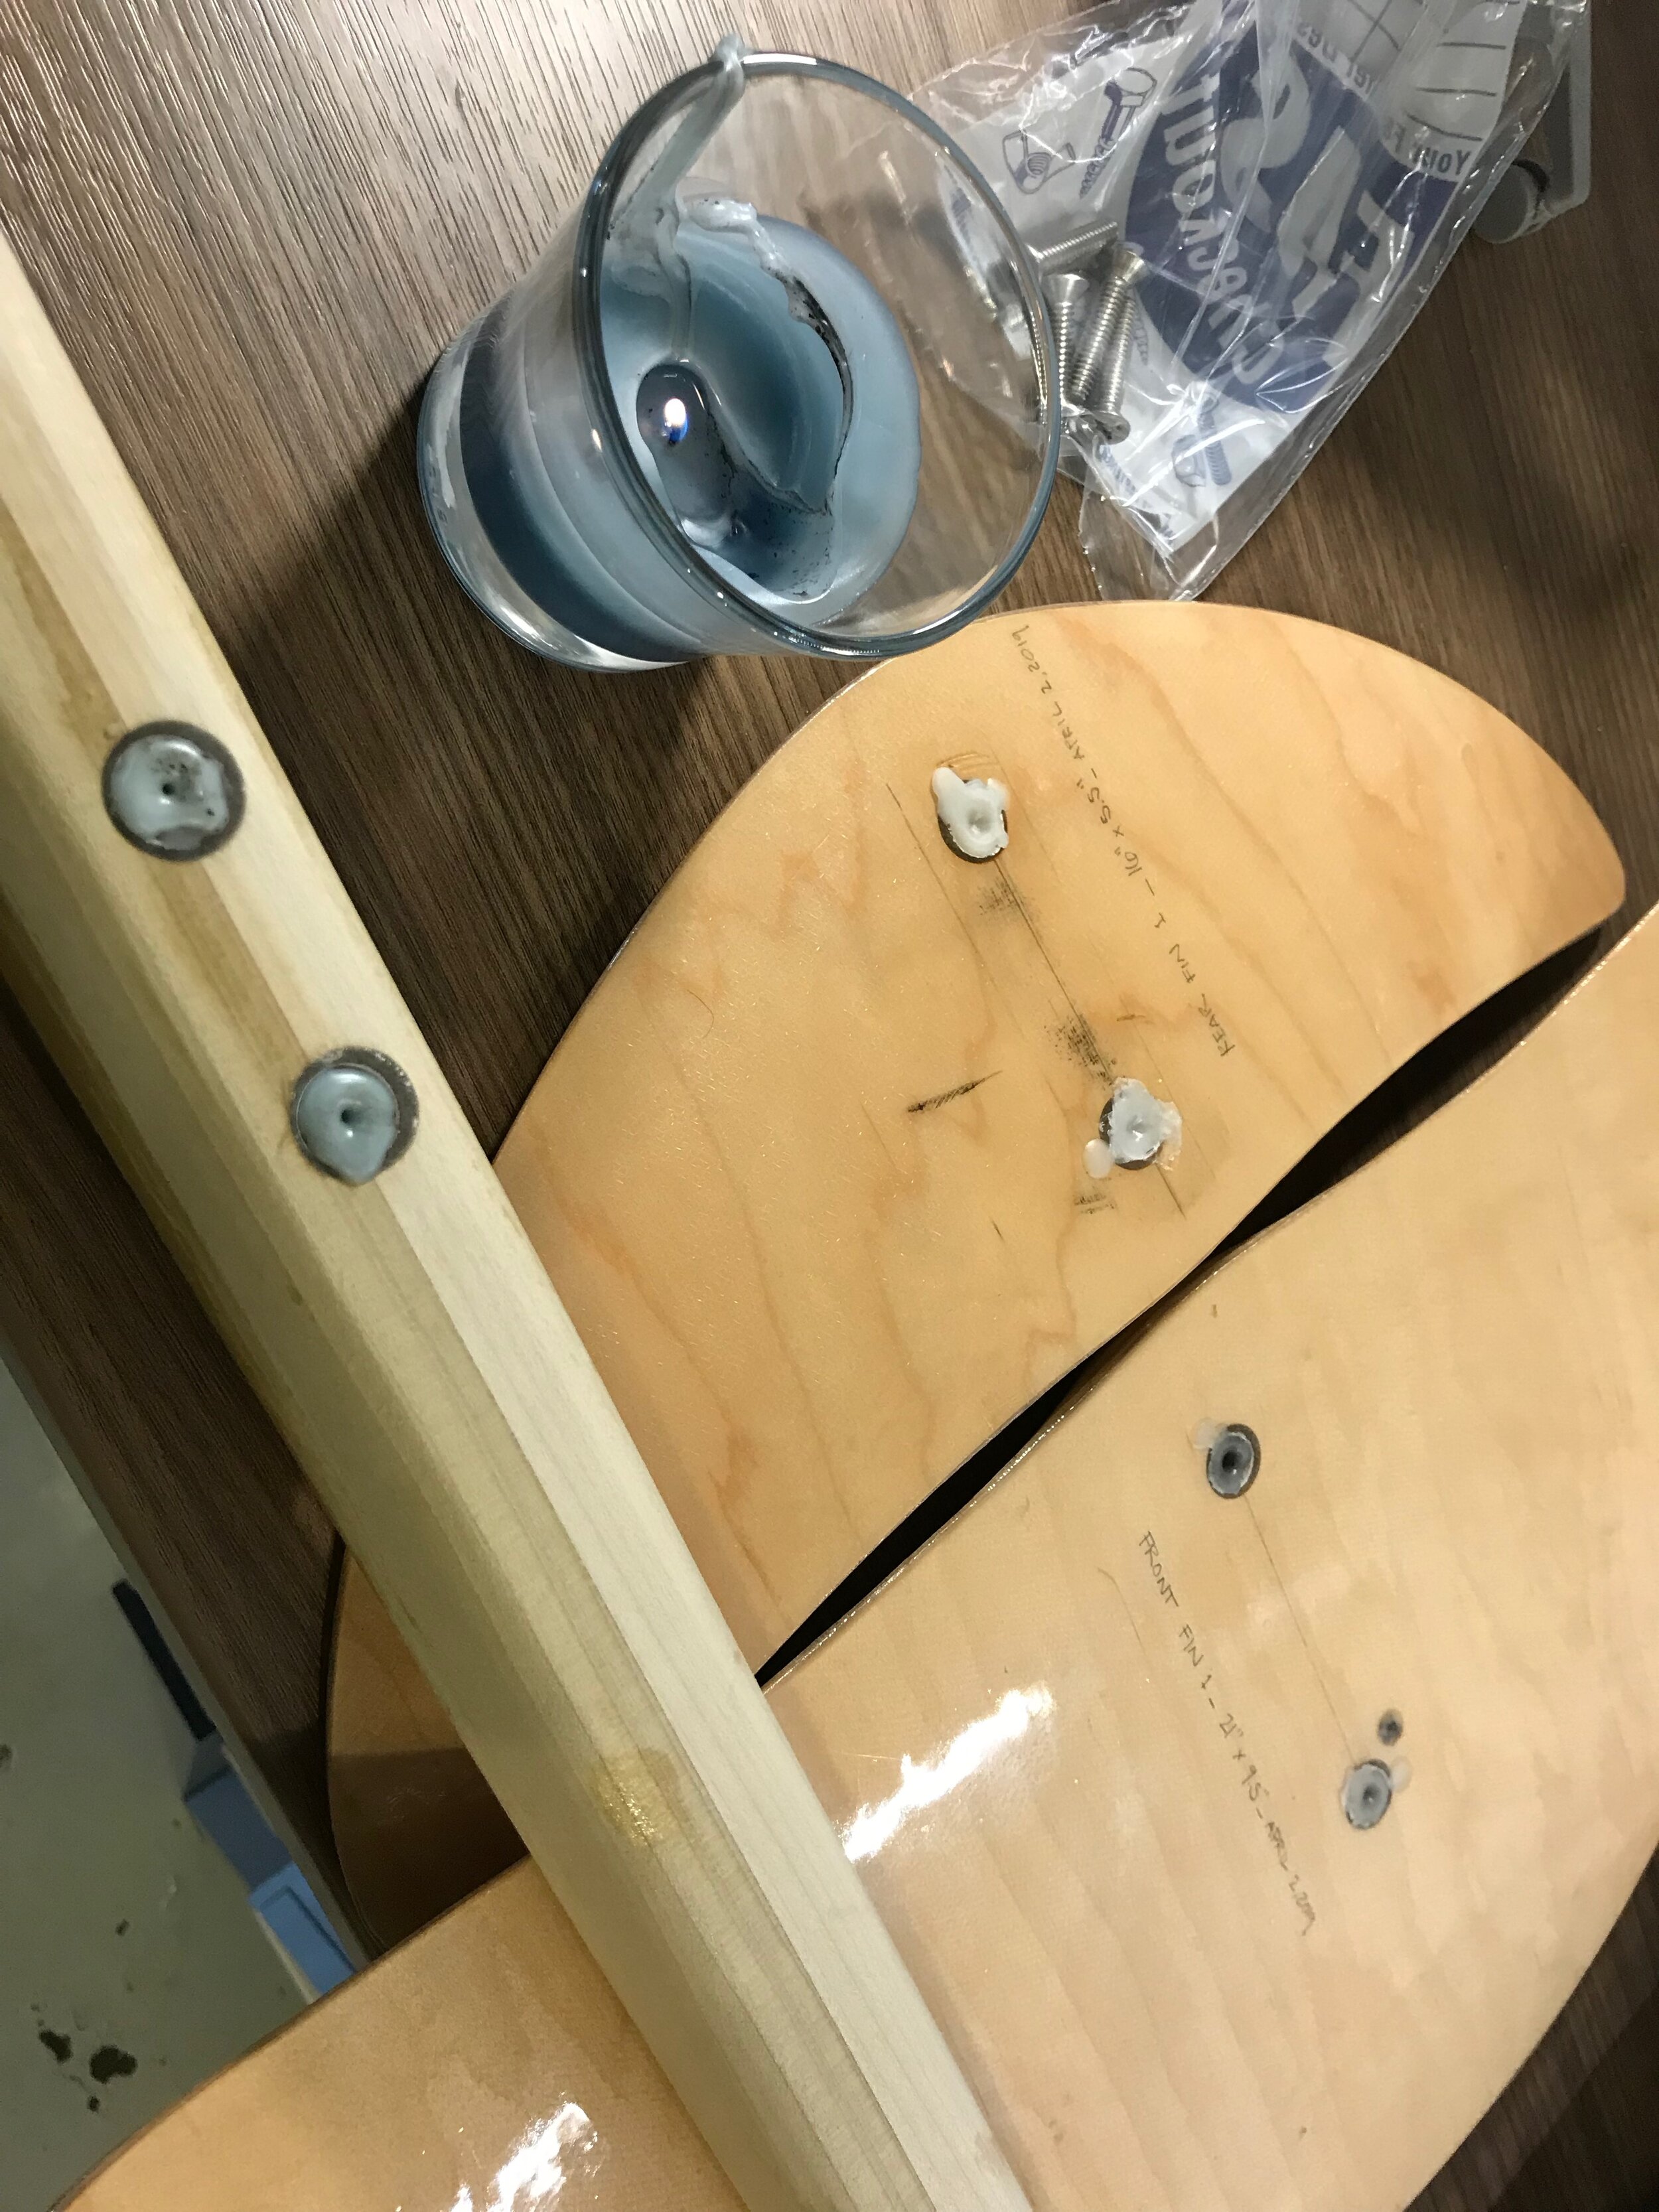
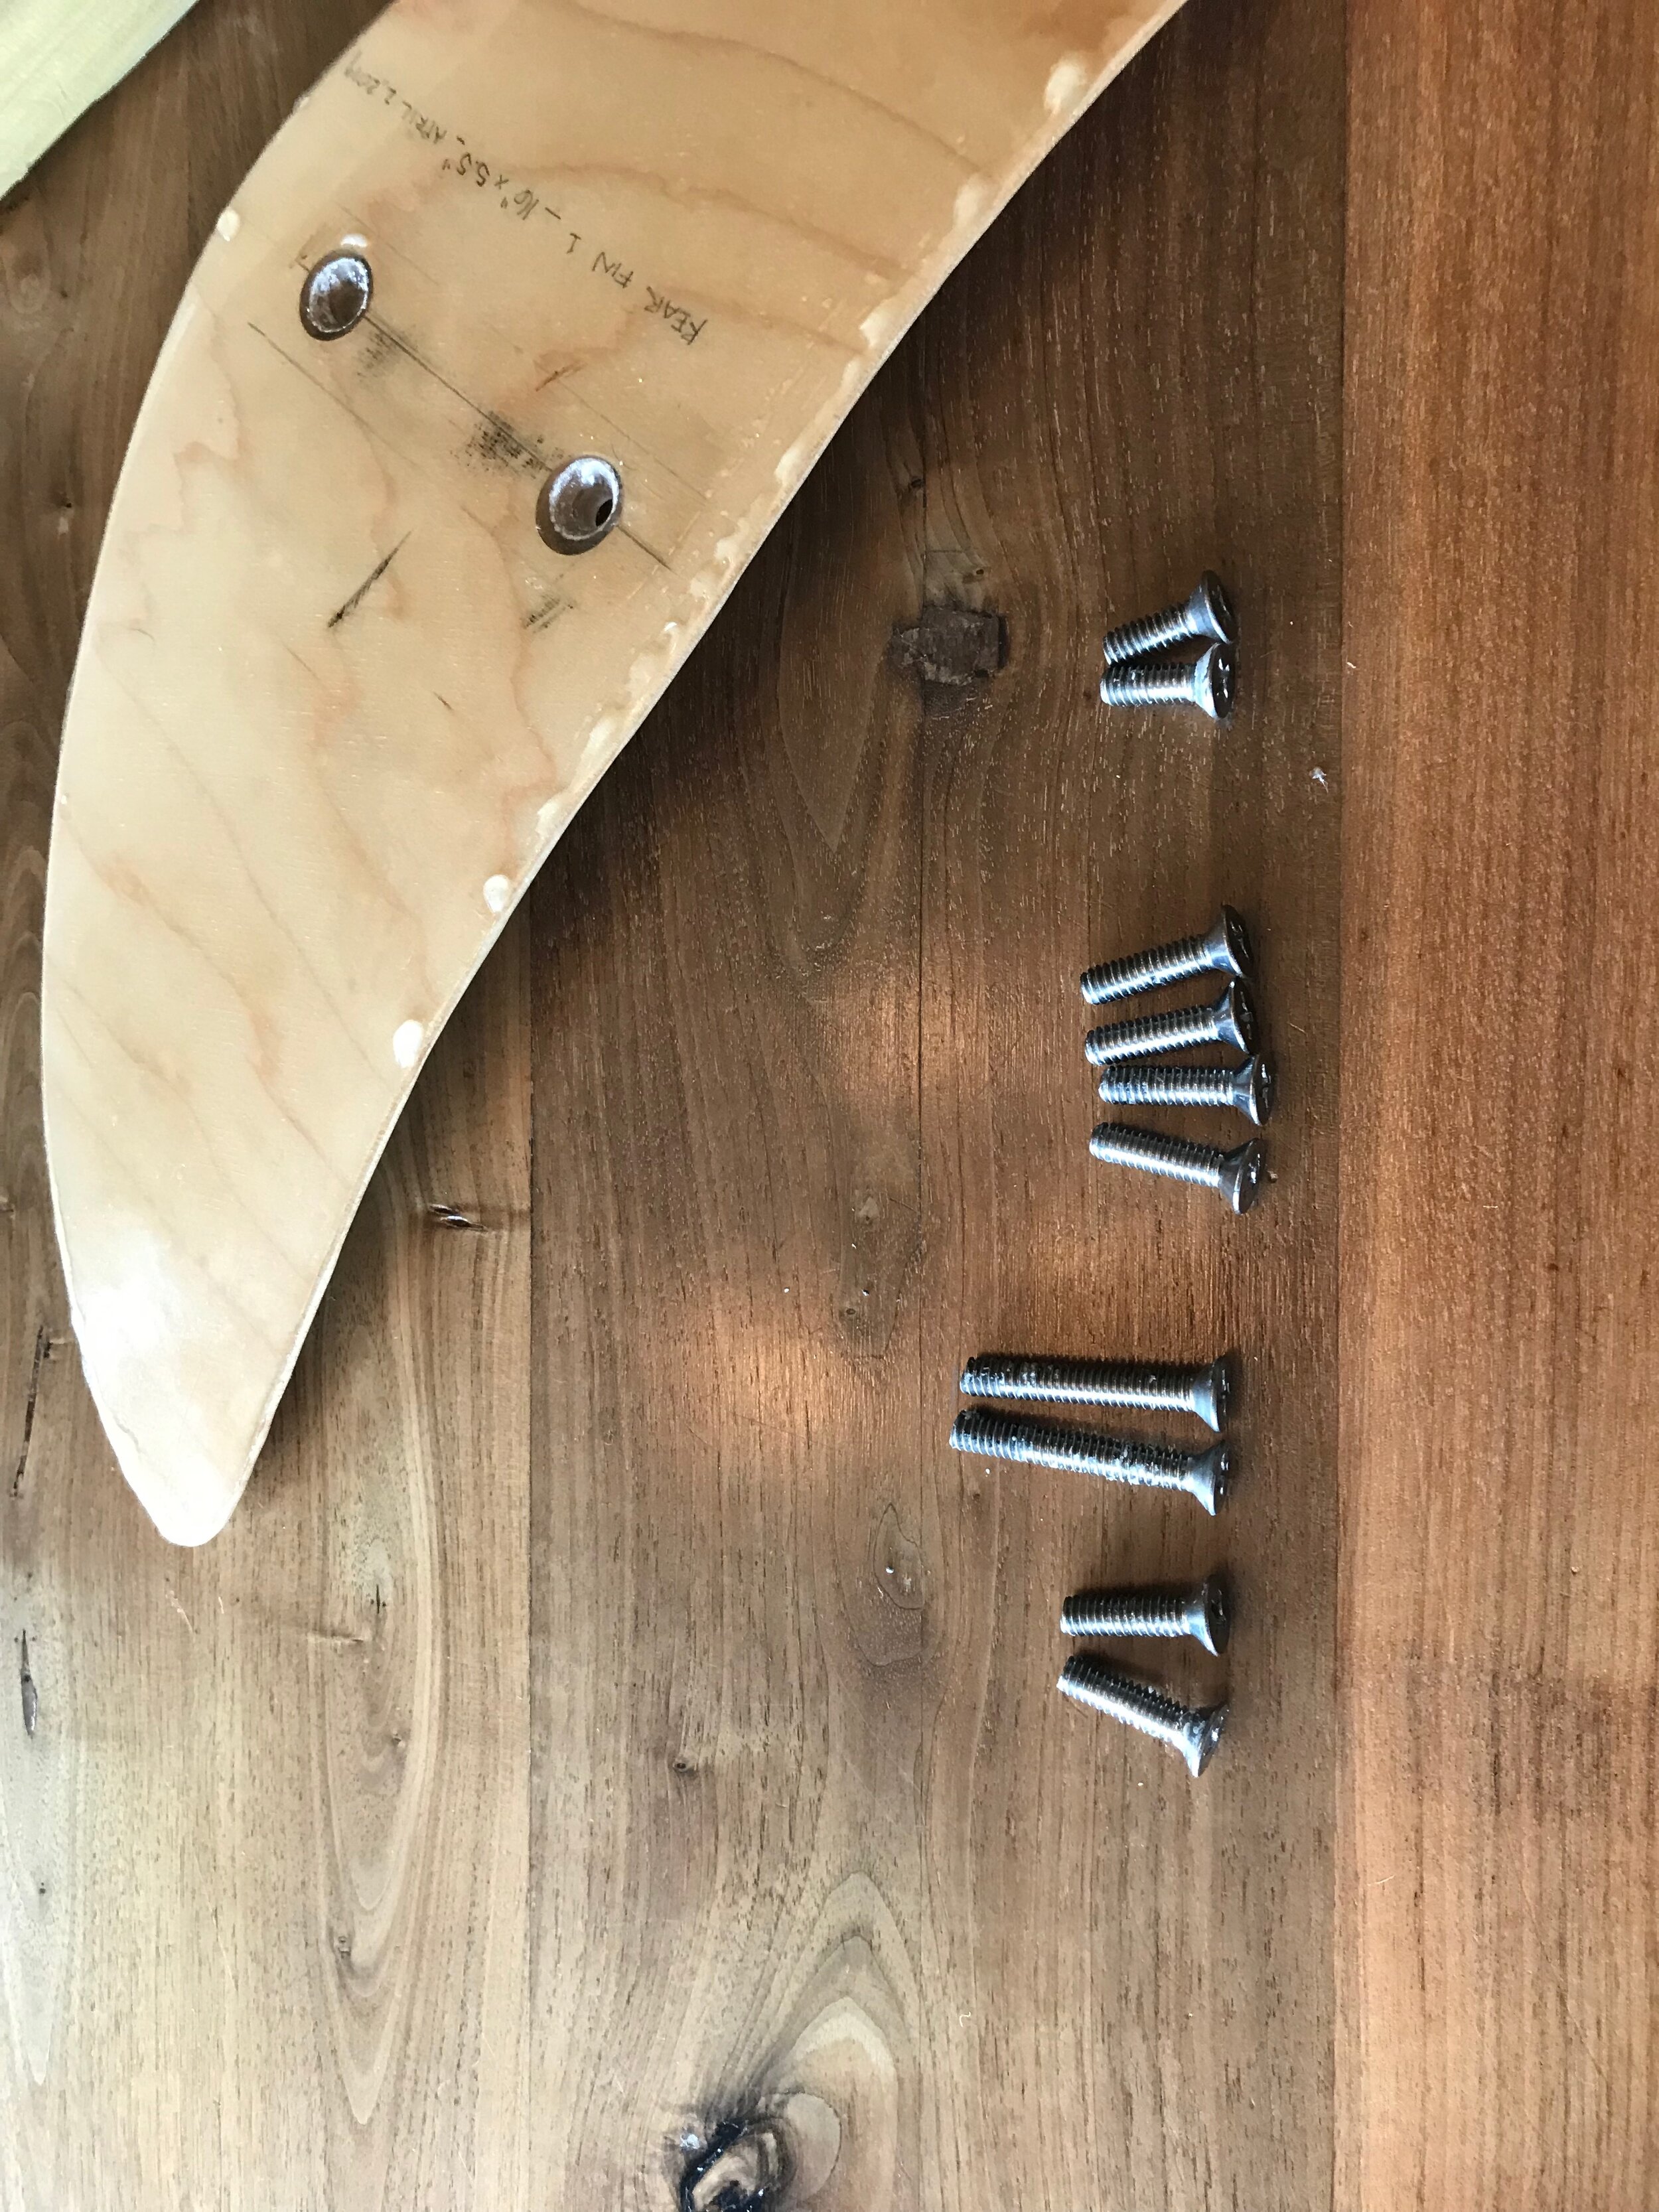
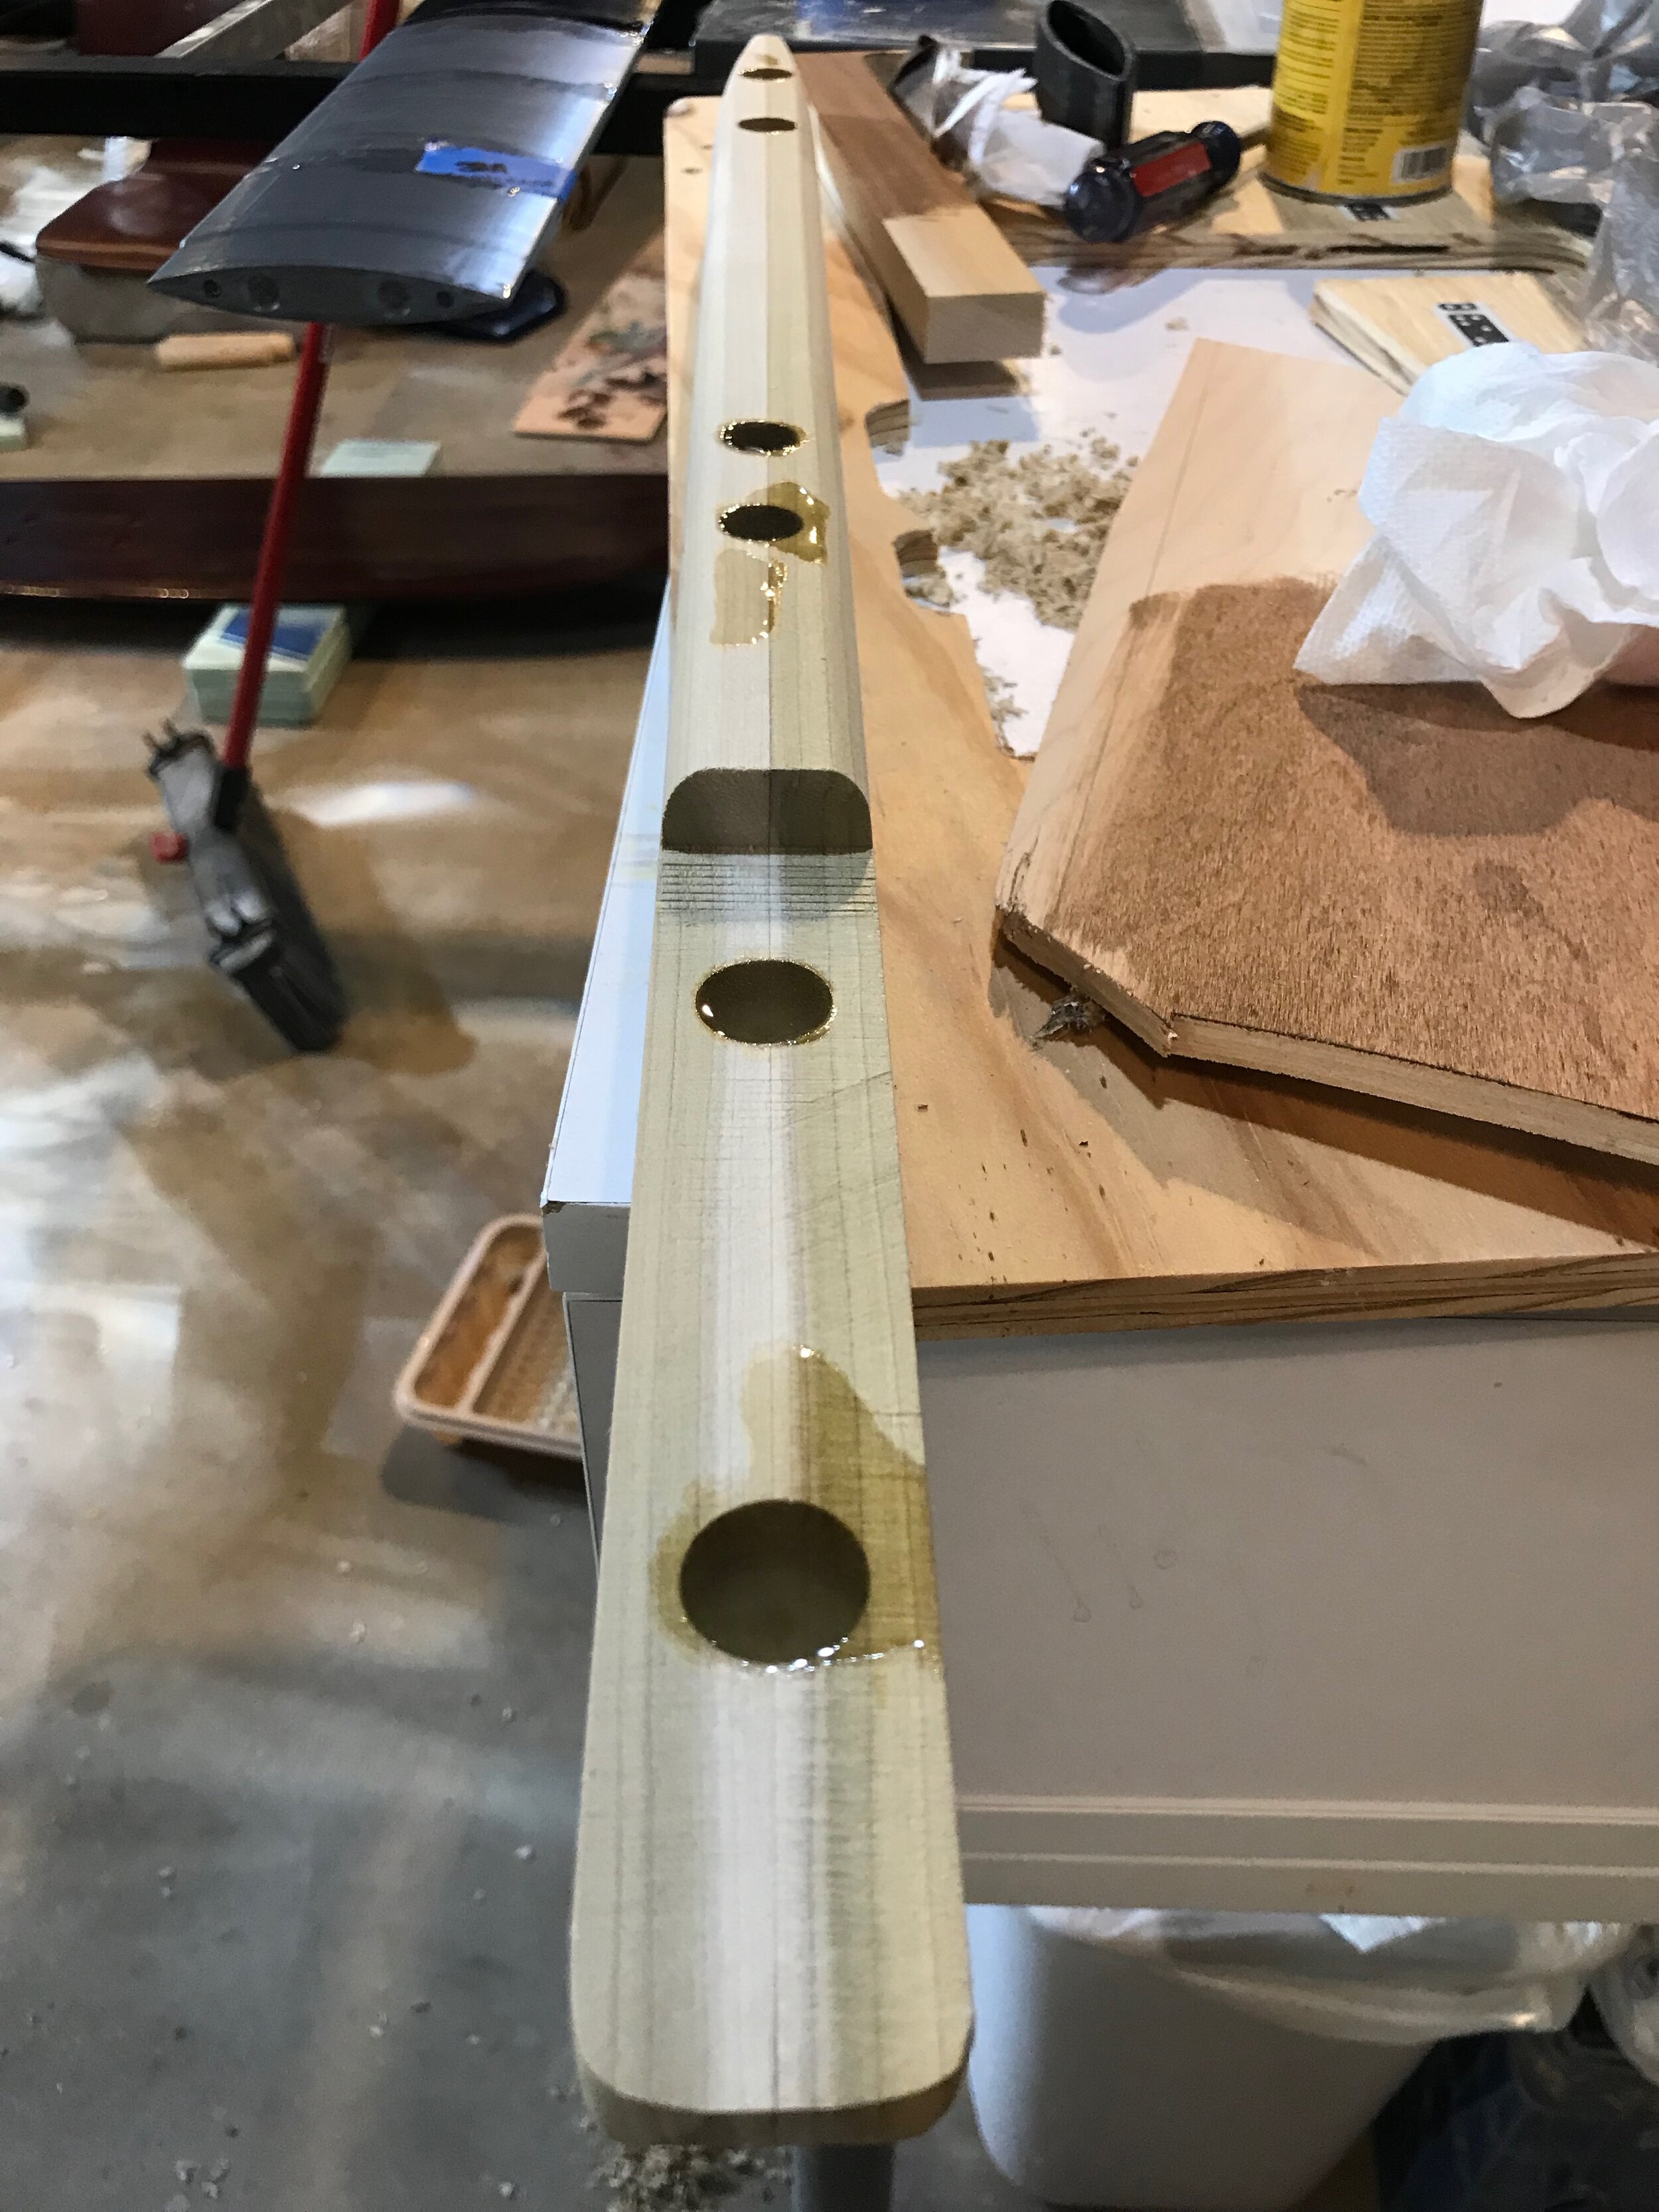
Drilled holes for T nuts.
Epoxied T nuts.
Filled T nuts with epoxy.
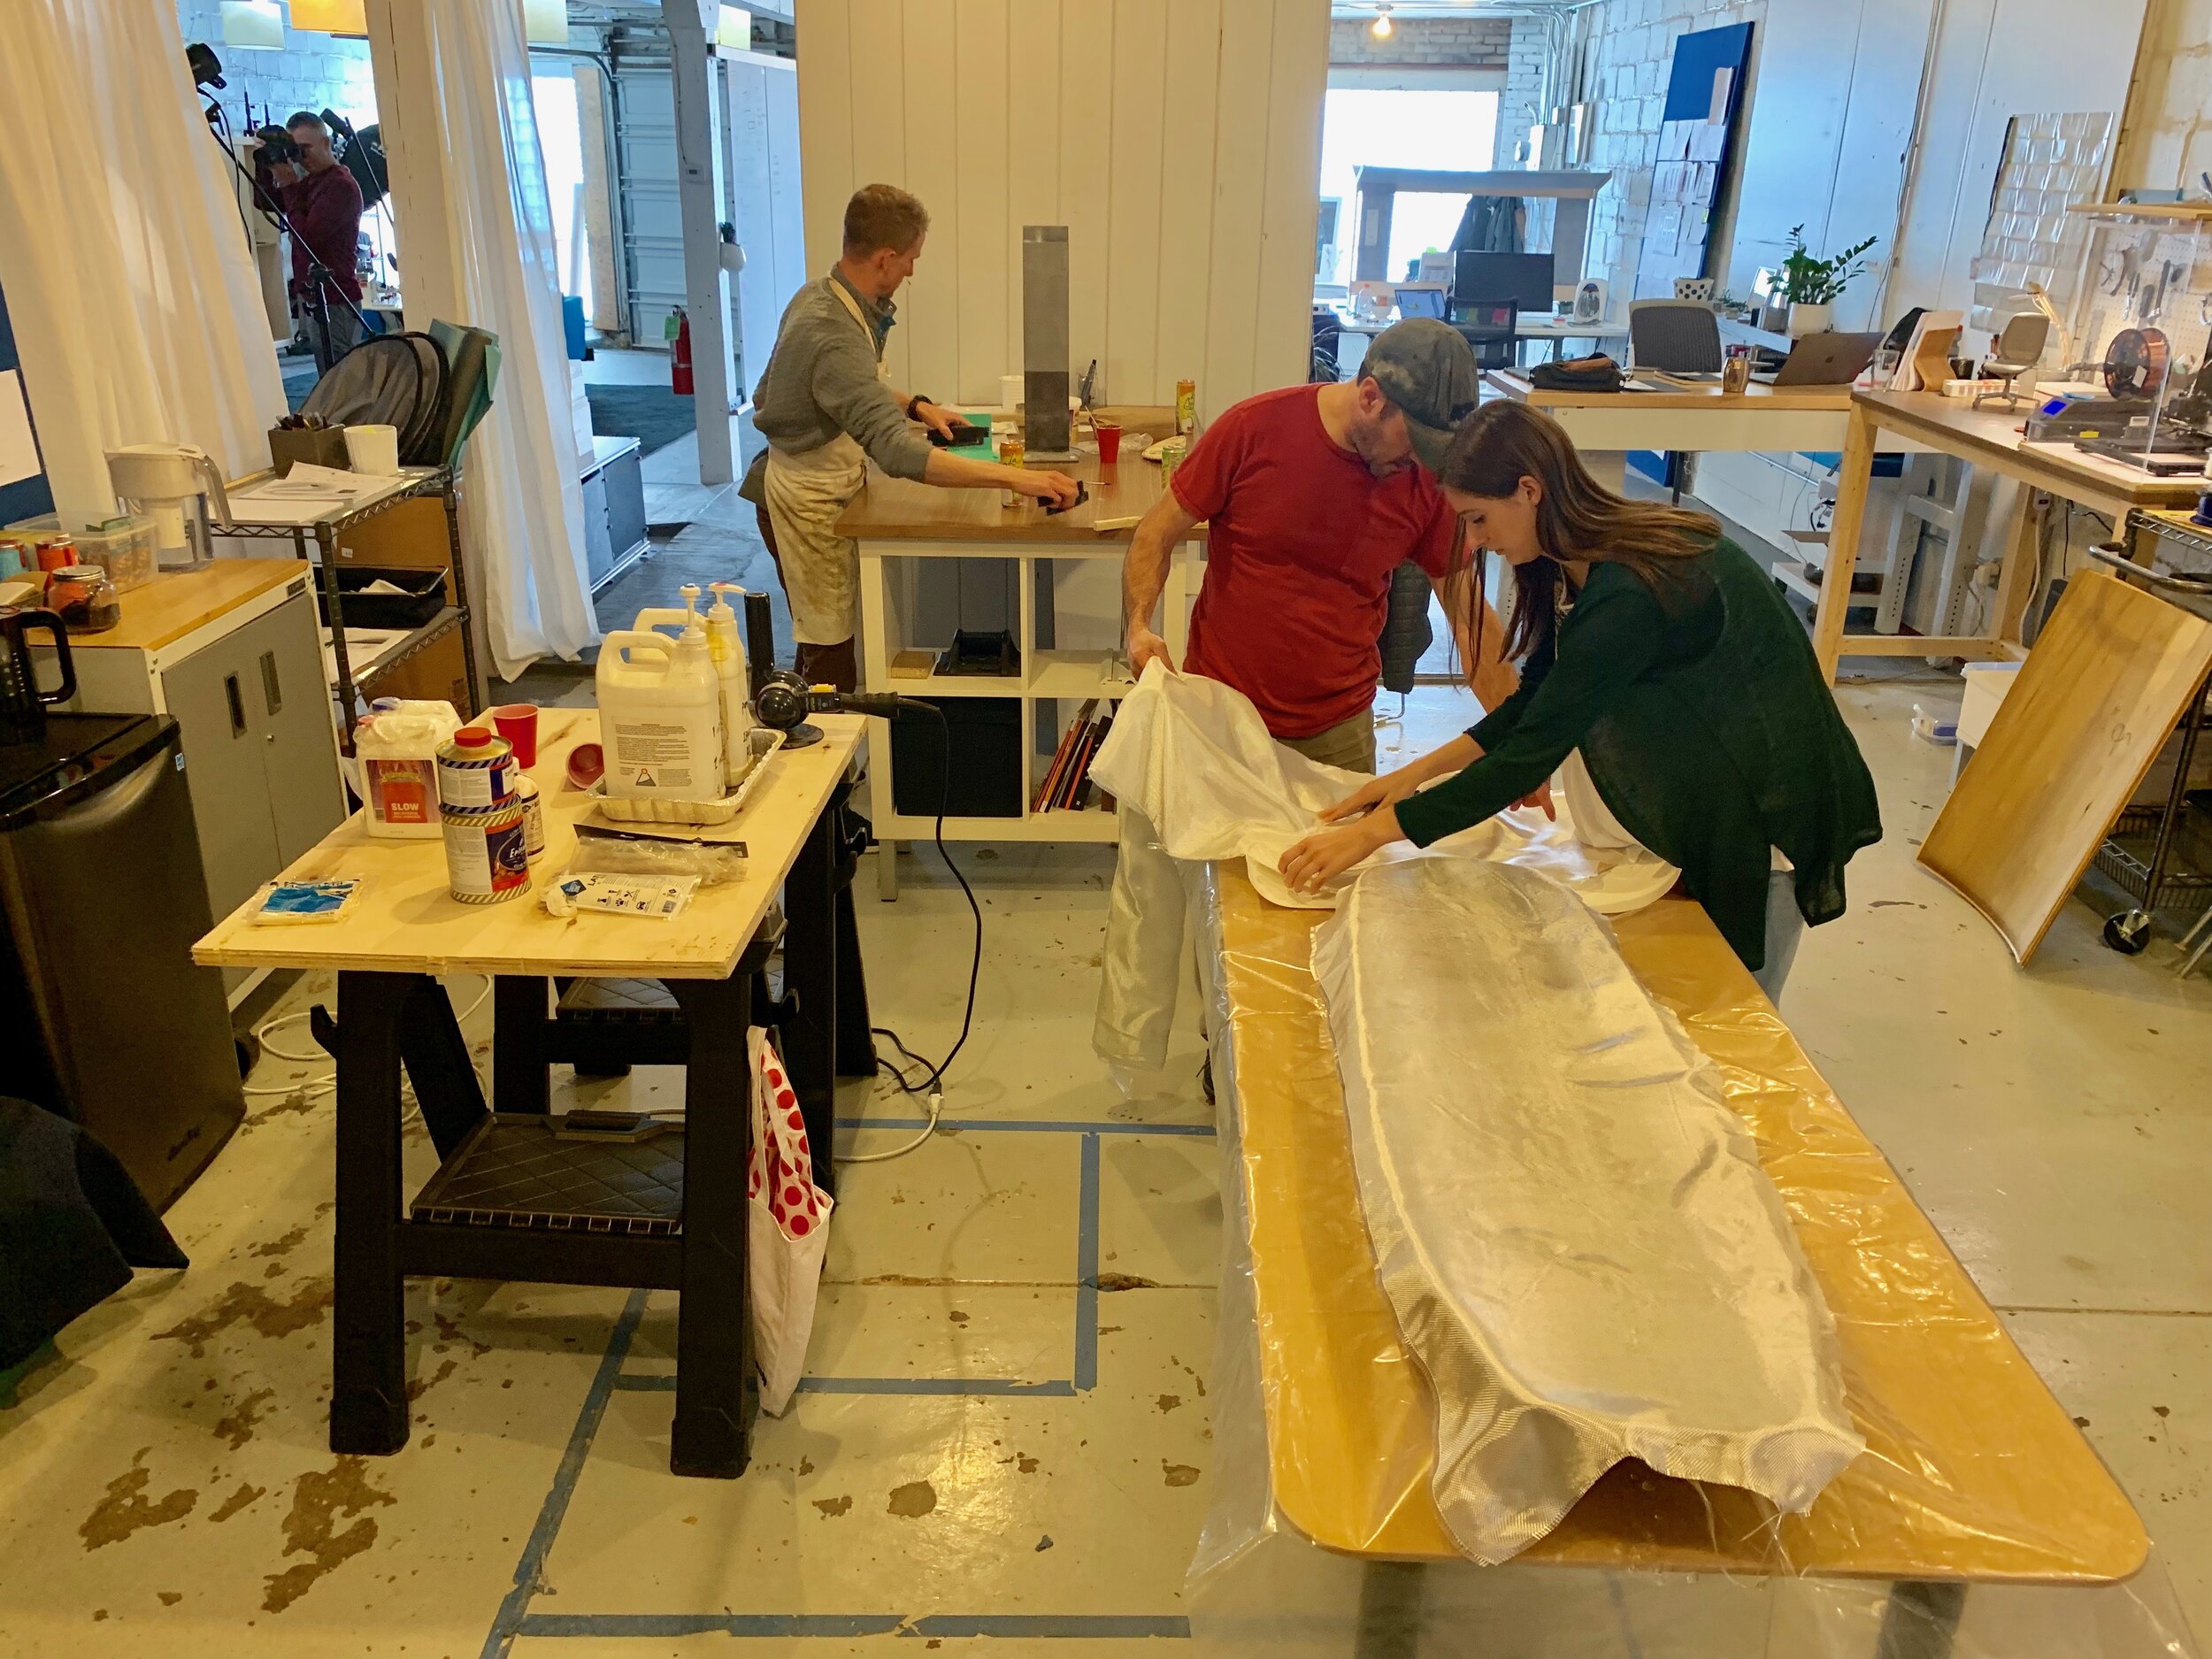
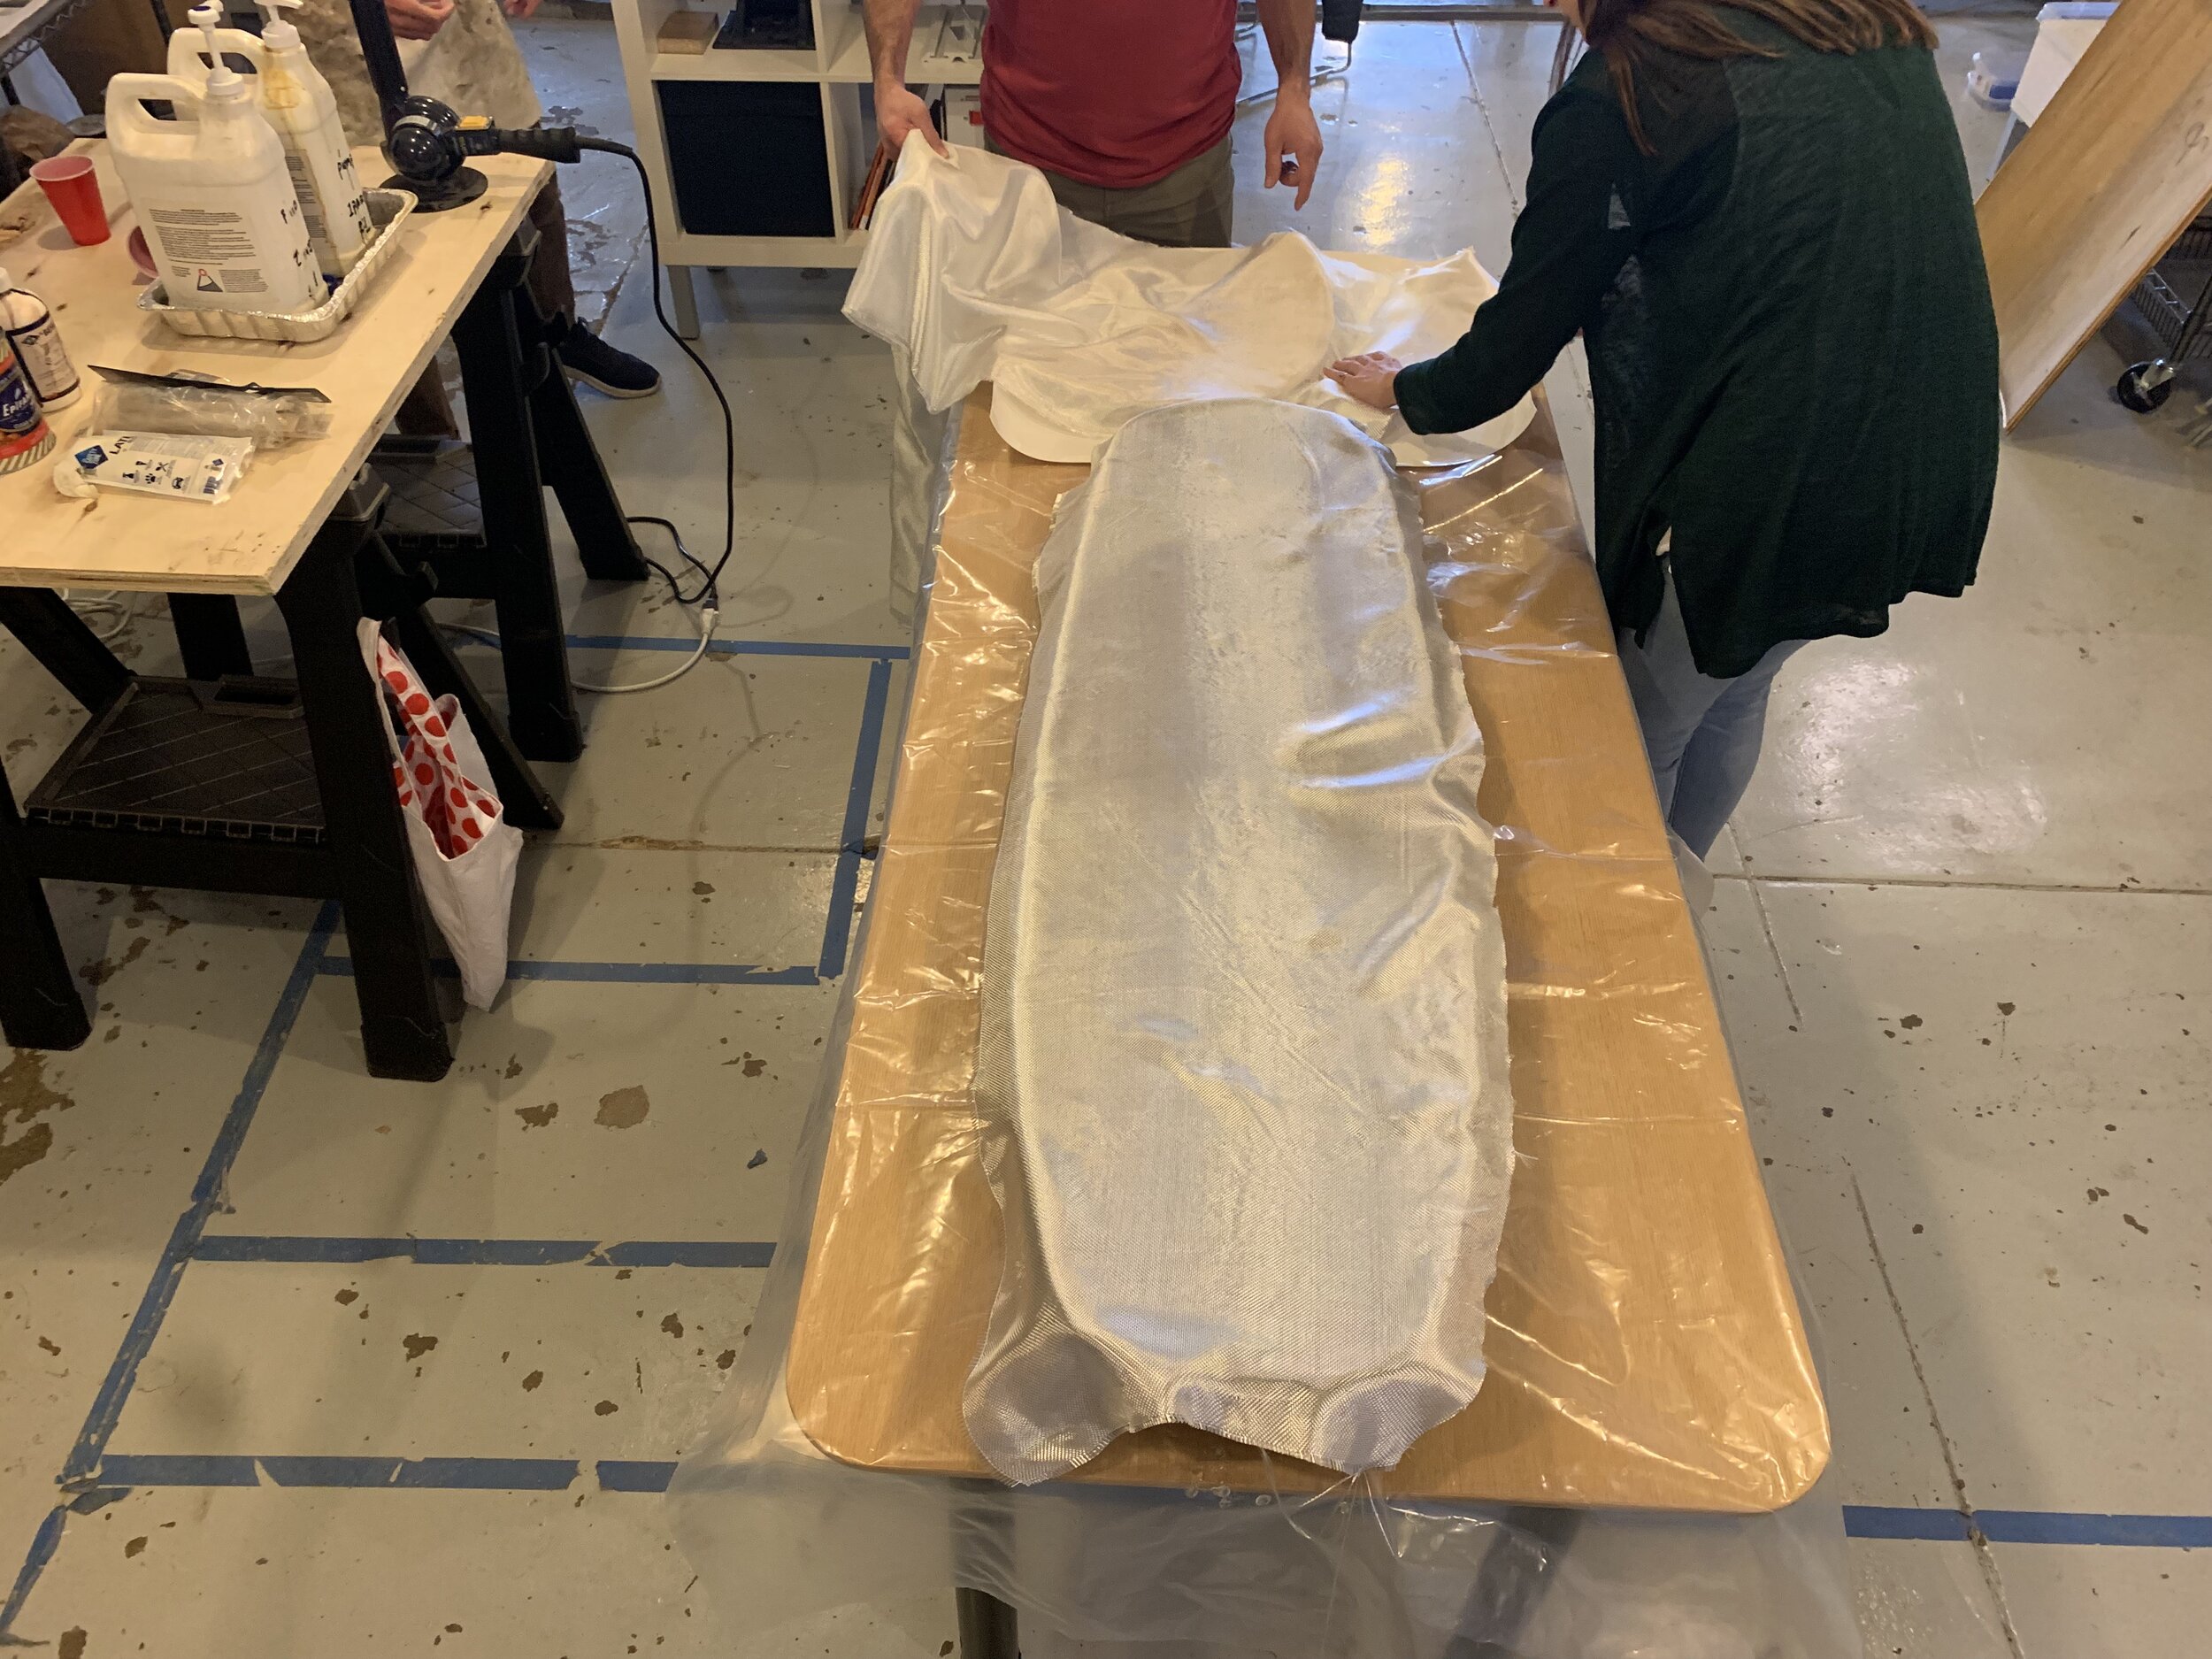
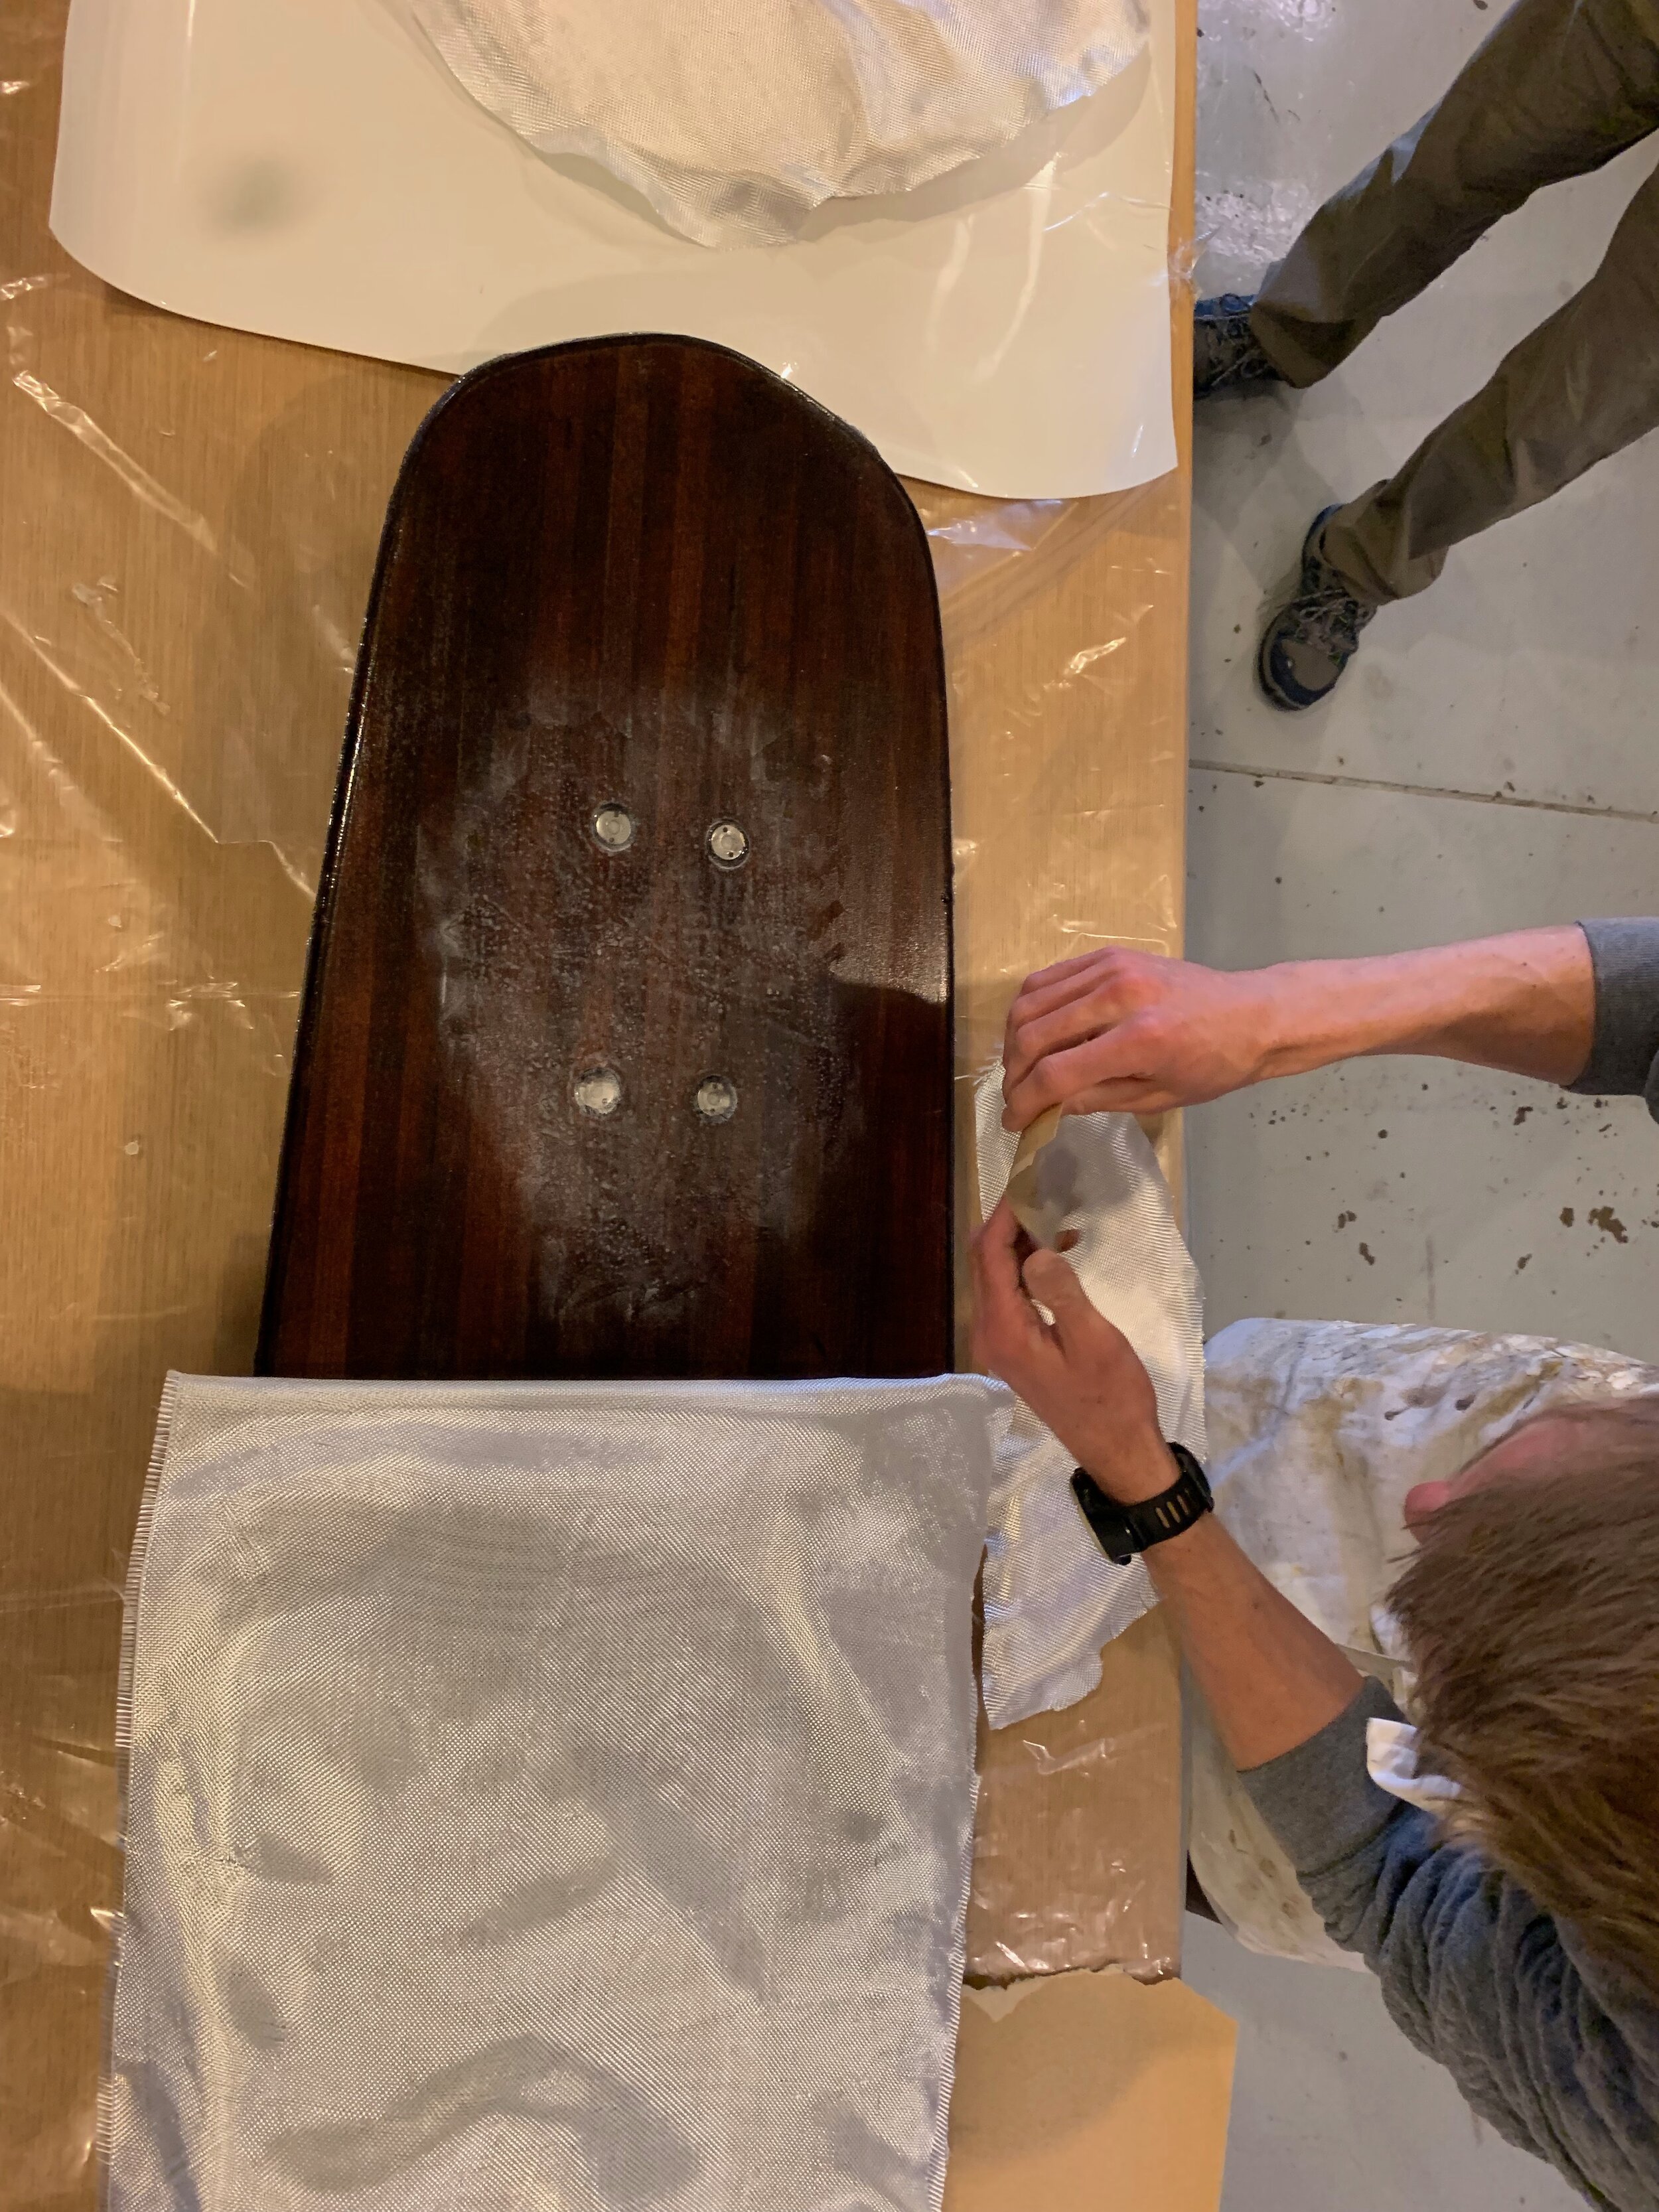
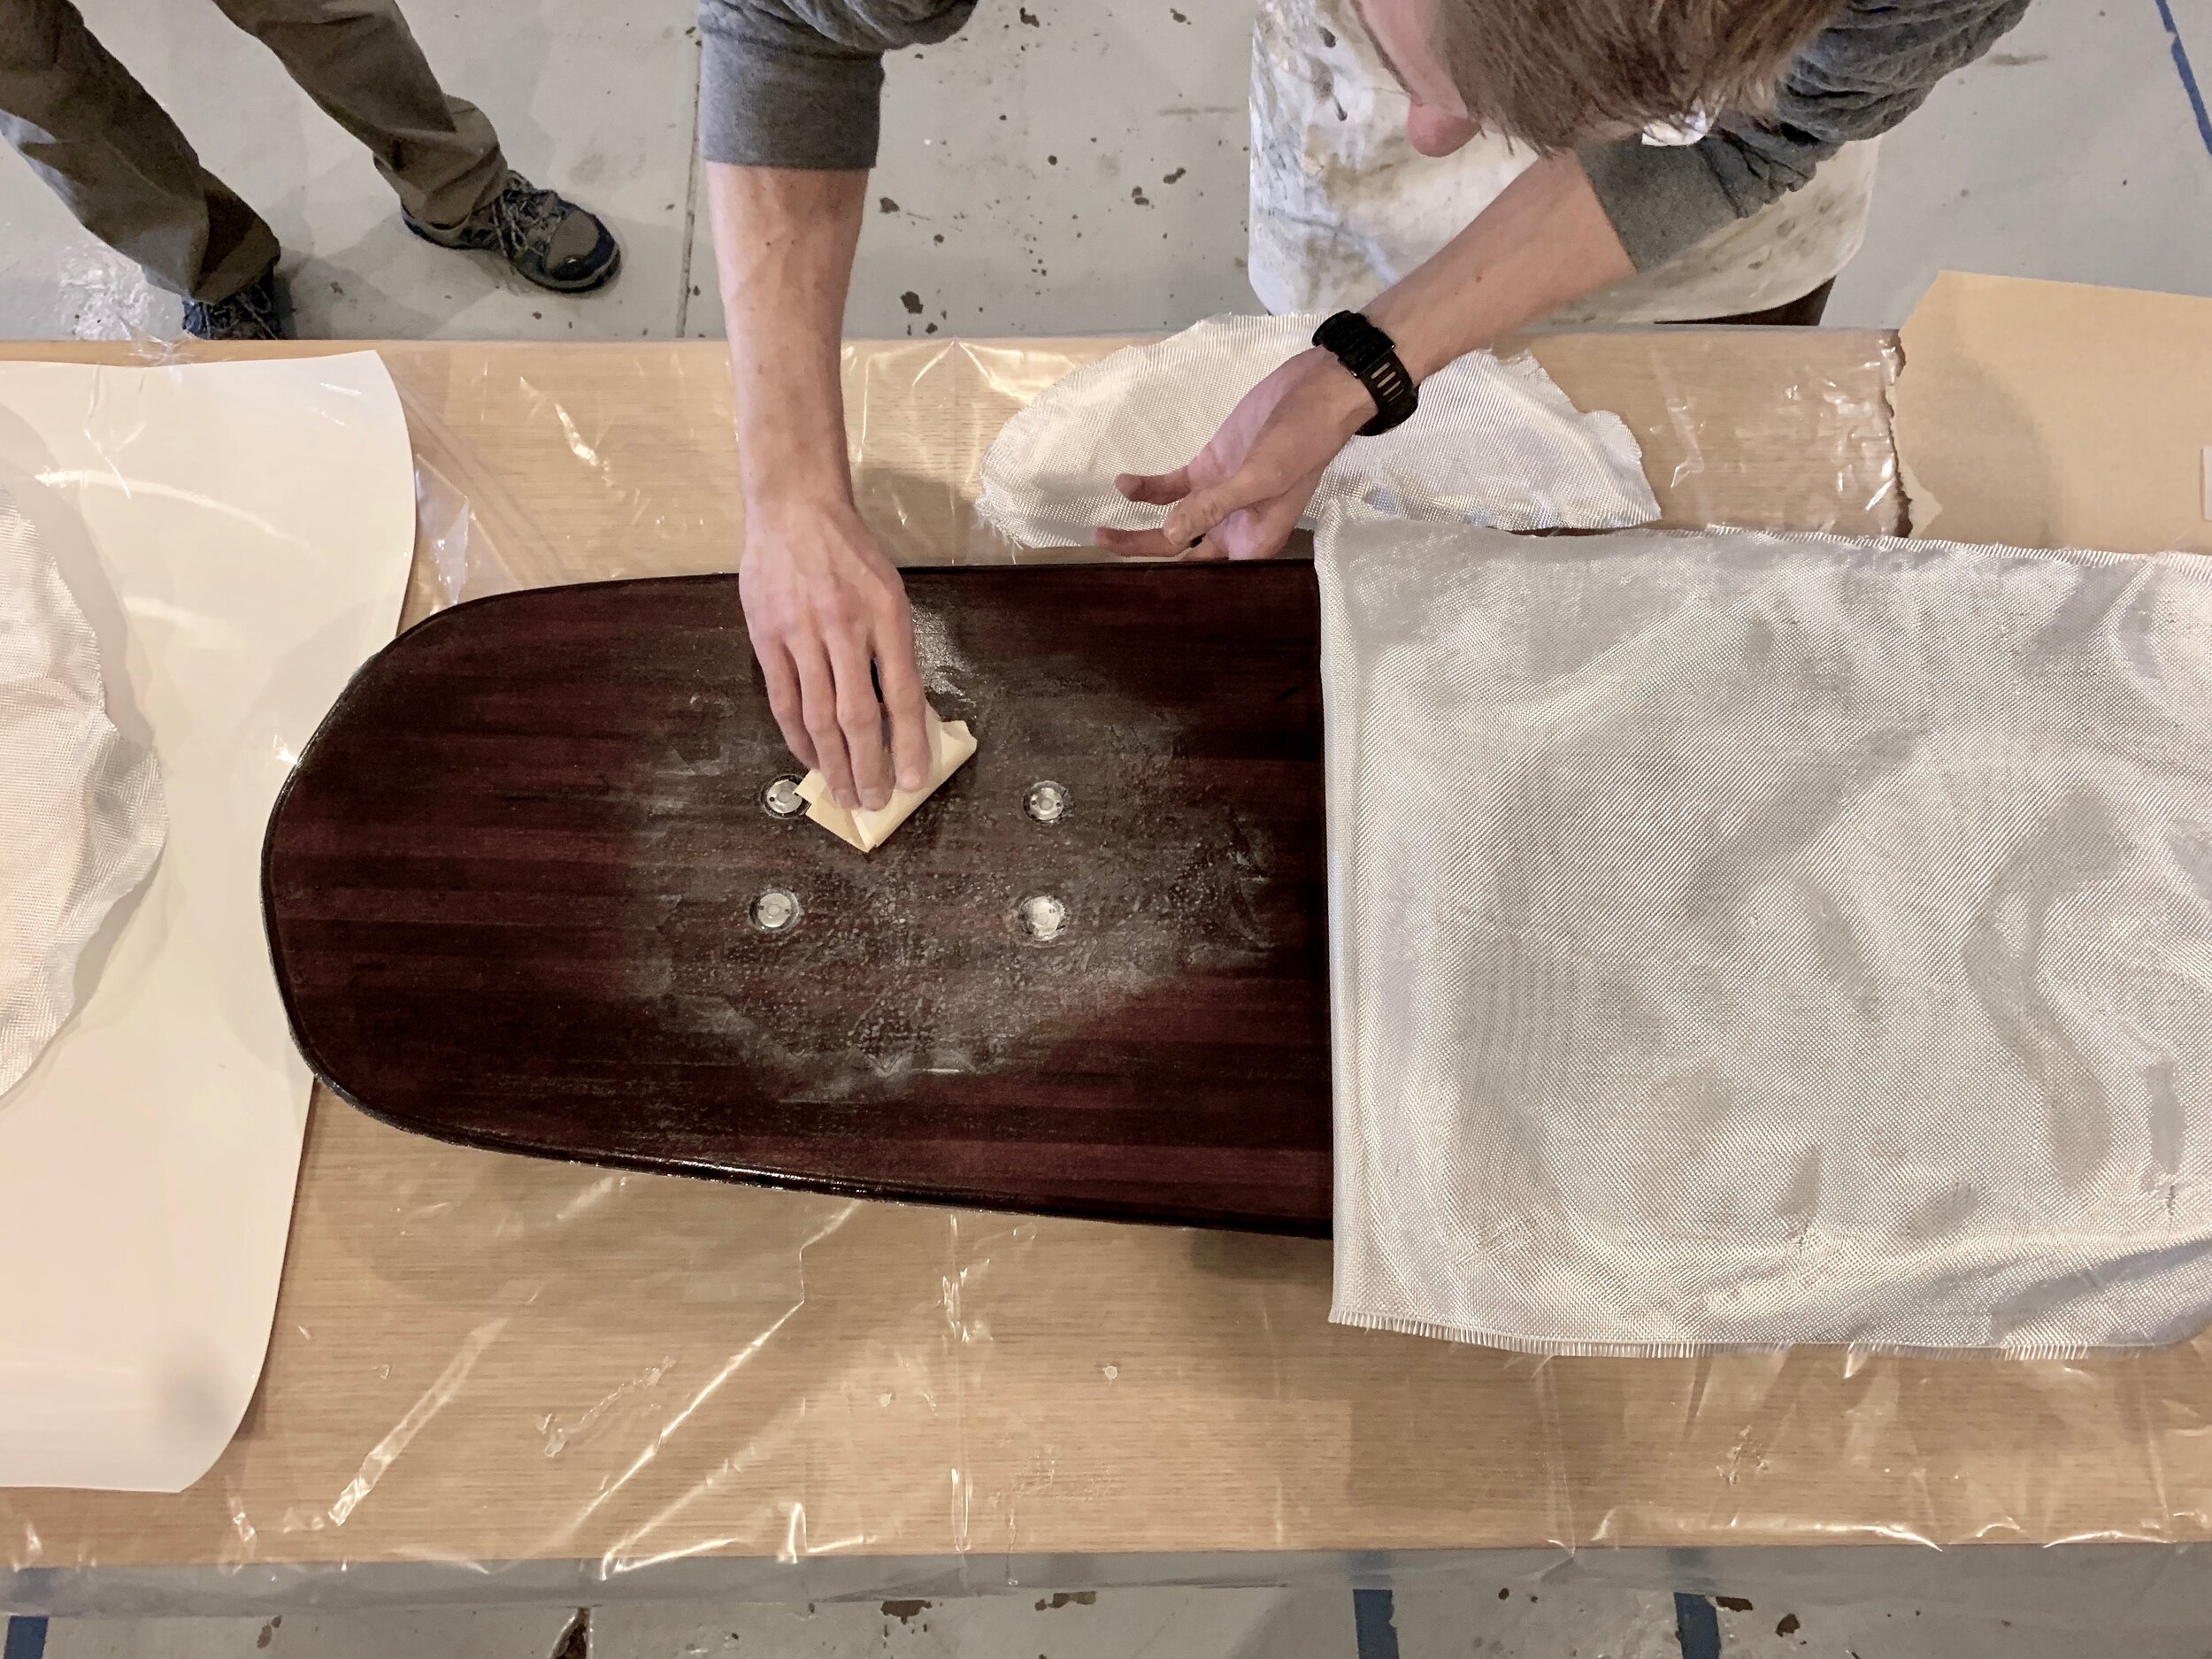
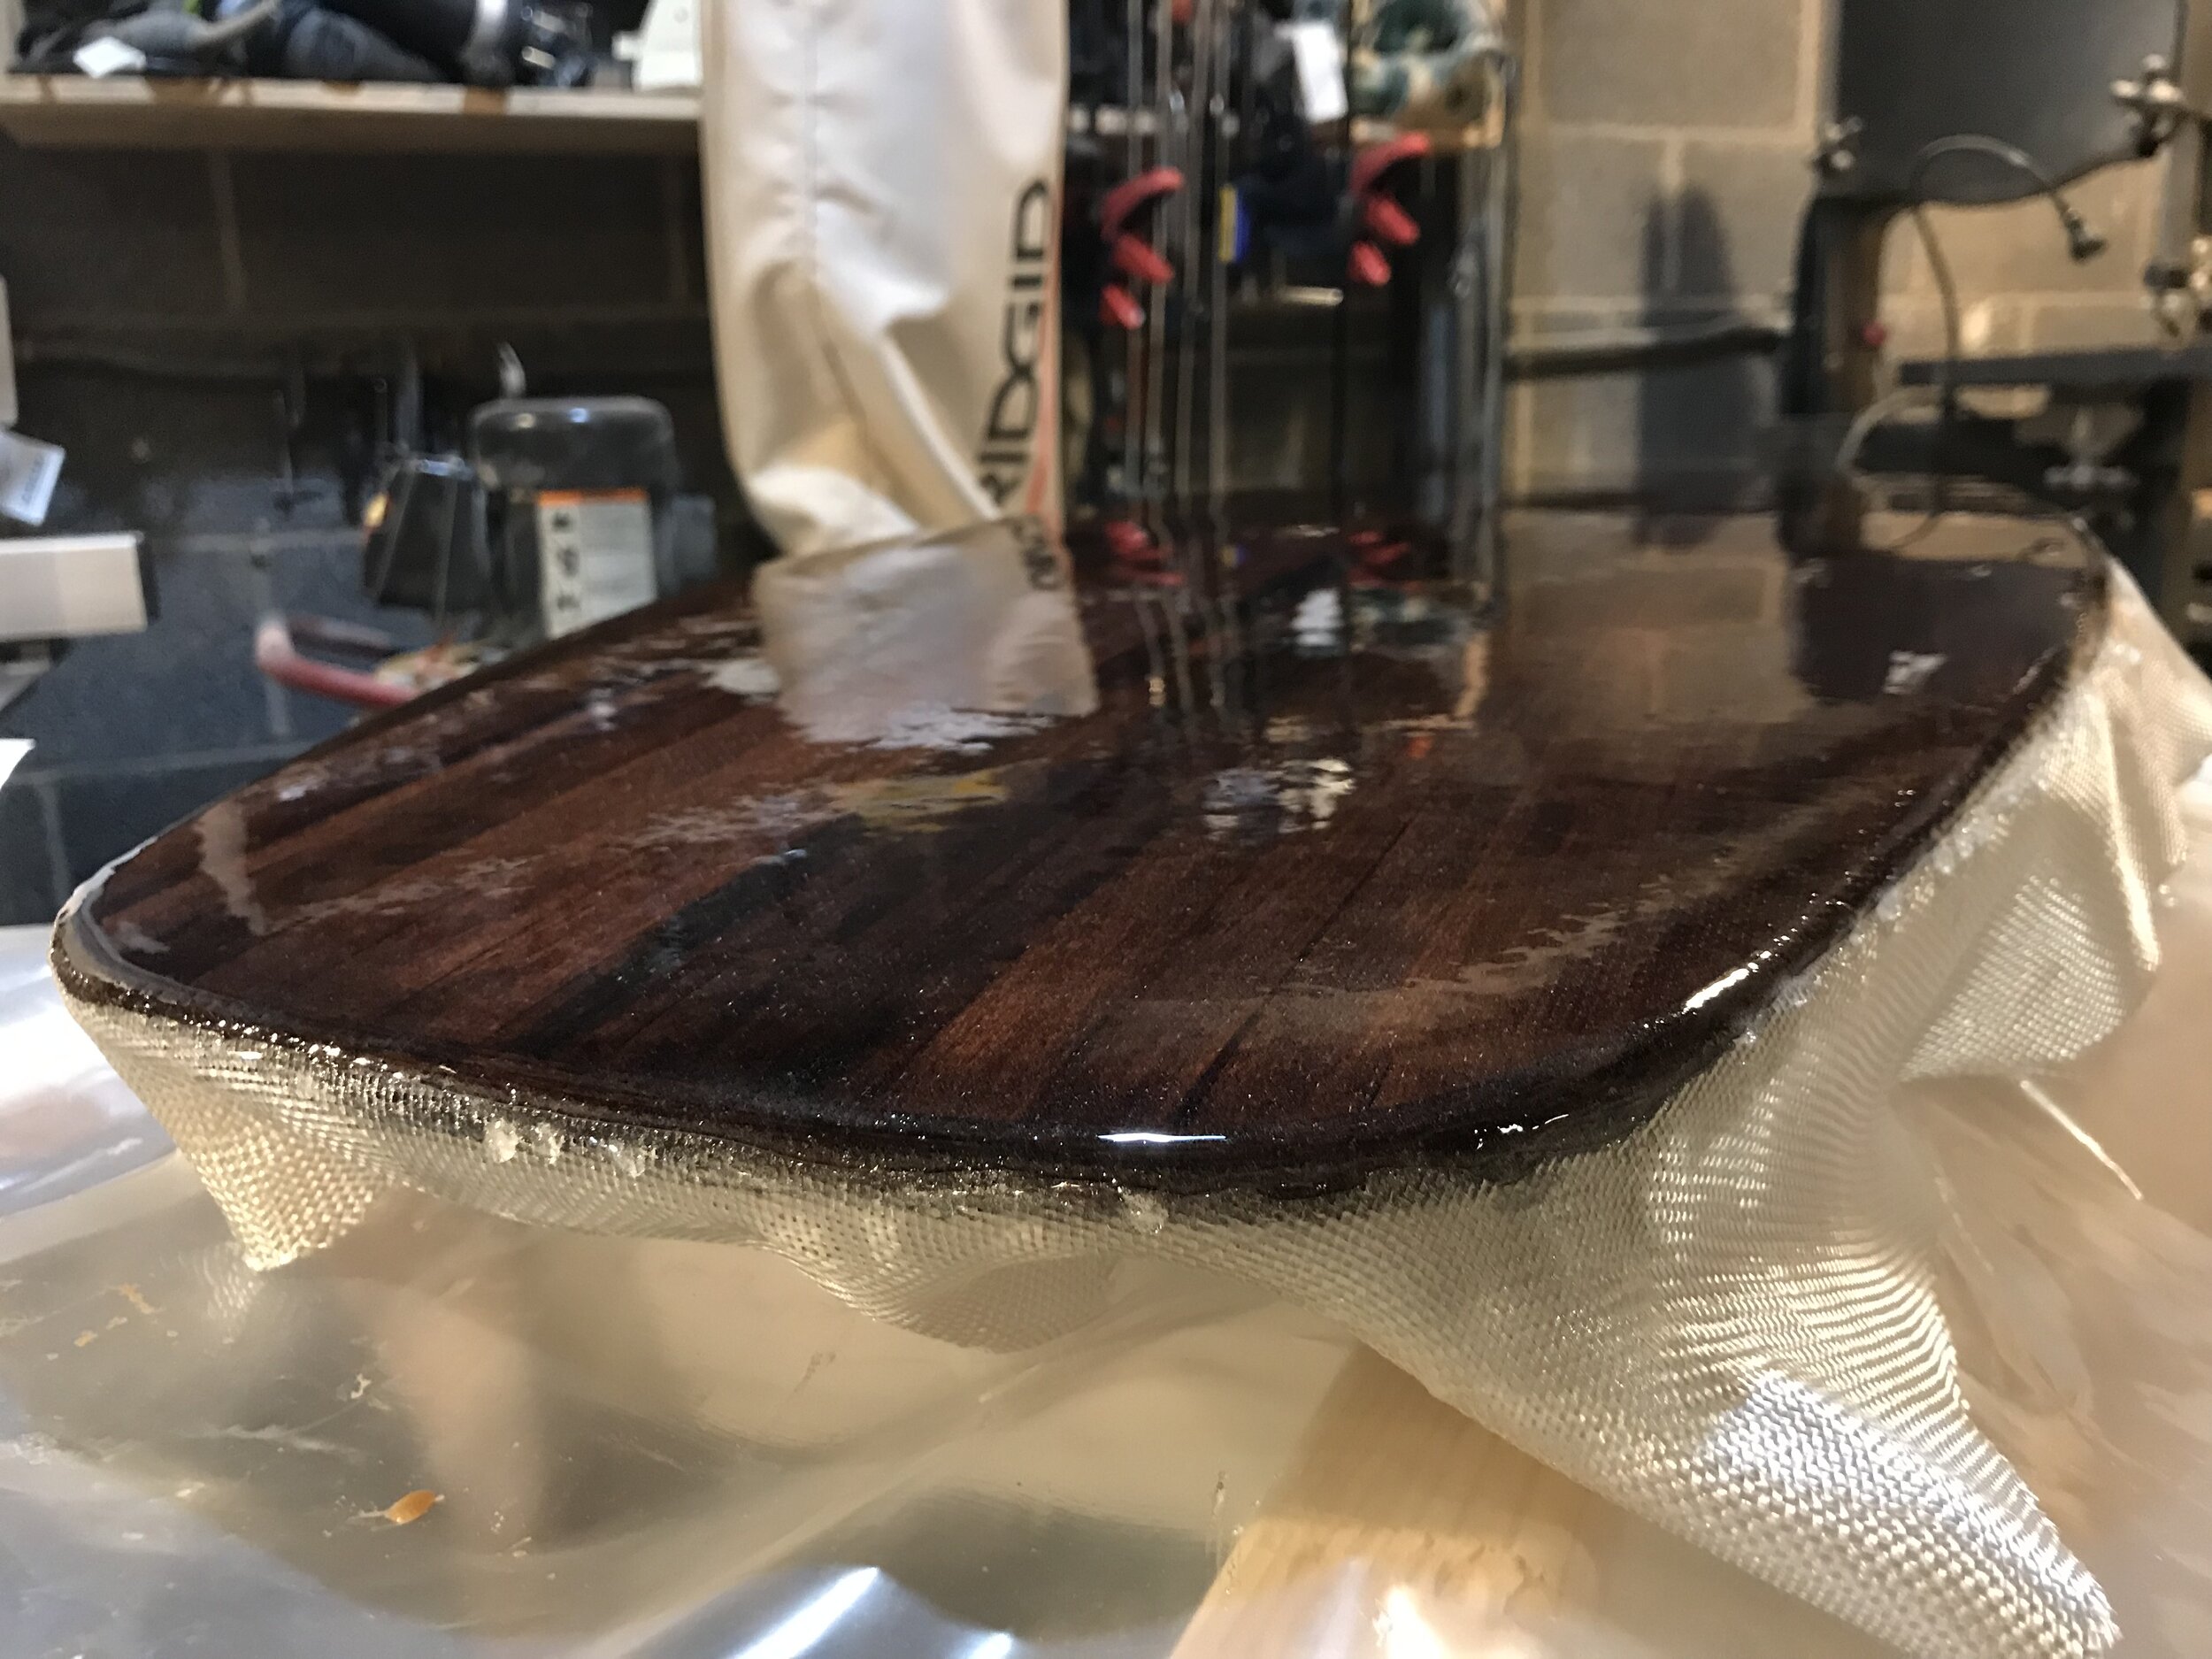
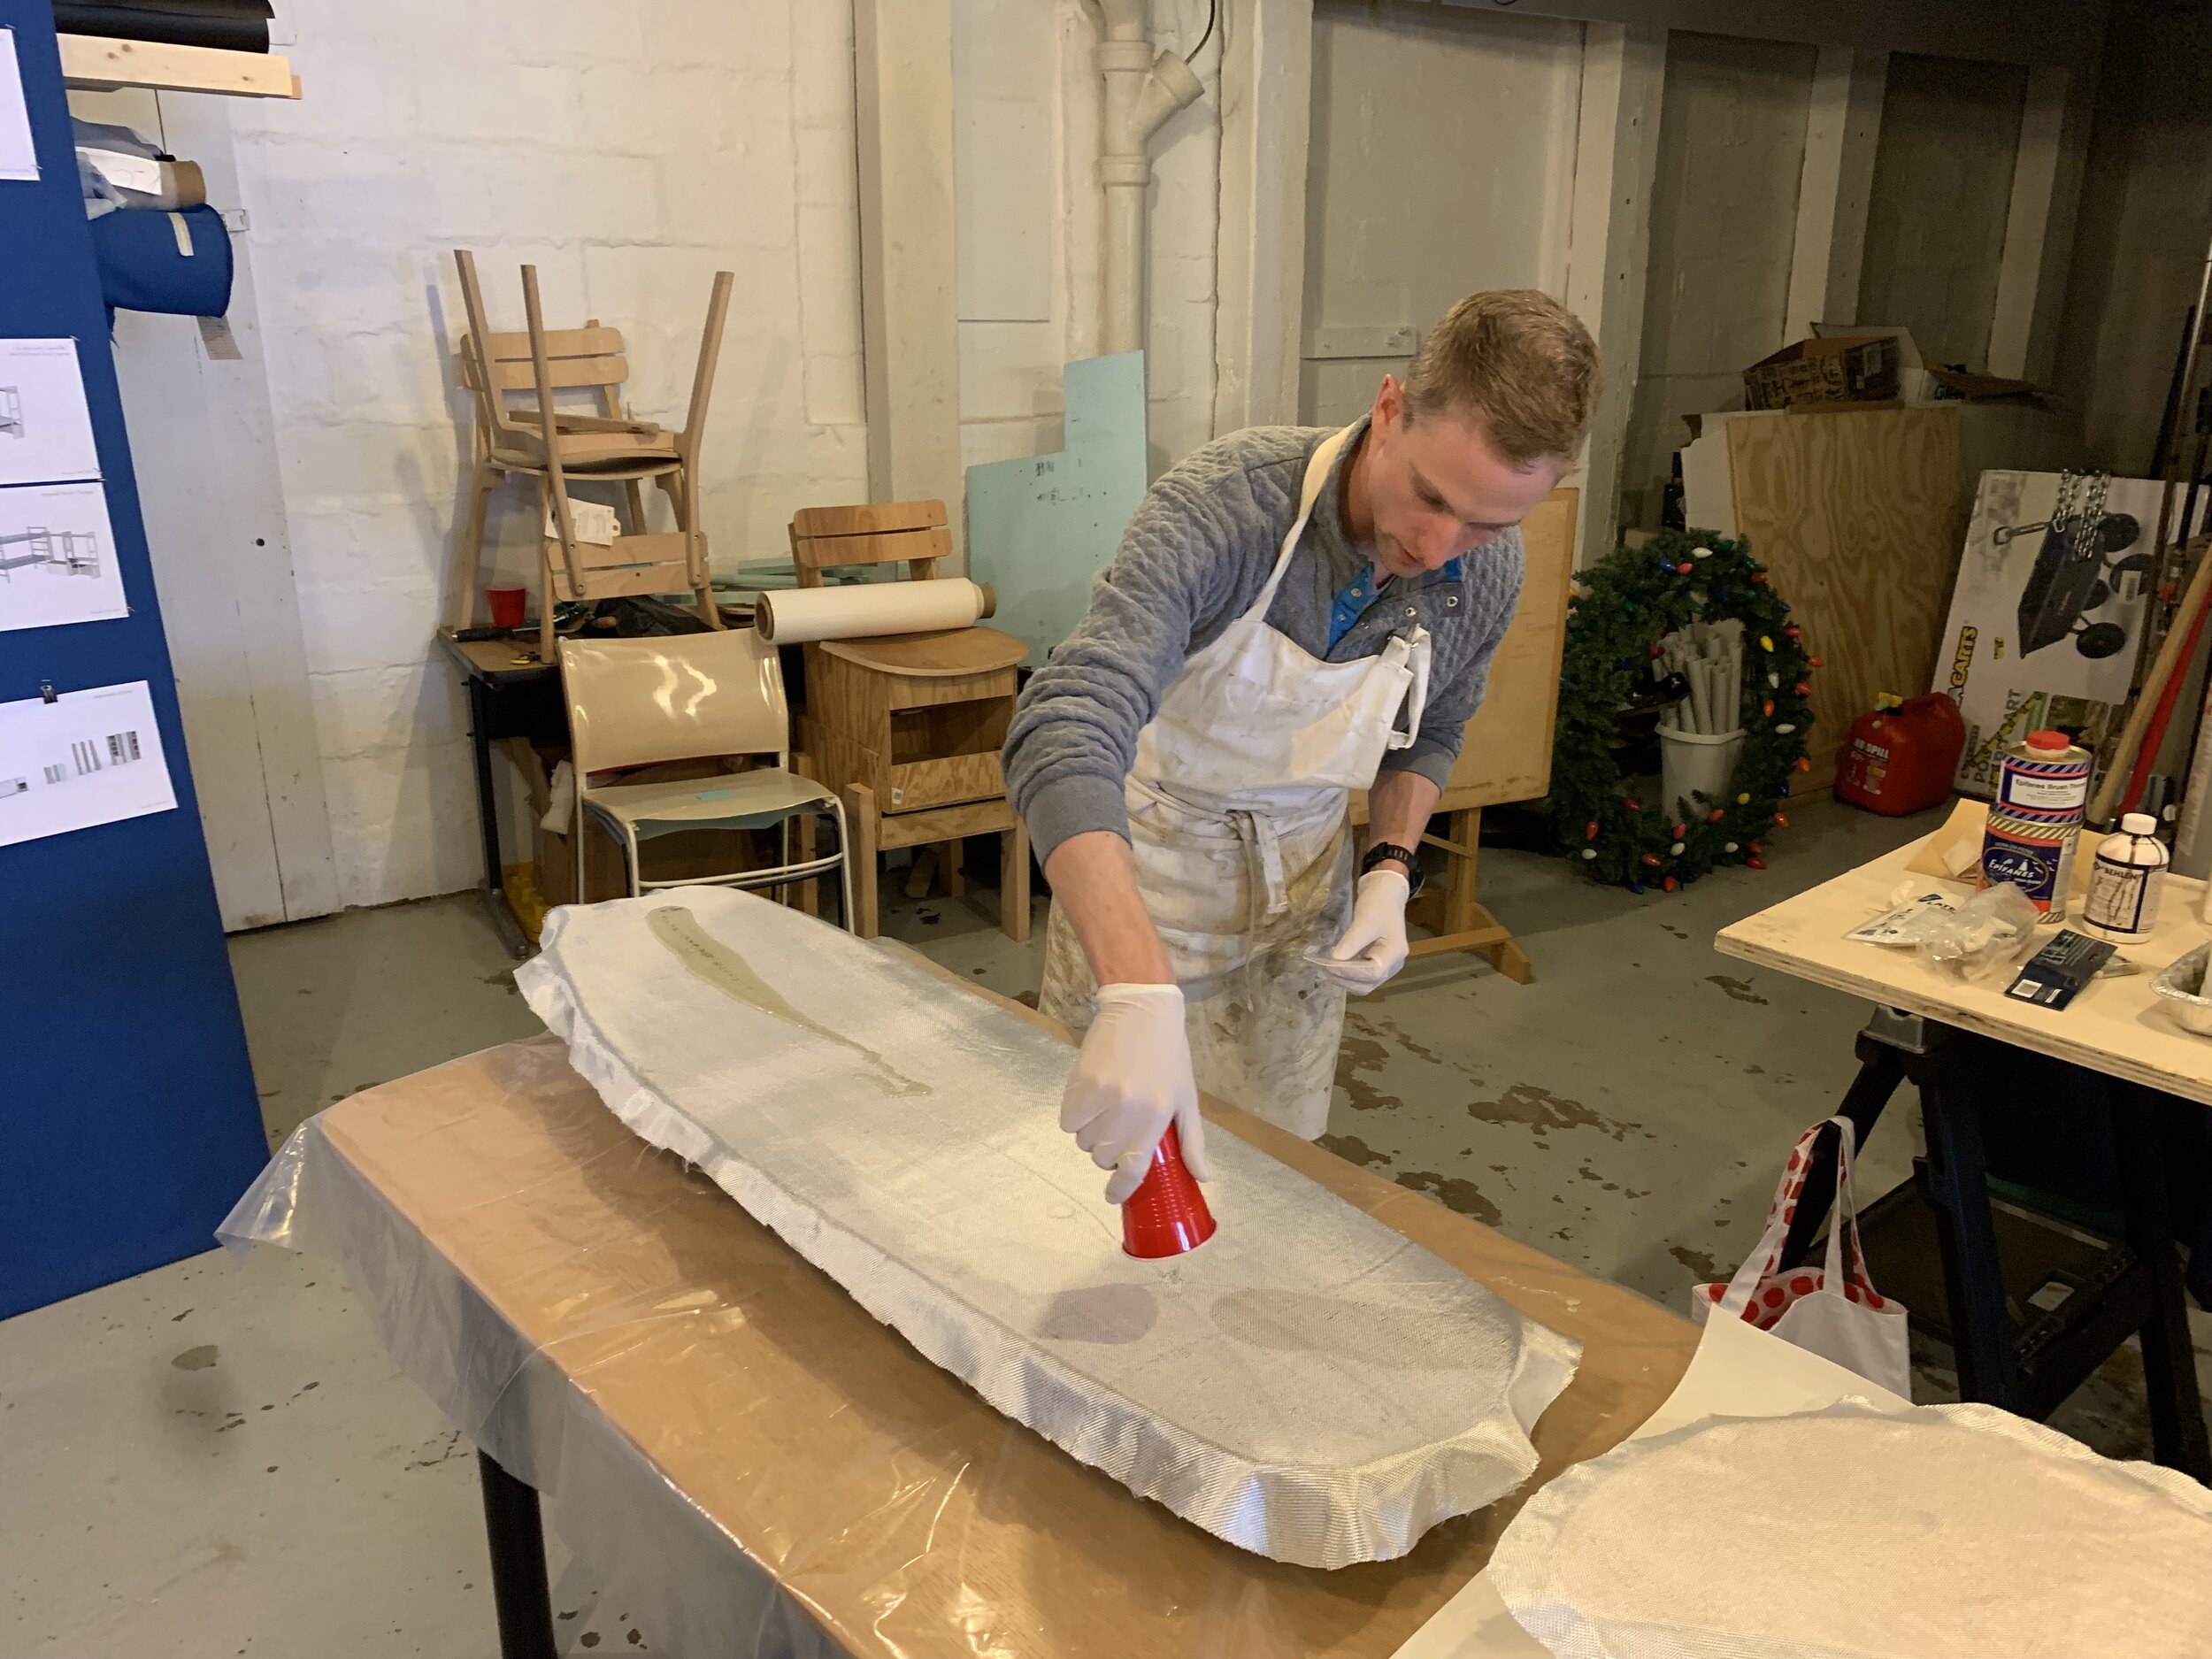
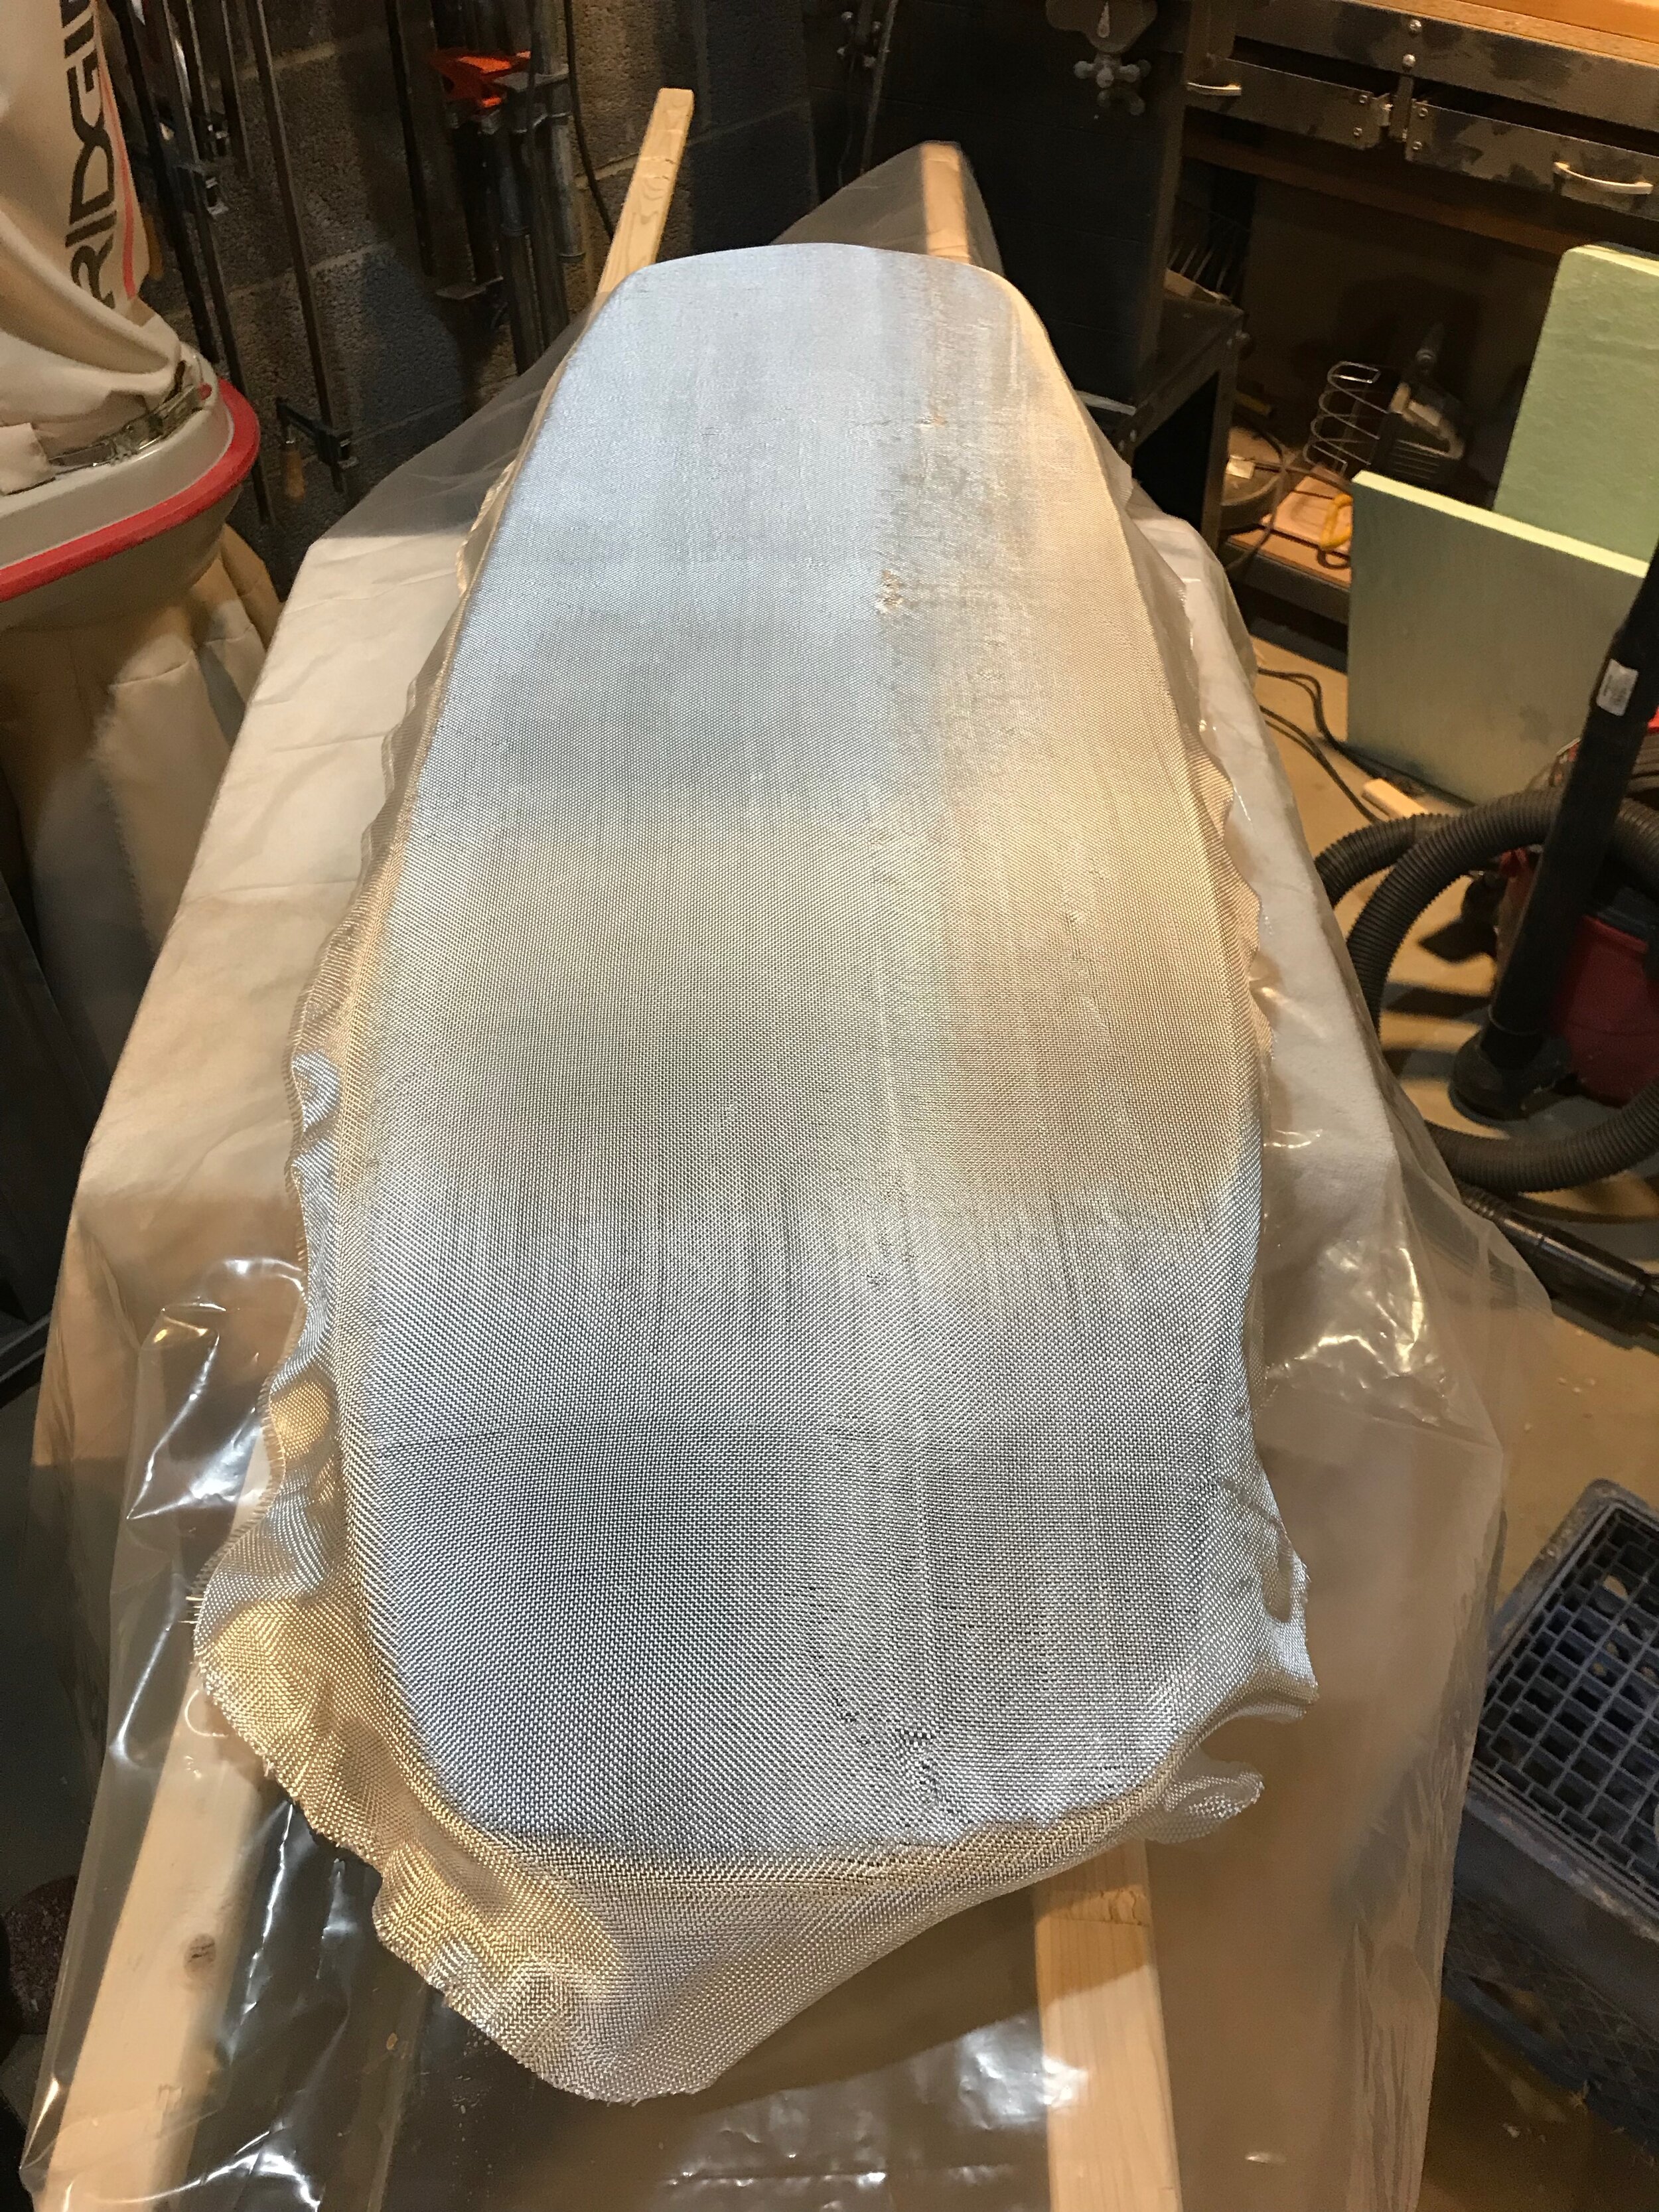
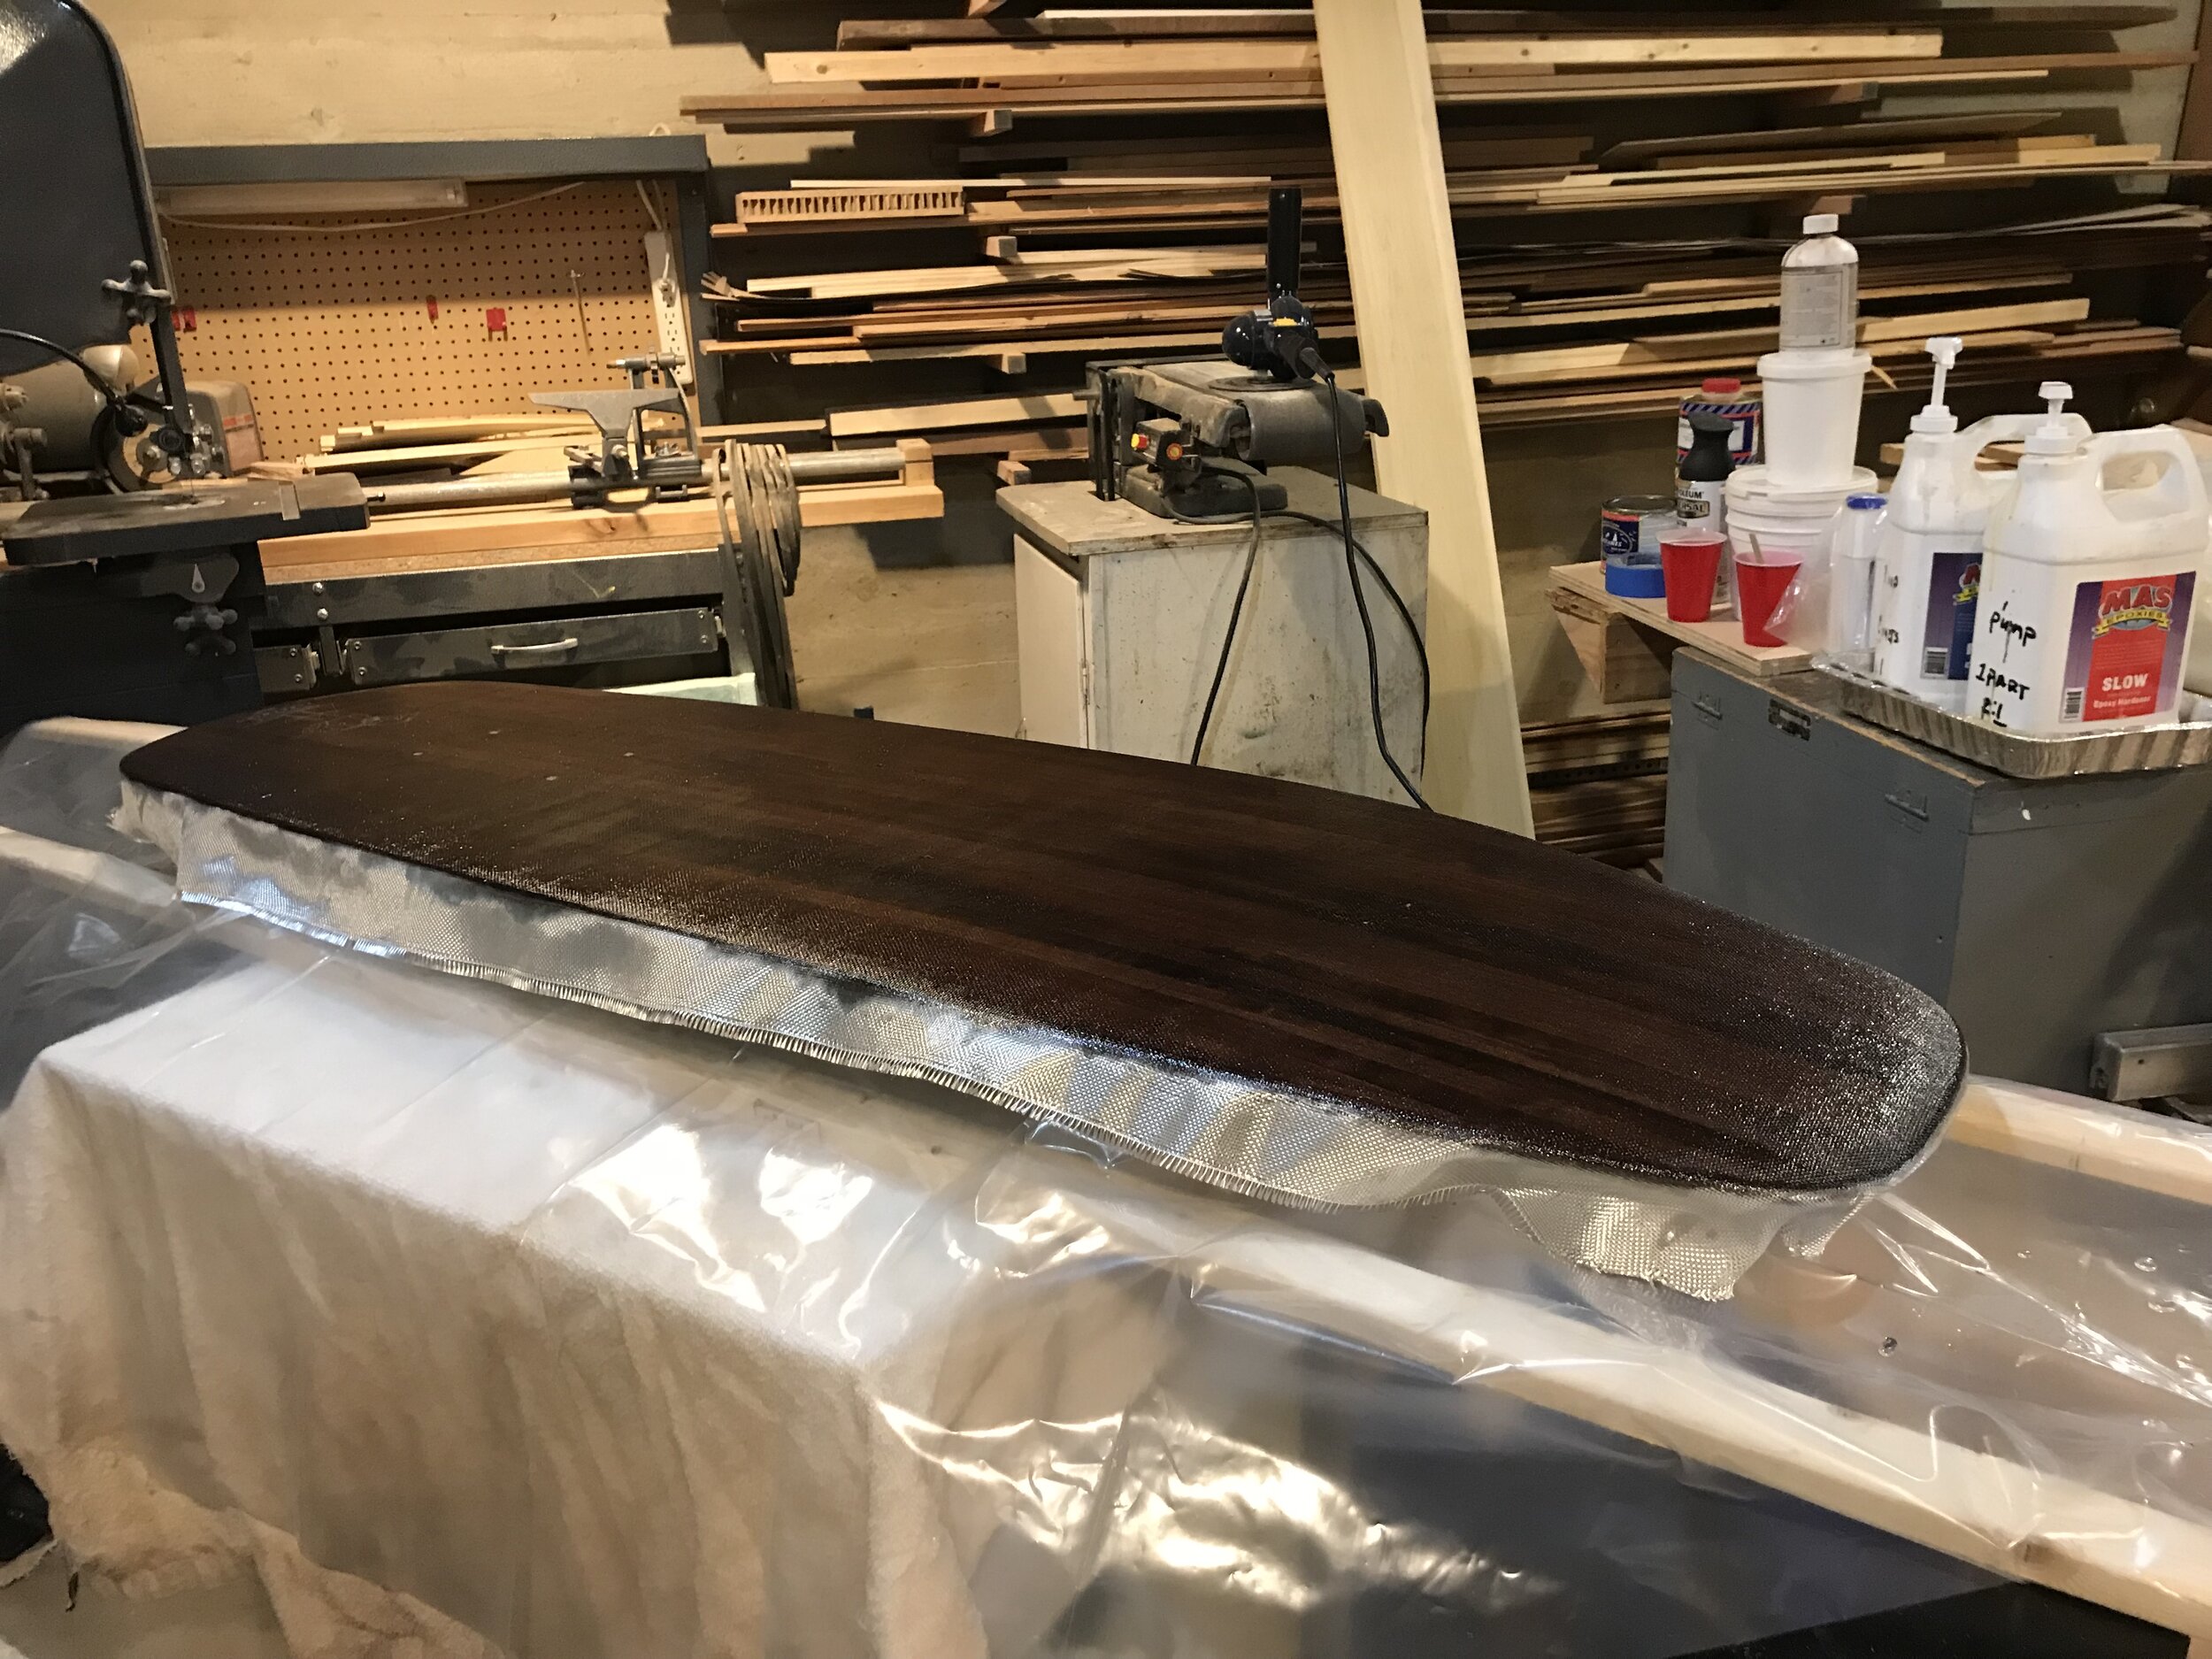
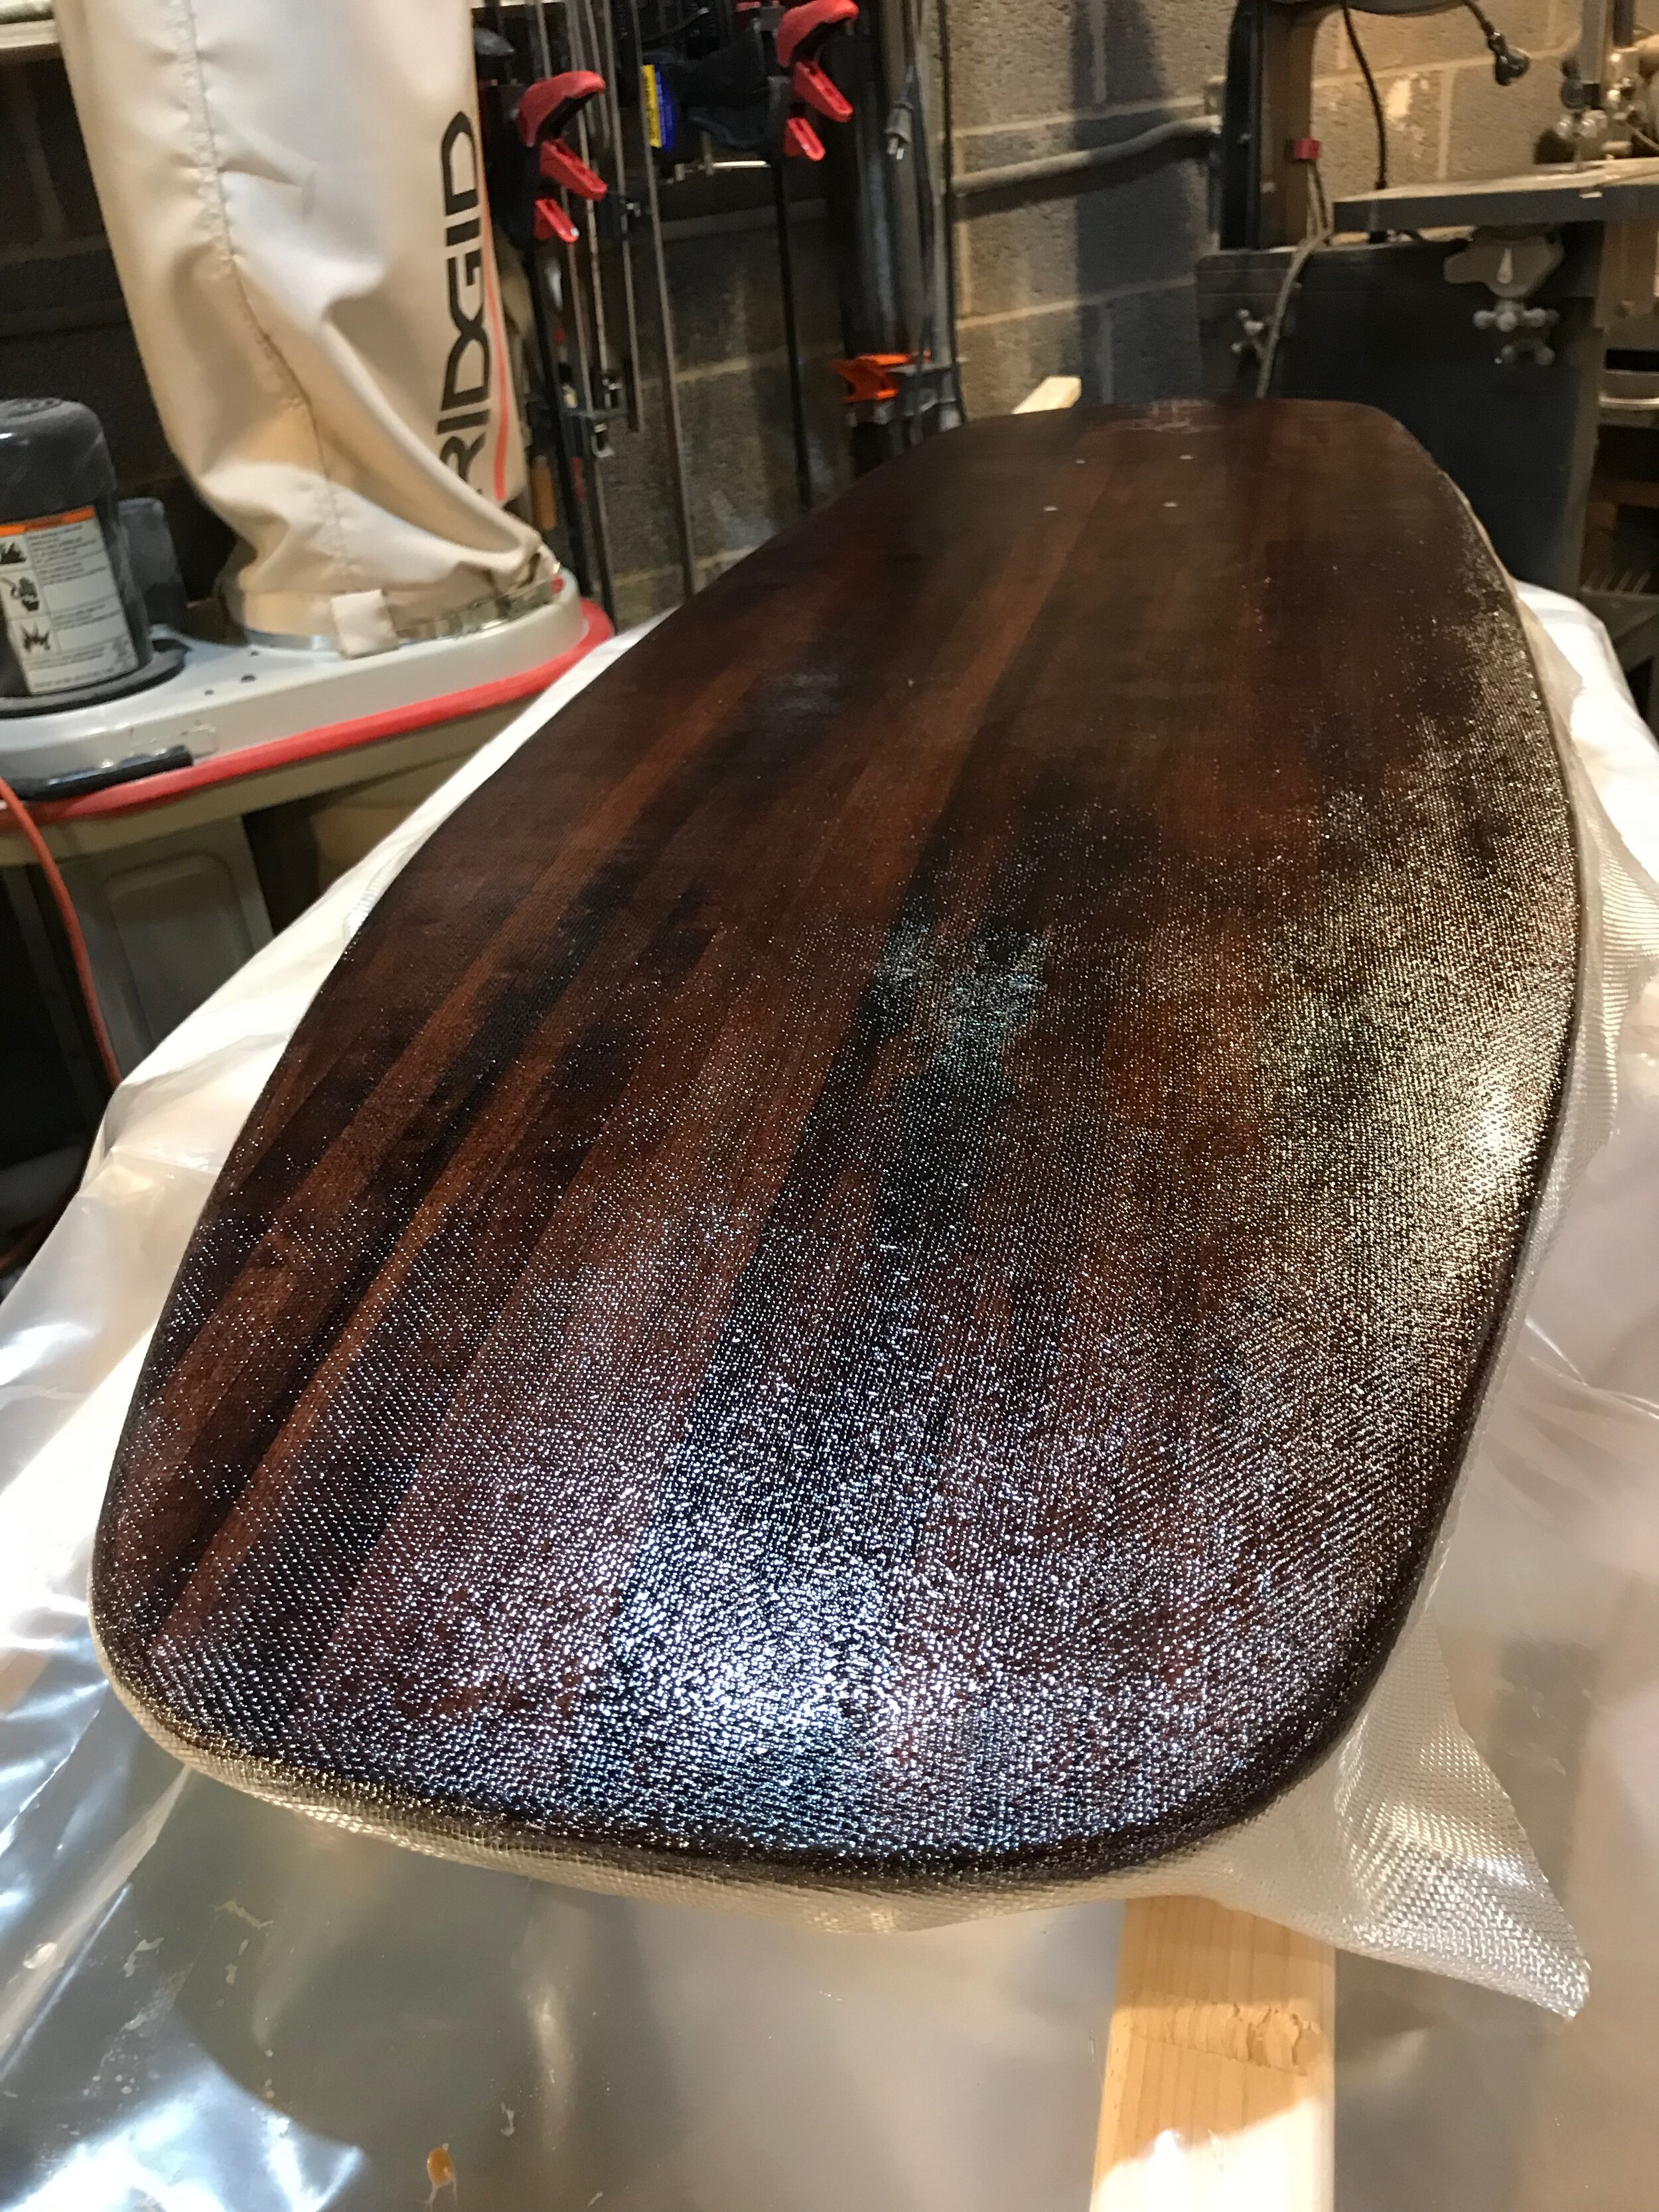
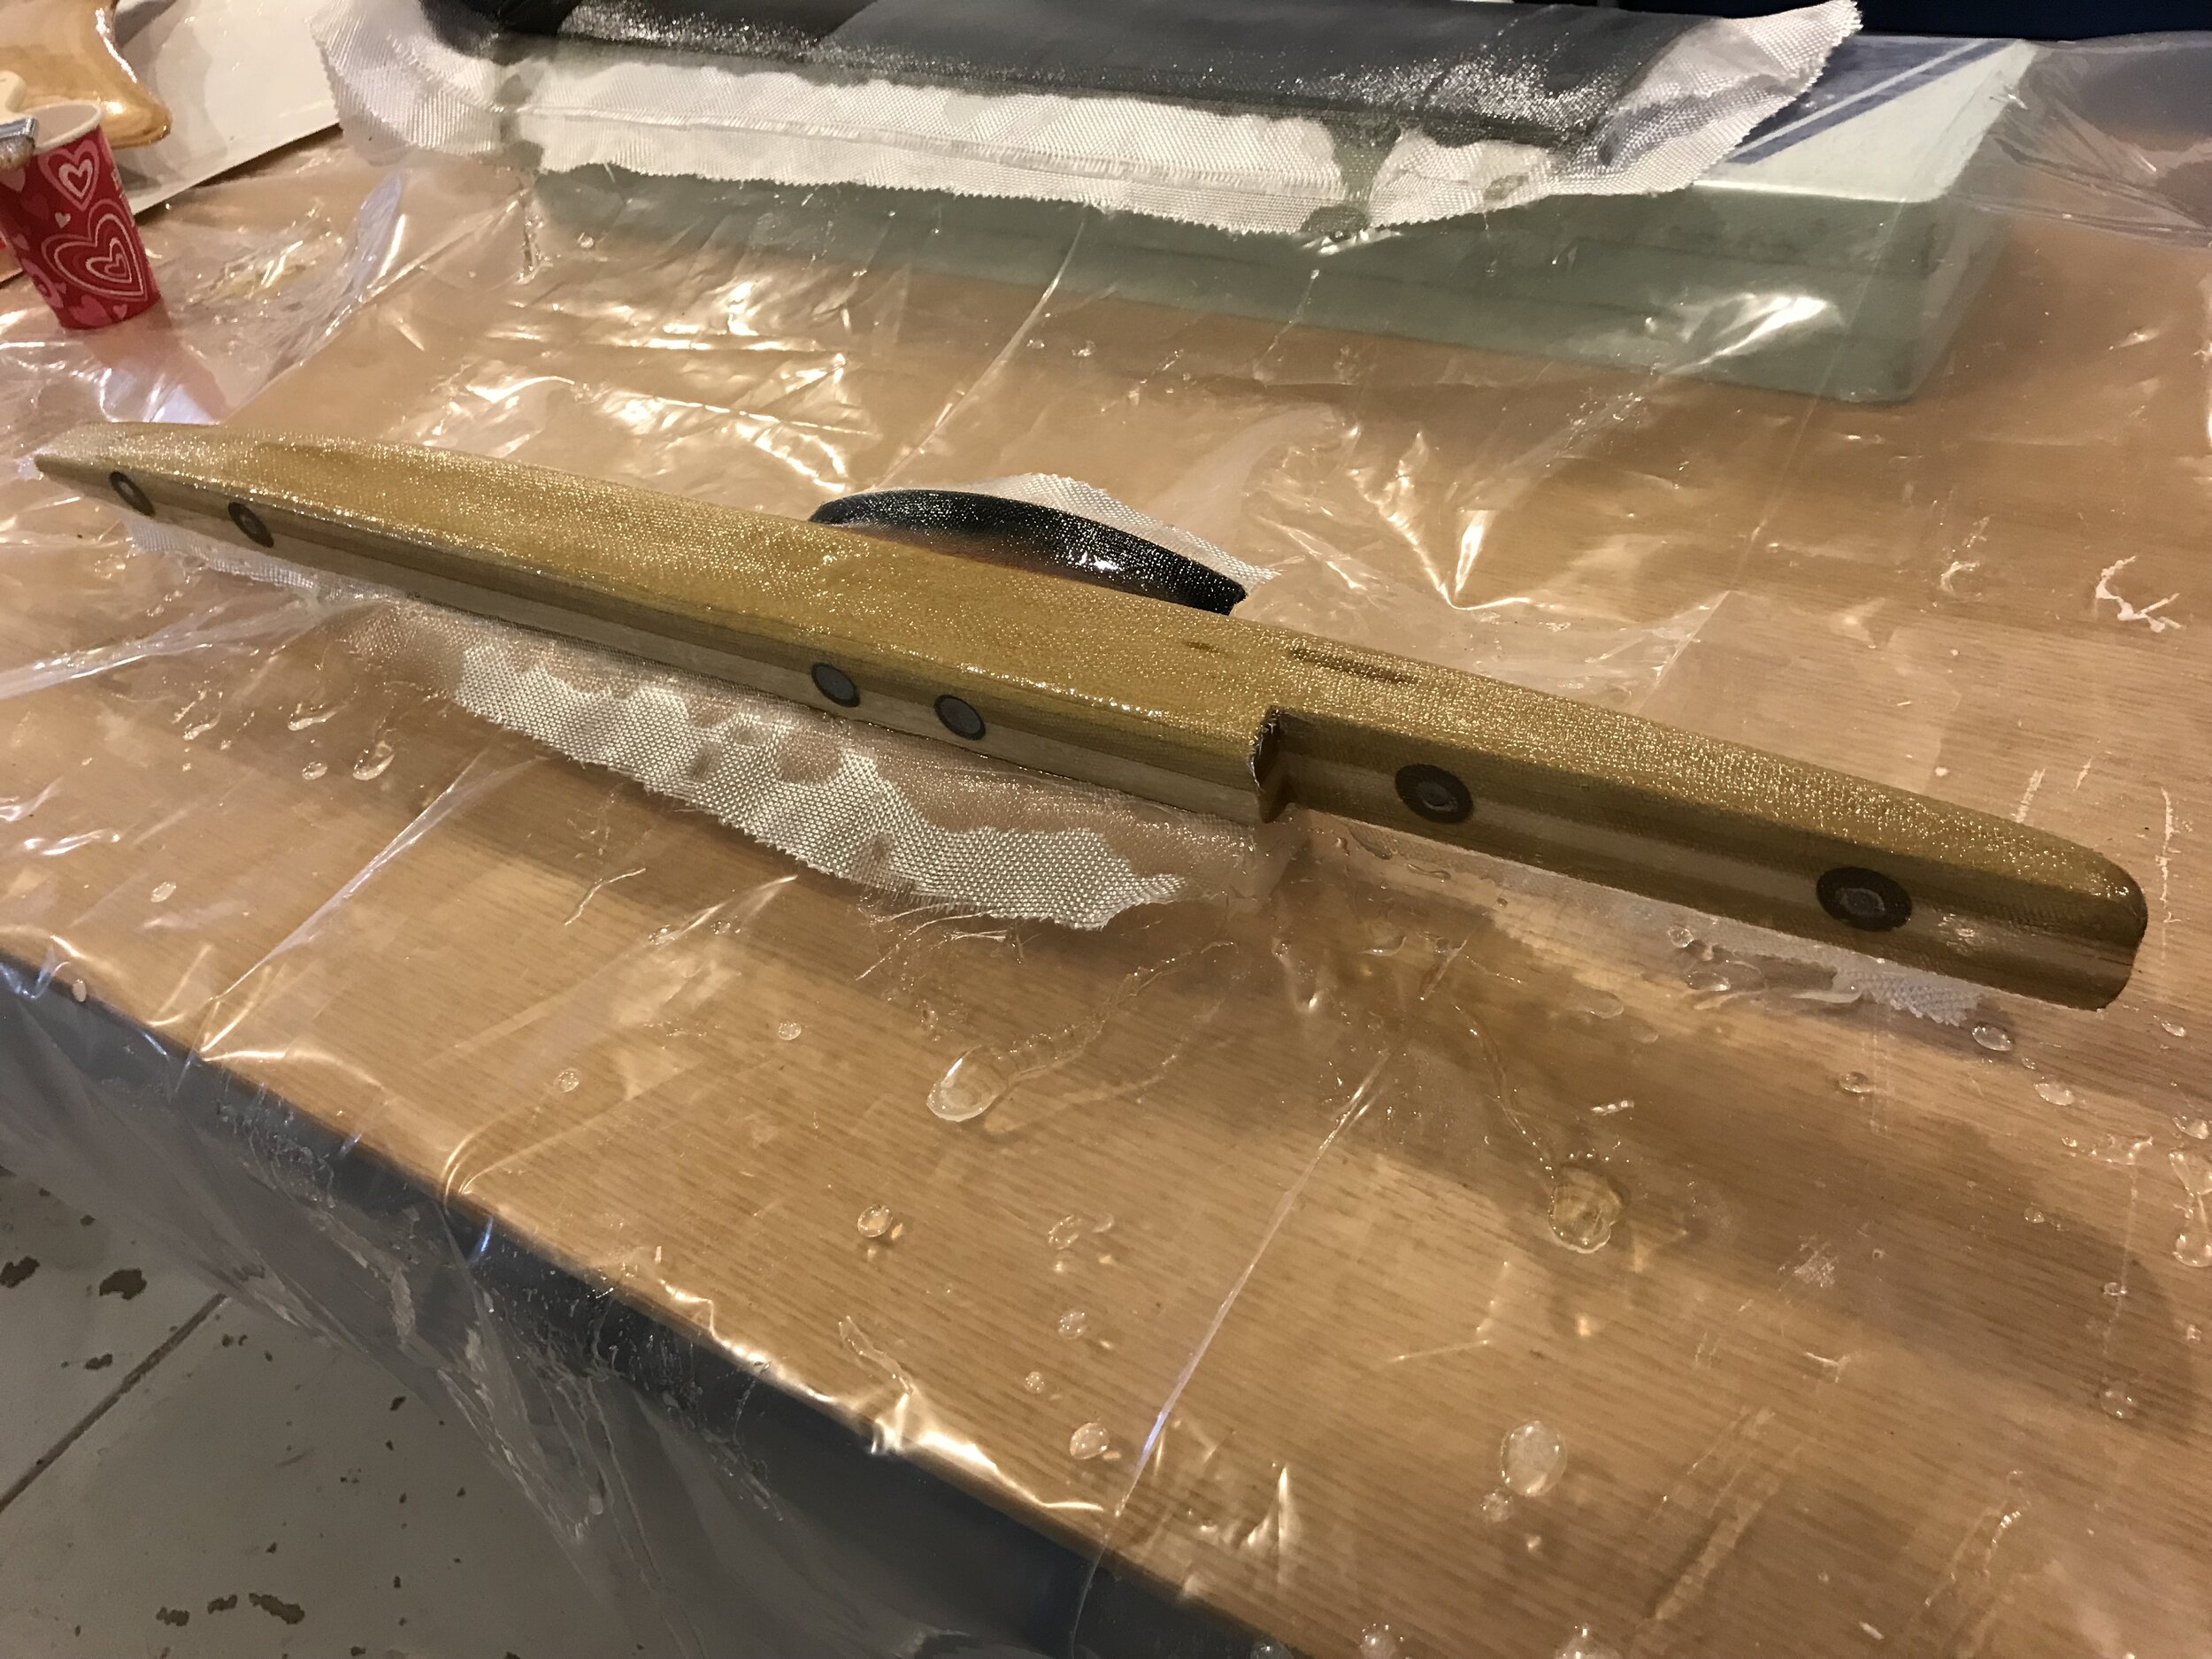
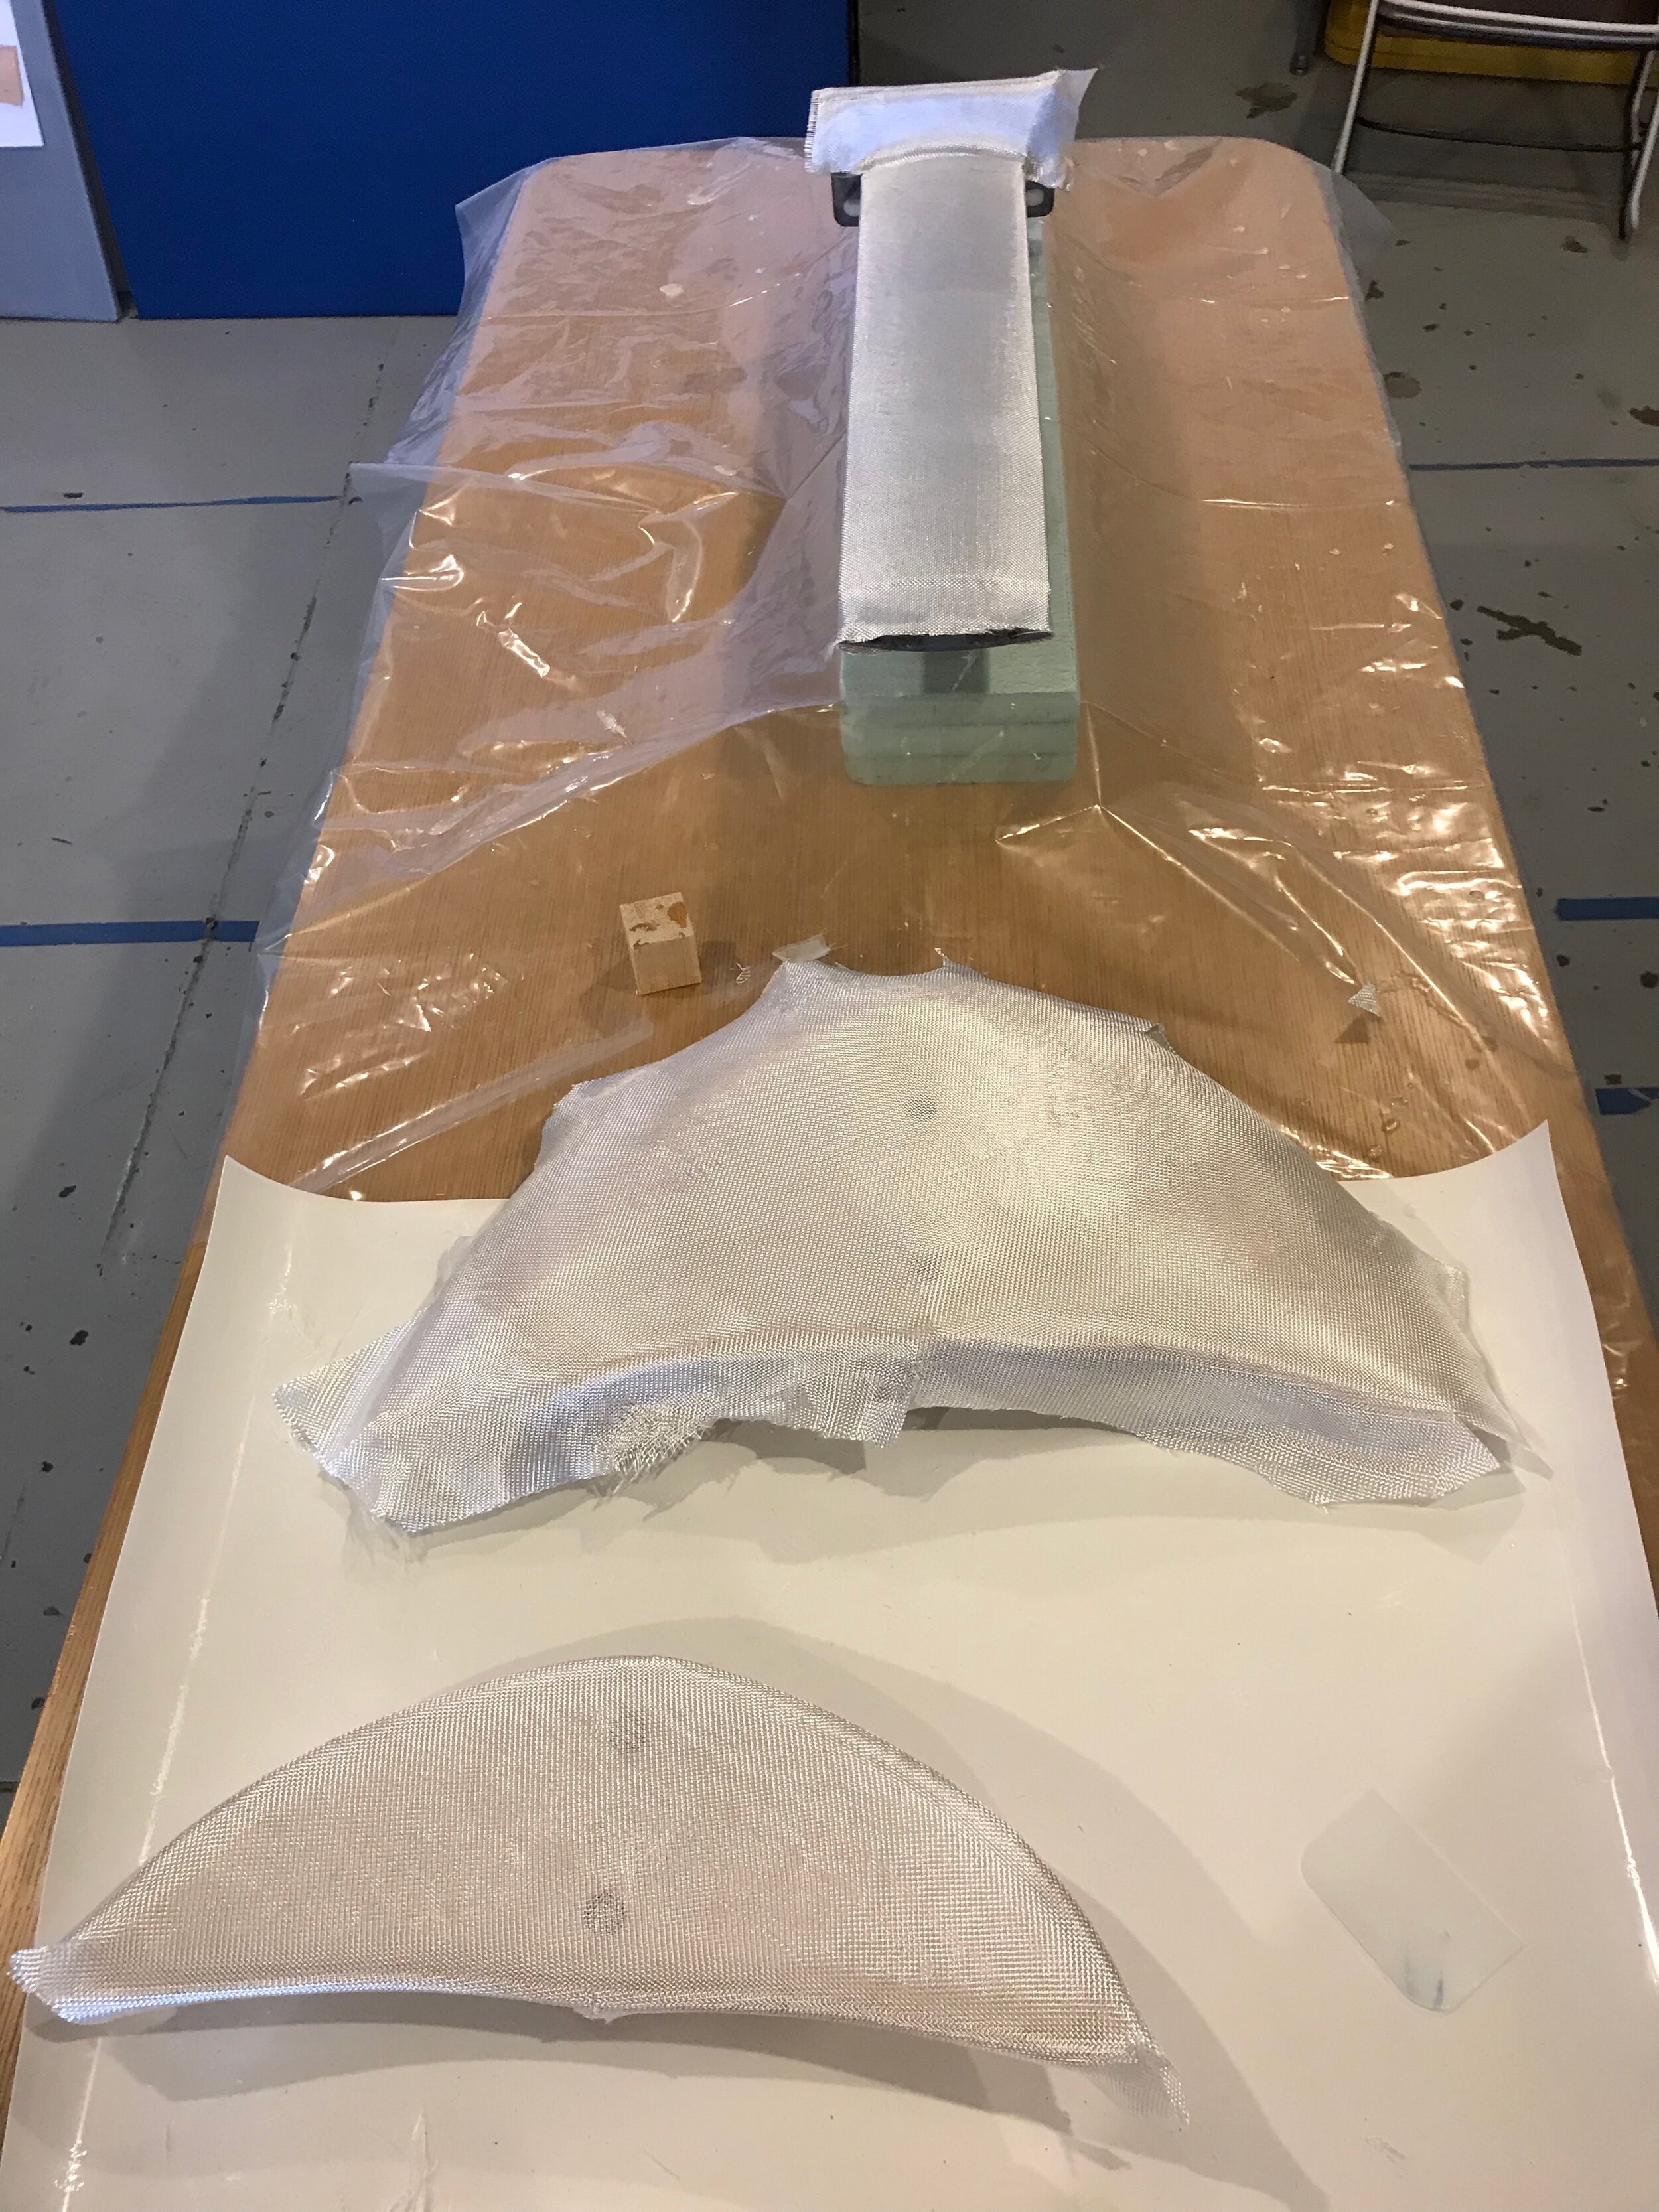
Glassed the board.
Rolled filler coat of epoxy.
Sanded.
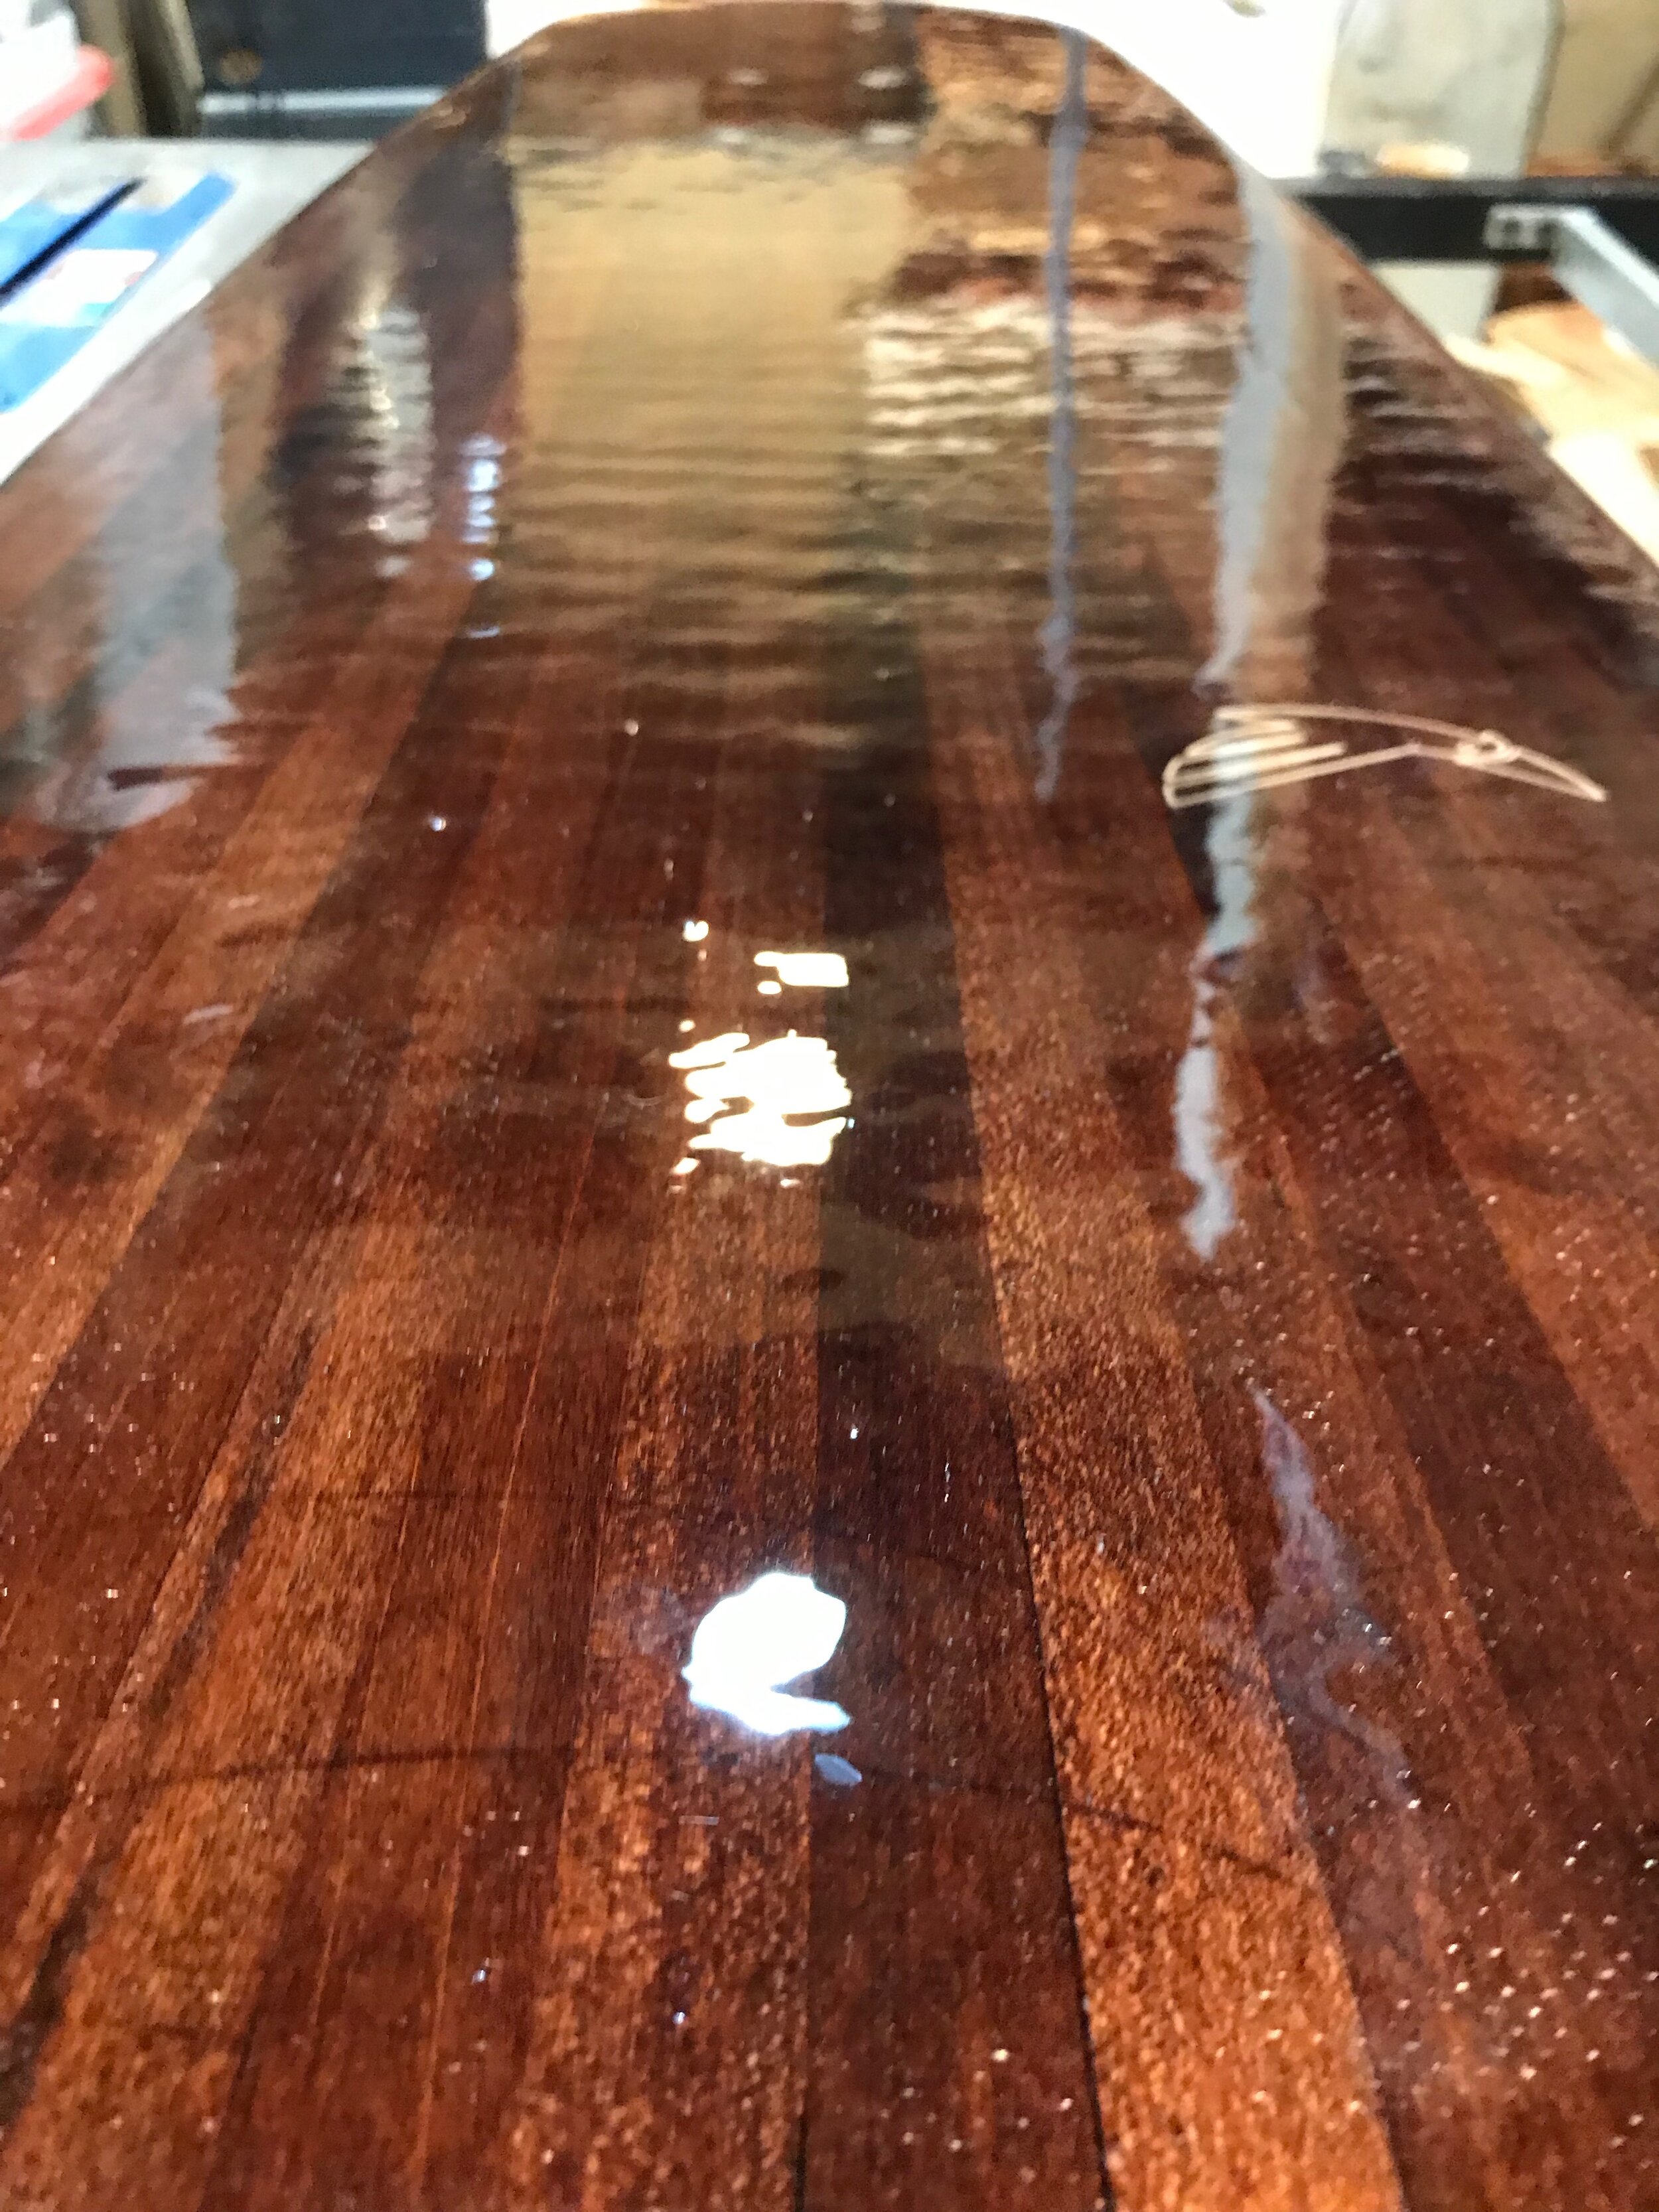
Final coat of epoxy.
Final sanding.
Marine grade varnish coat (x5, with sanding between coats).
Drill out wax from T nuts.
Boards ready to ride!
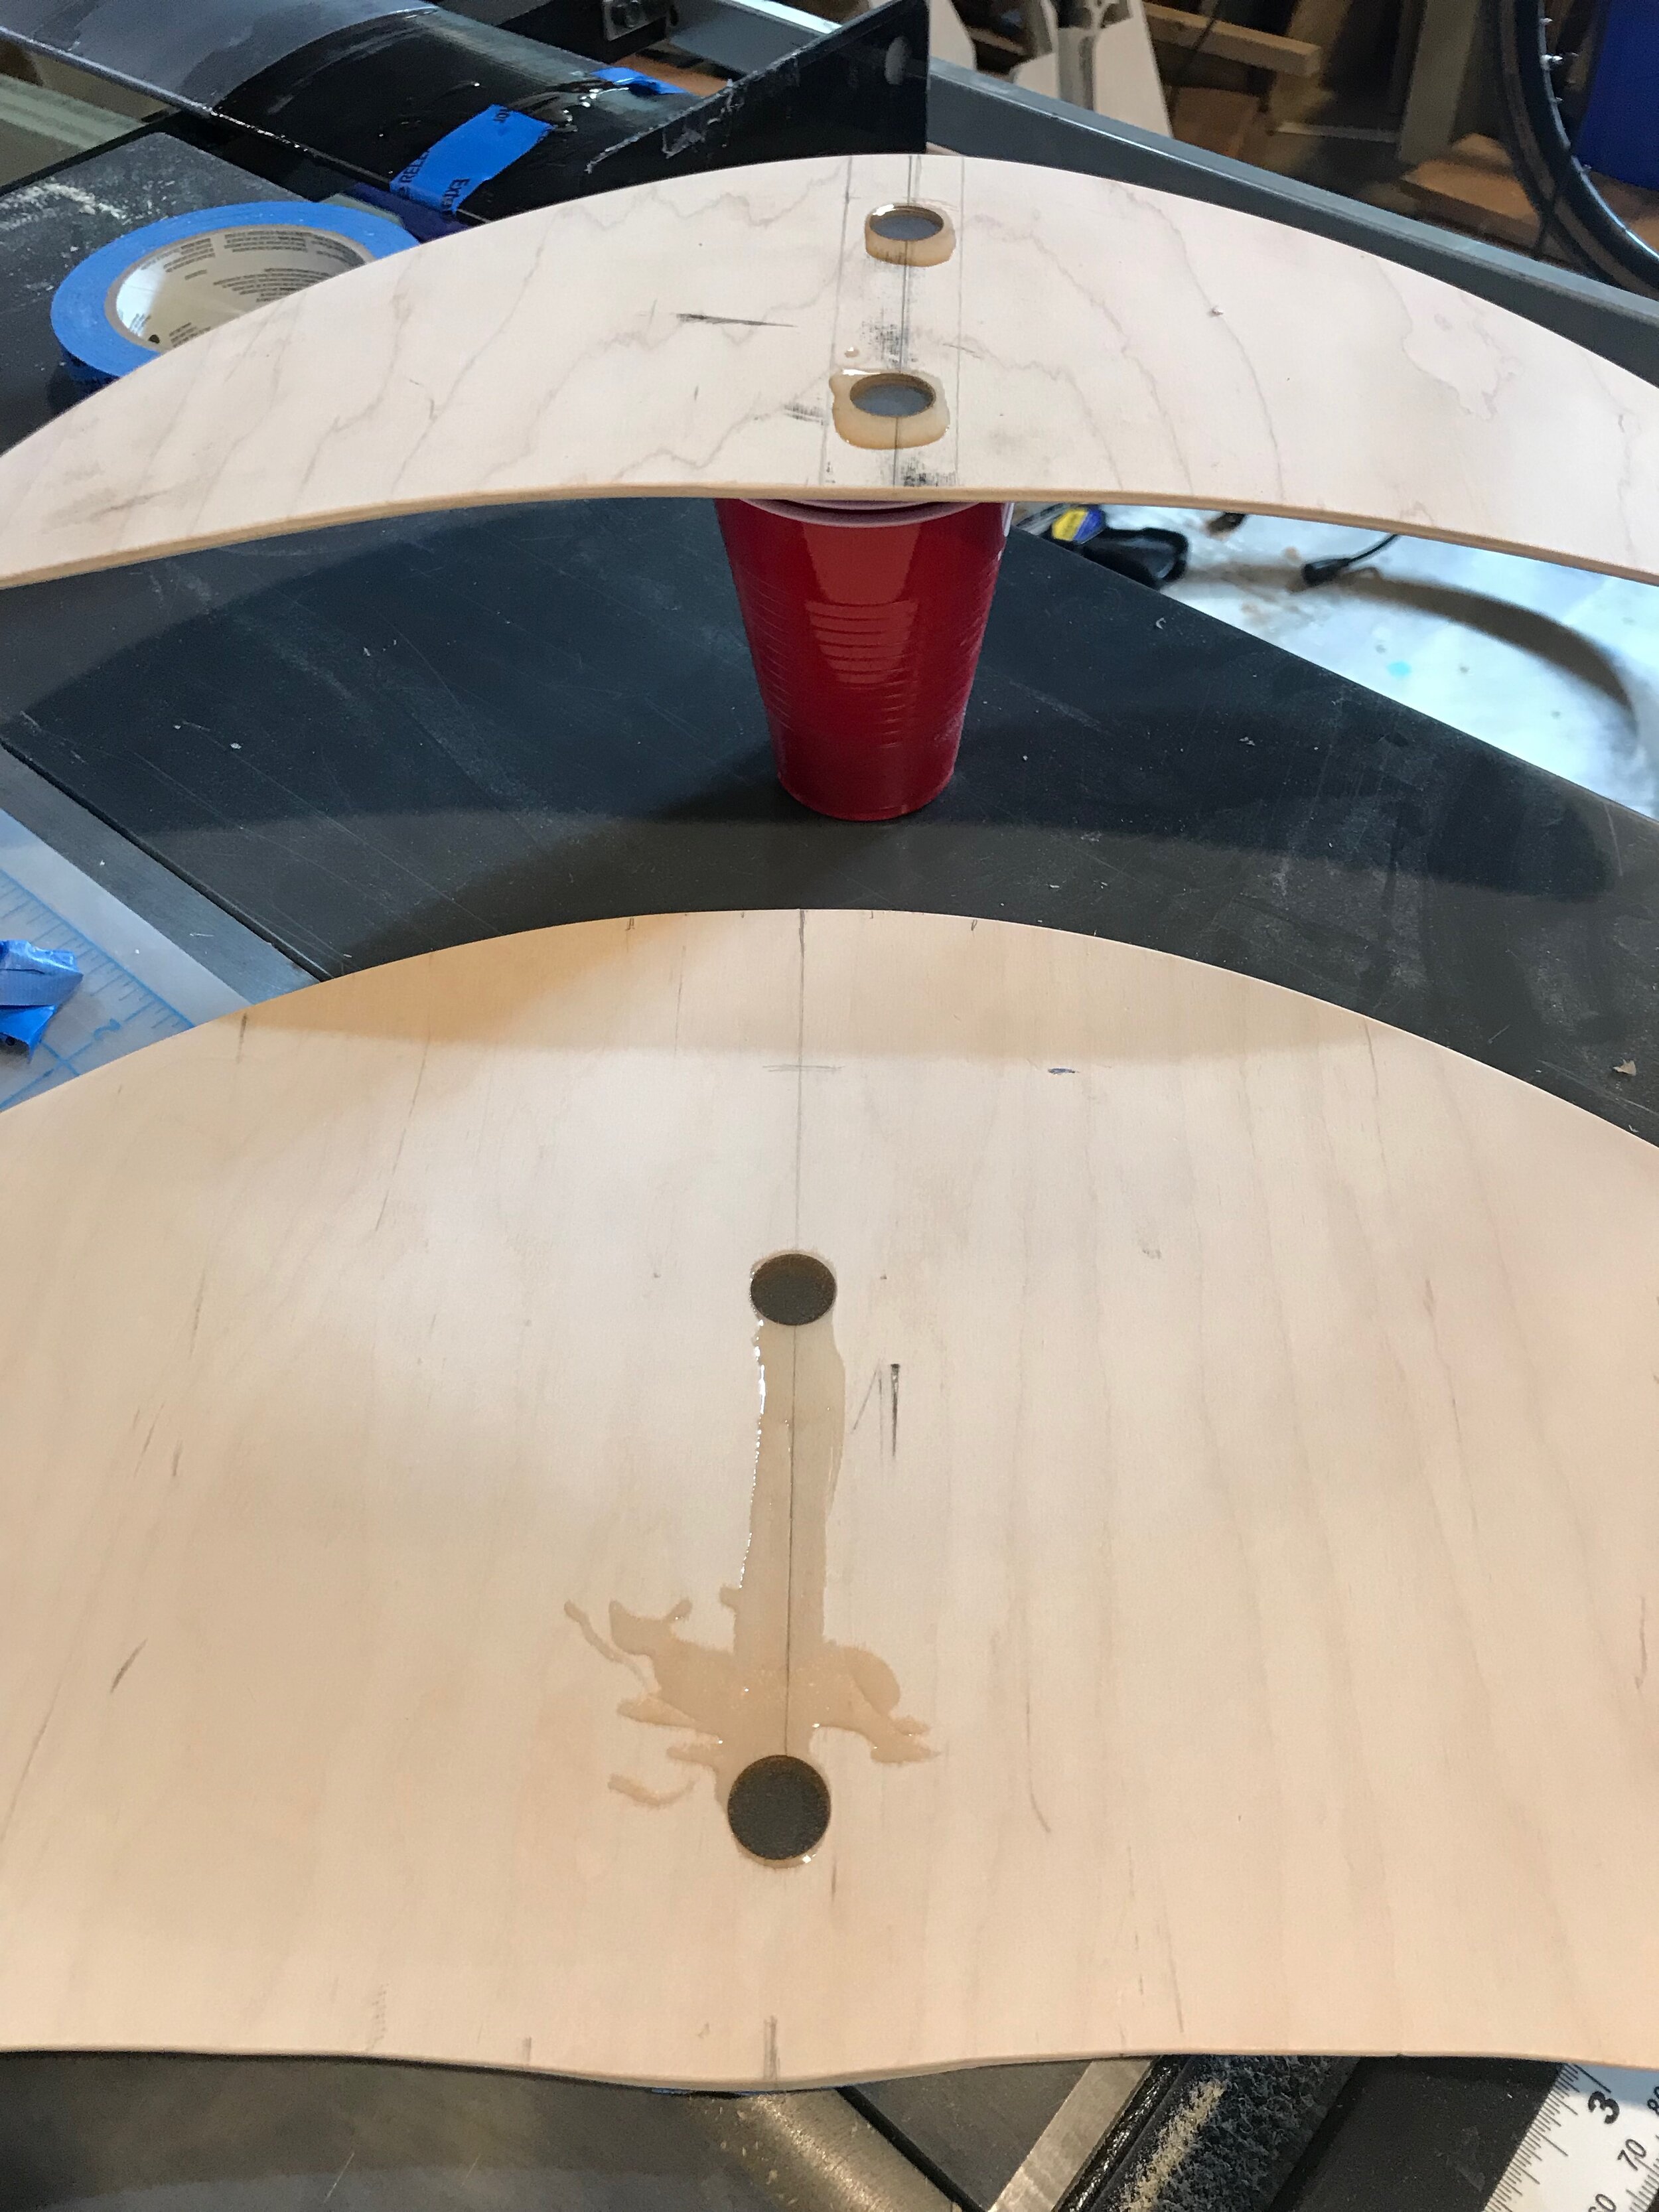
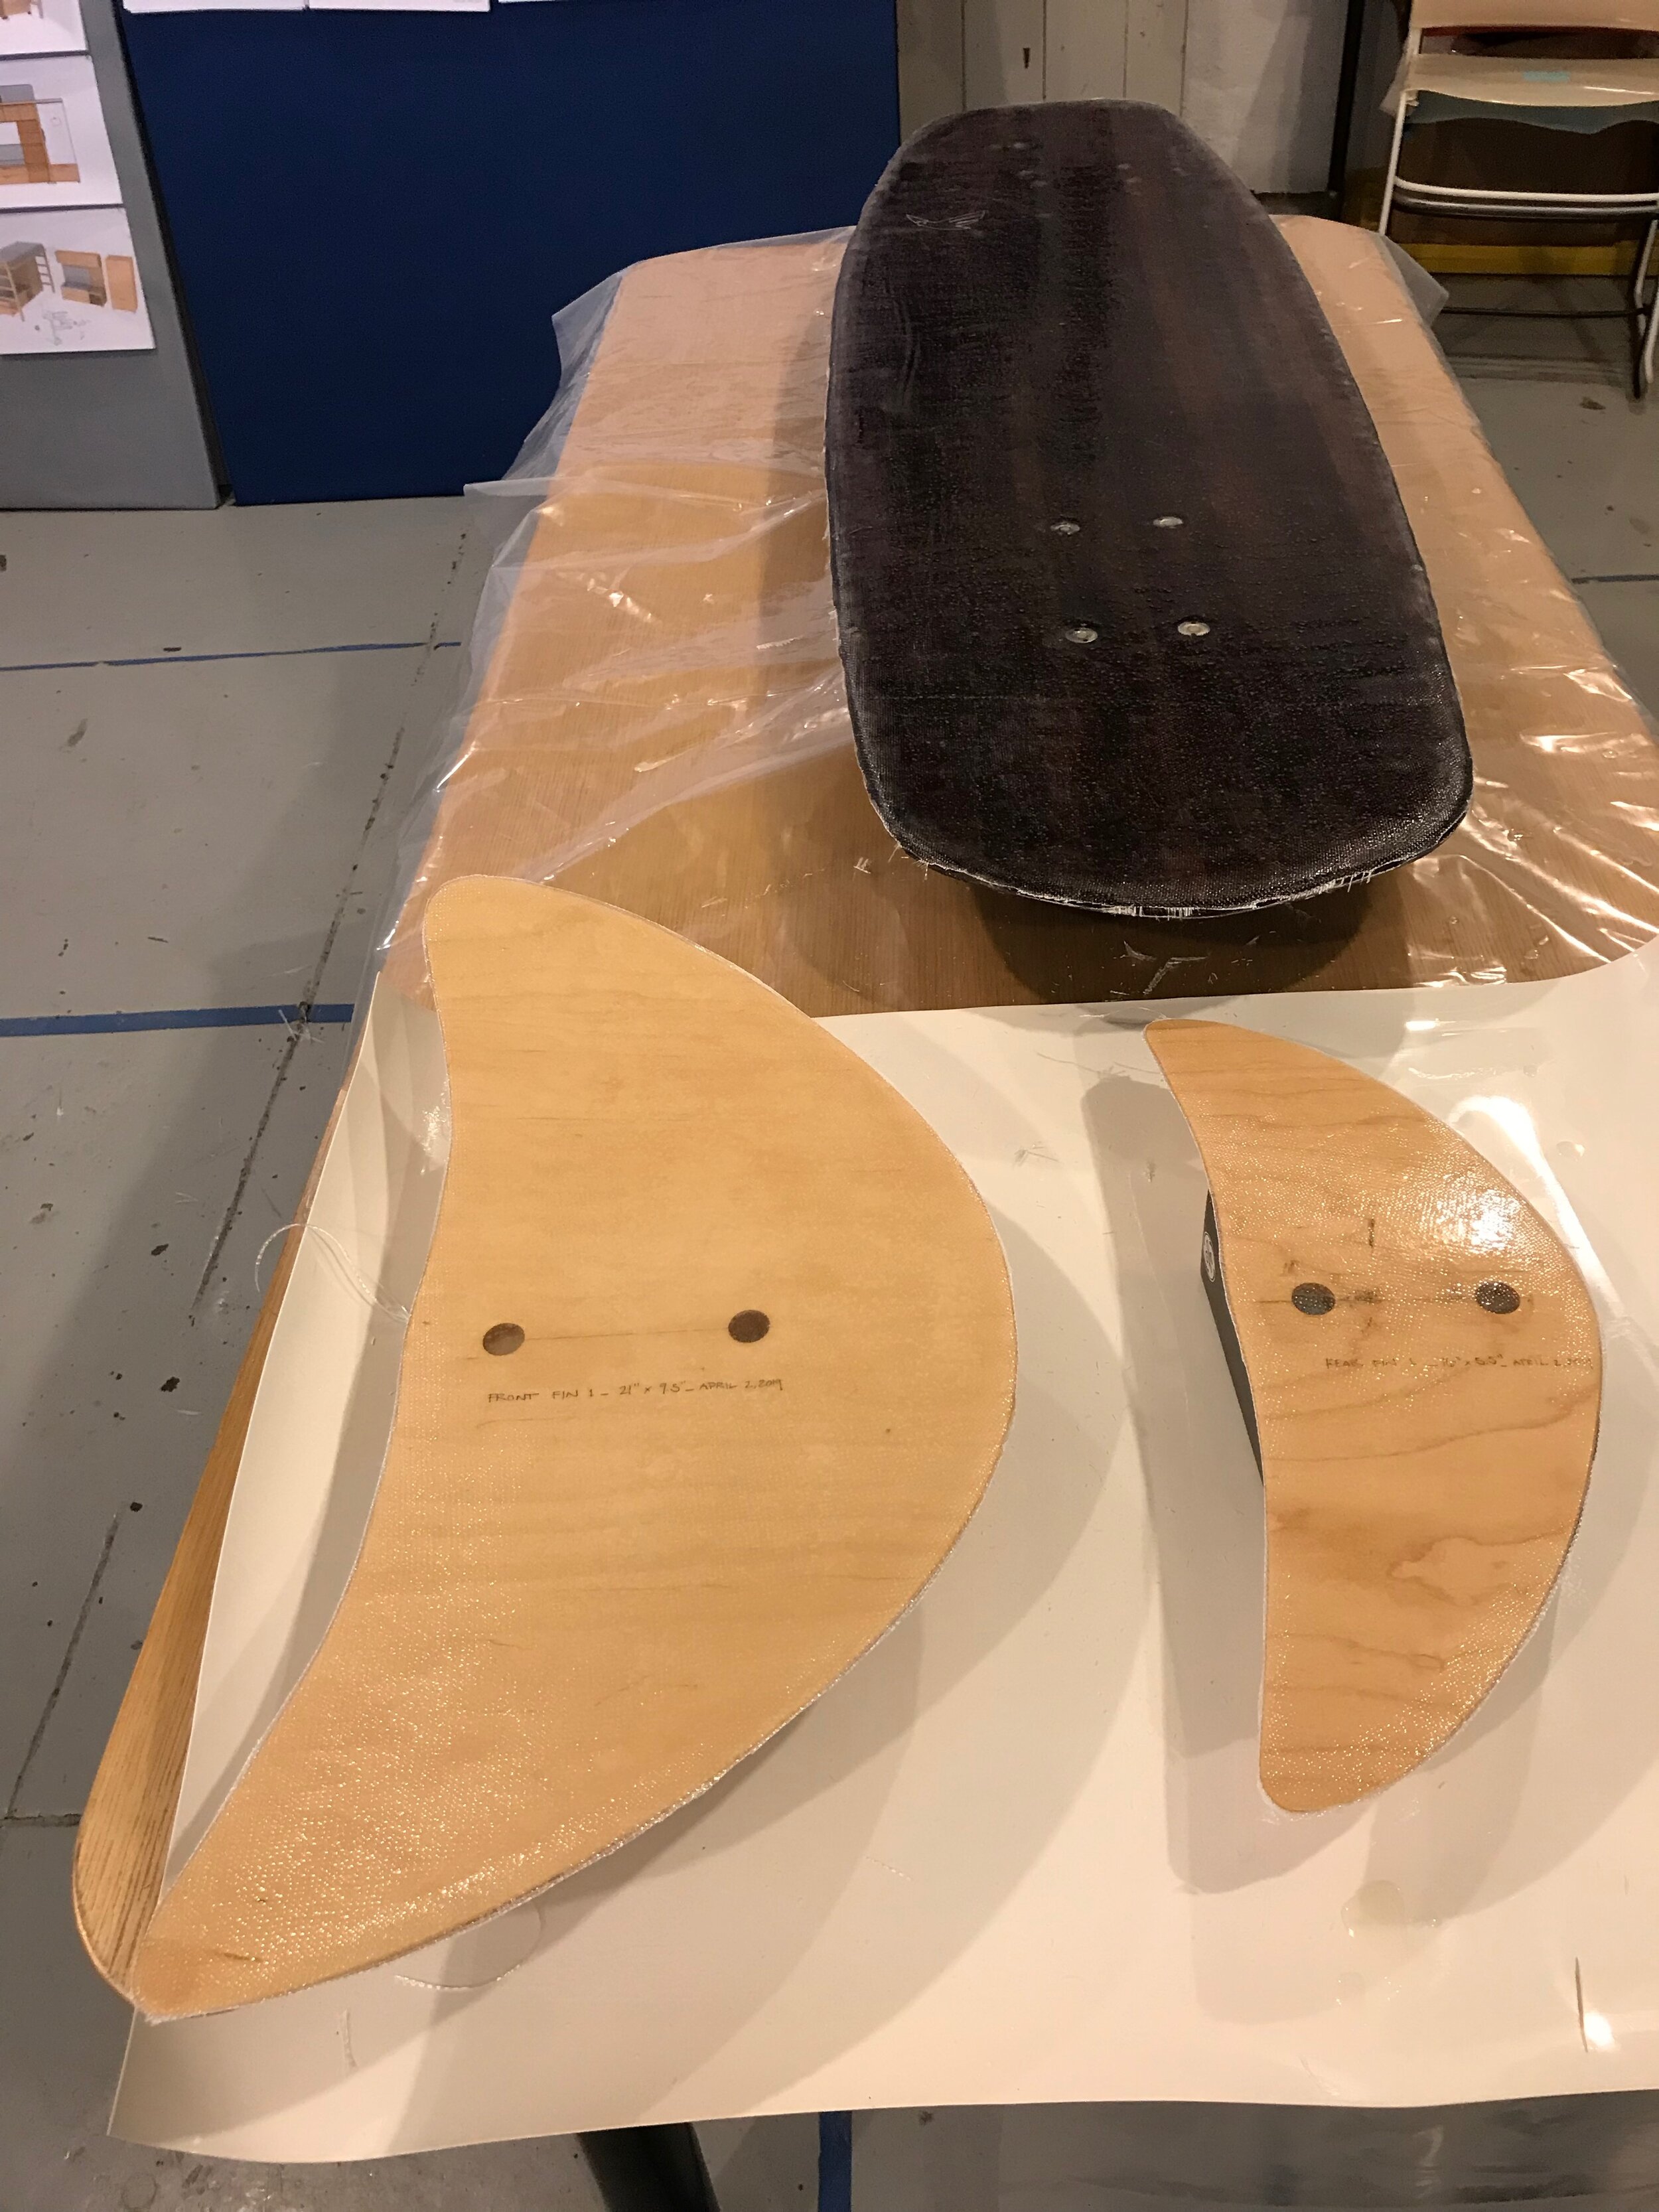
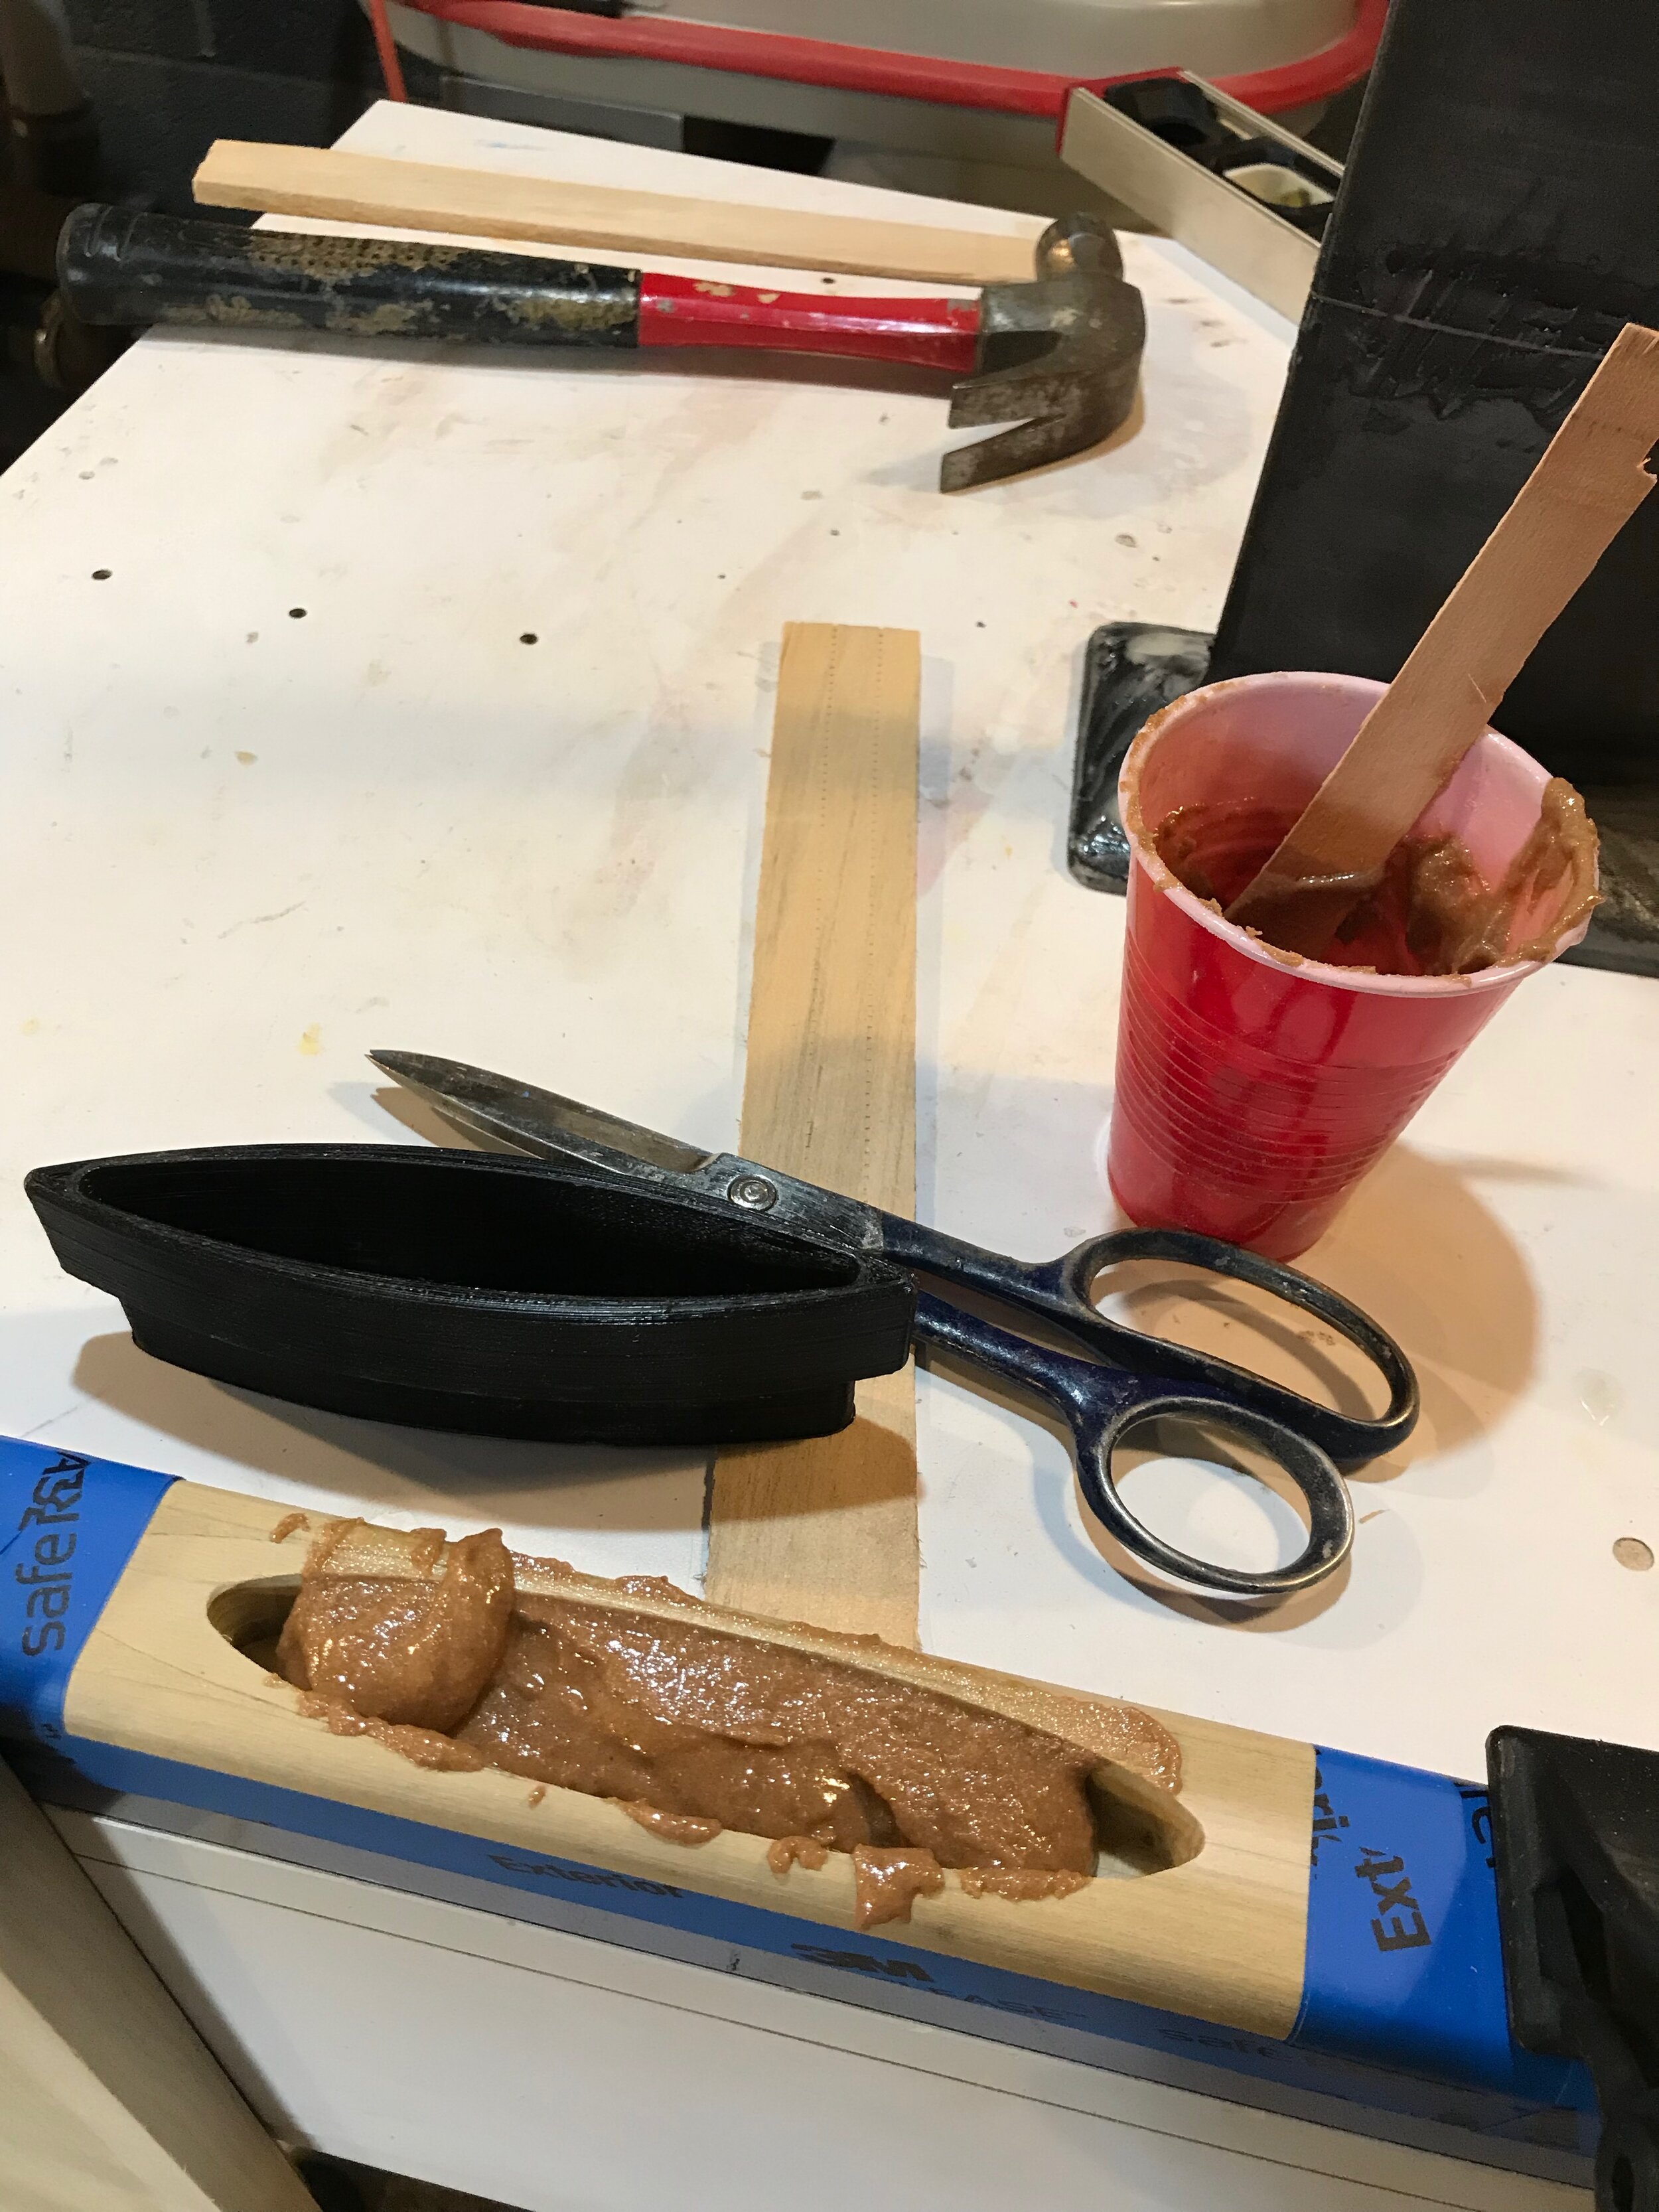
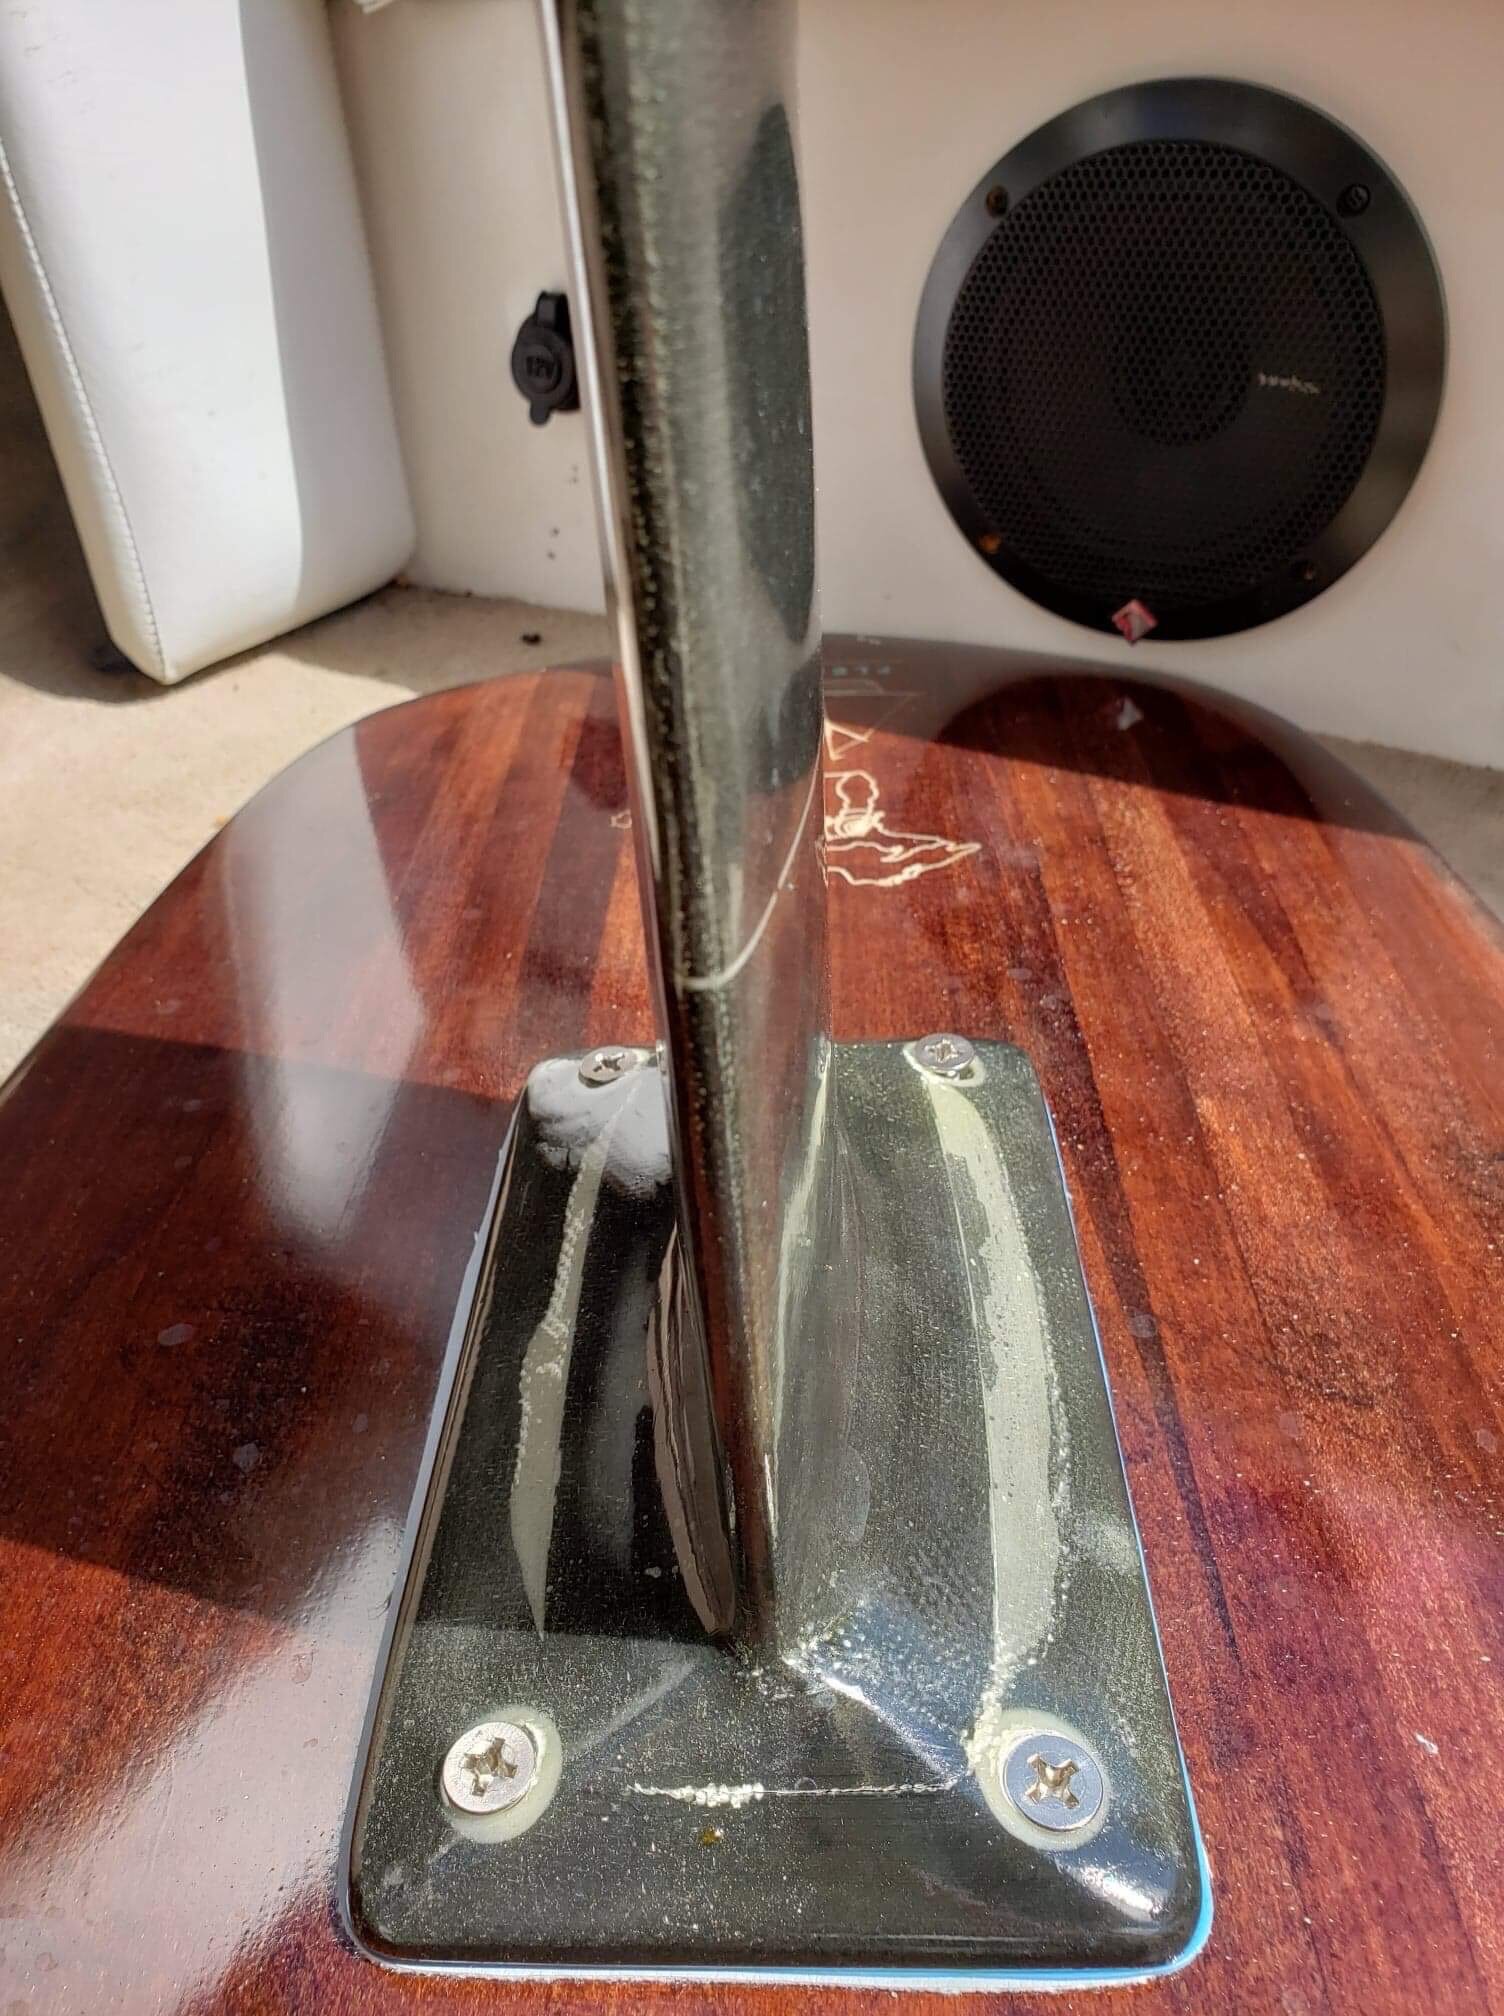
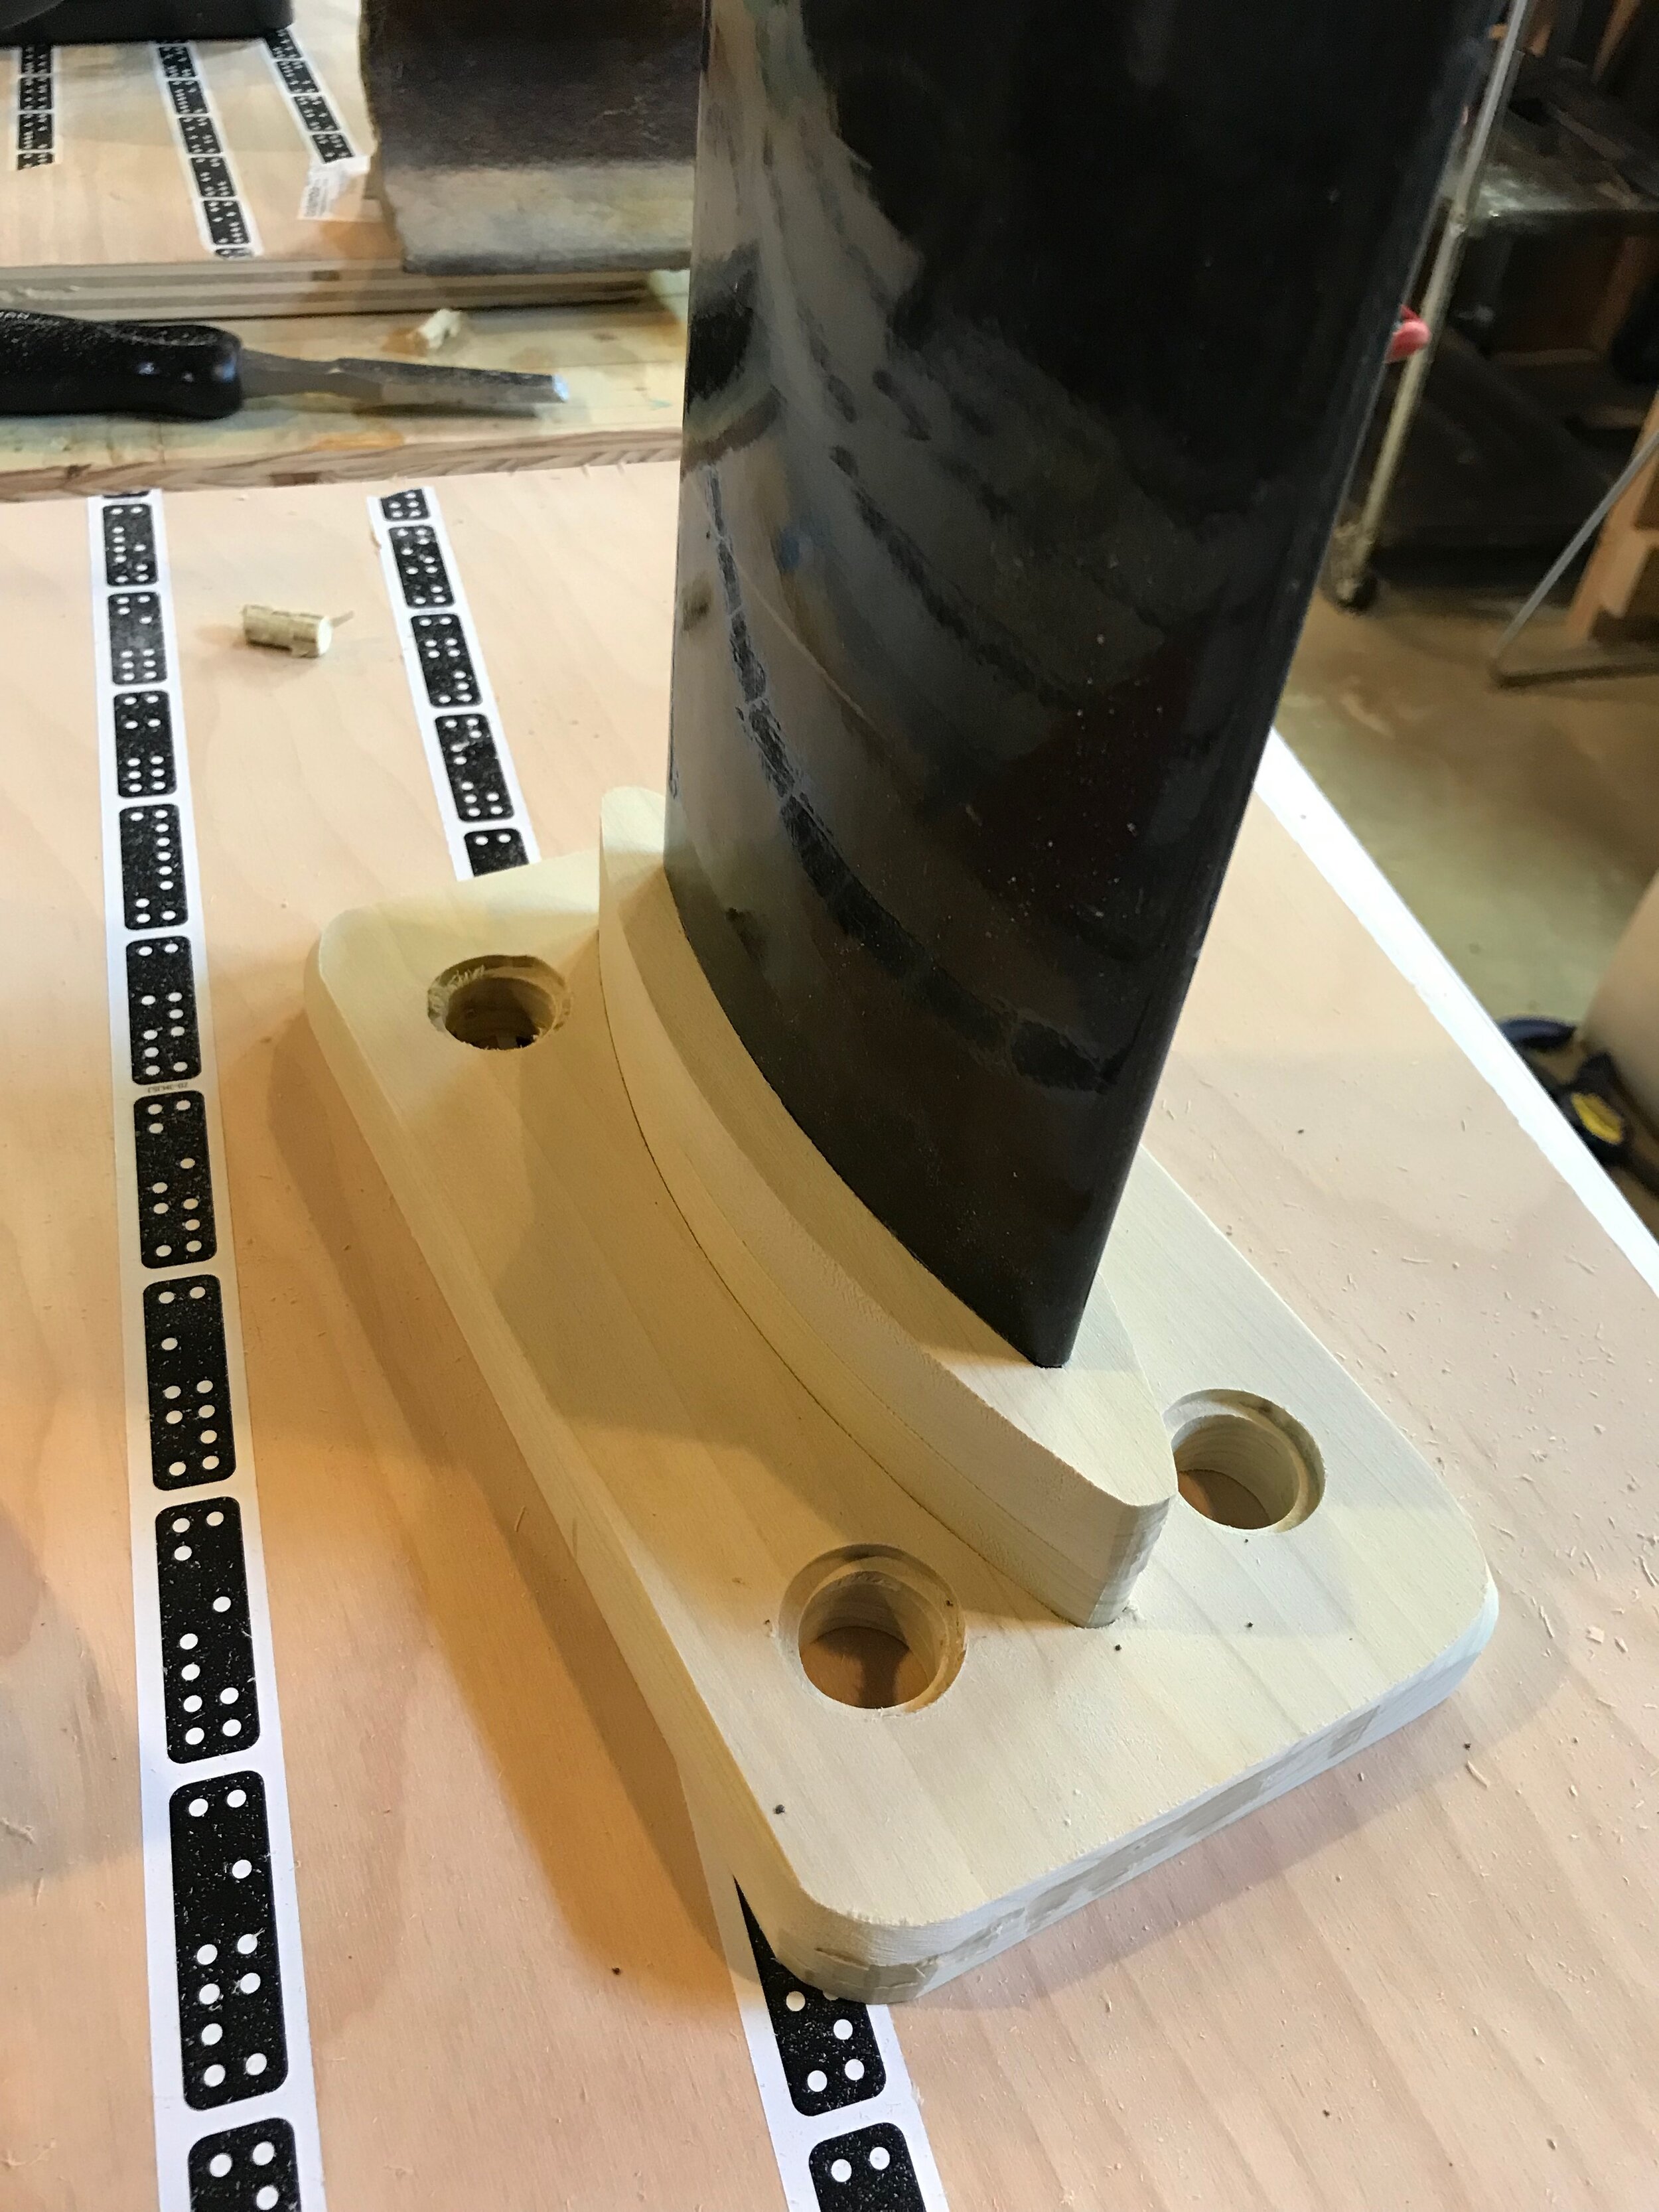
*Repeat a bunch of those steps for the fins, fuselage and mast.
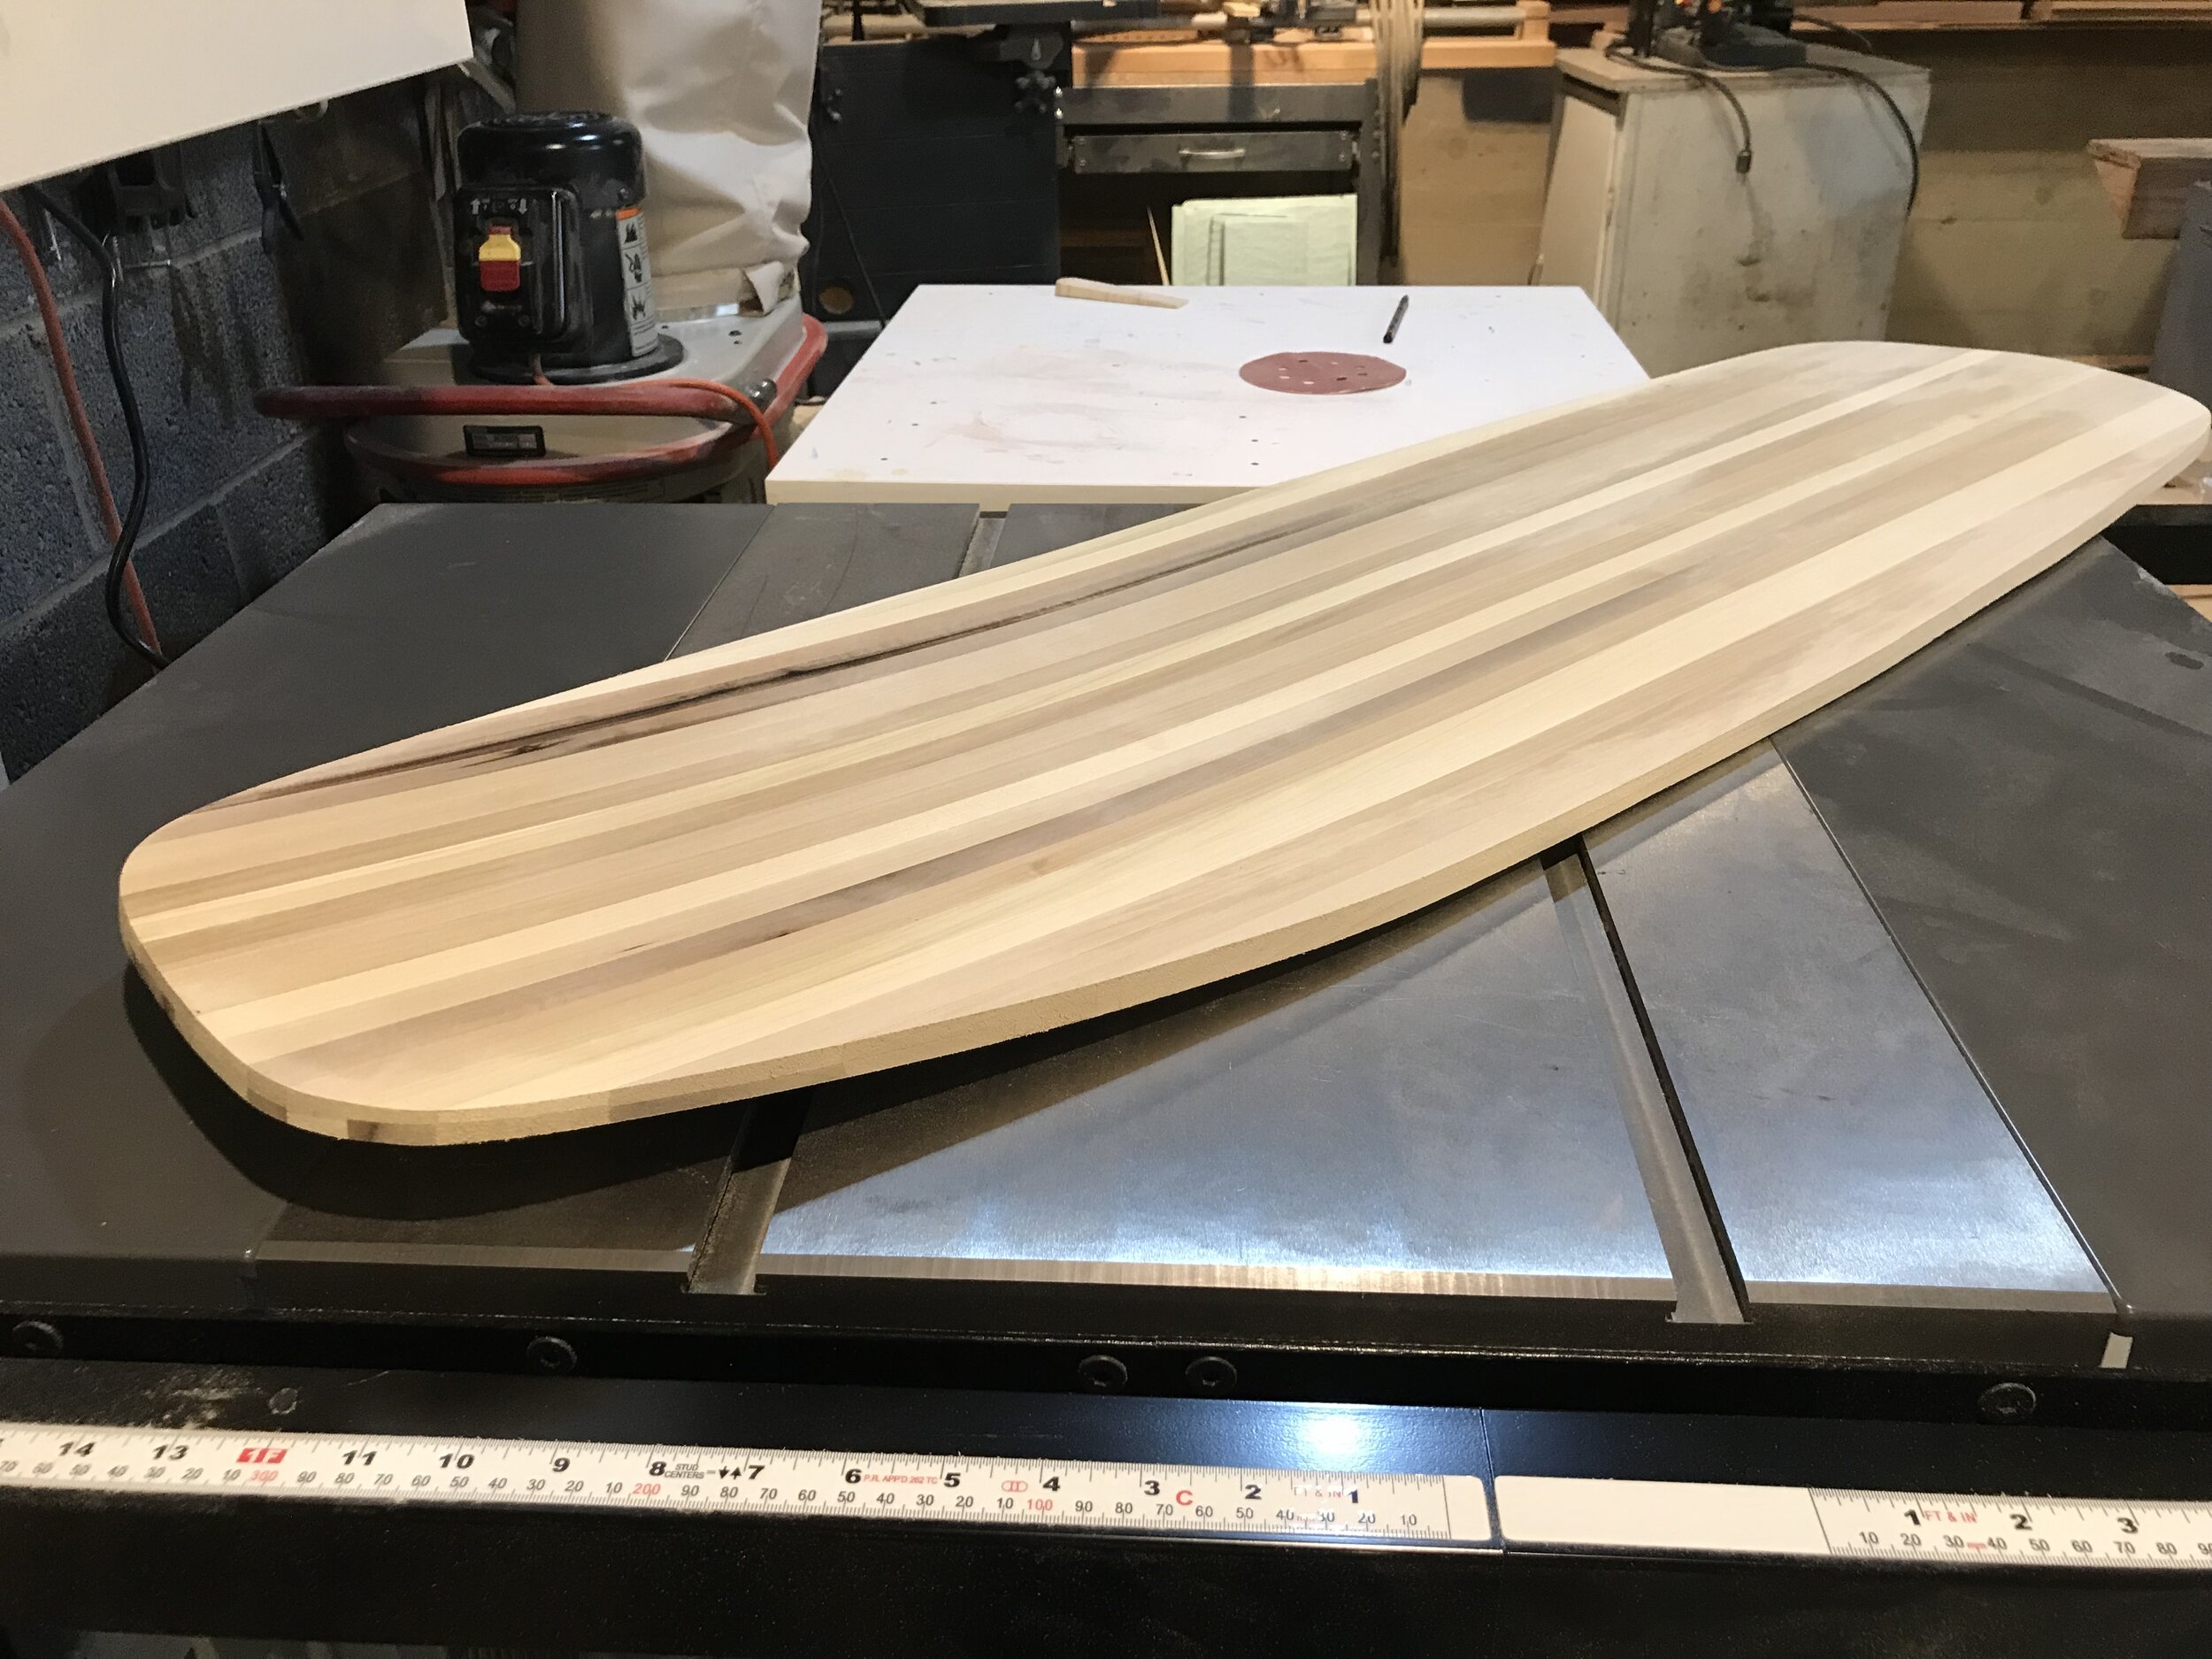
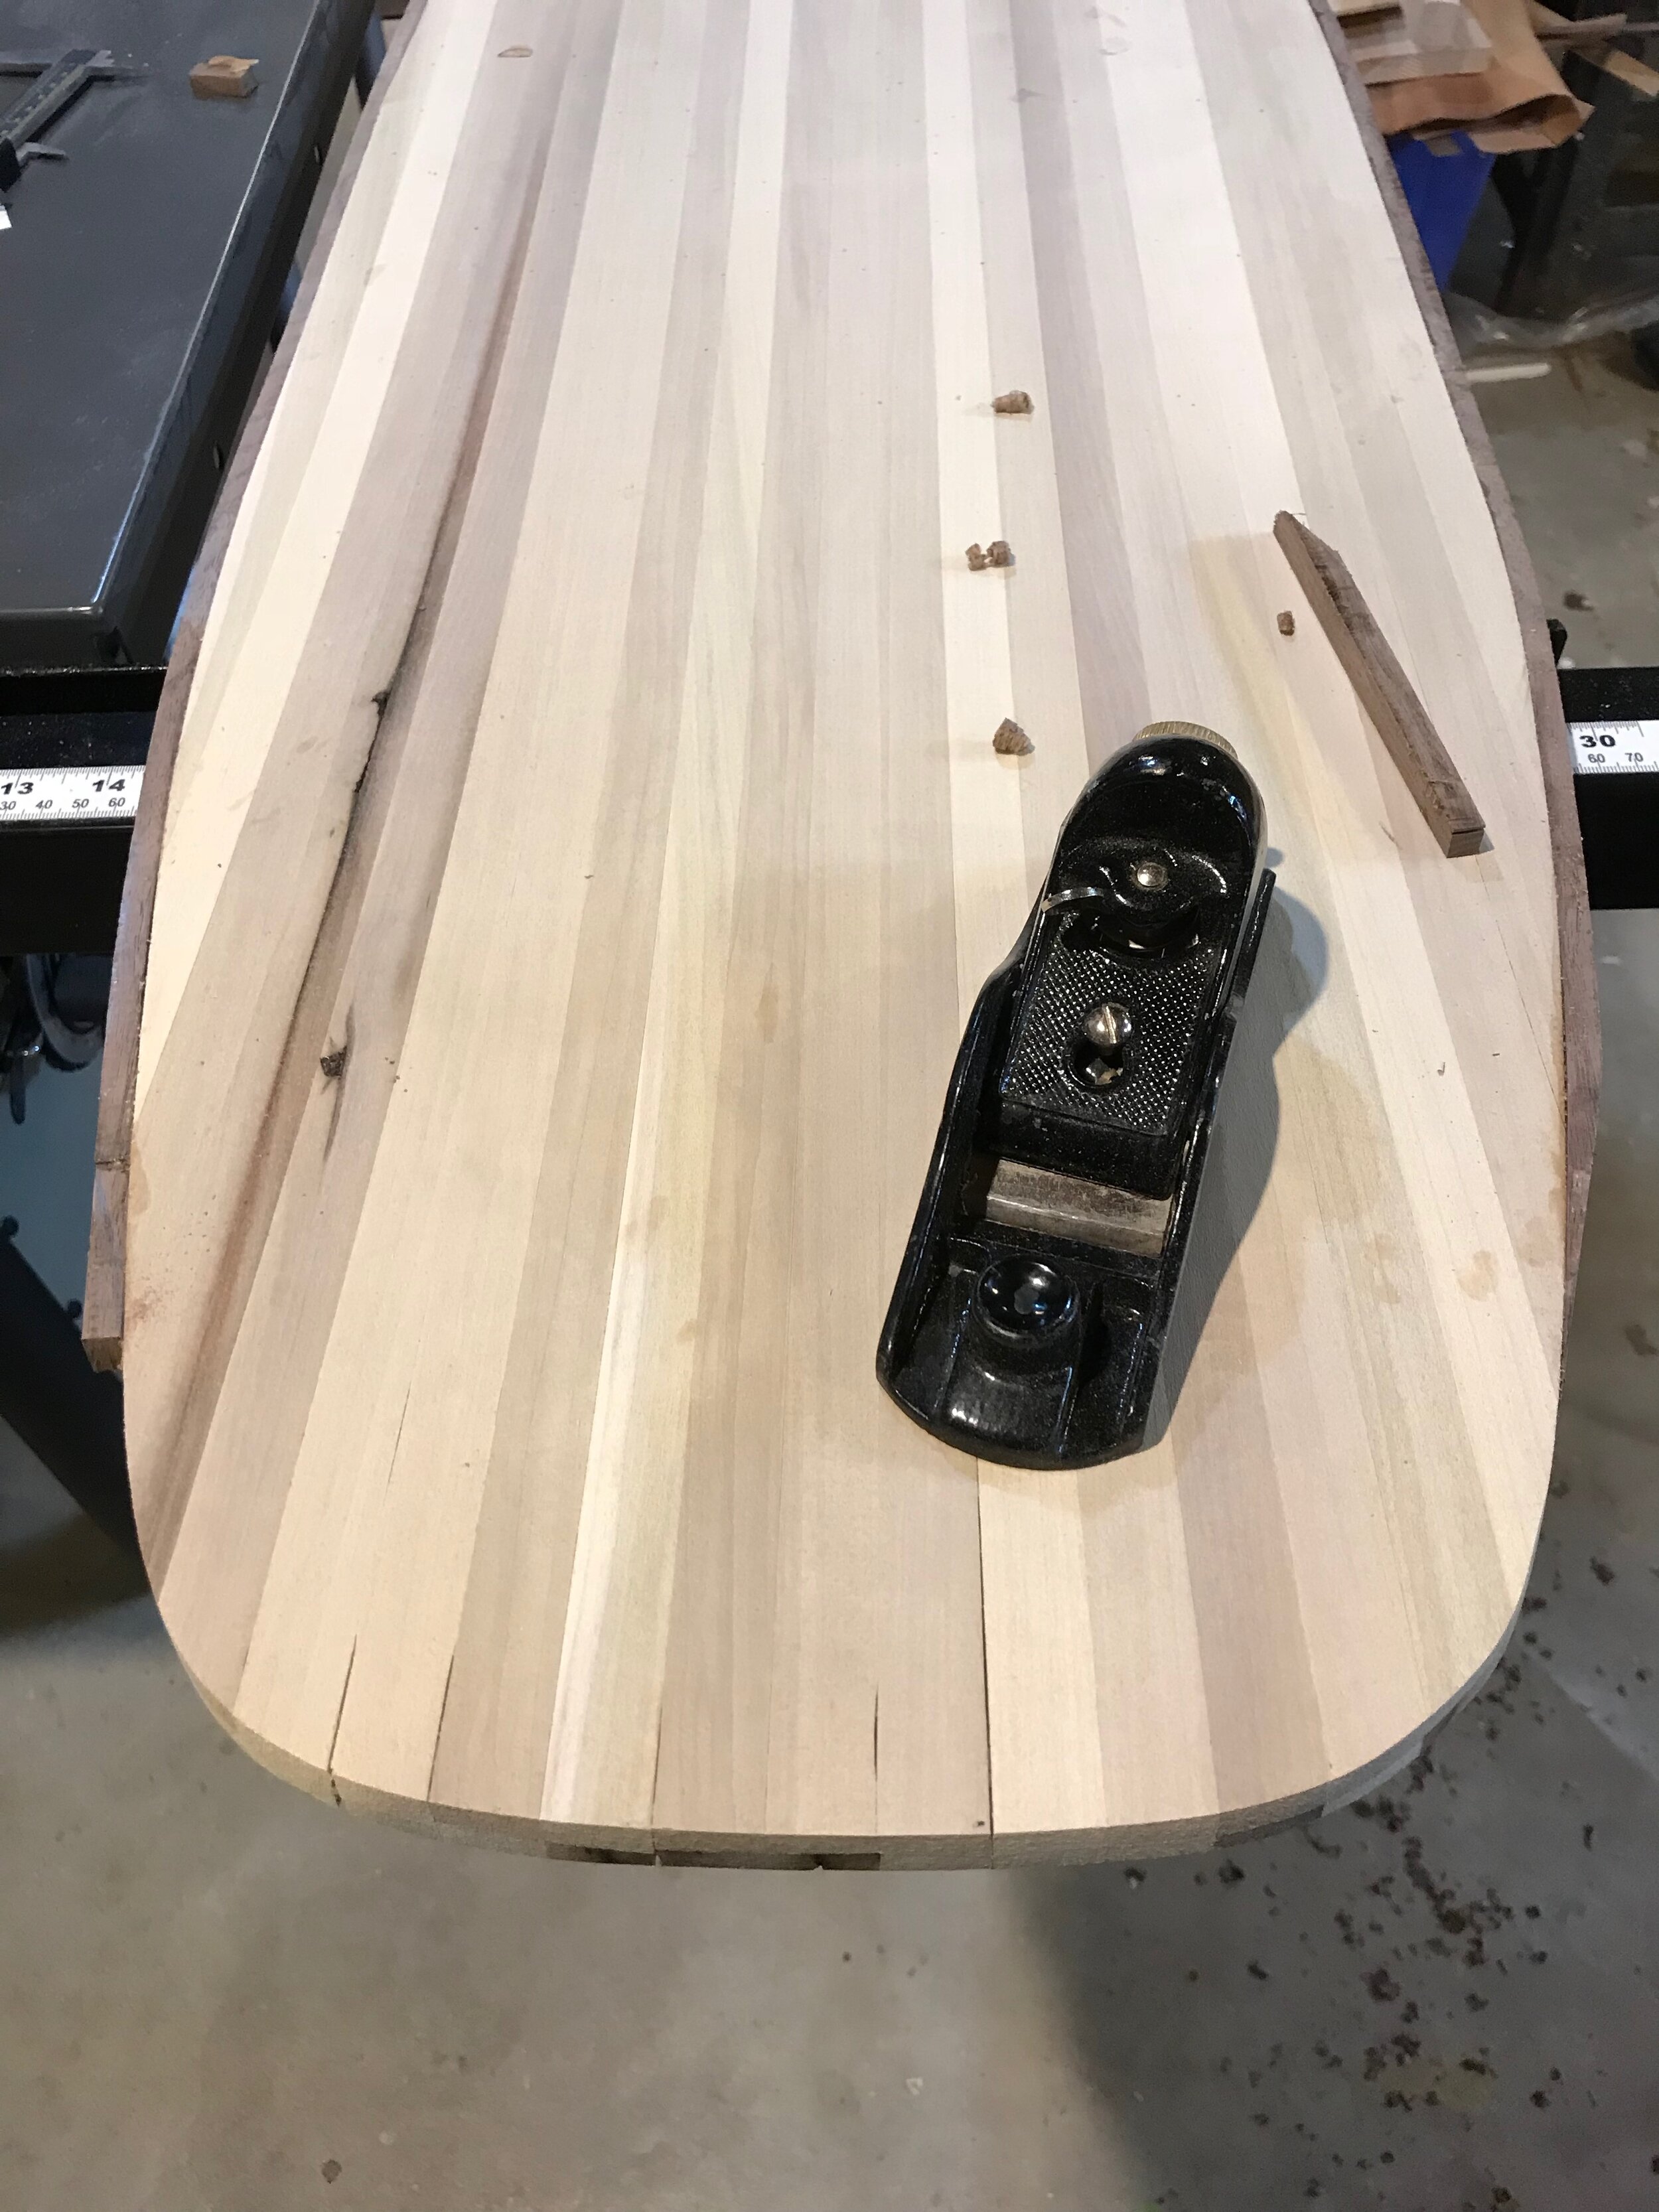
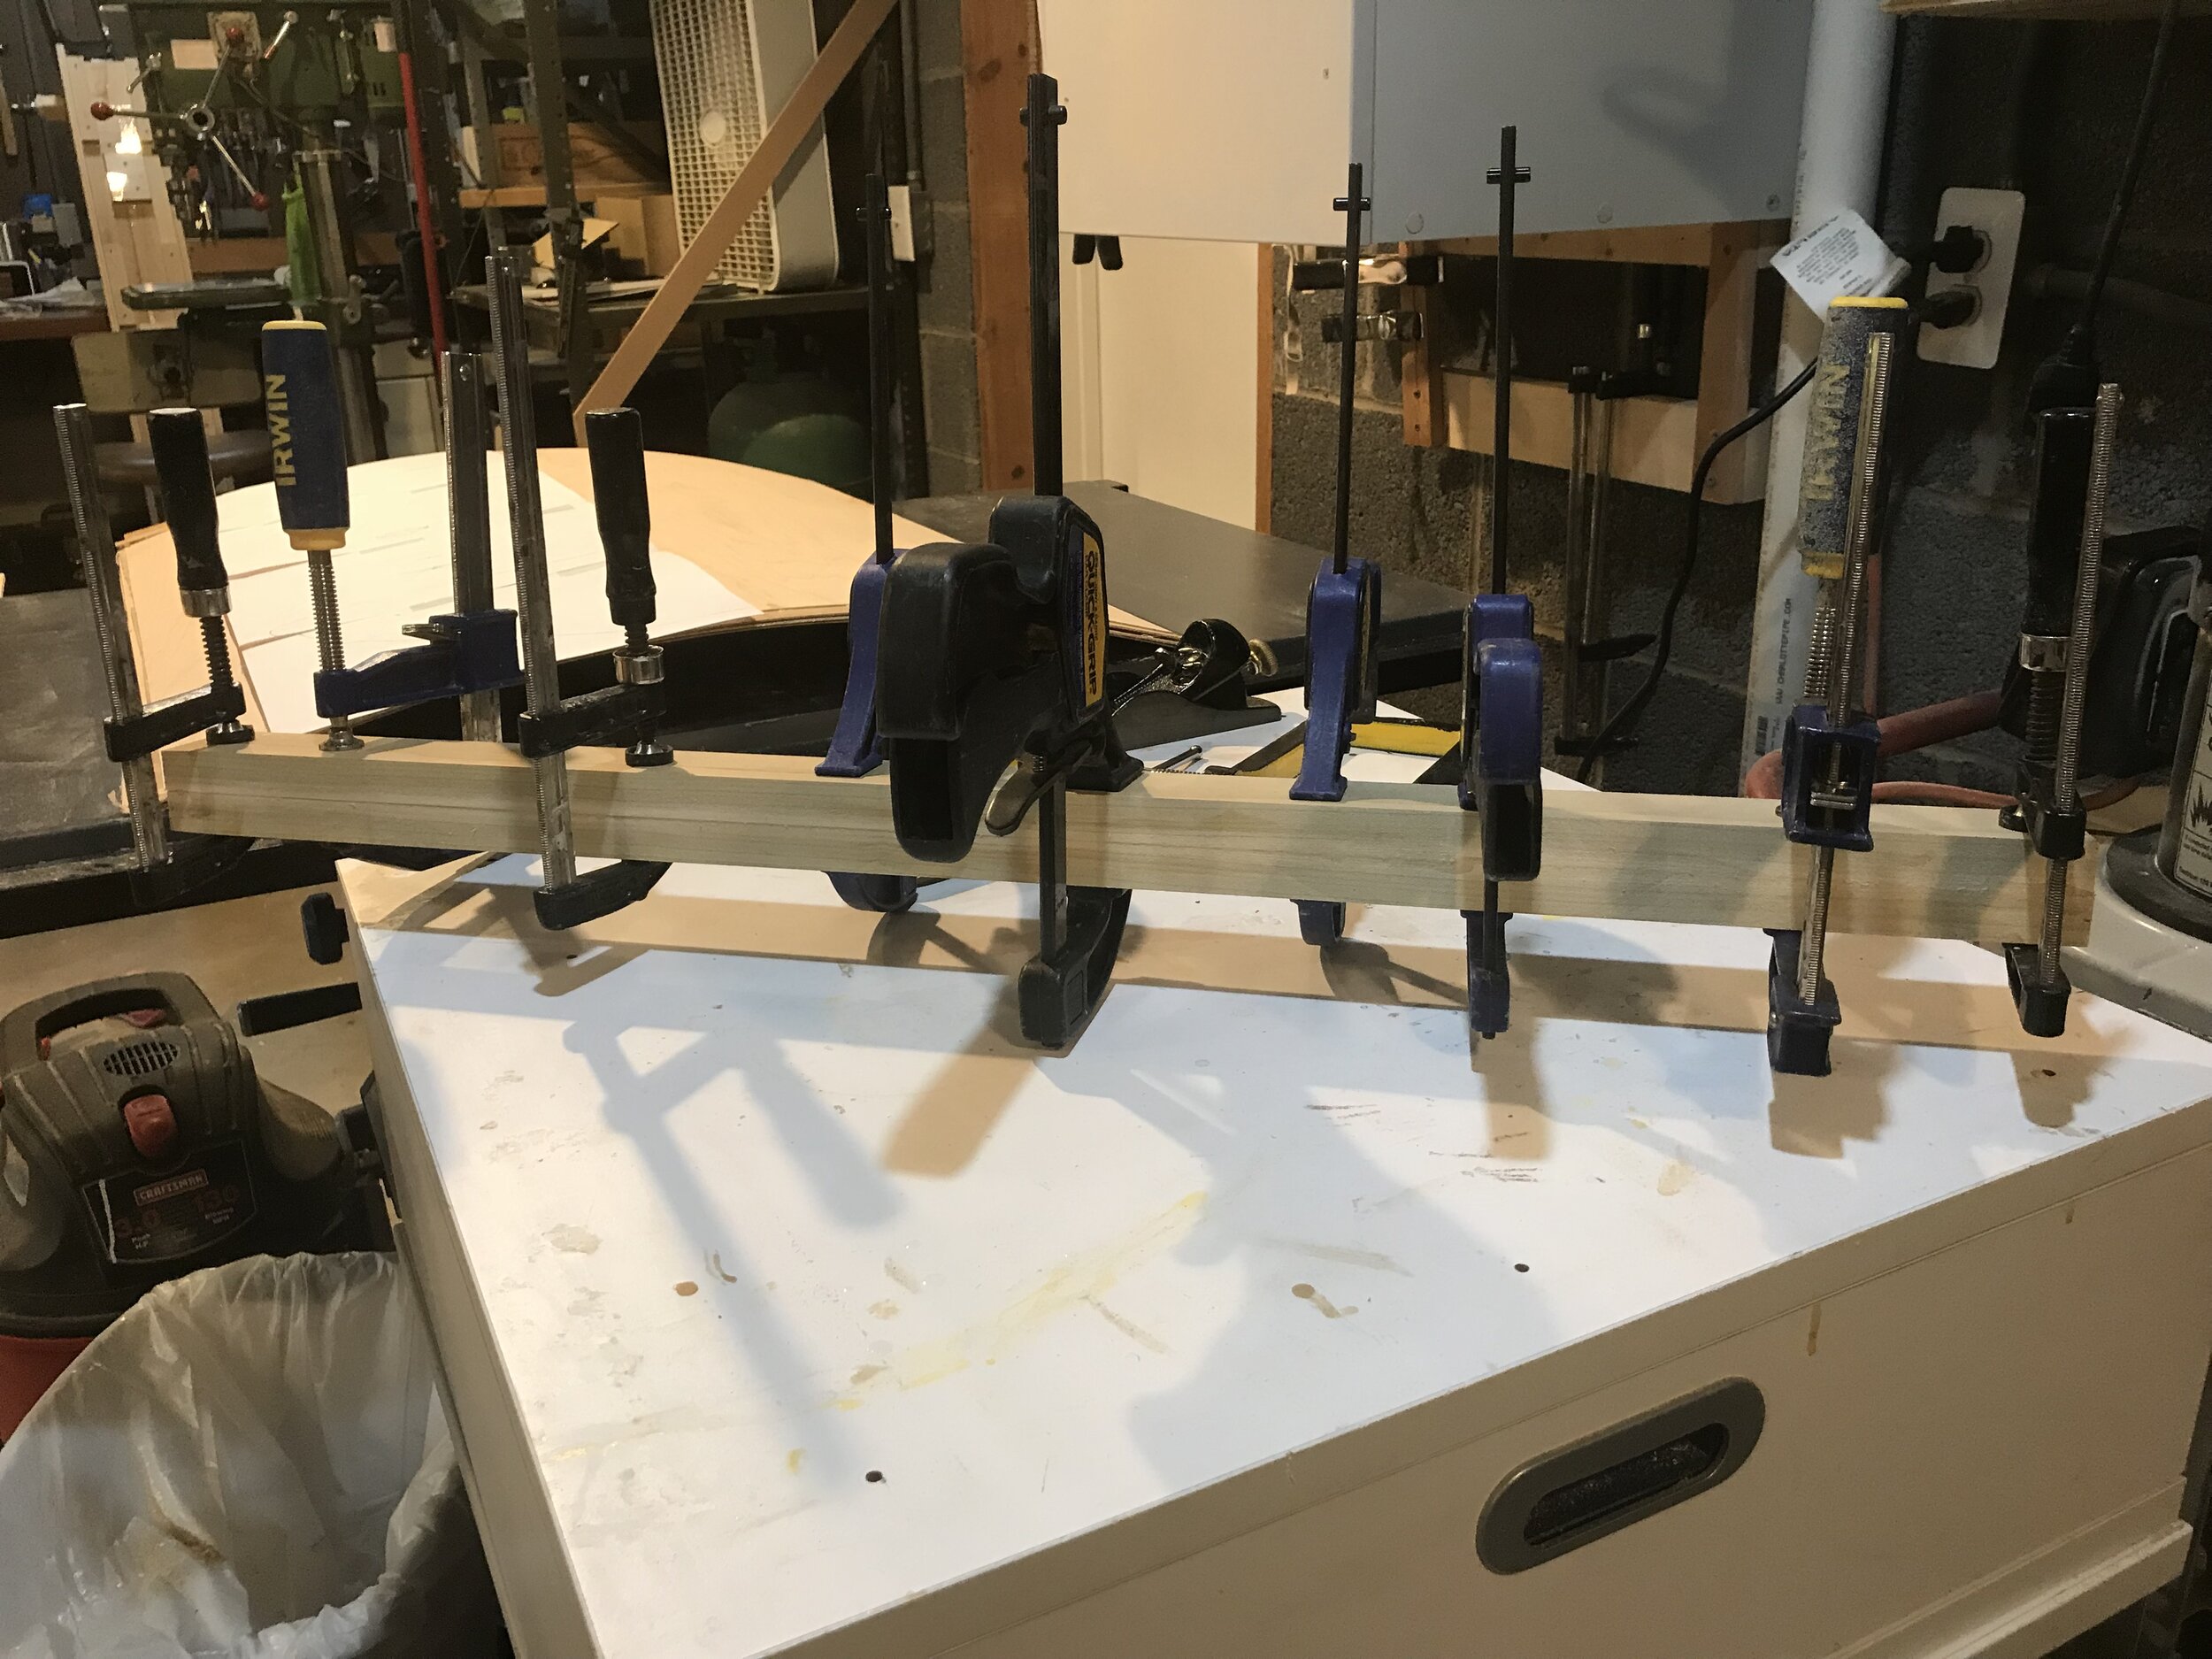
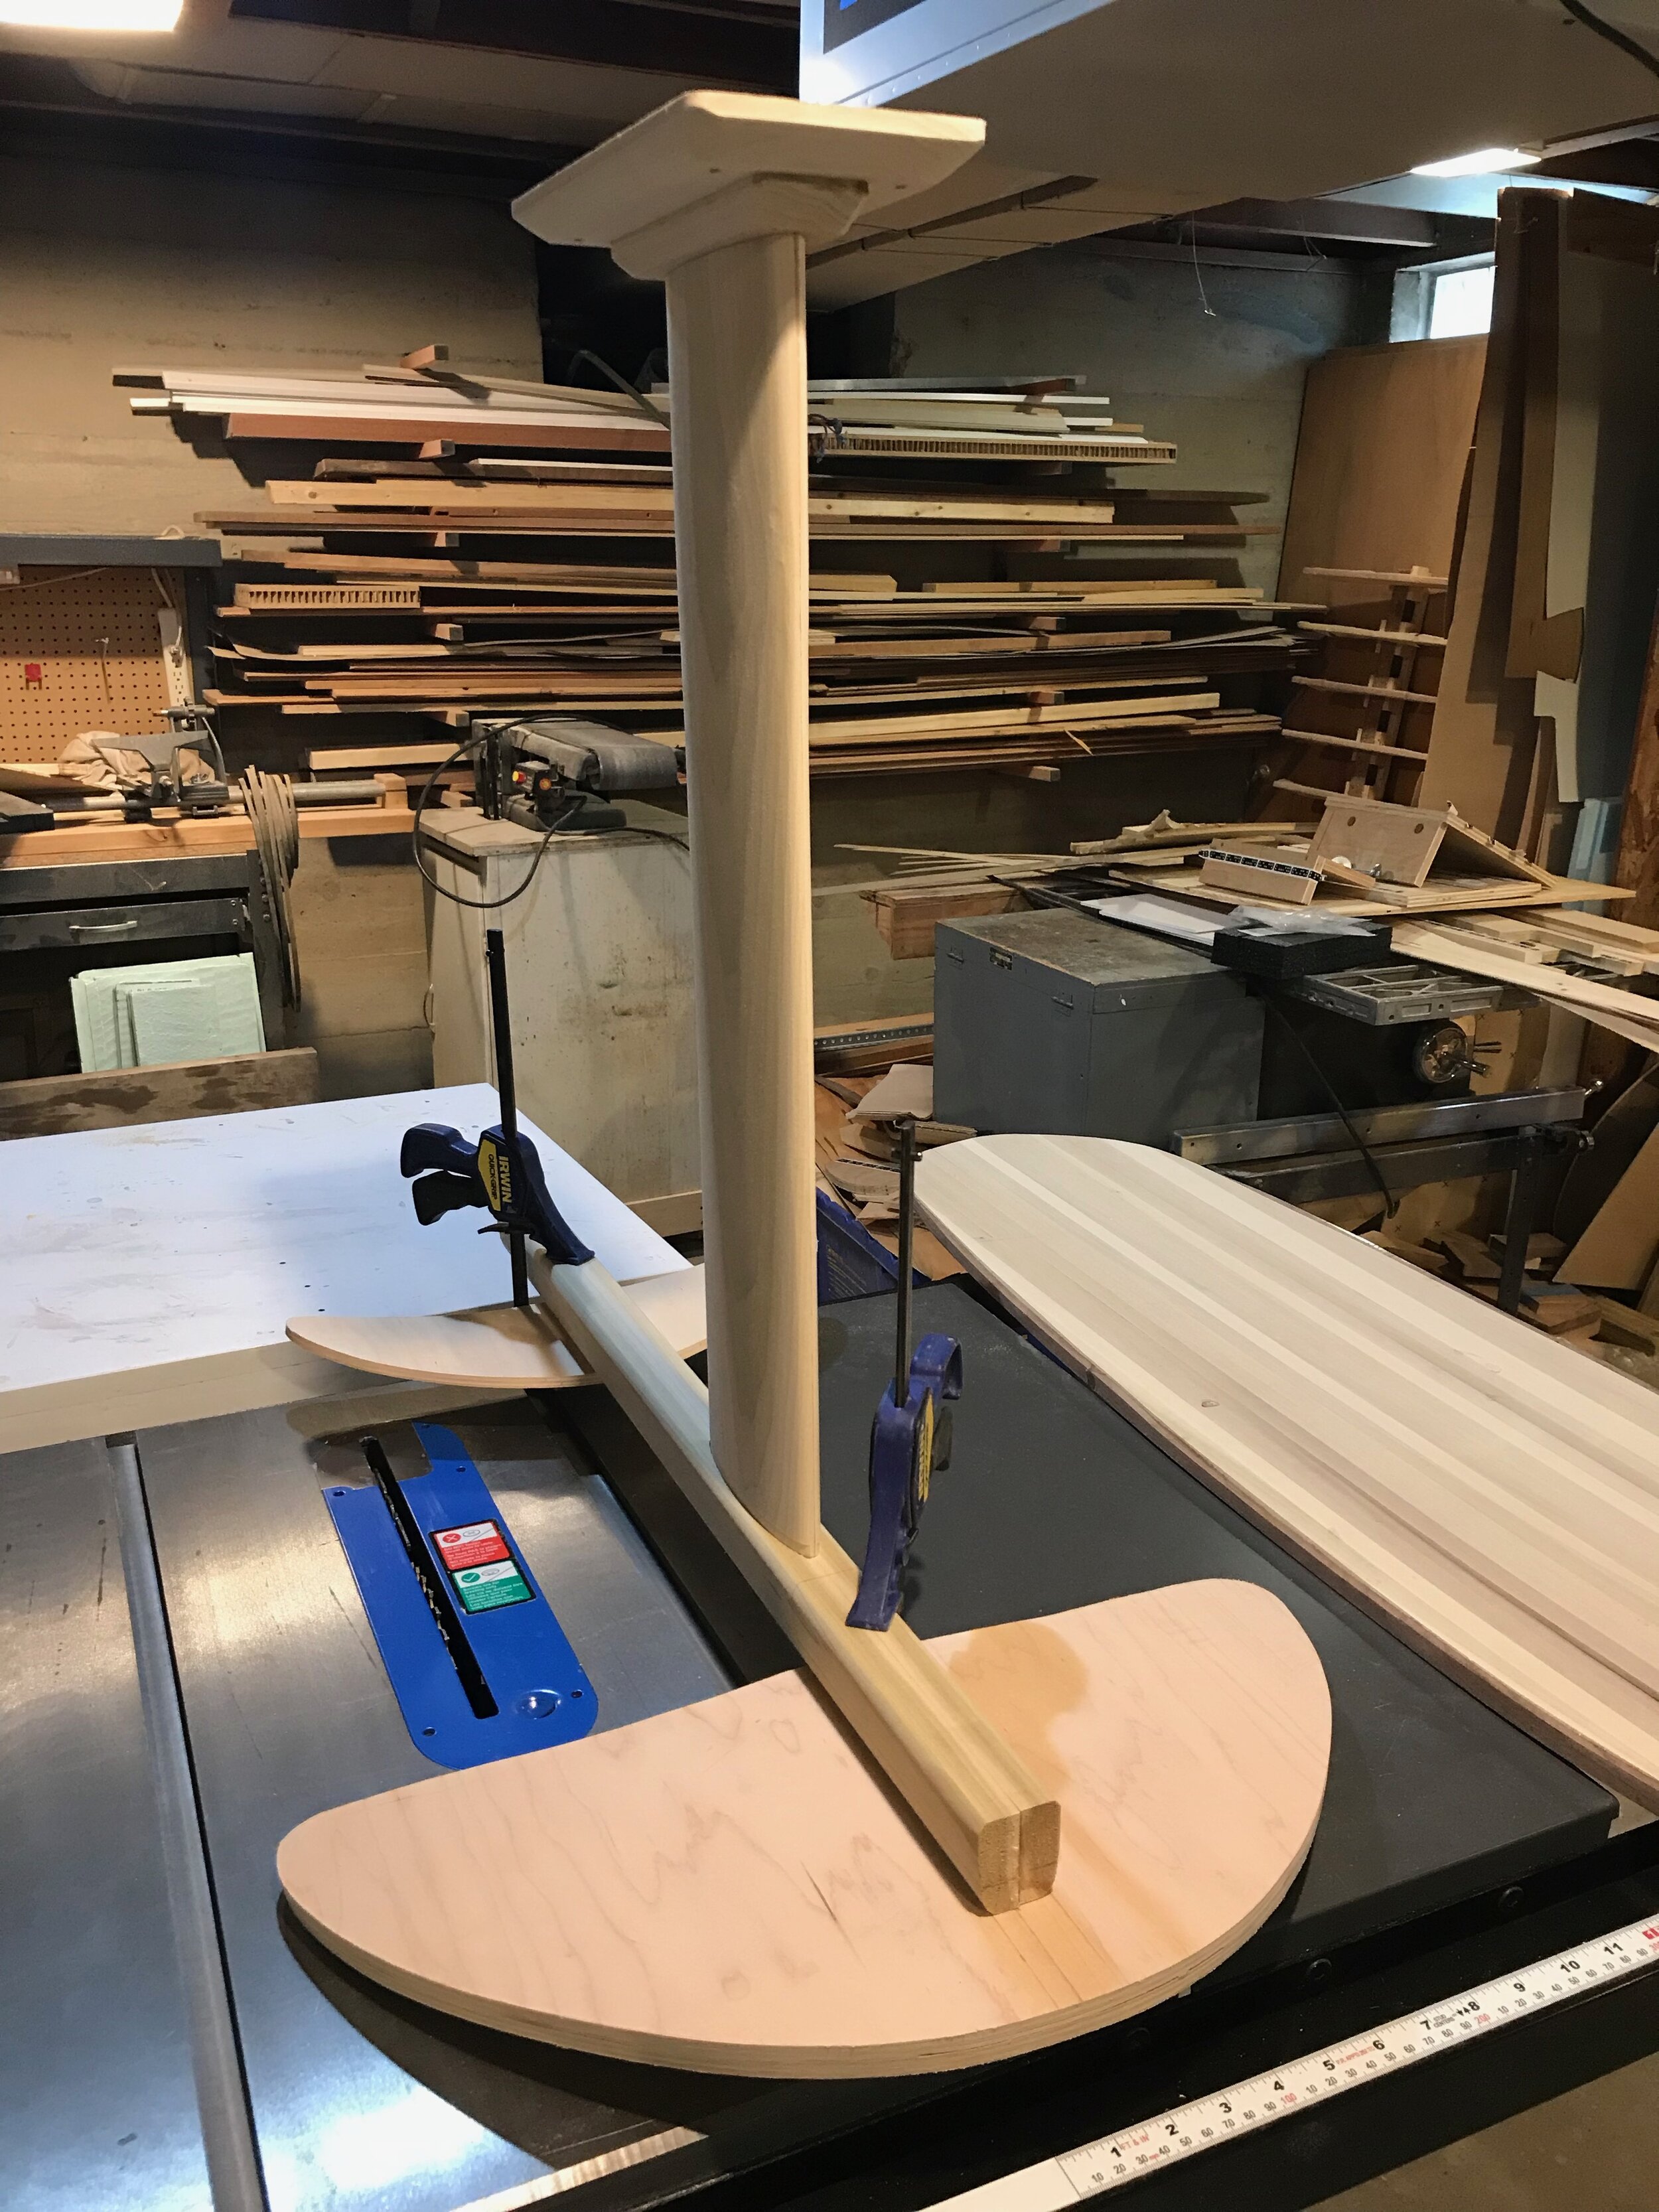
Pressing the Board
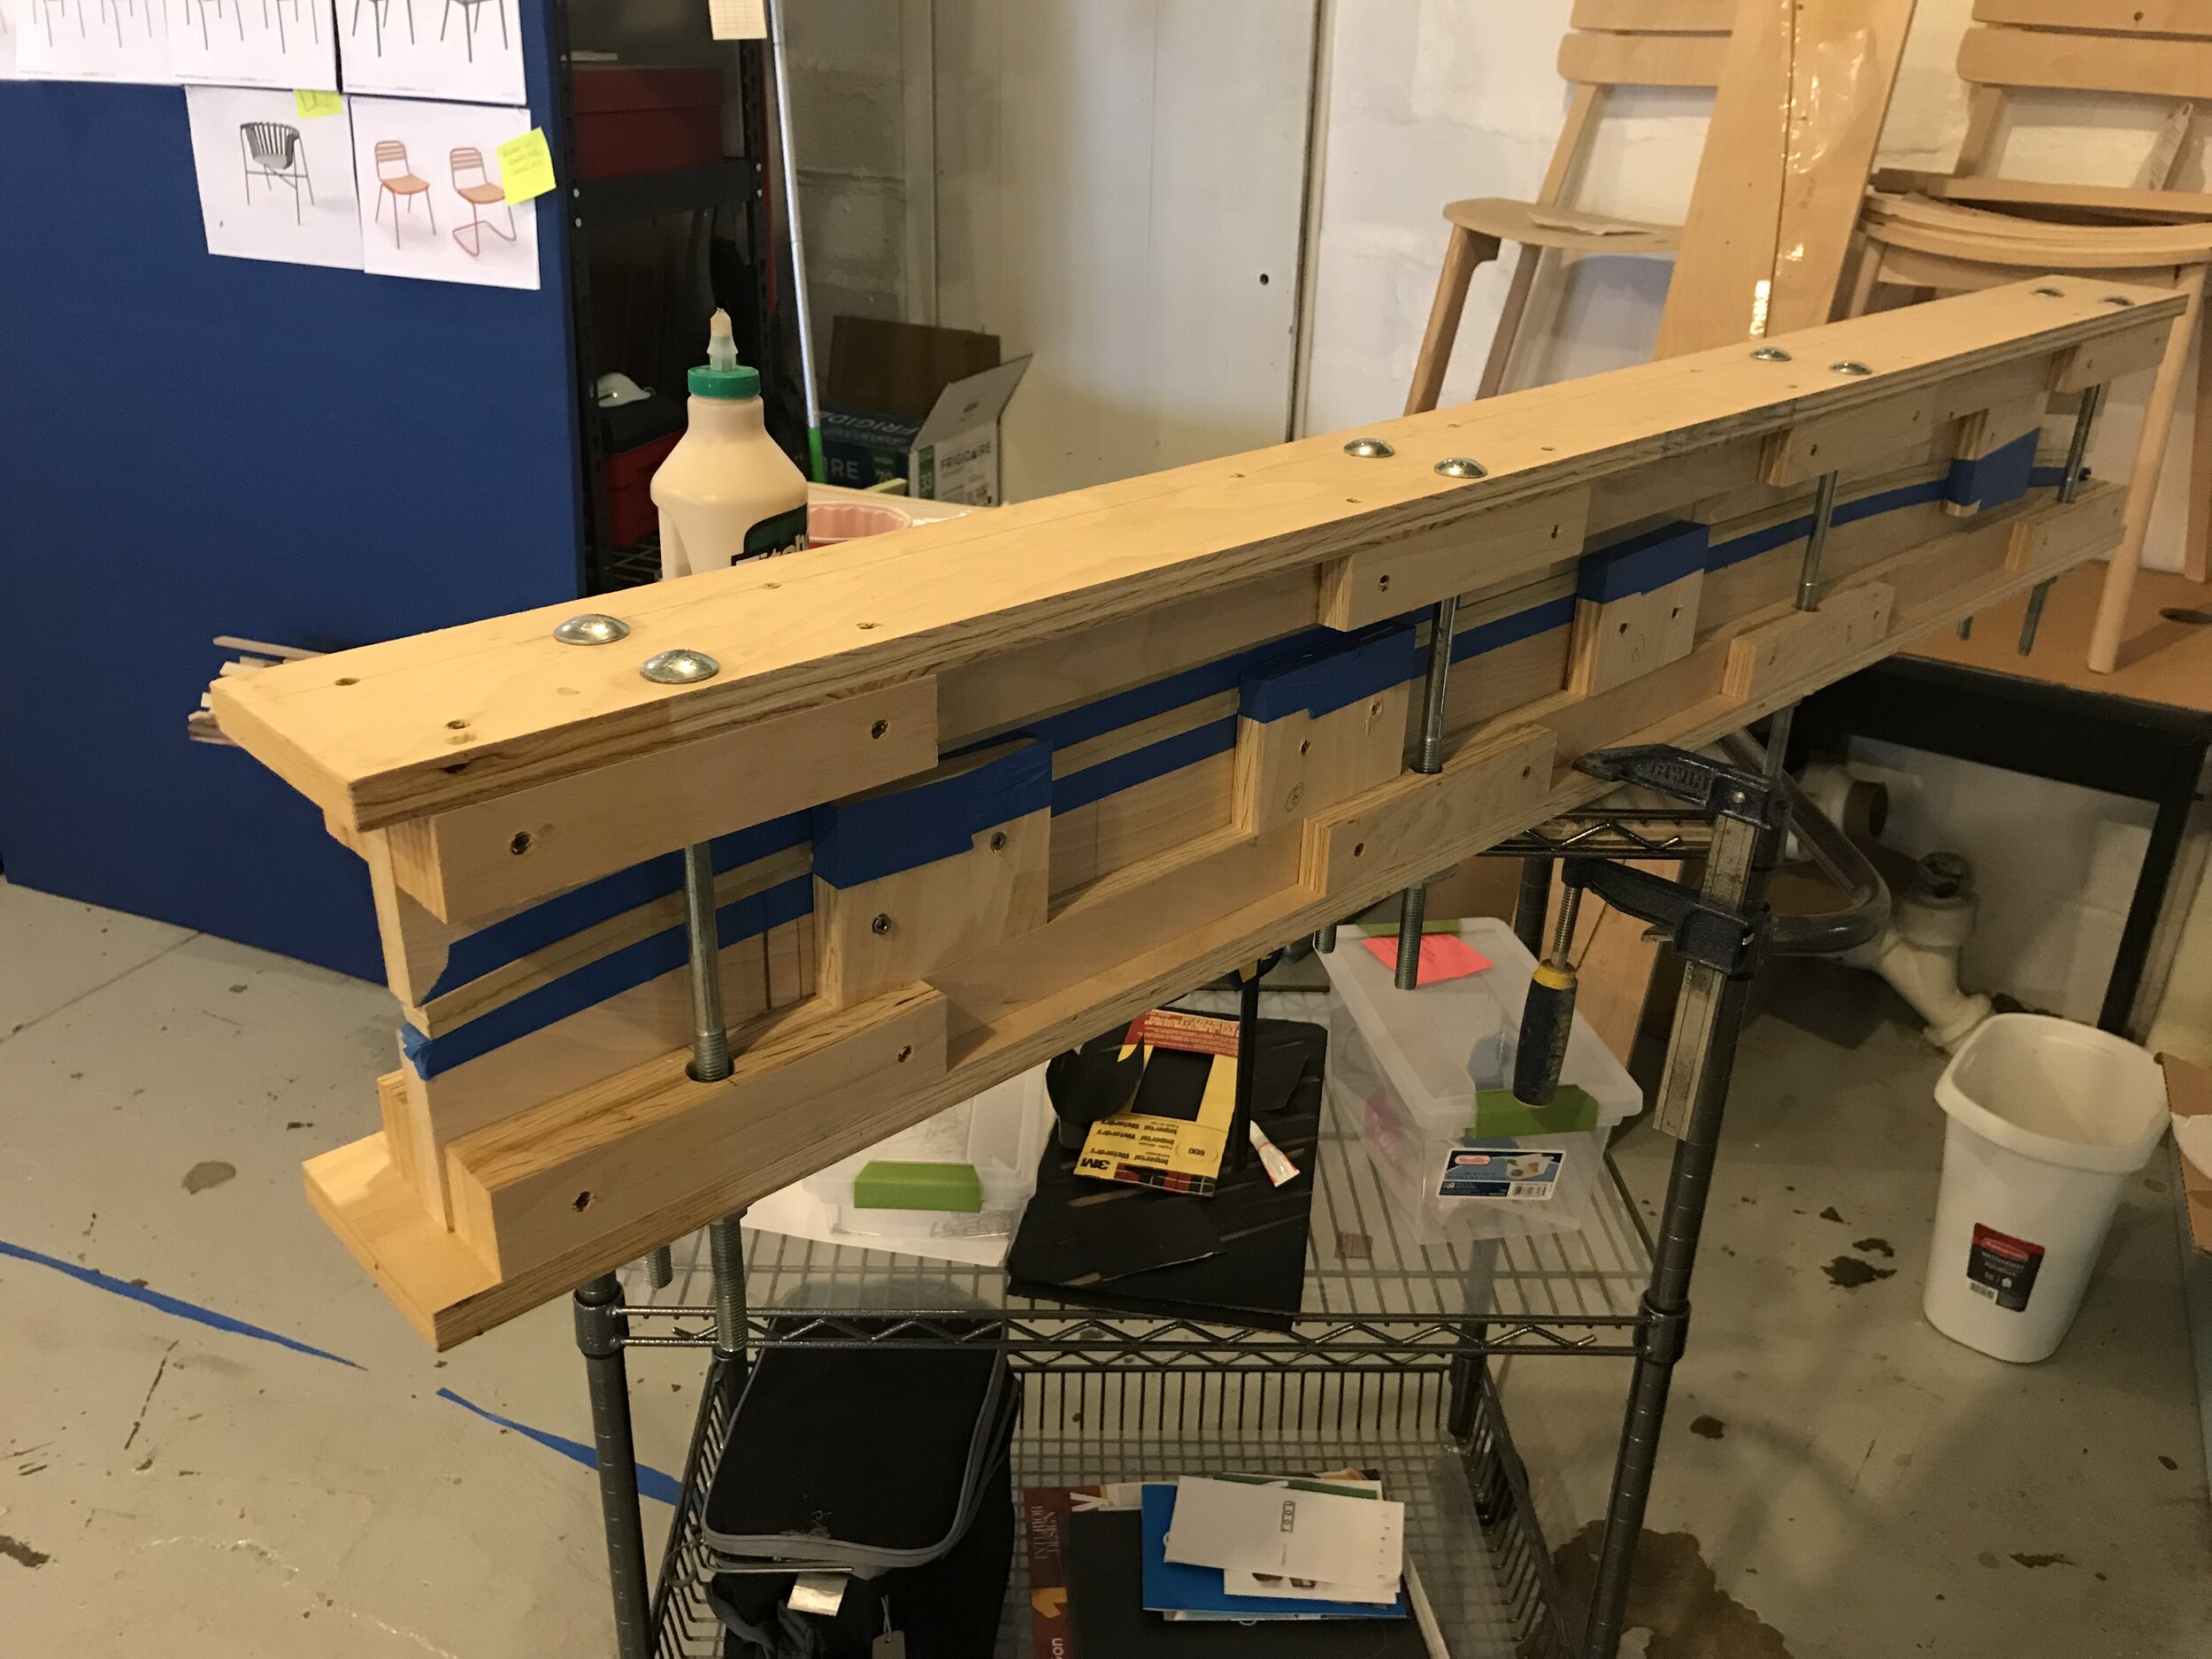
Shaping the Board
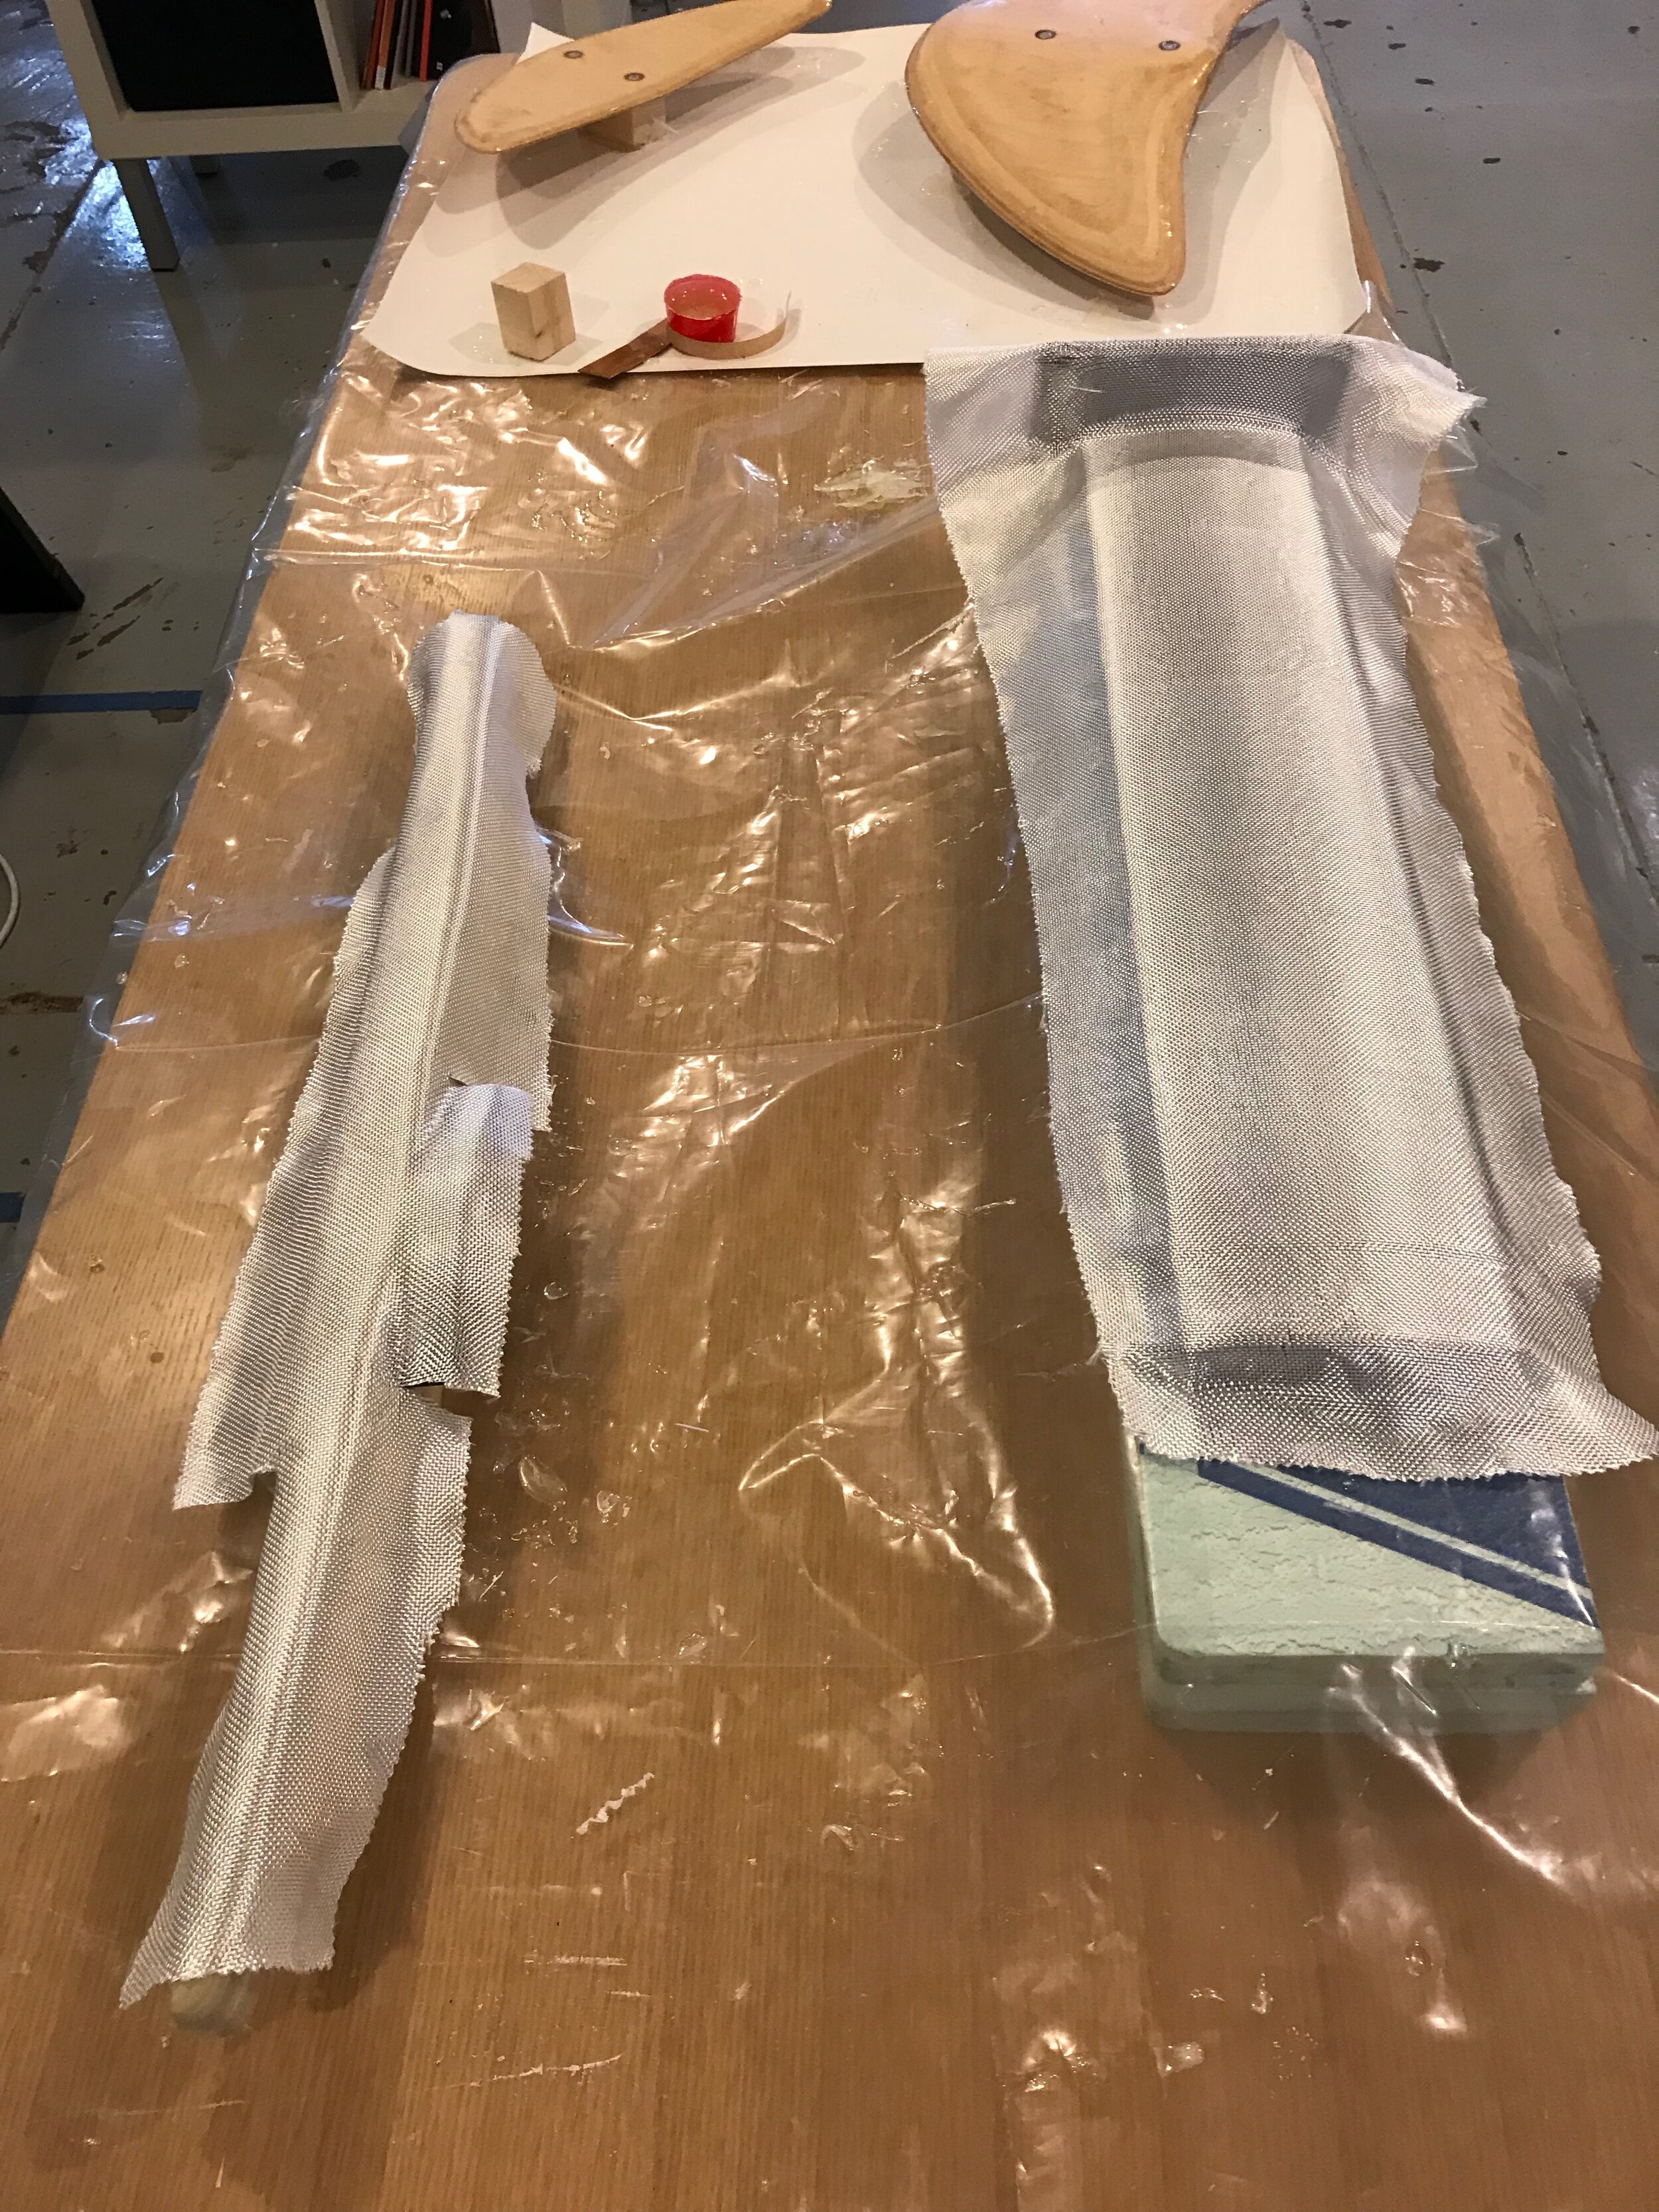
Glassing the Boards

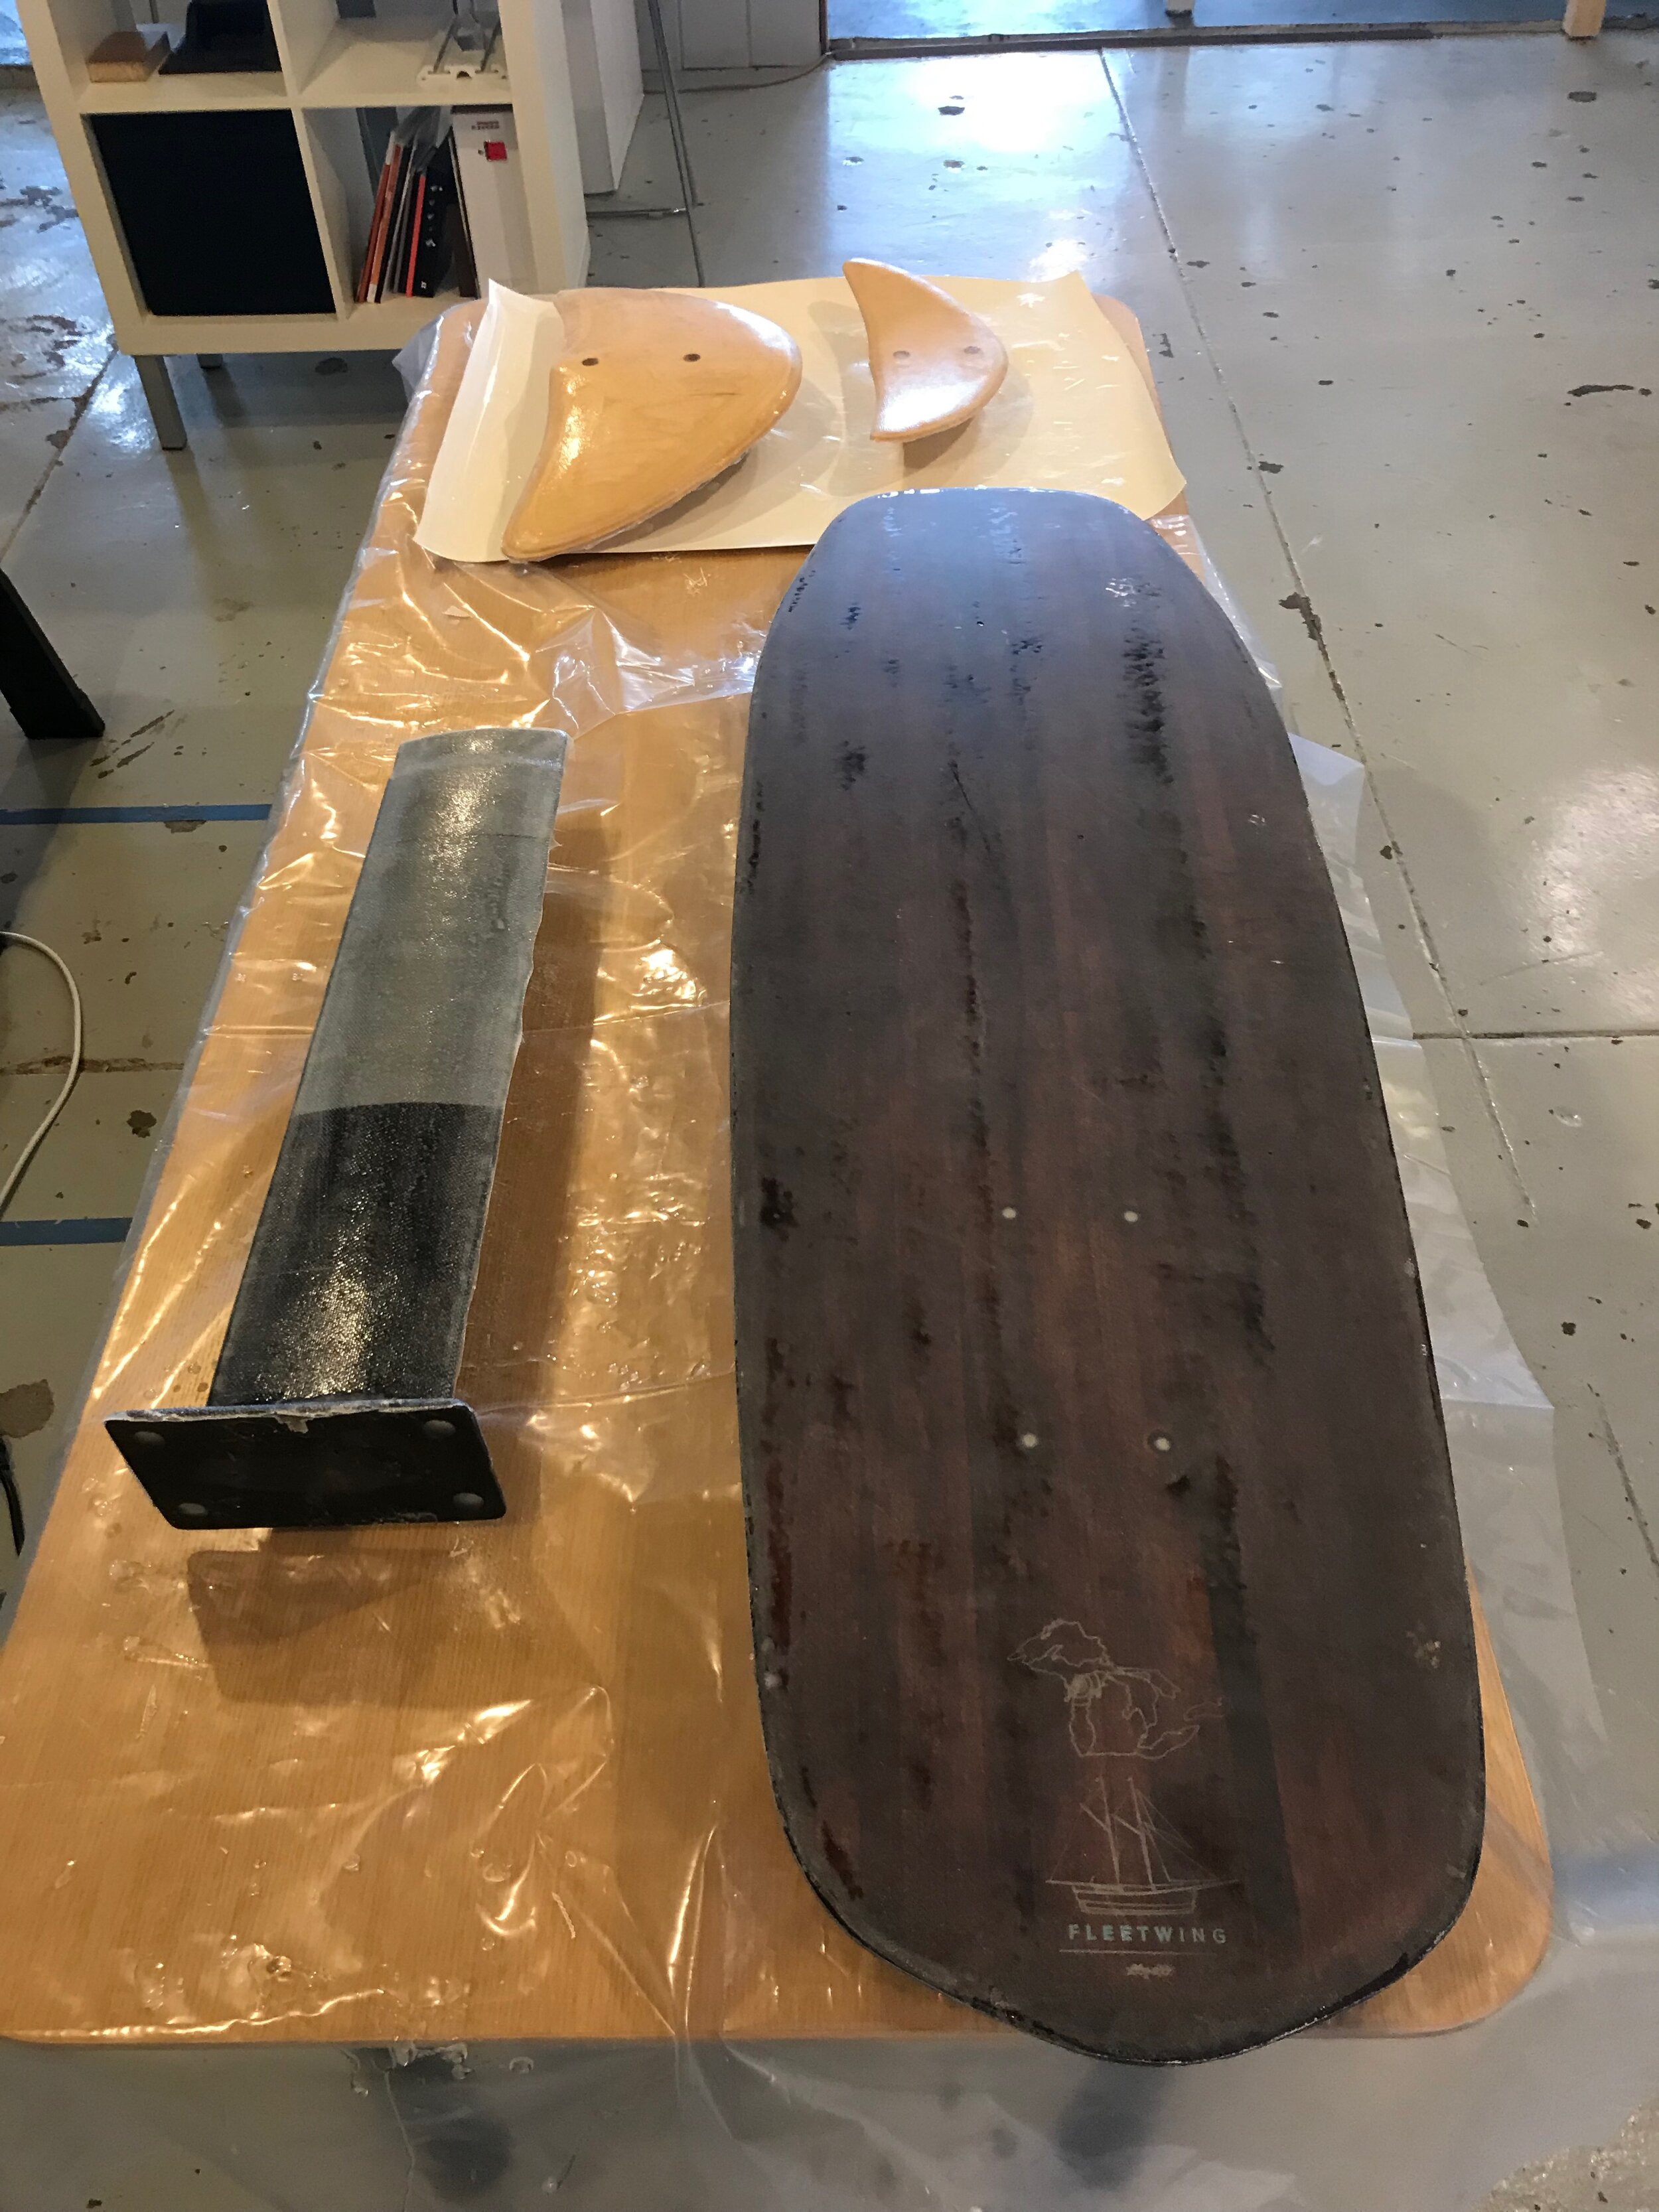
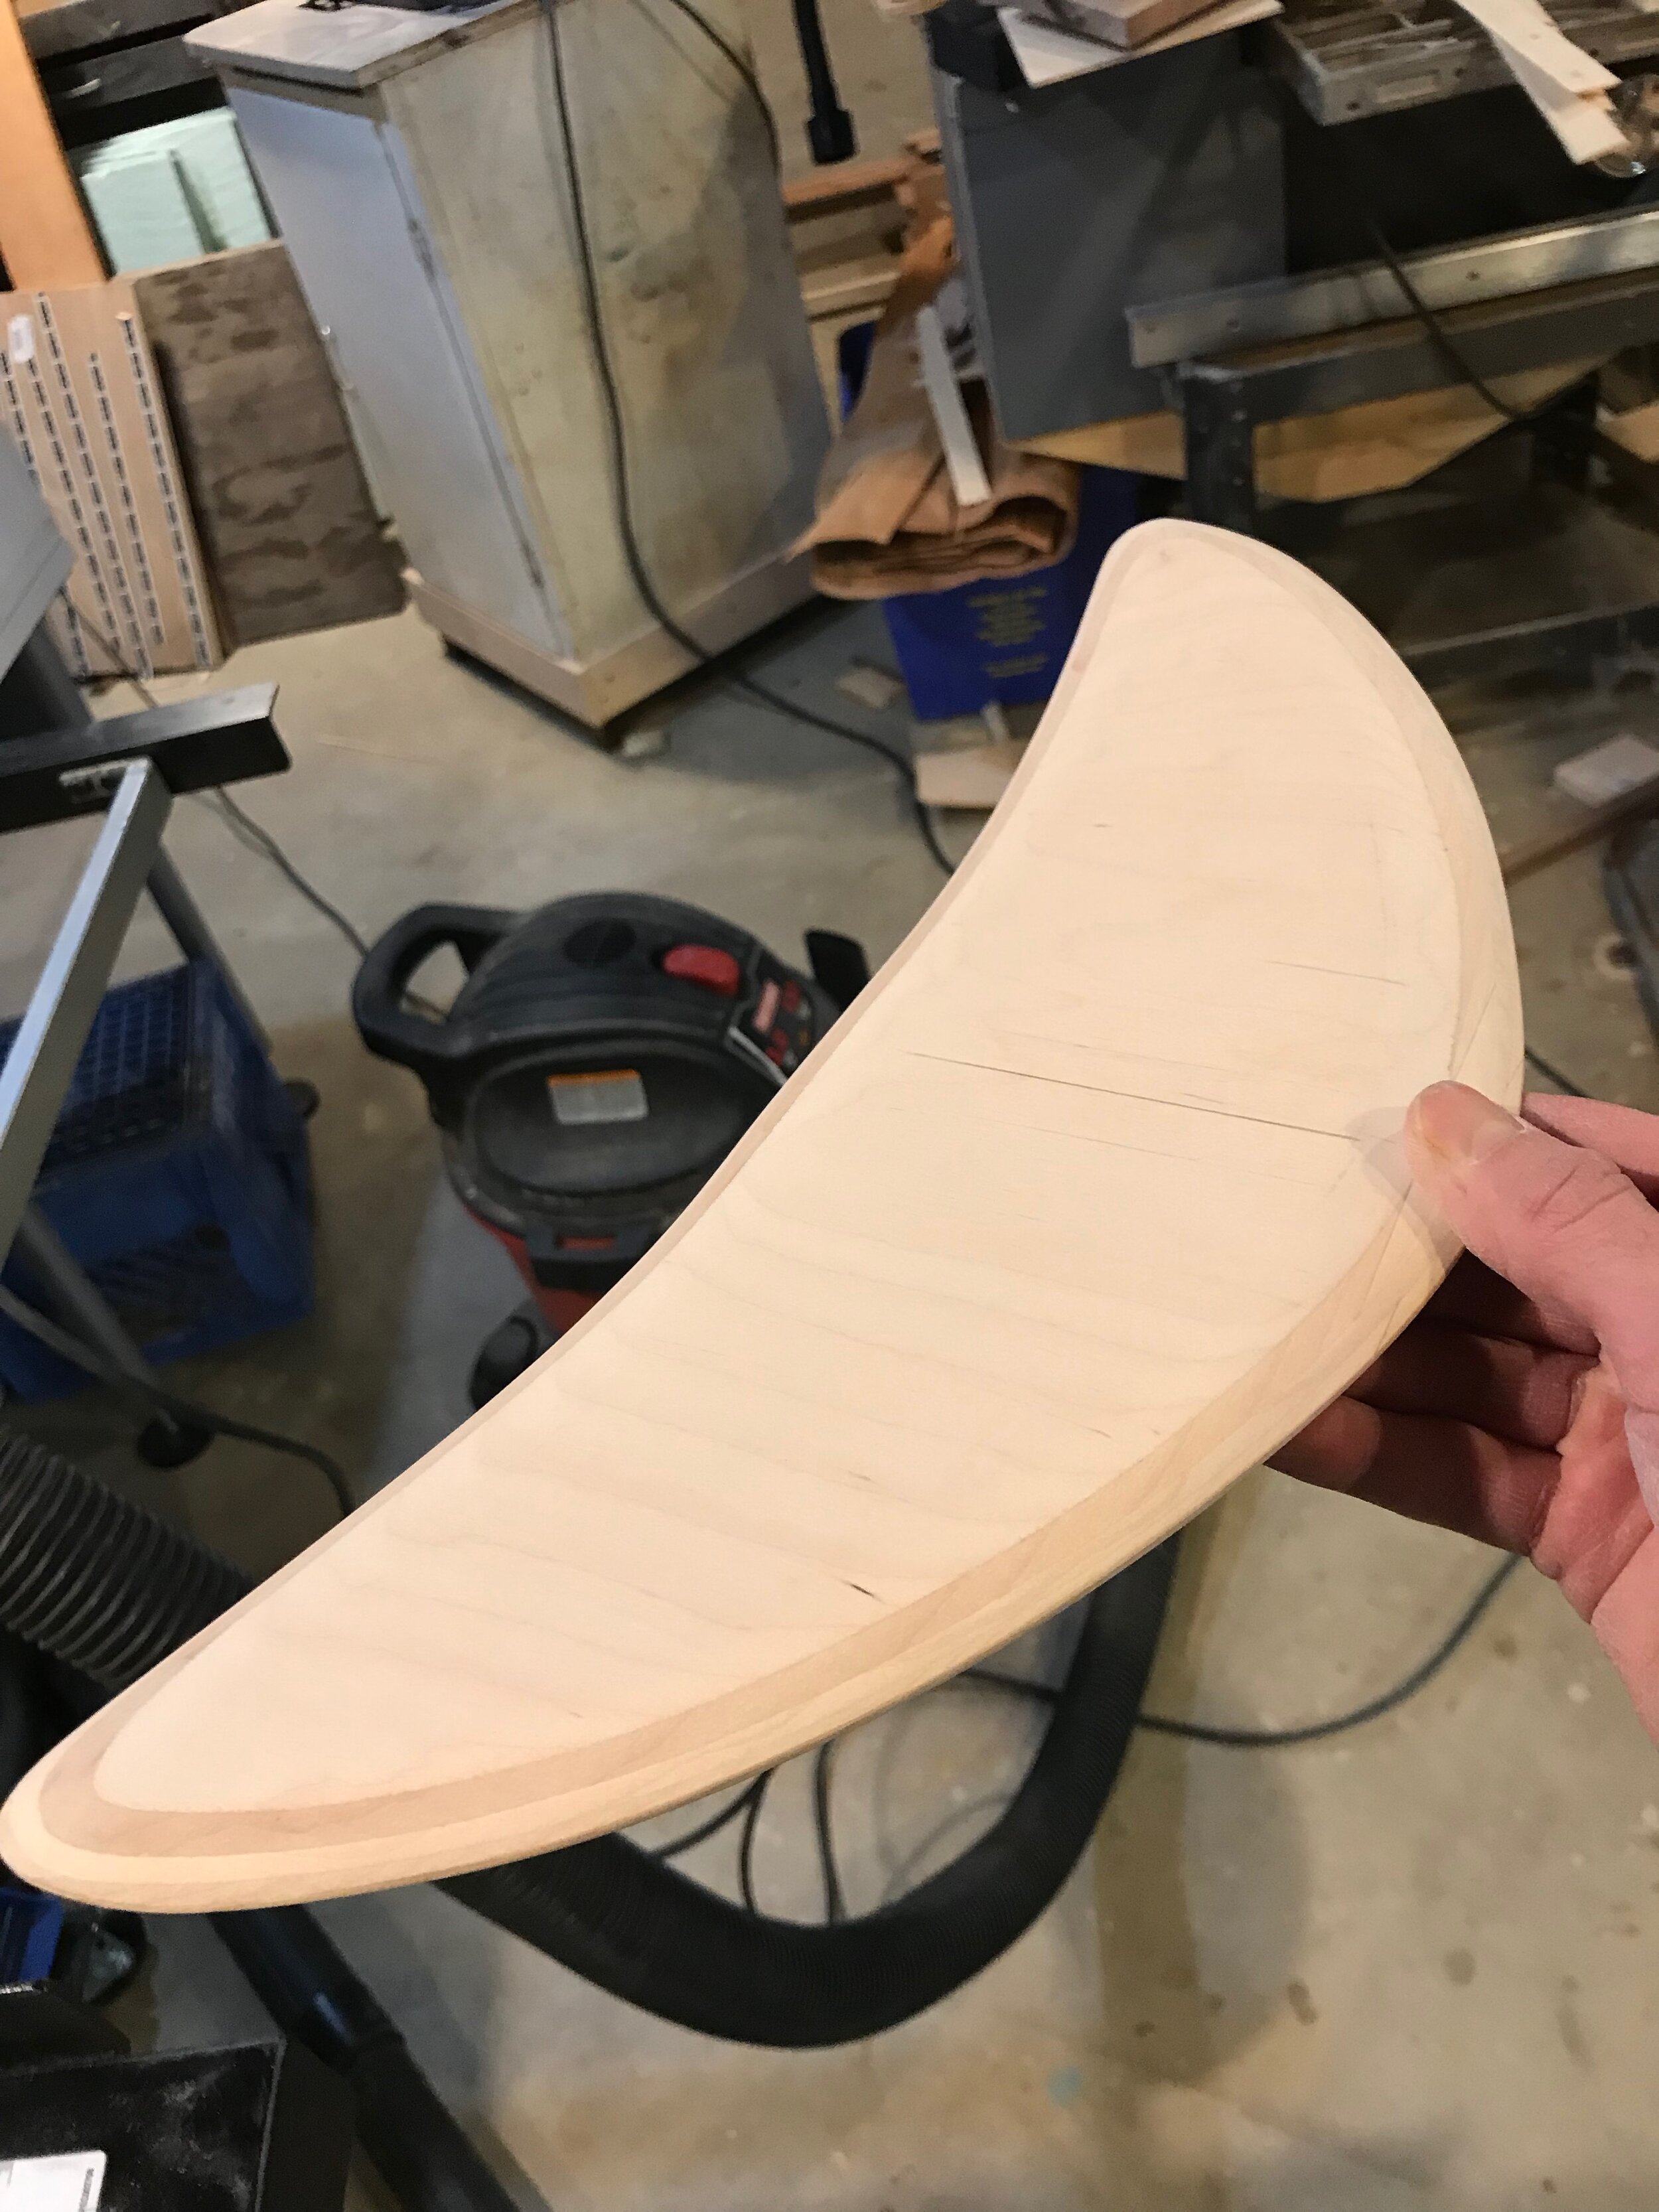
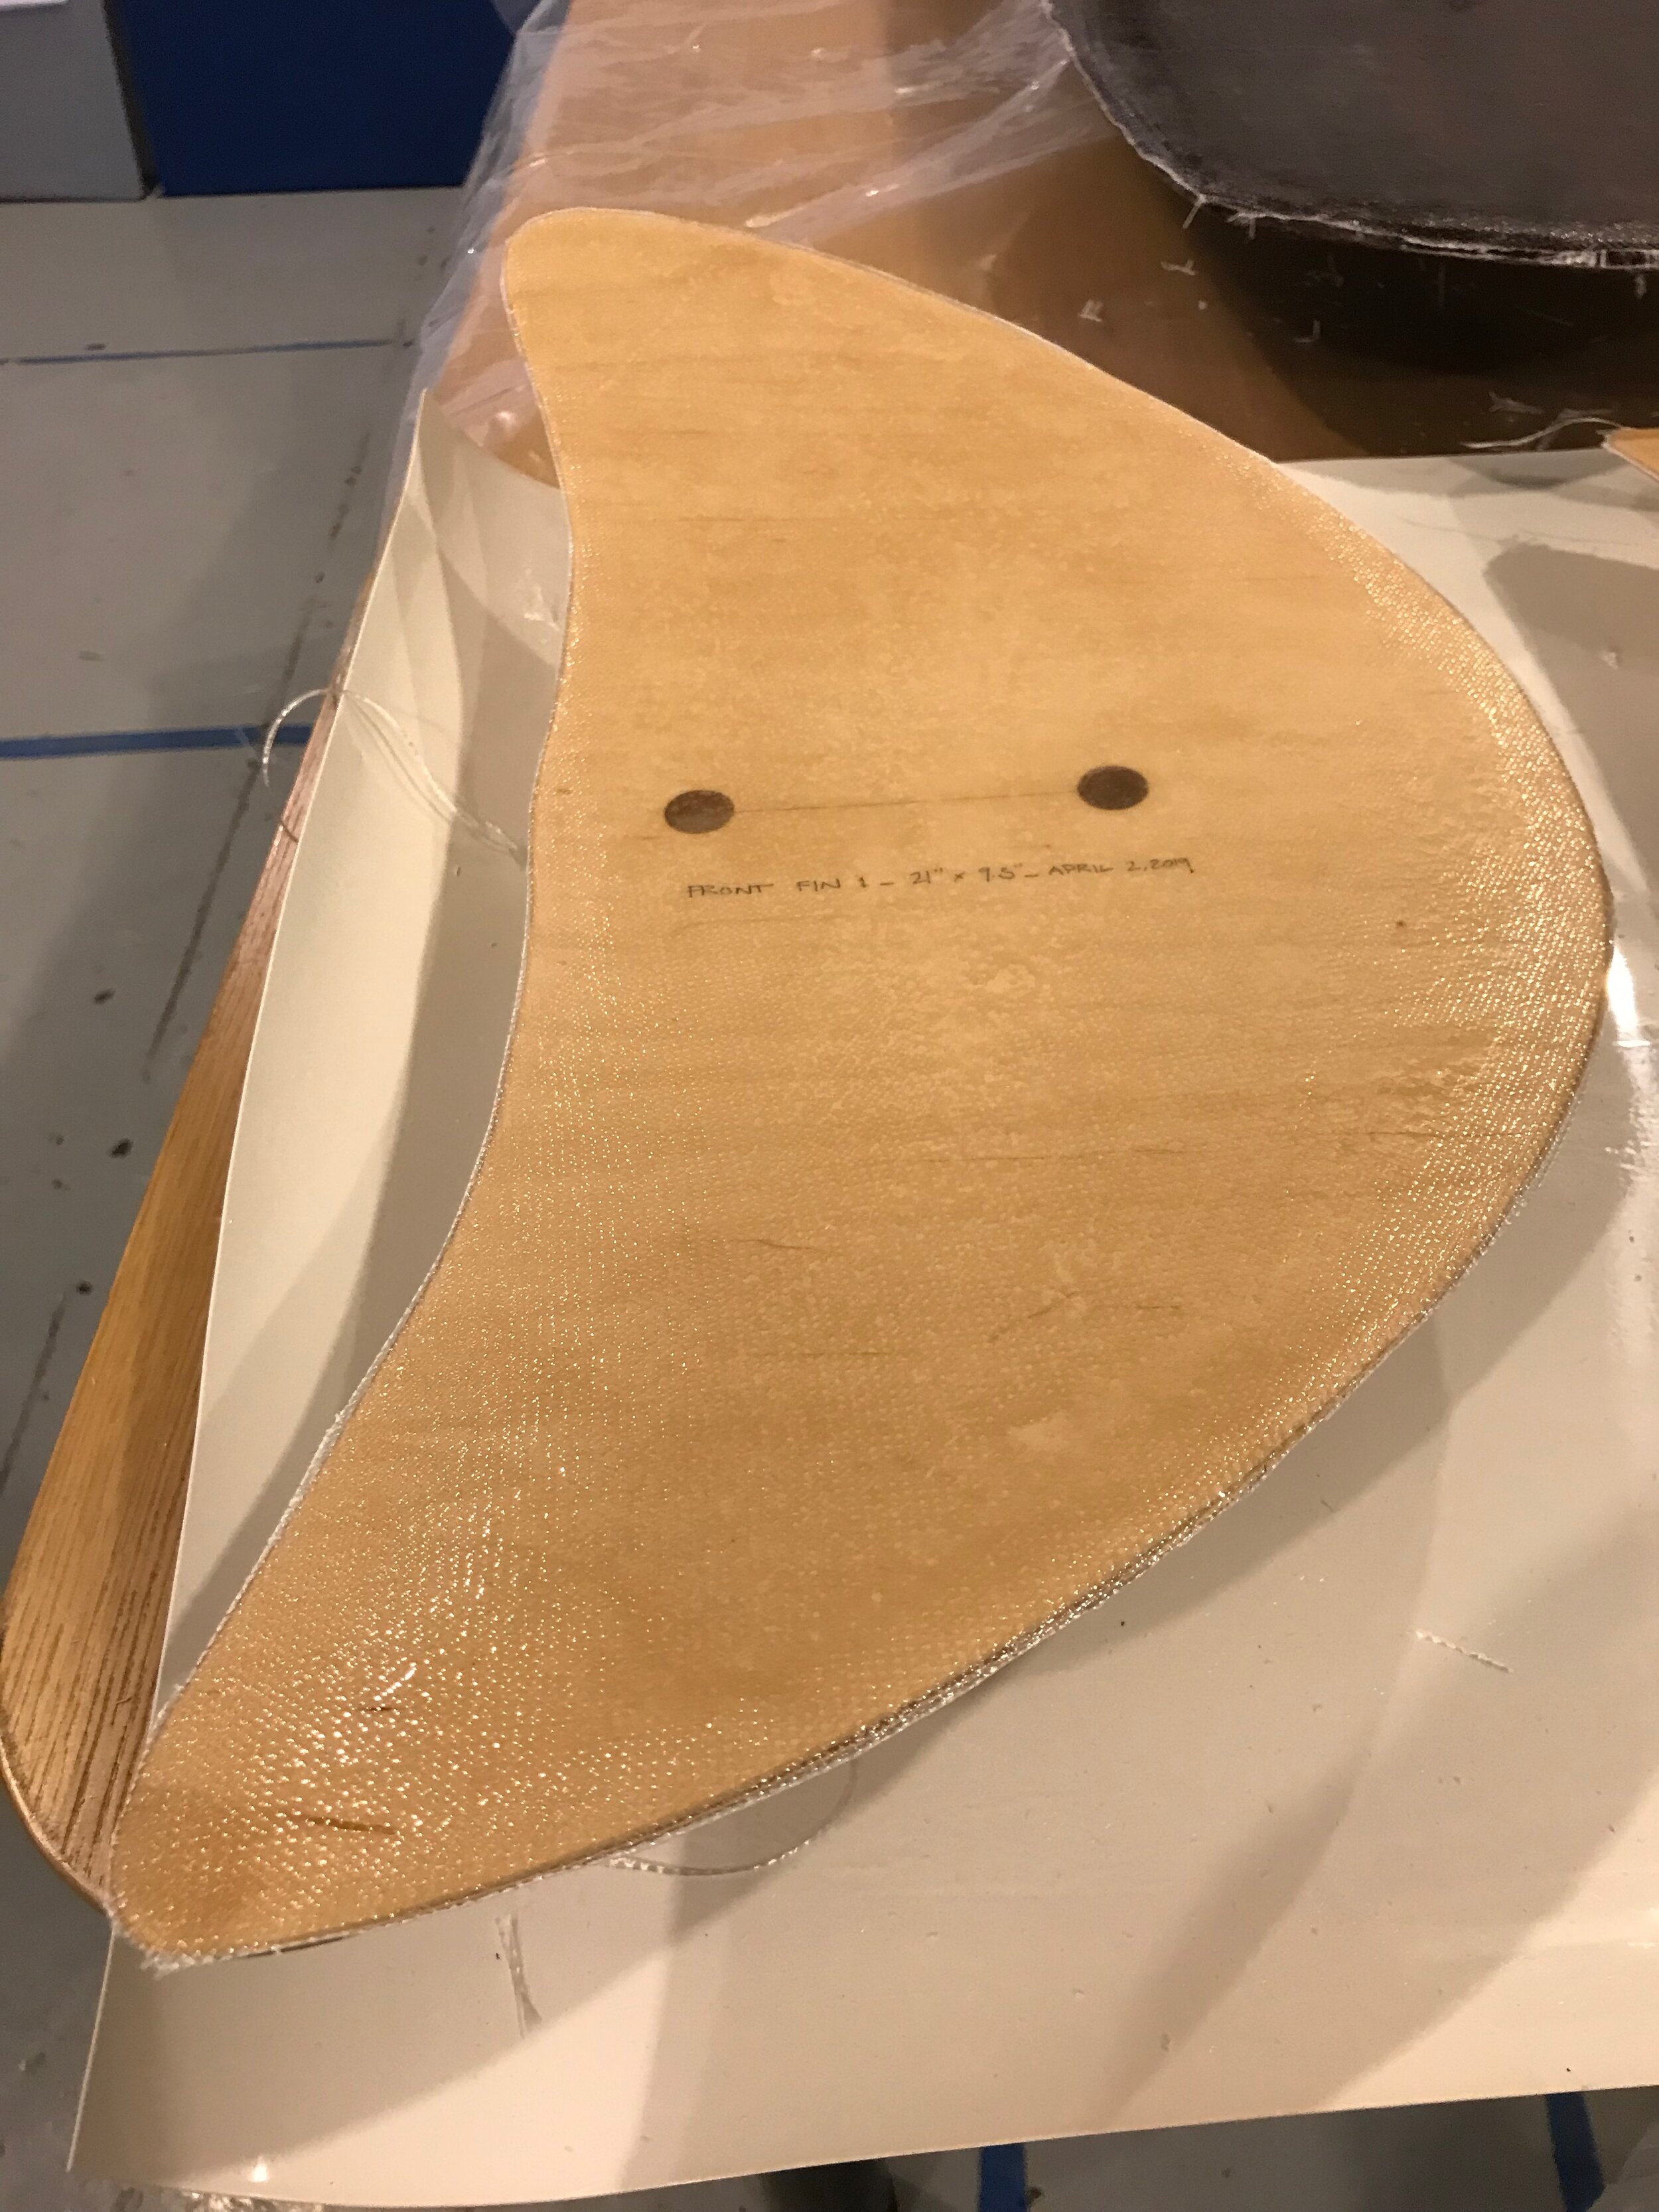
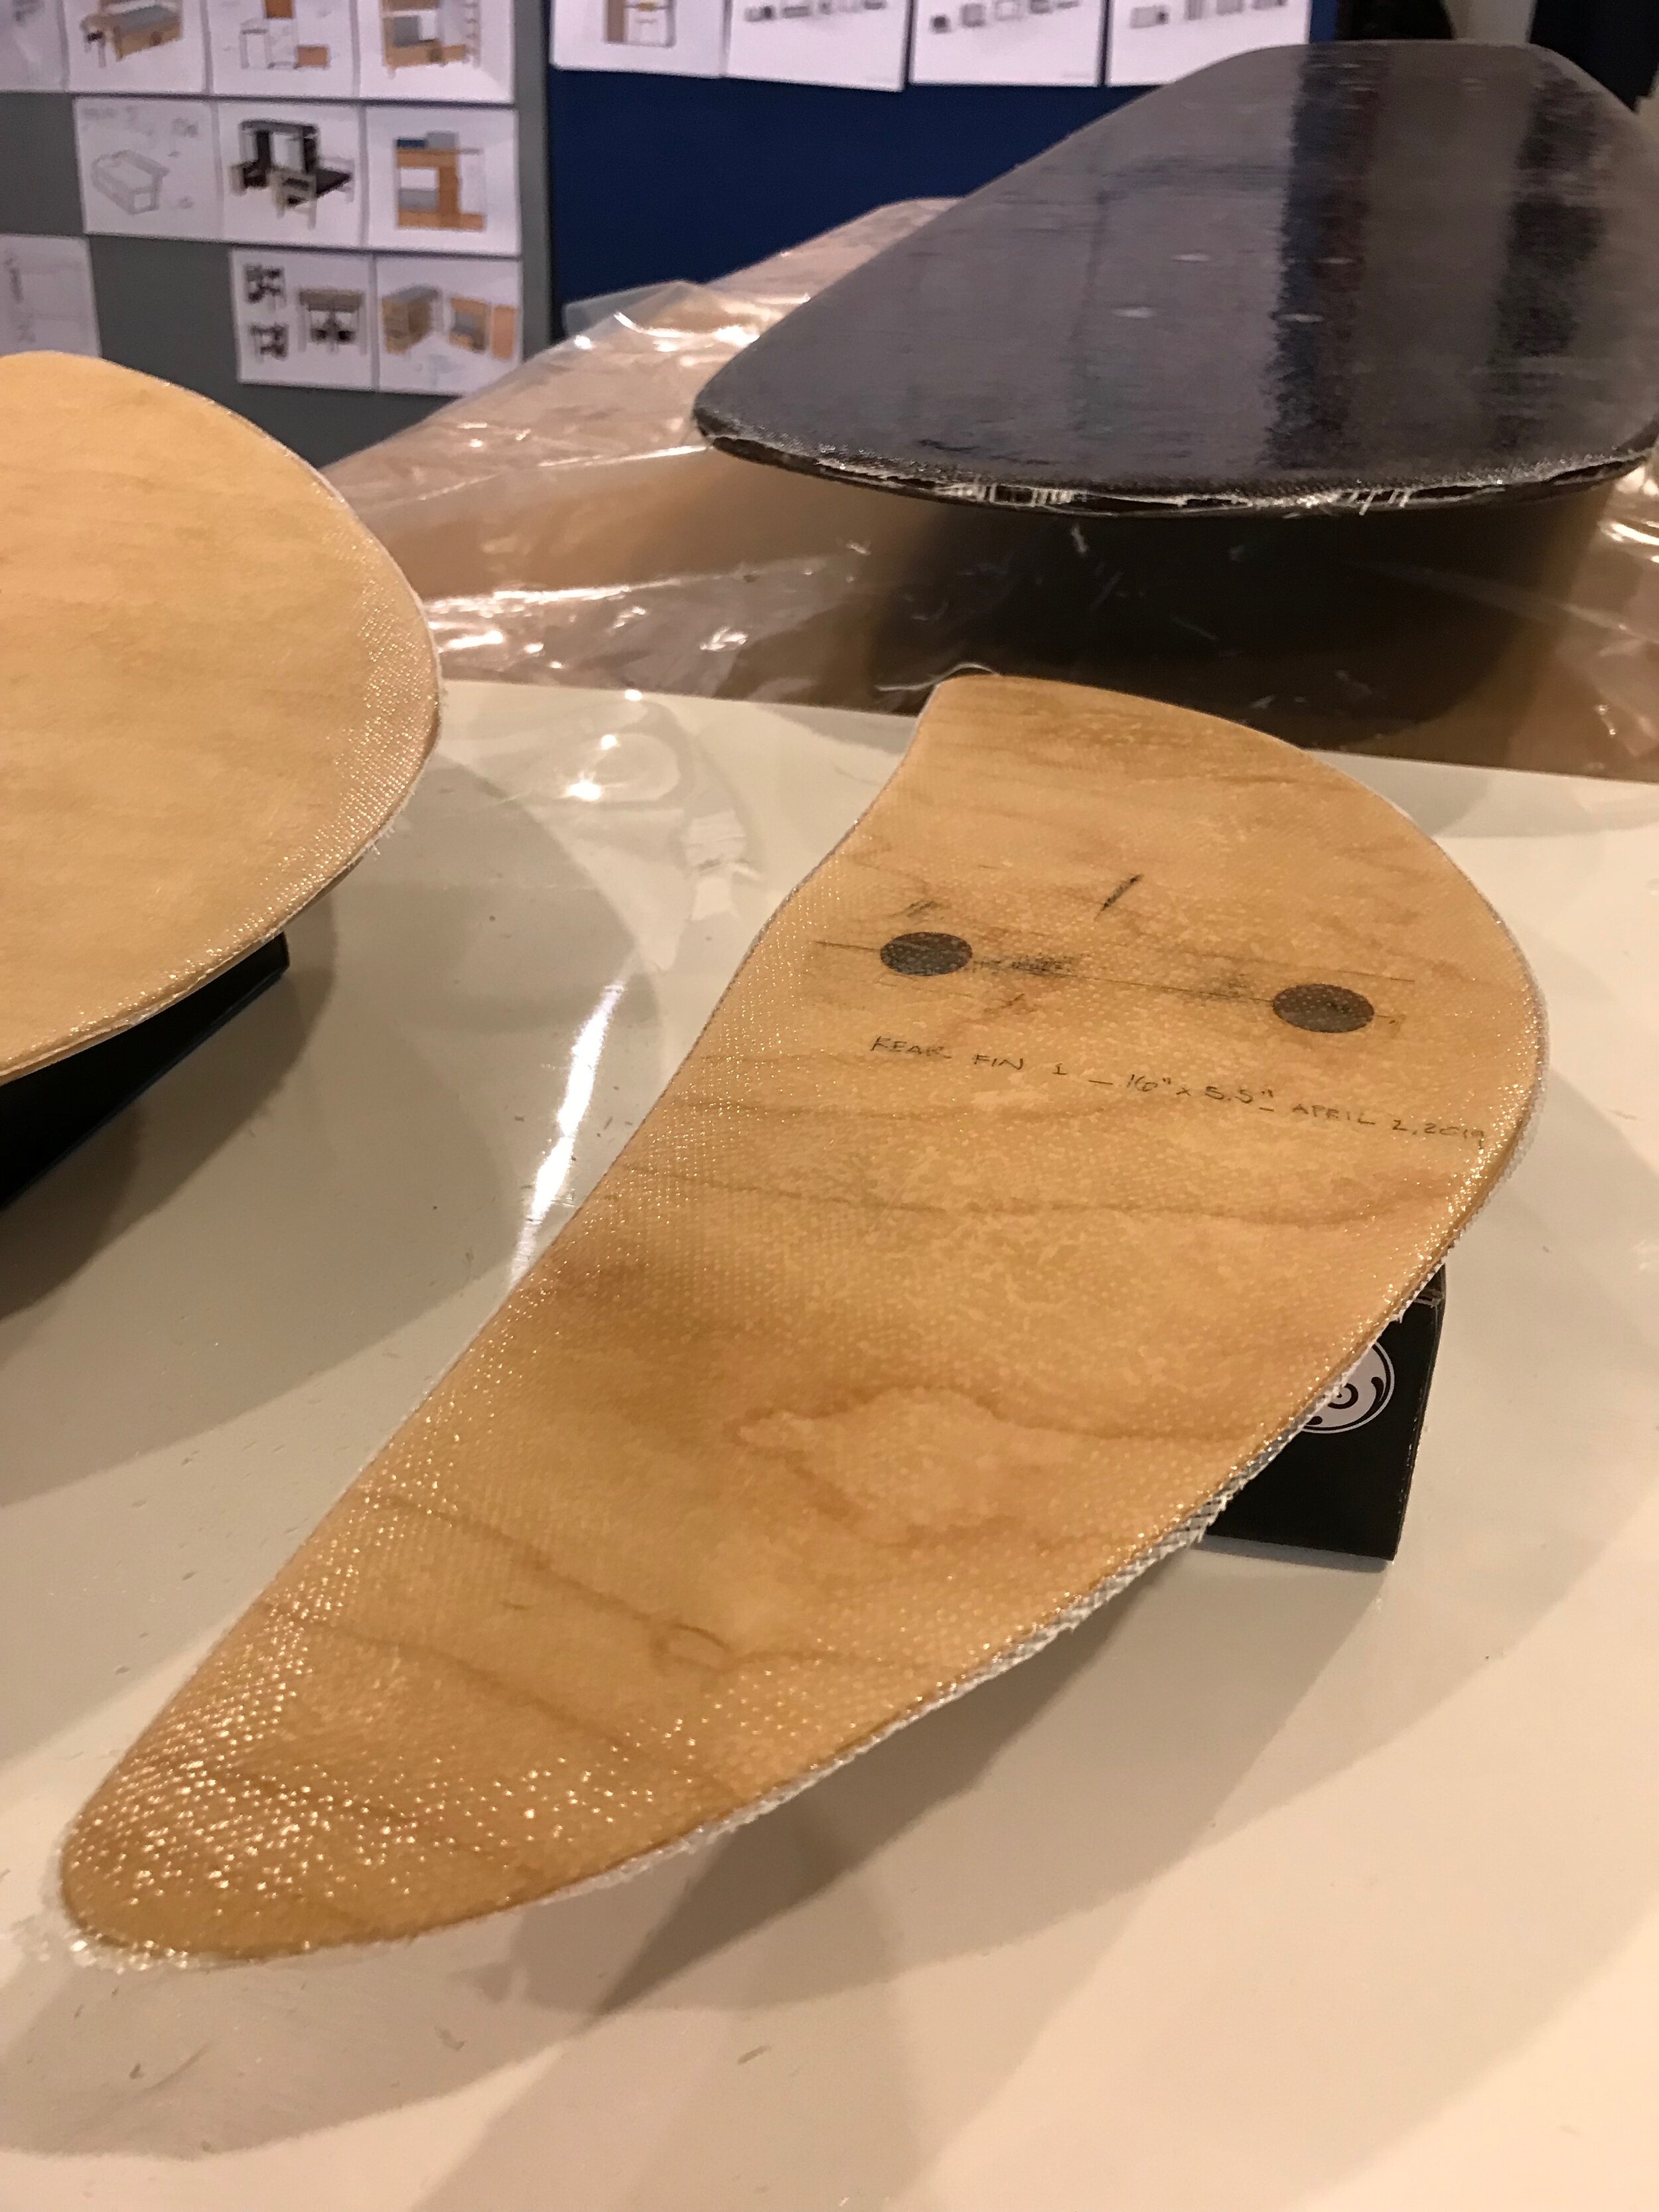
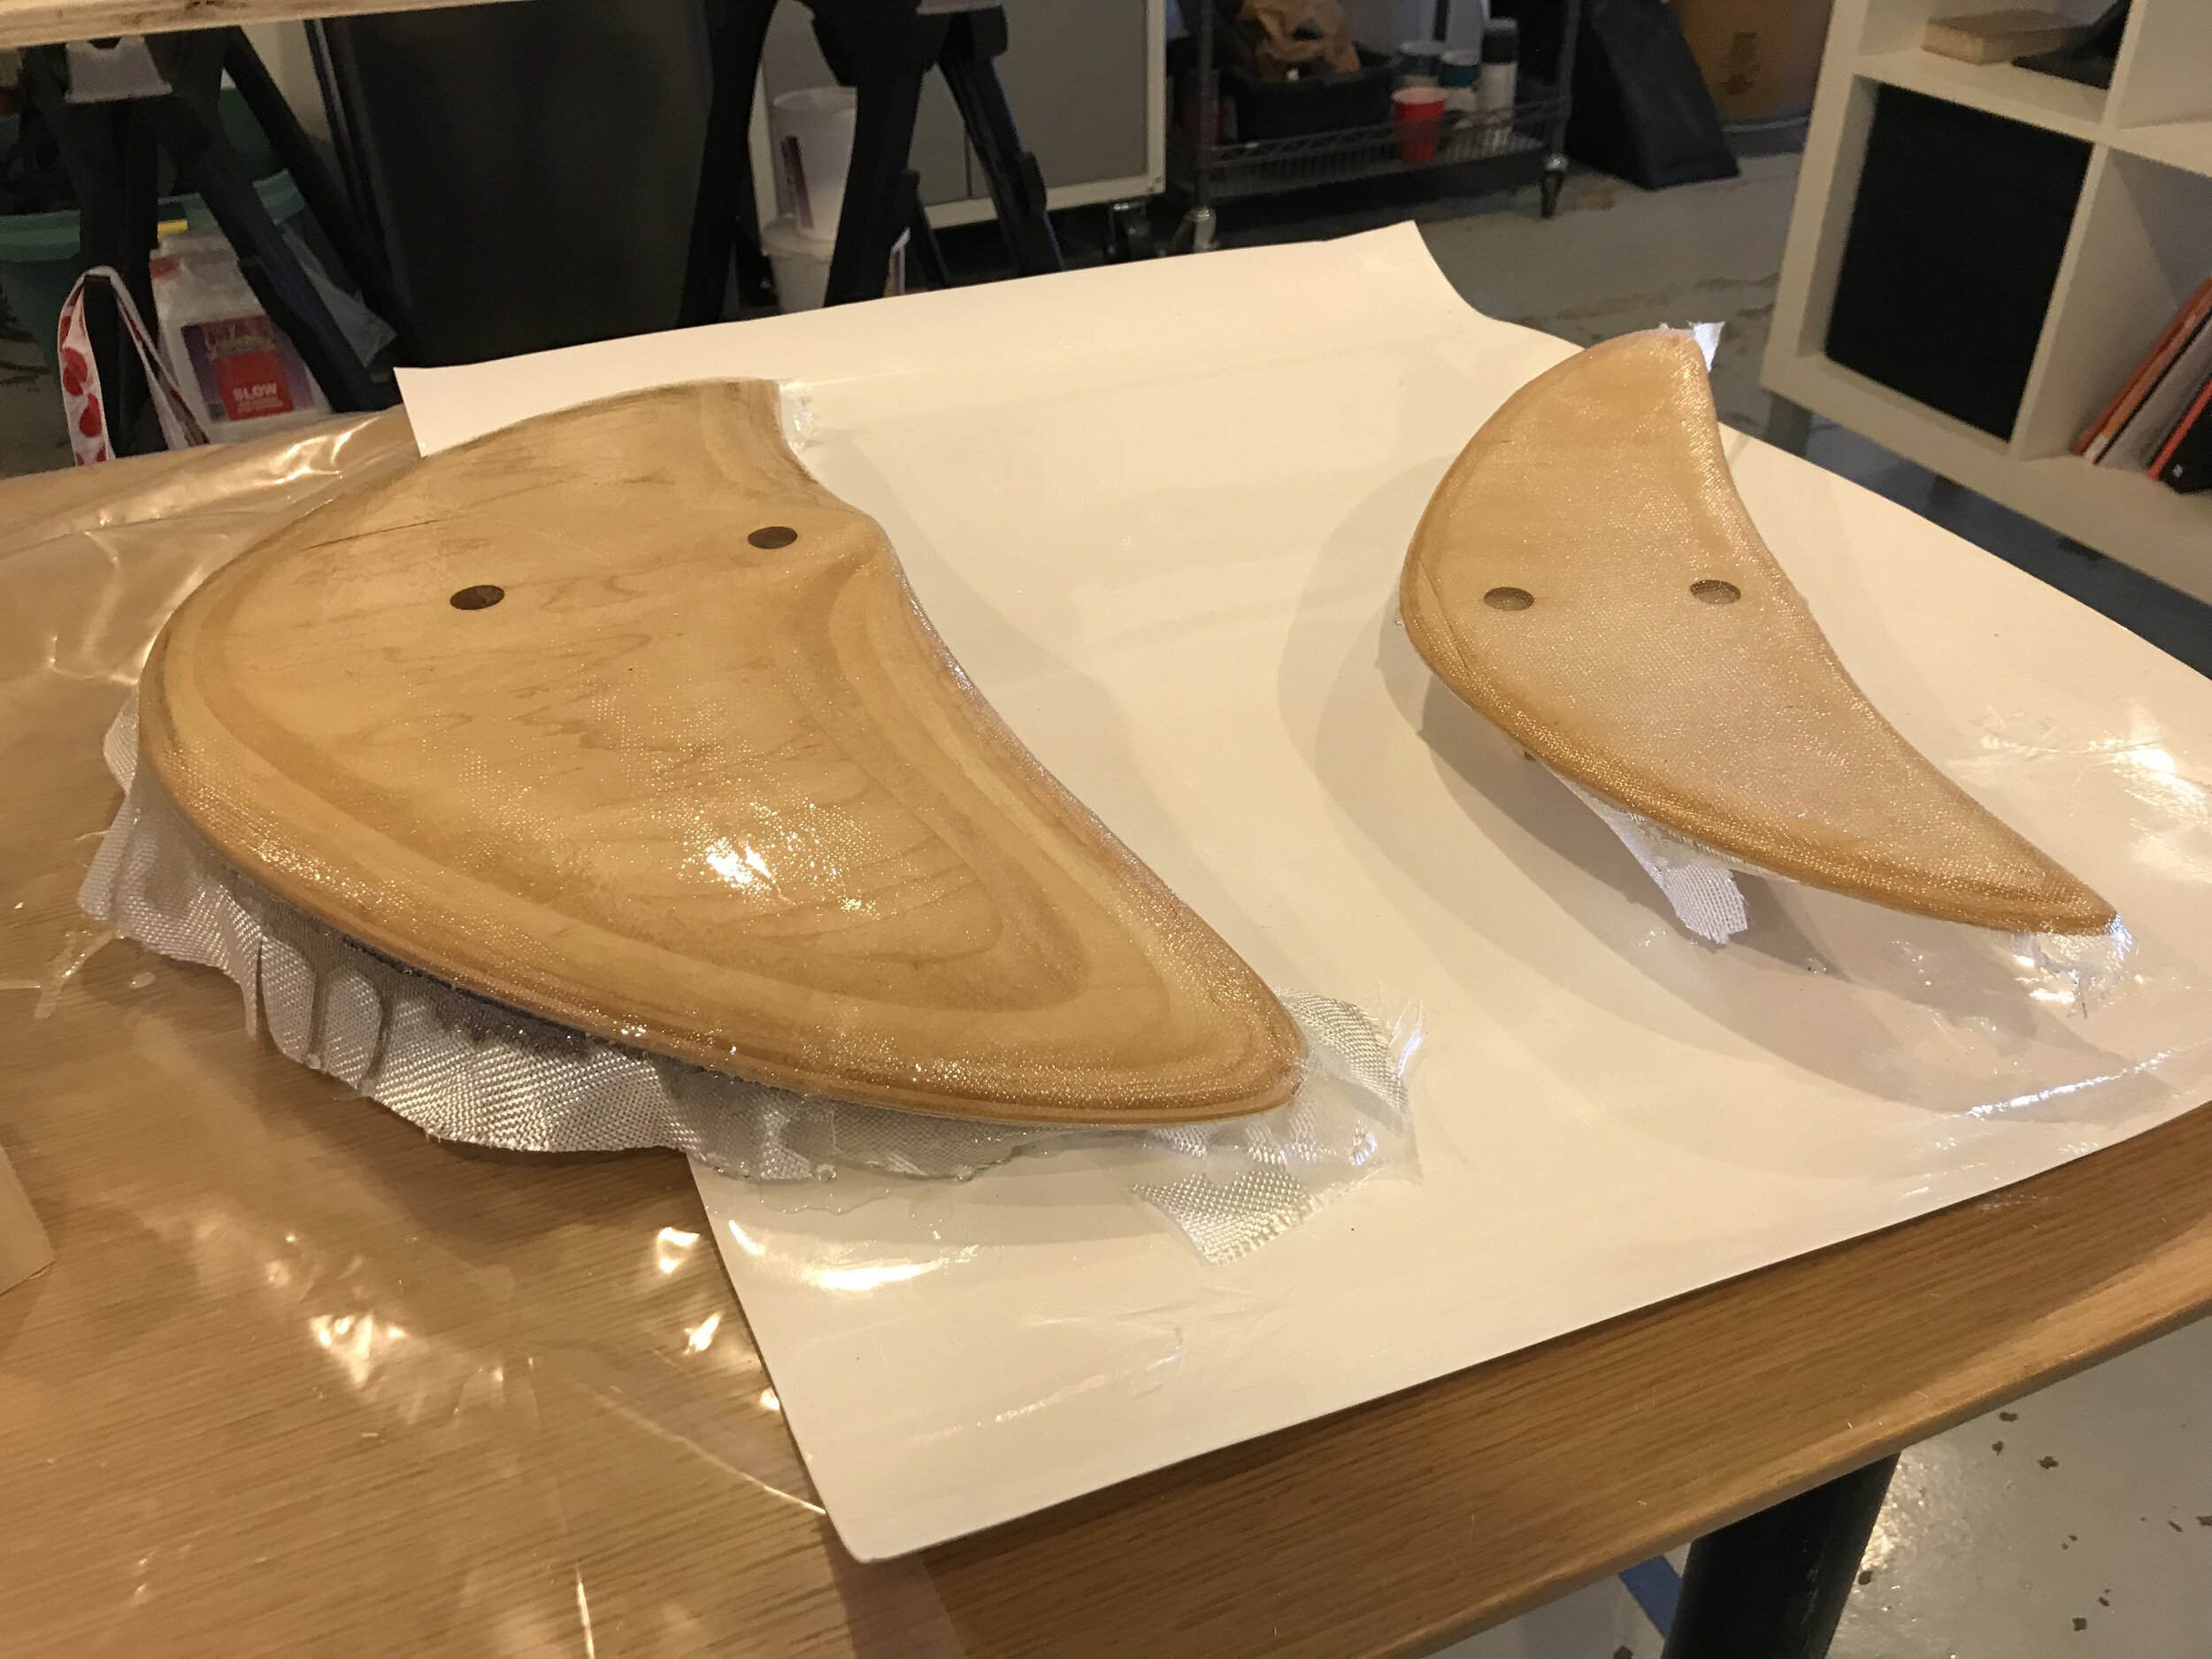
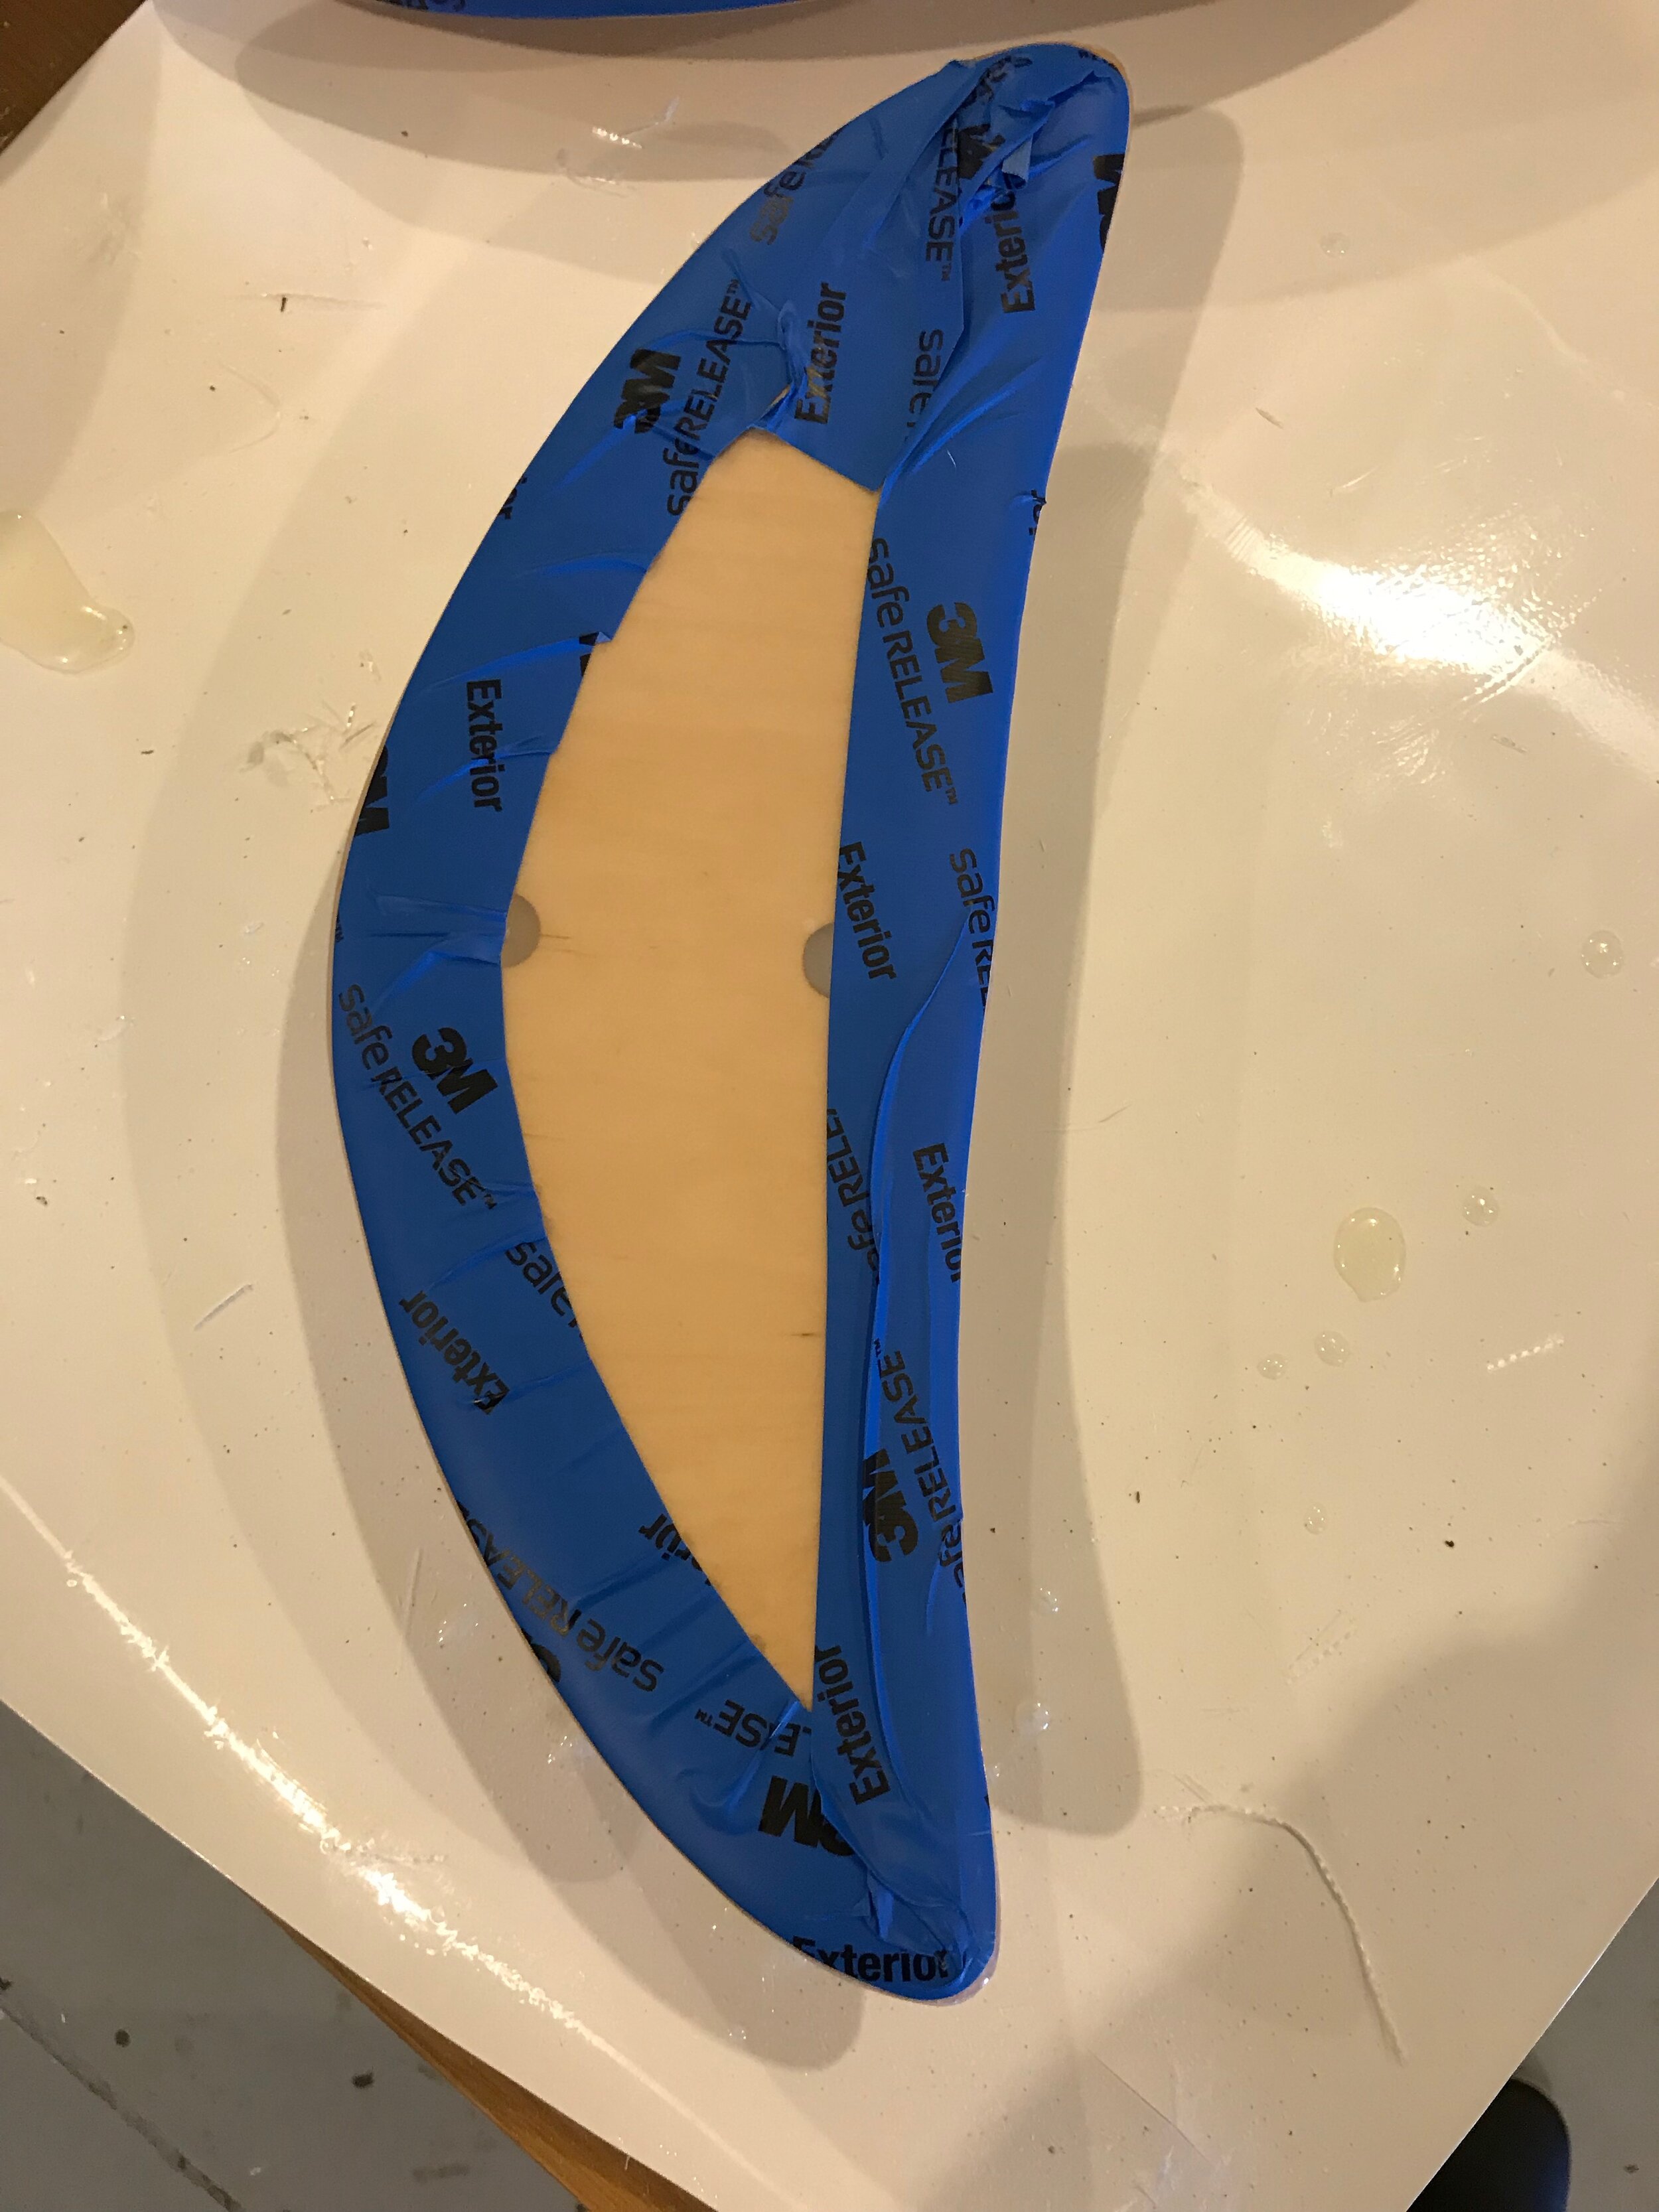
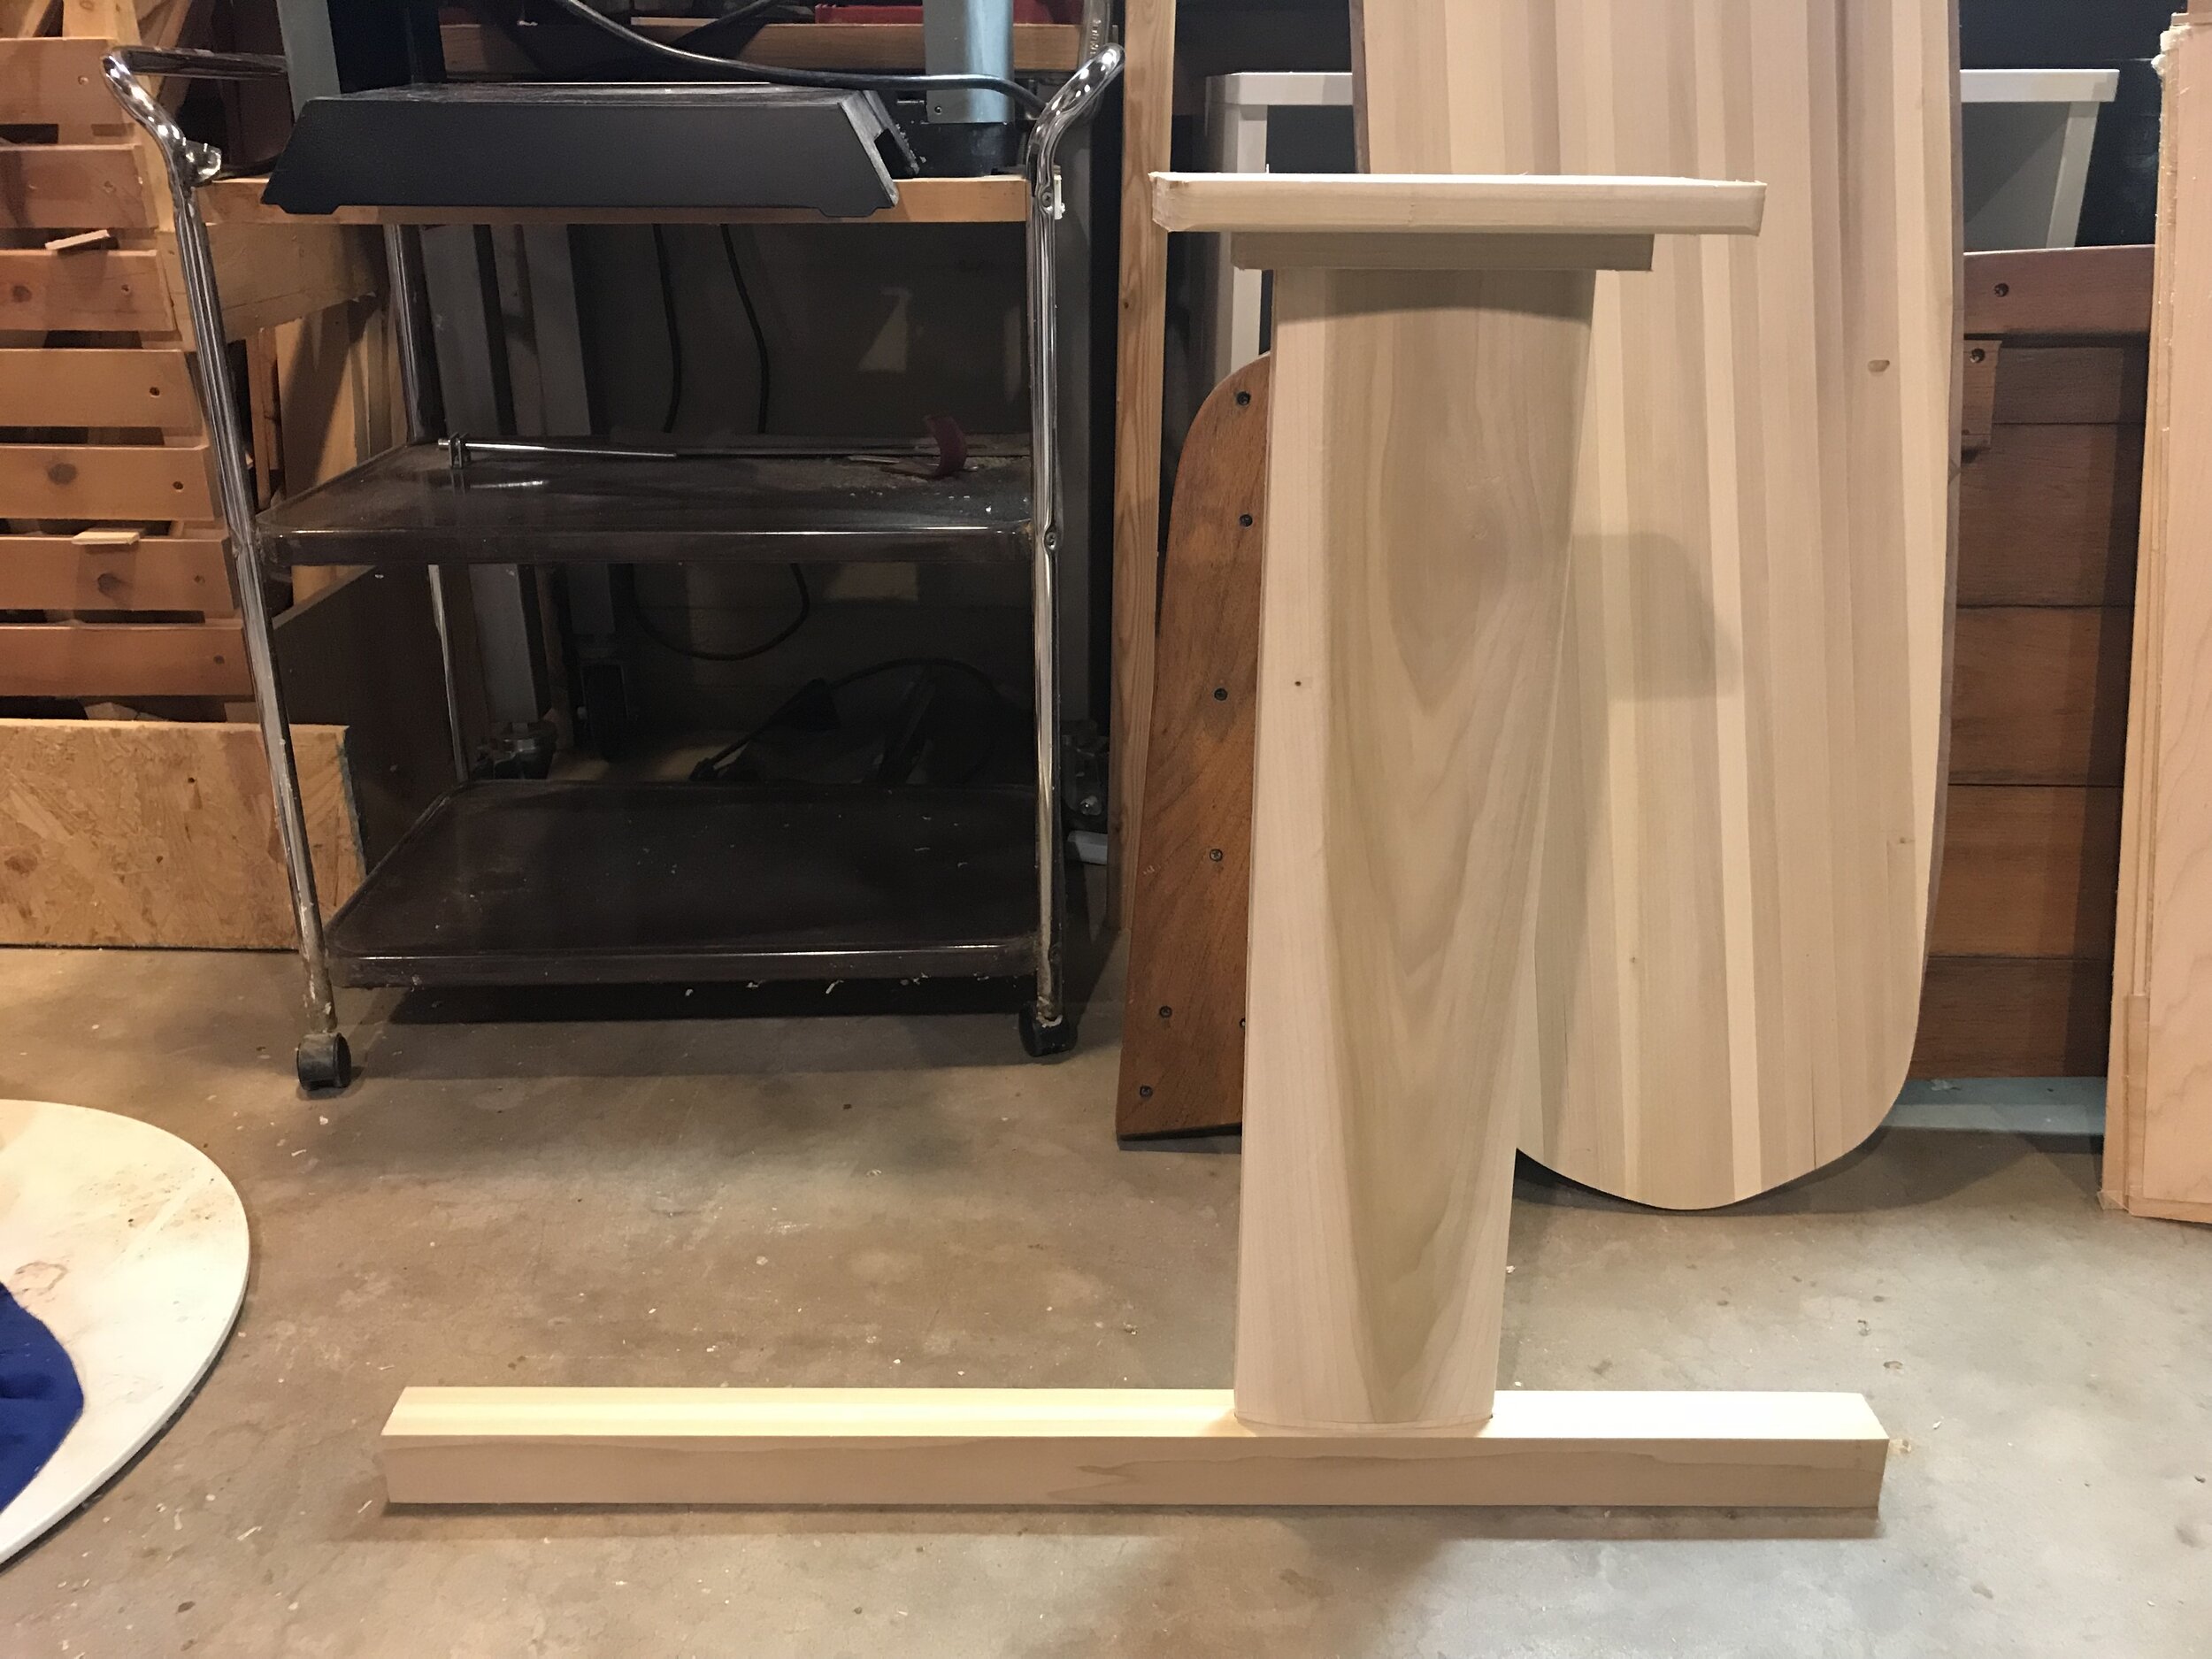
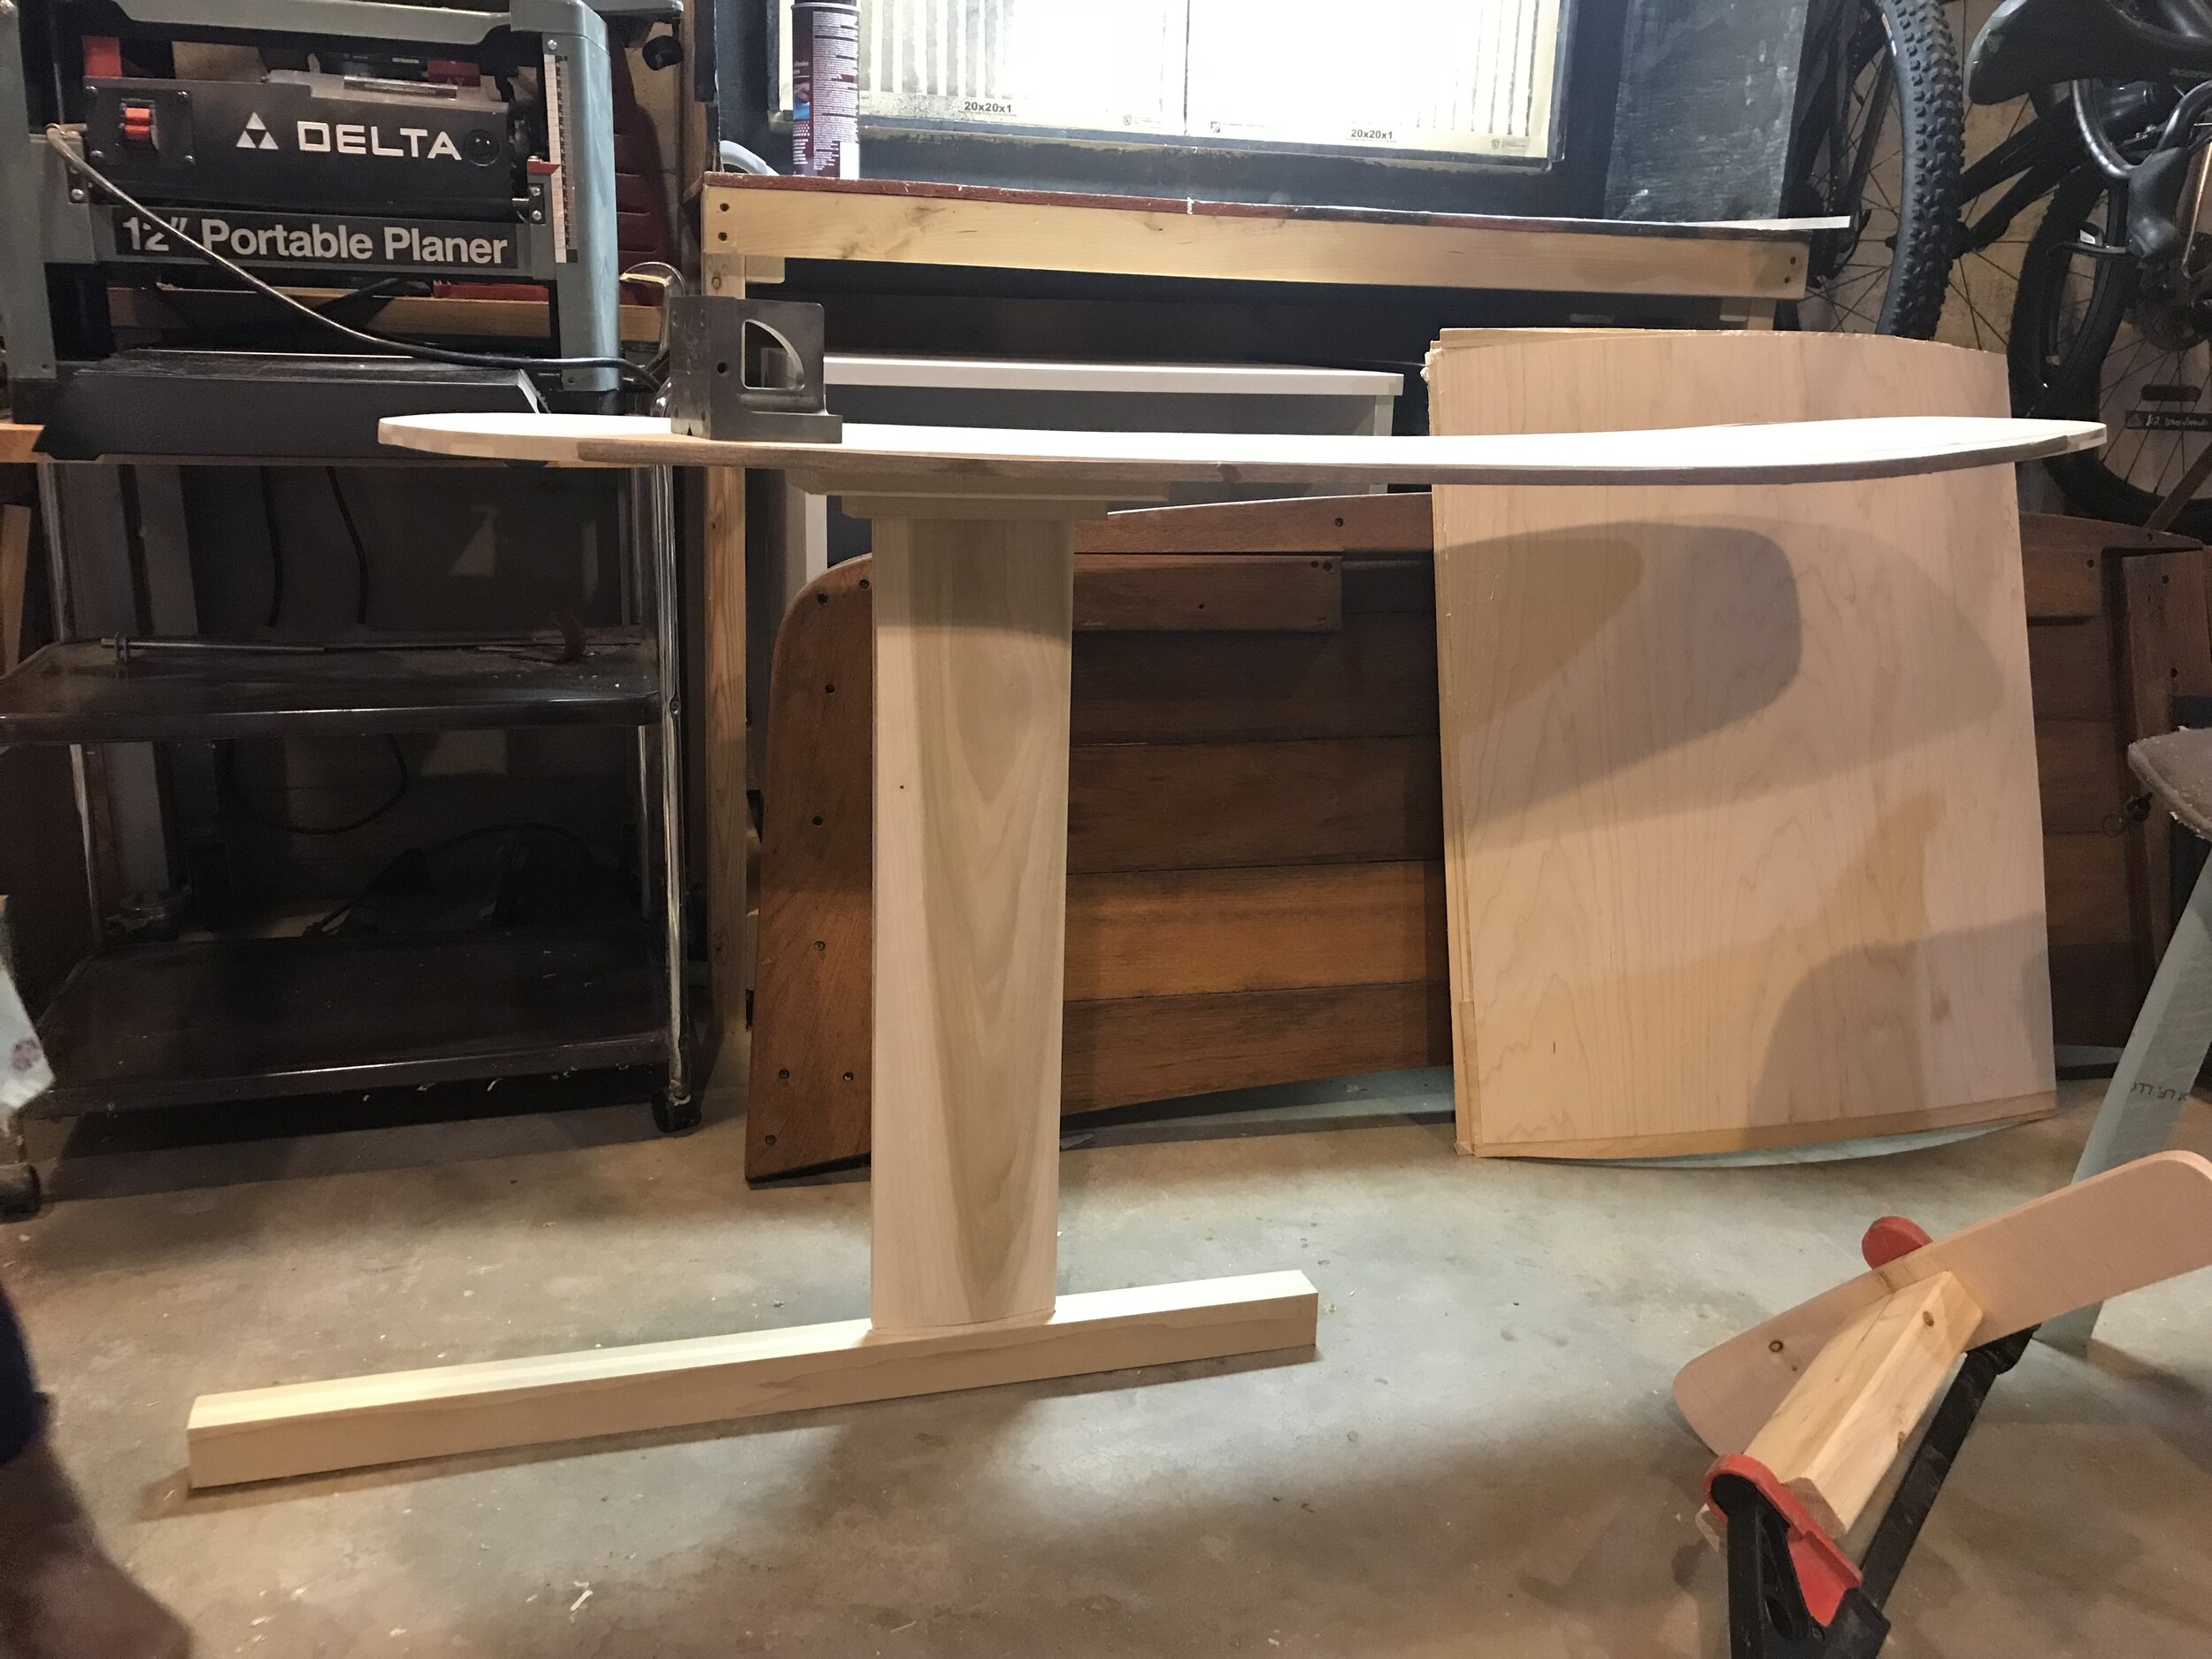
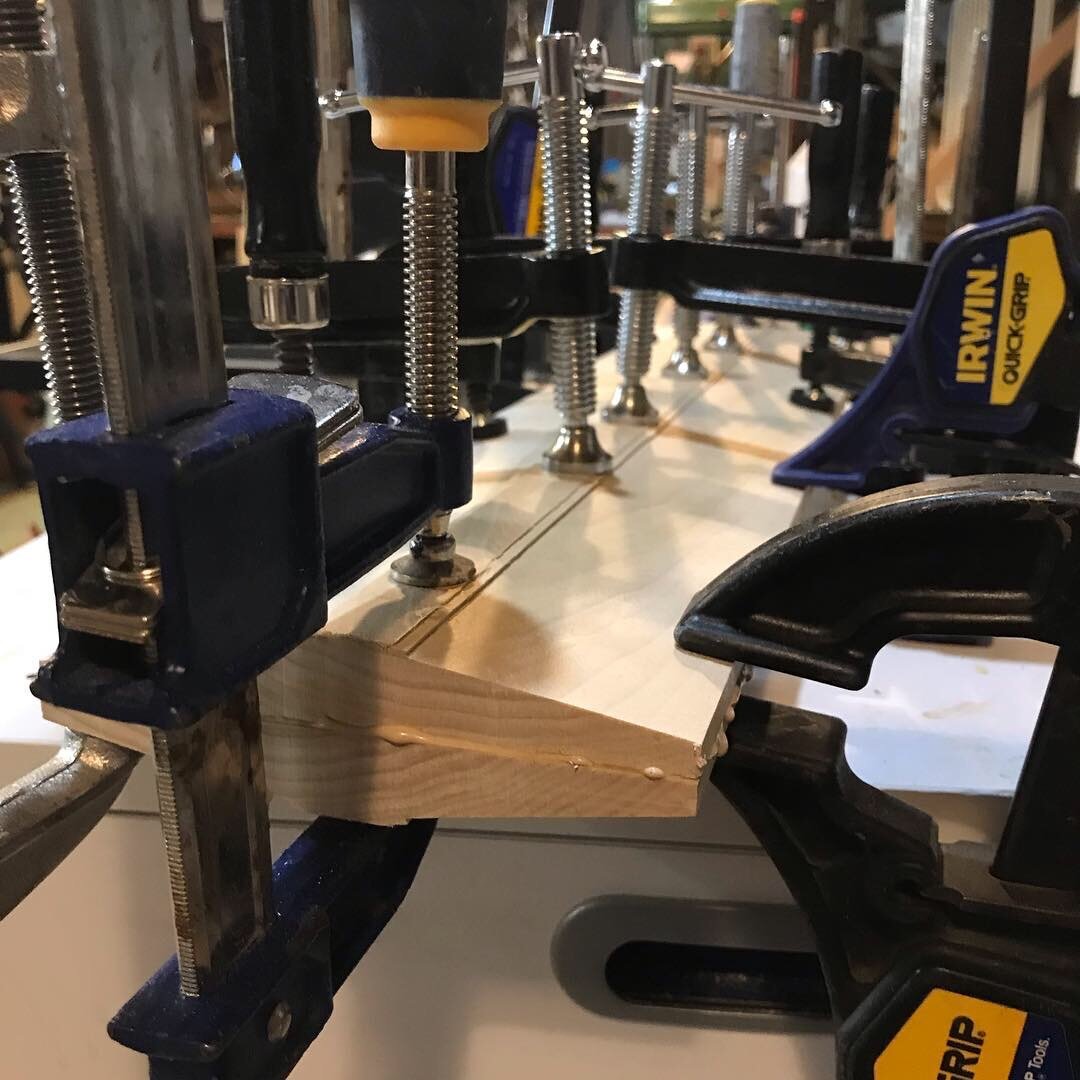
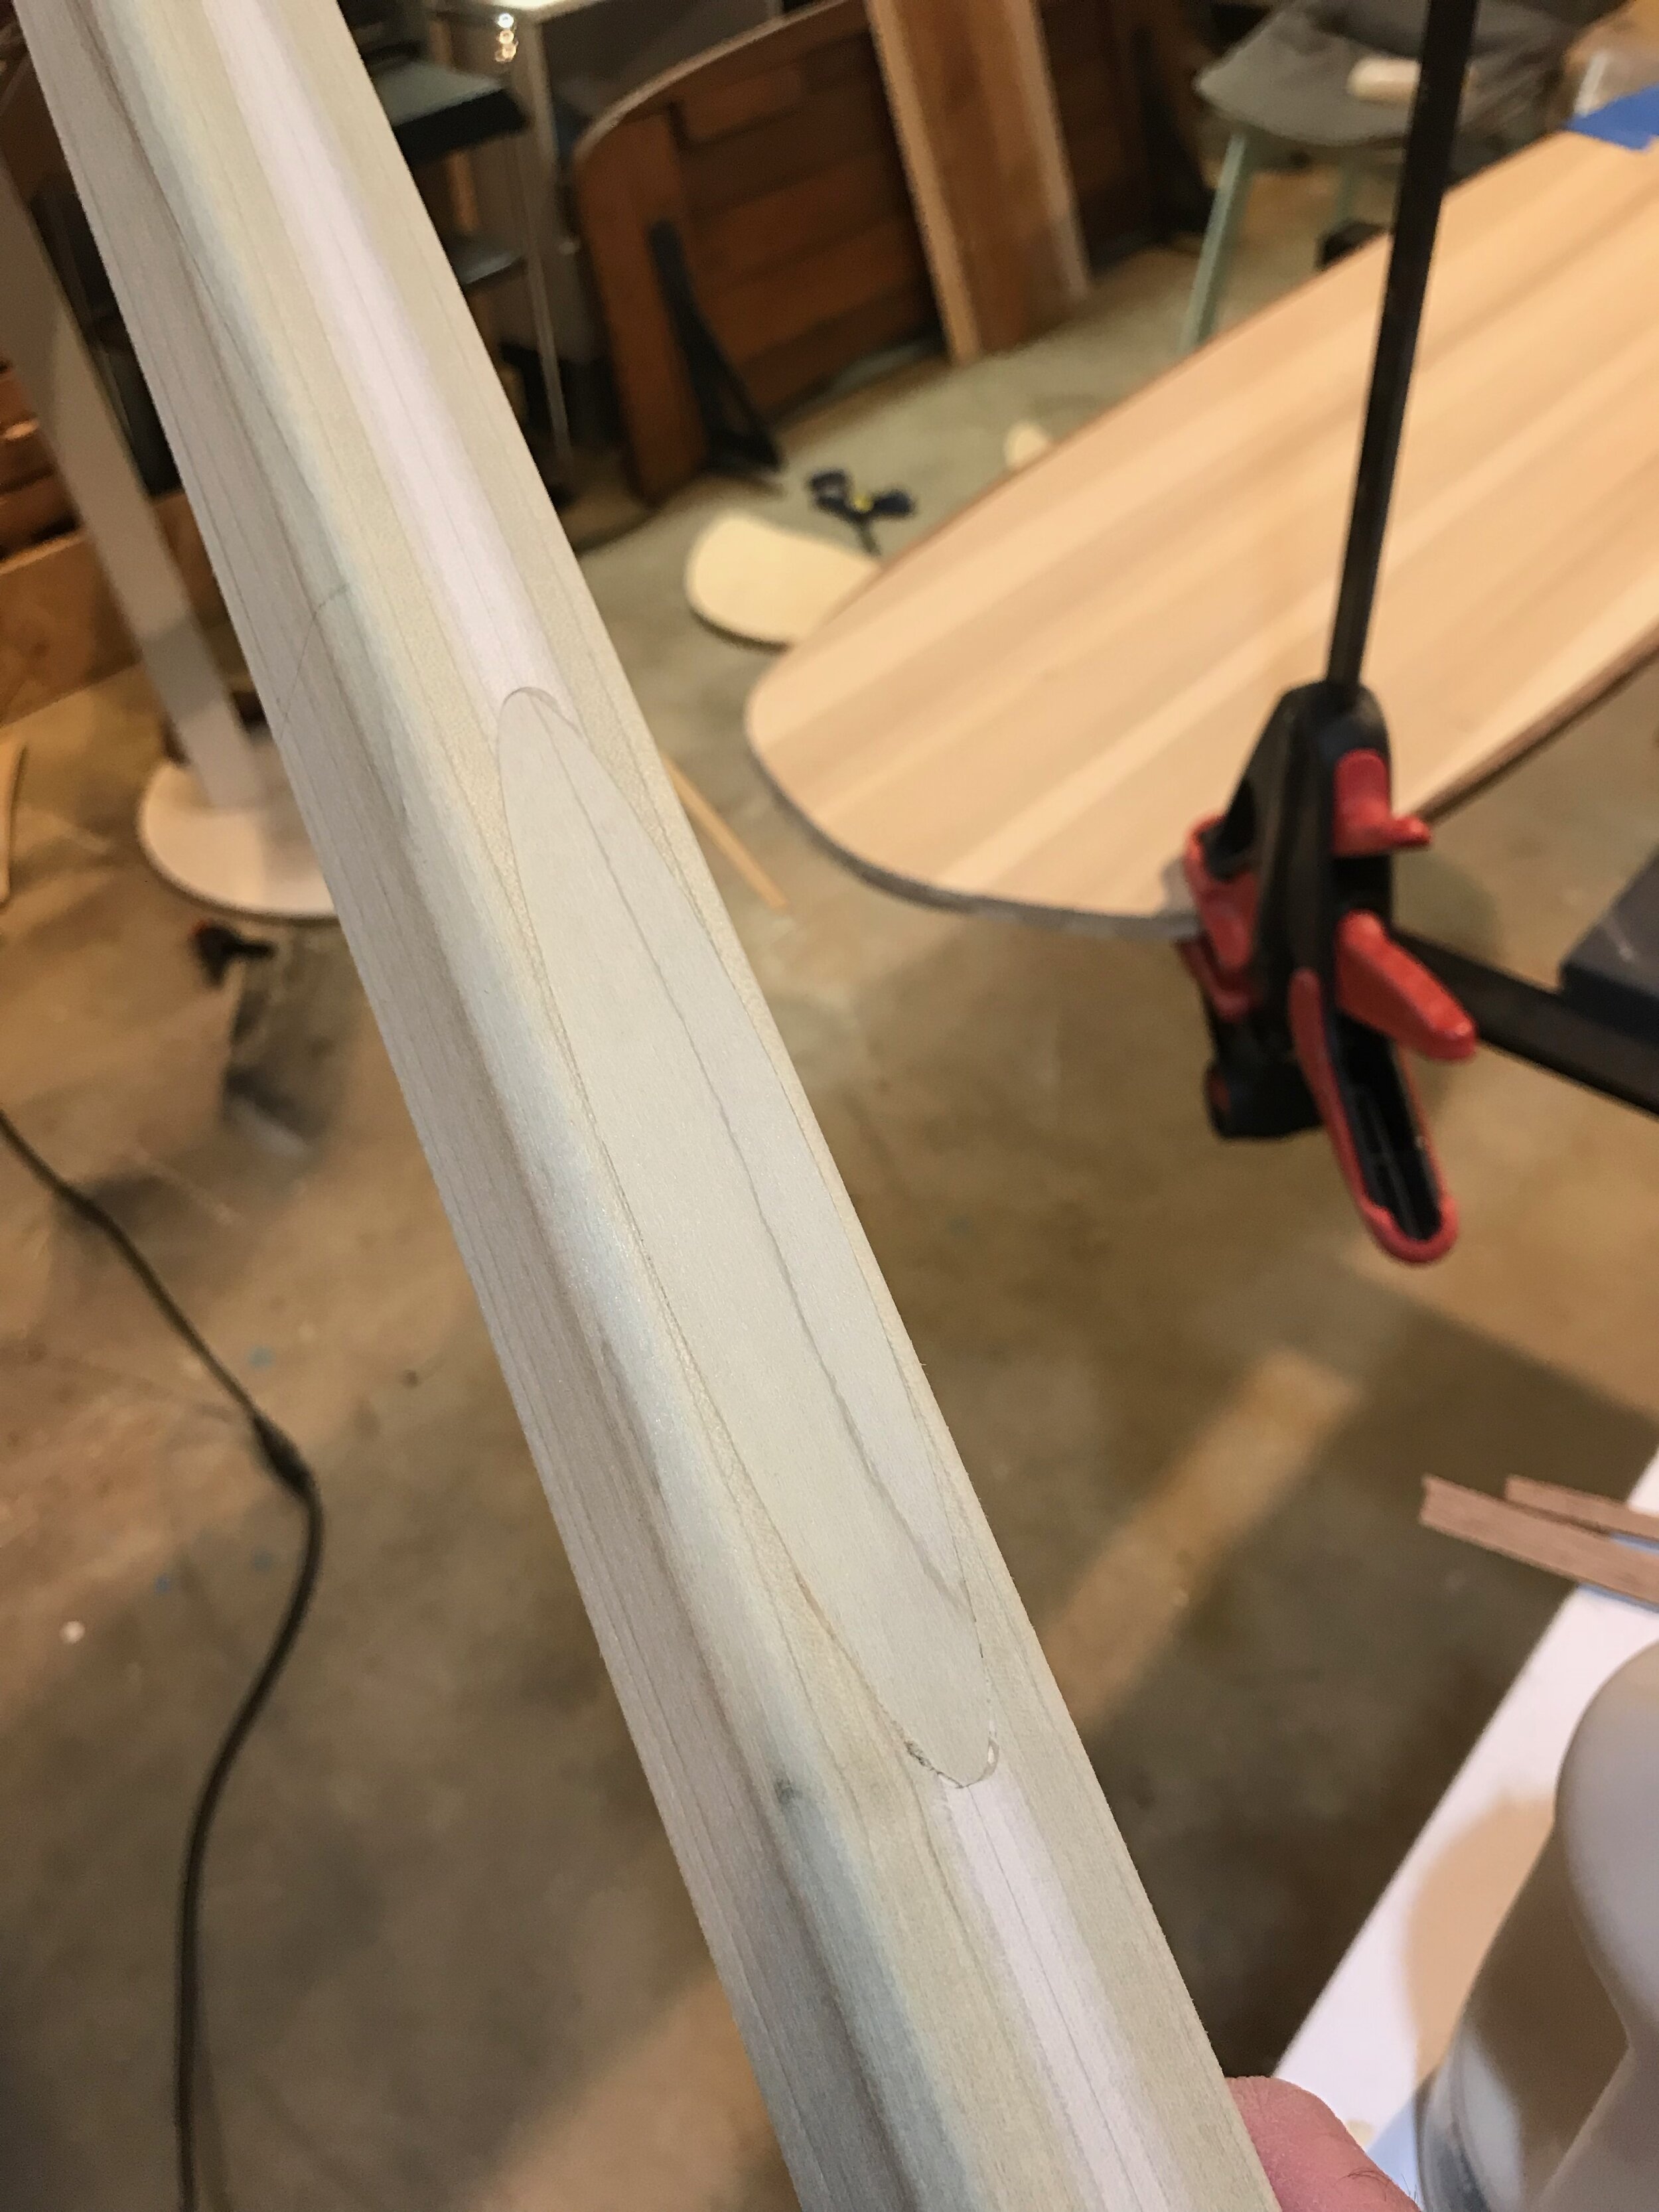
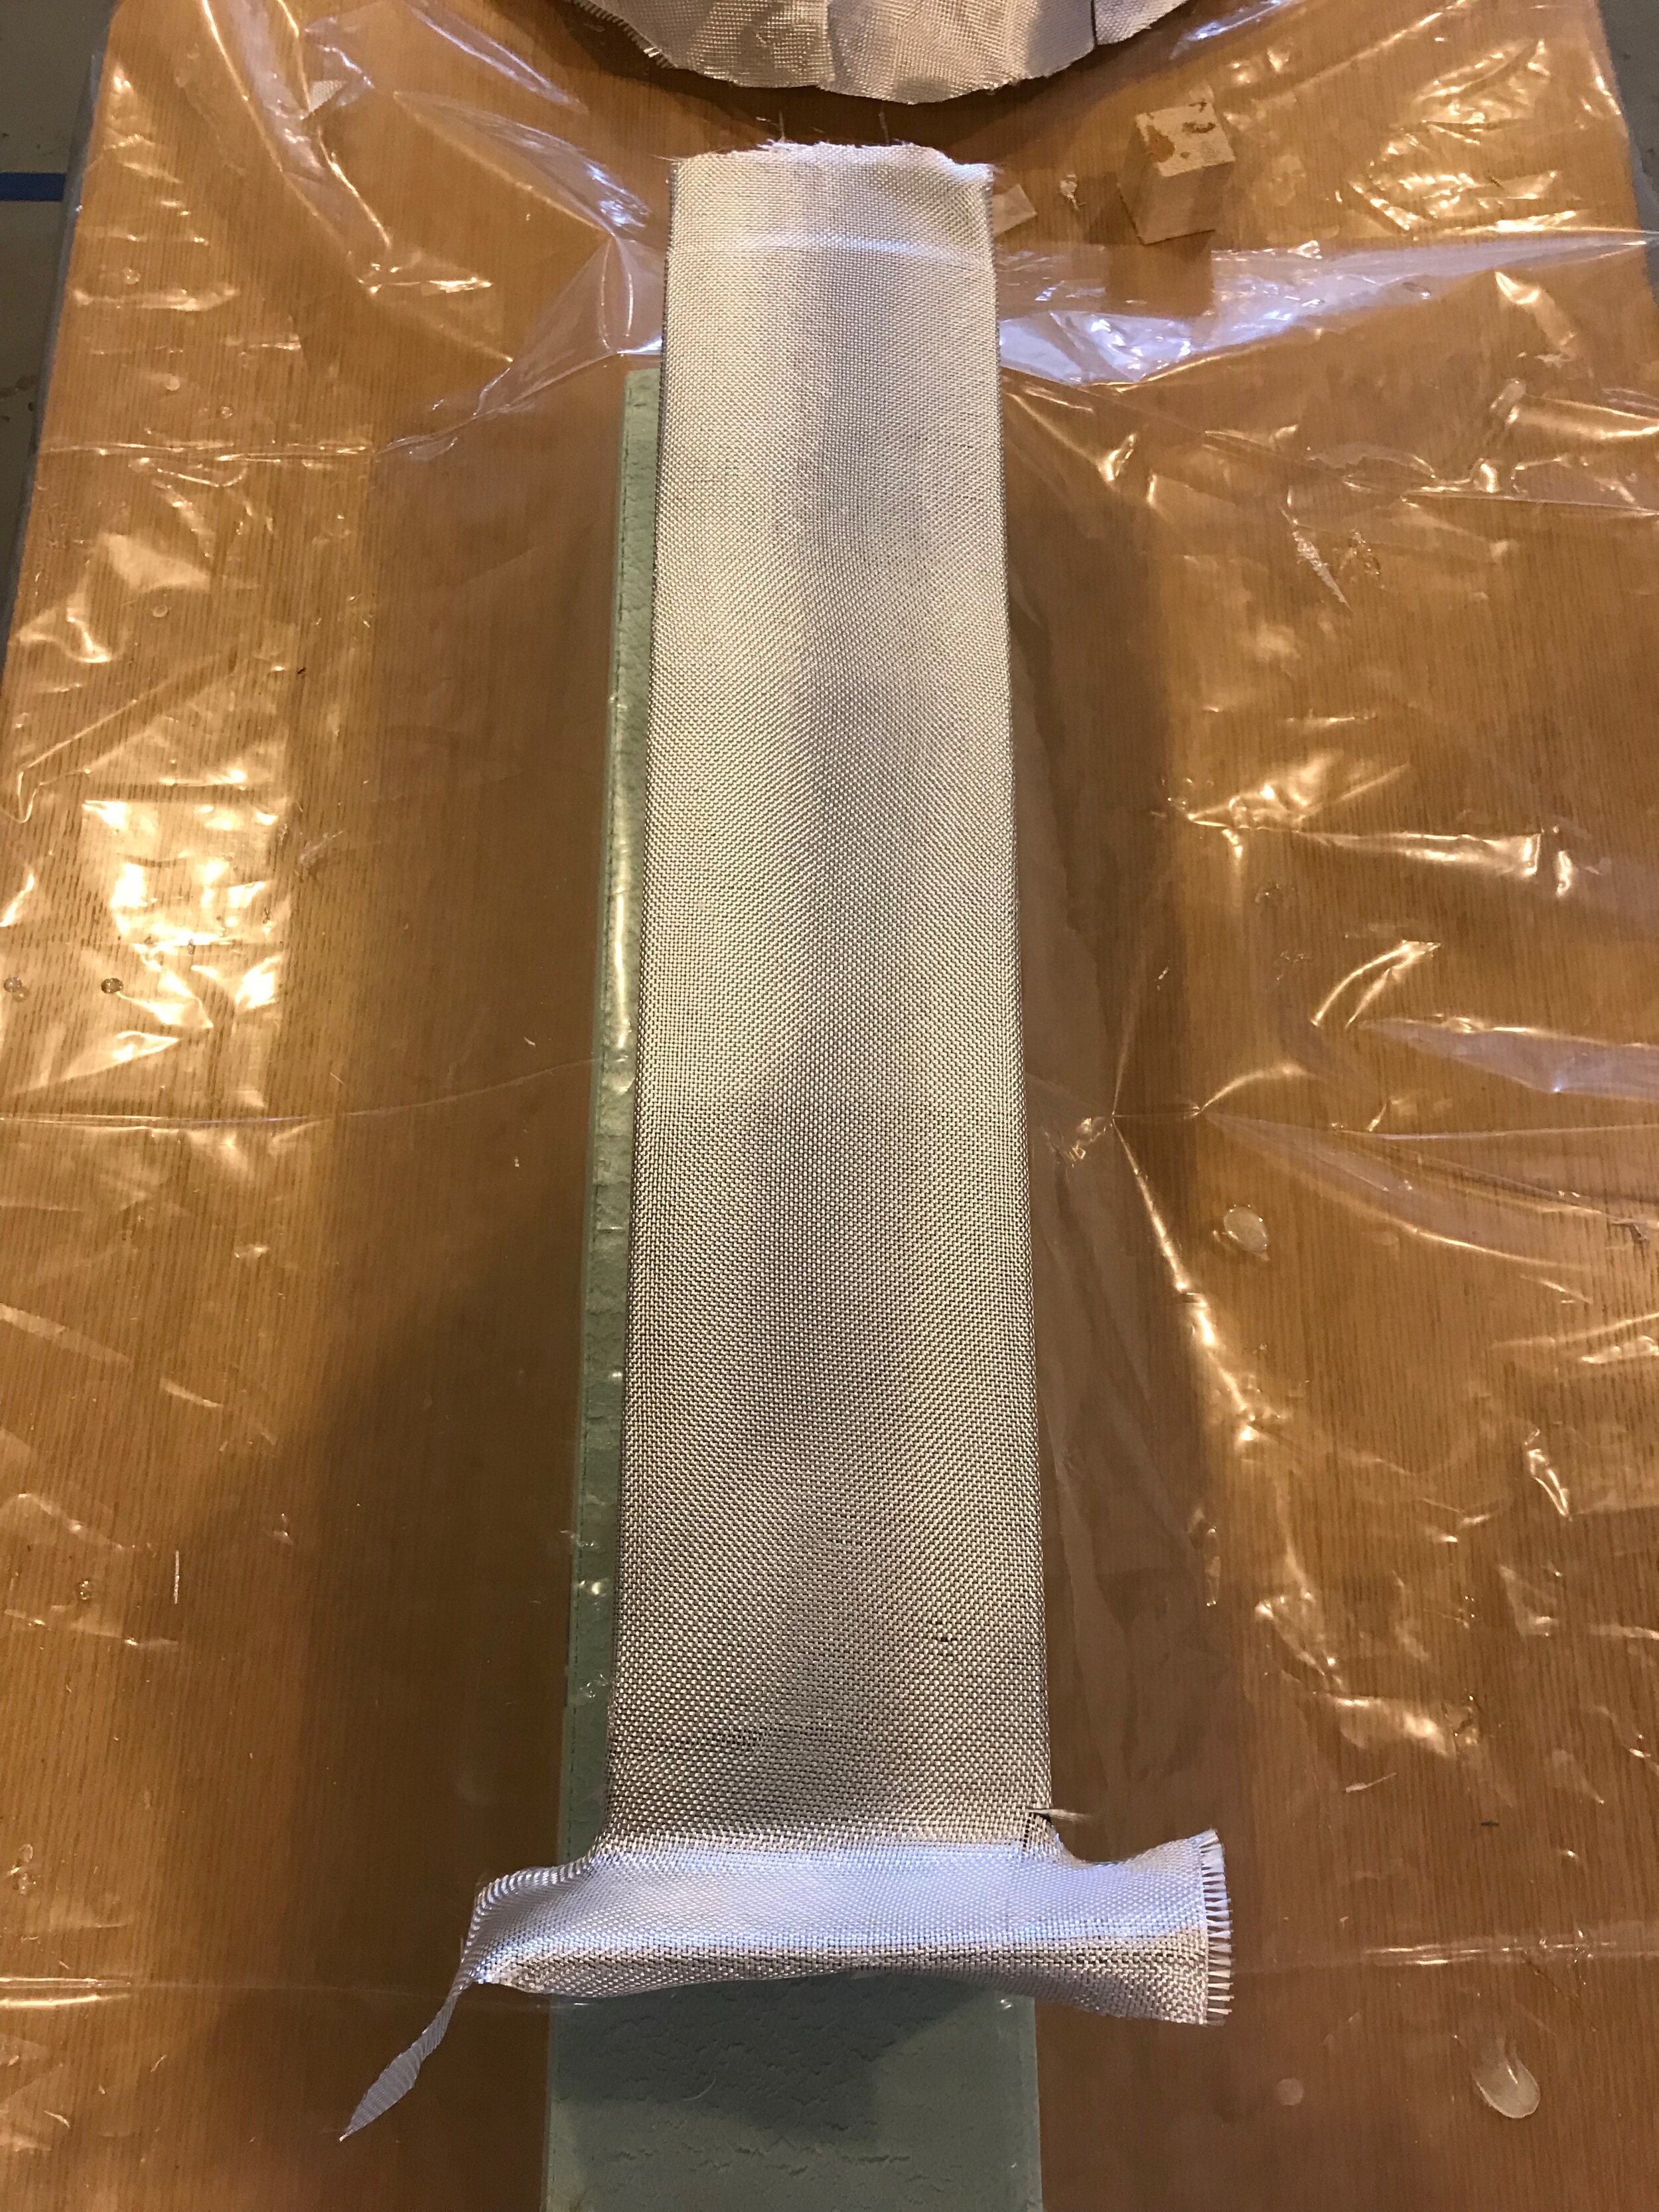
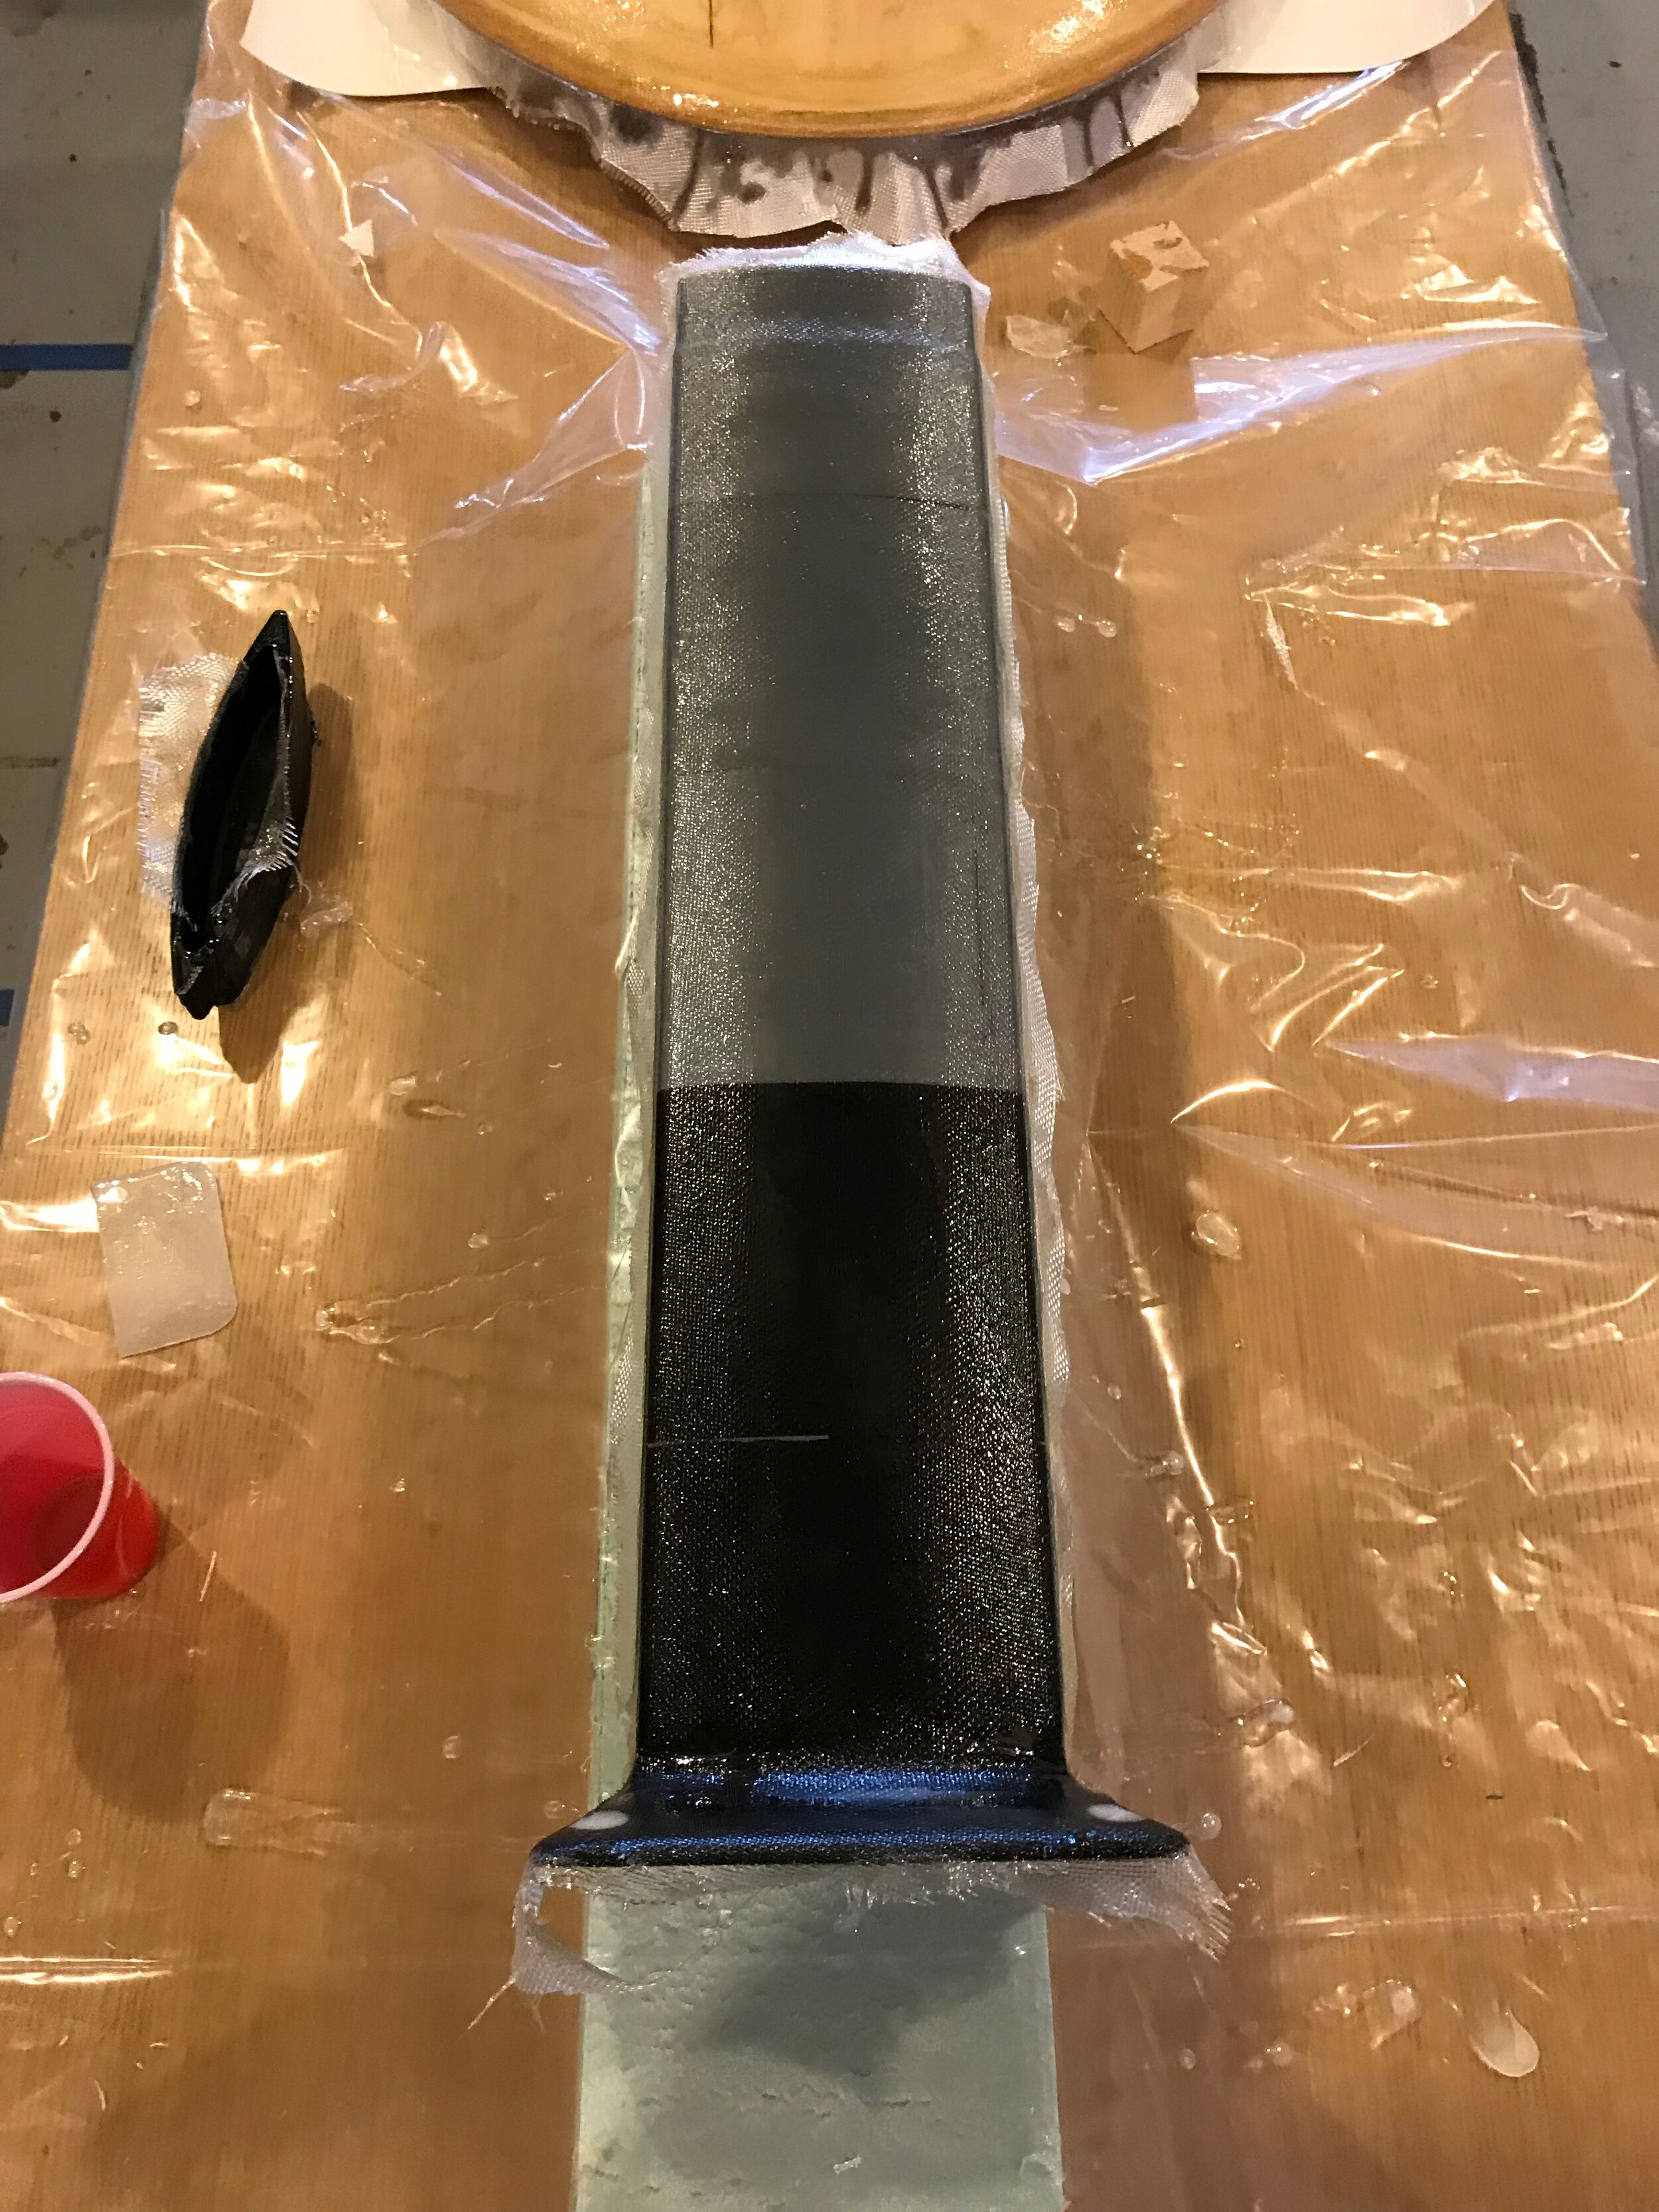
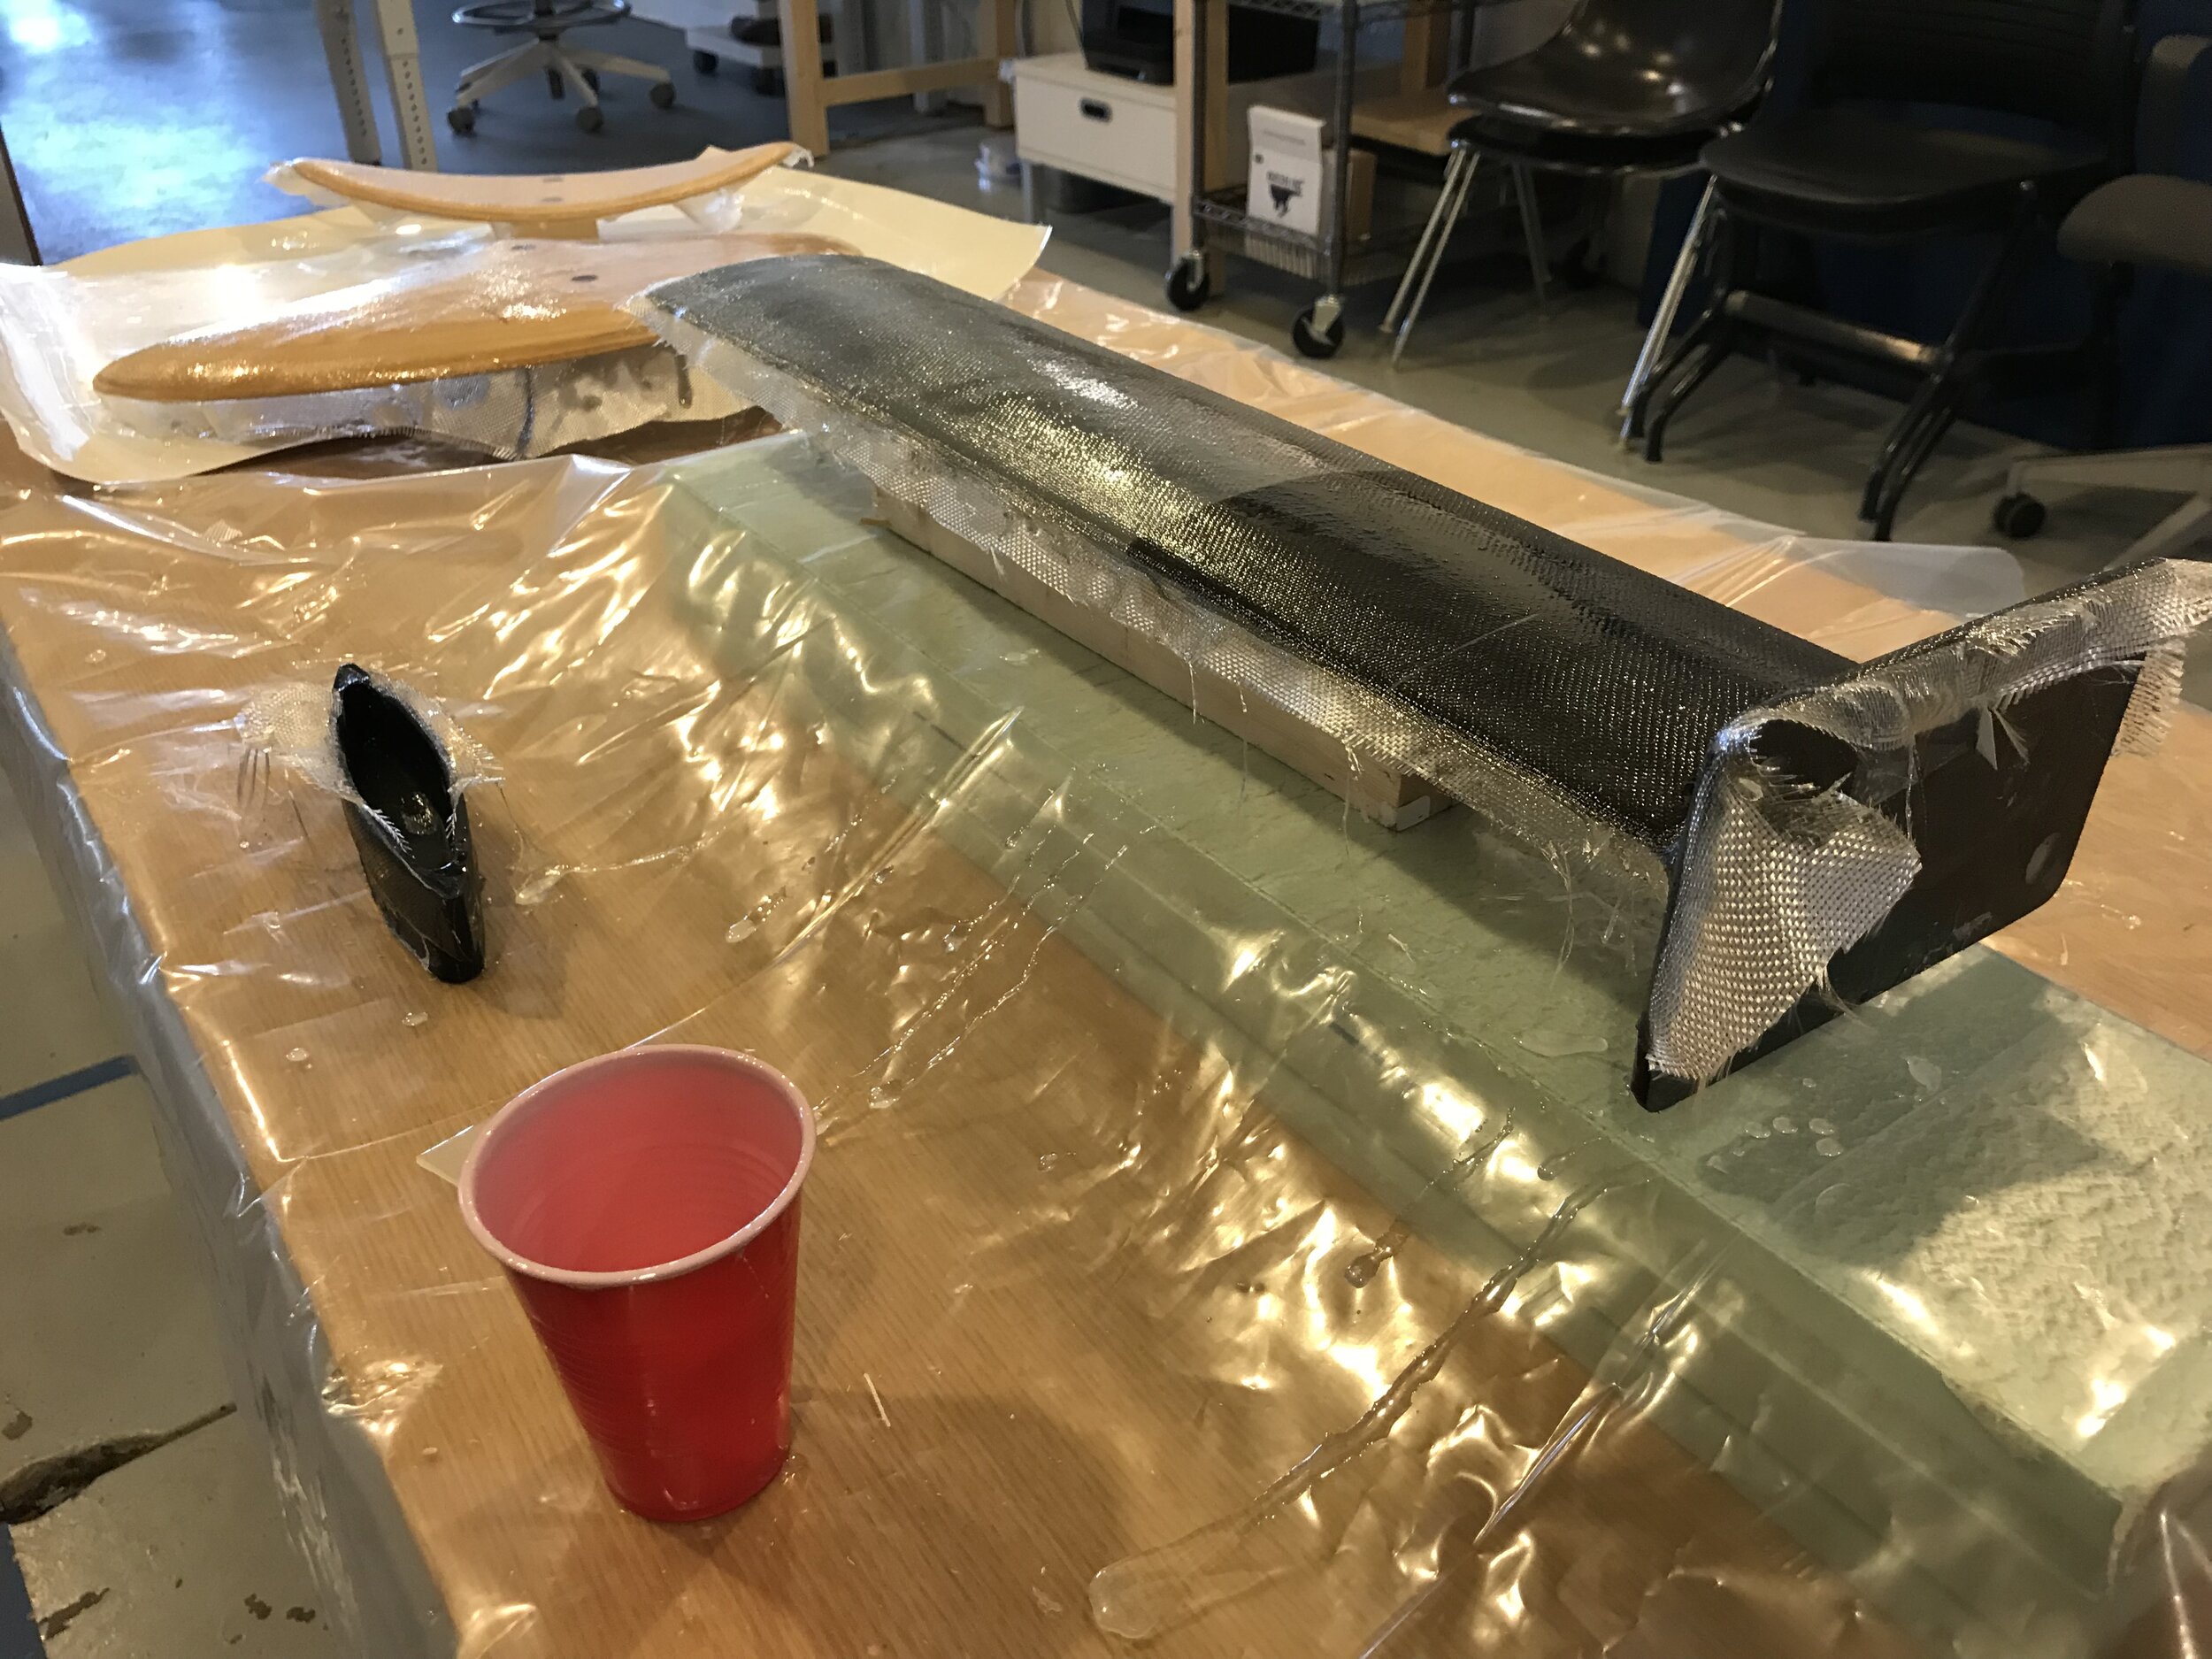
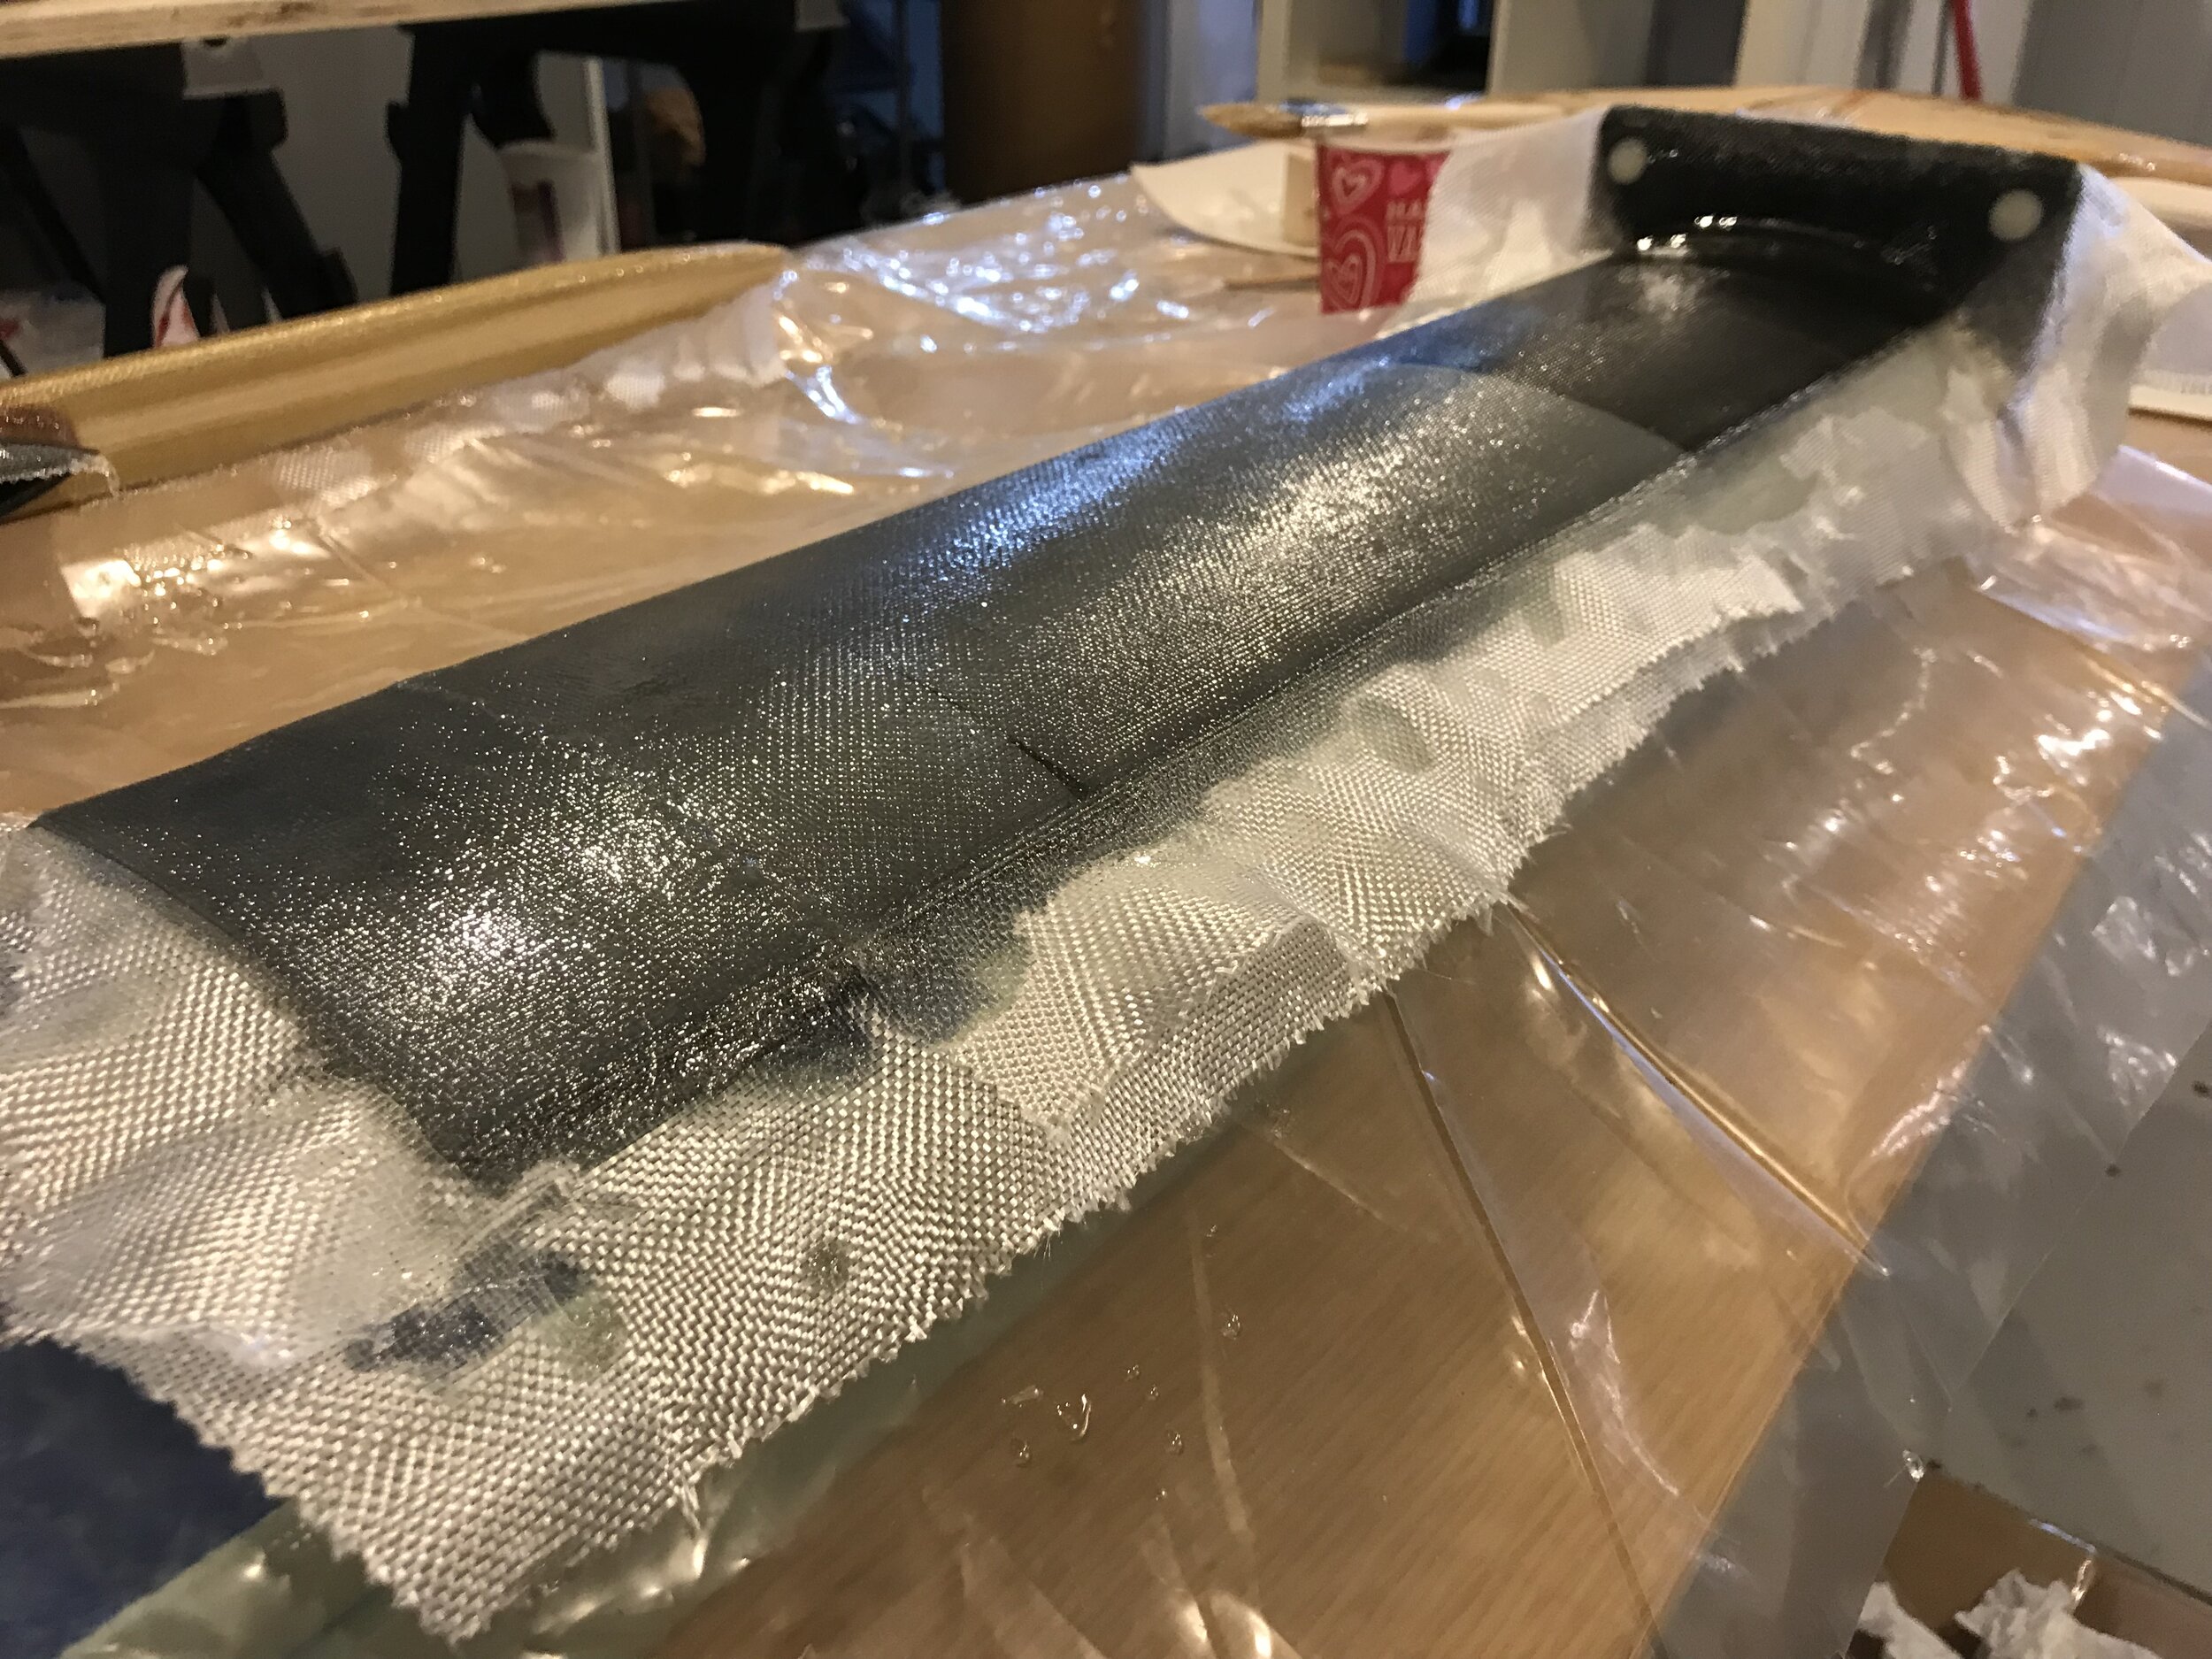
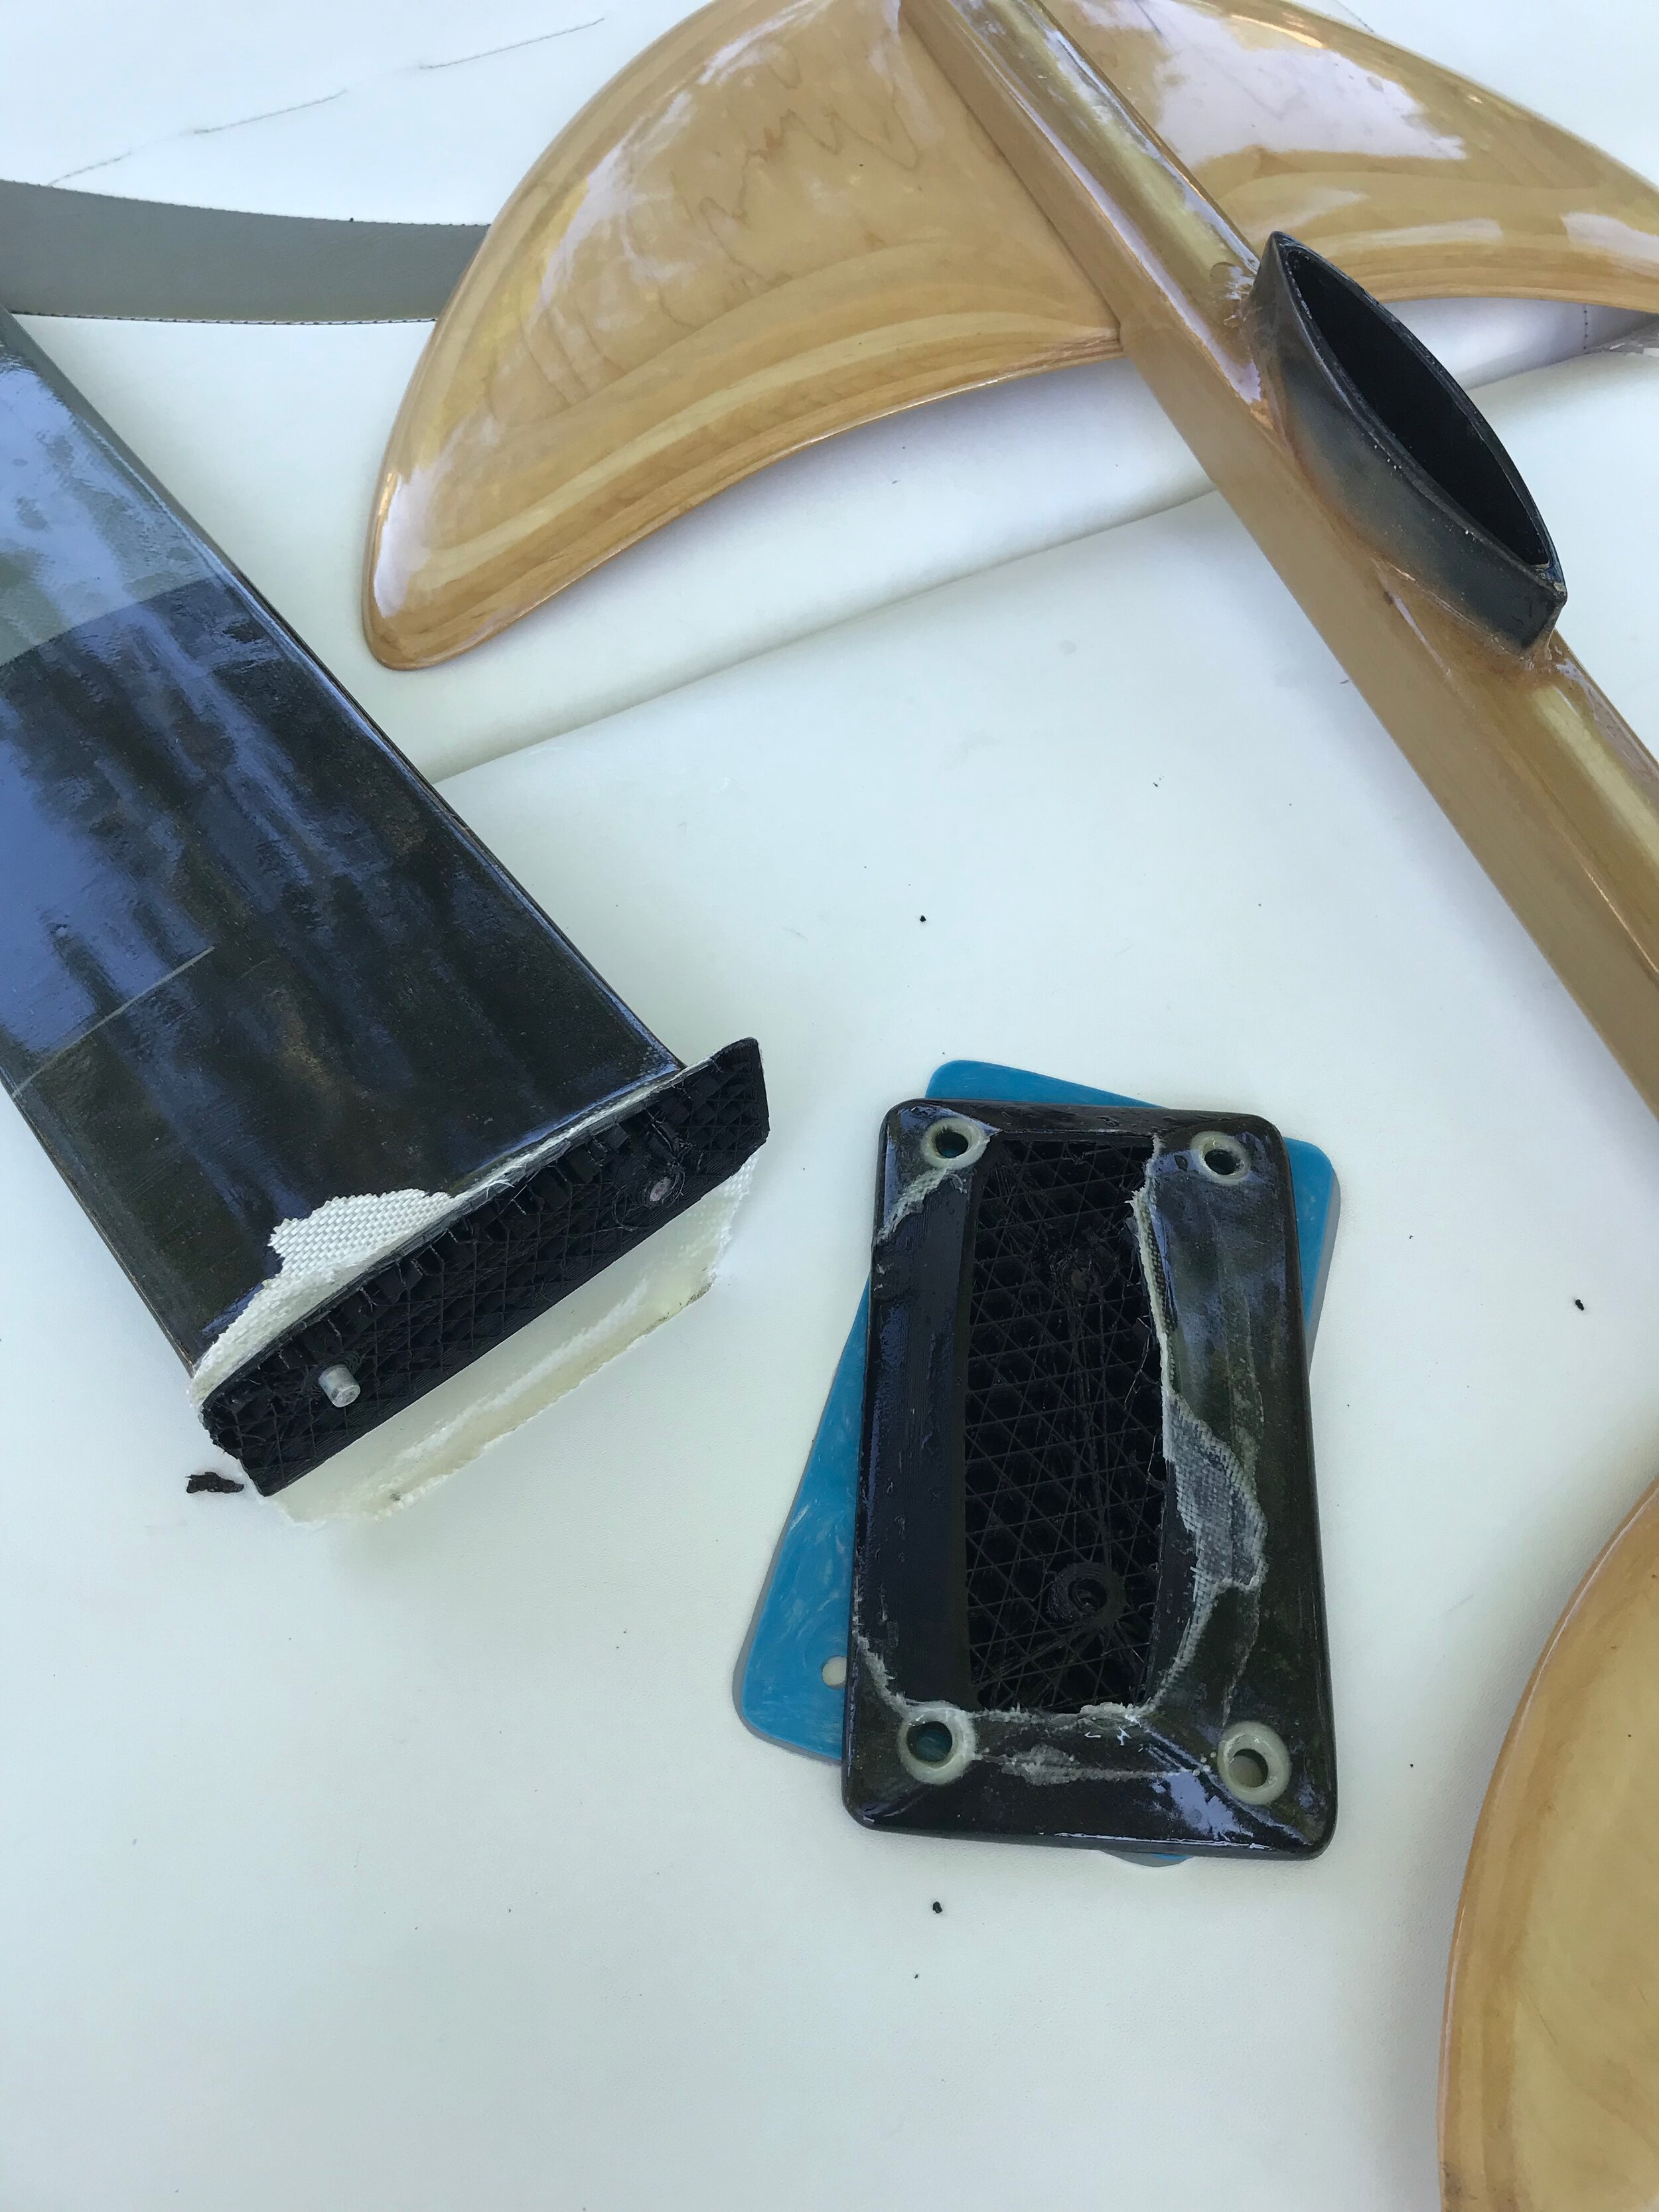
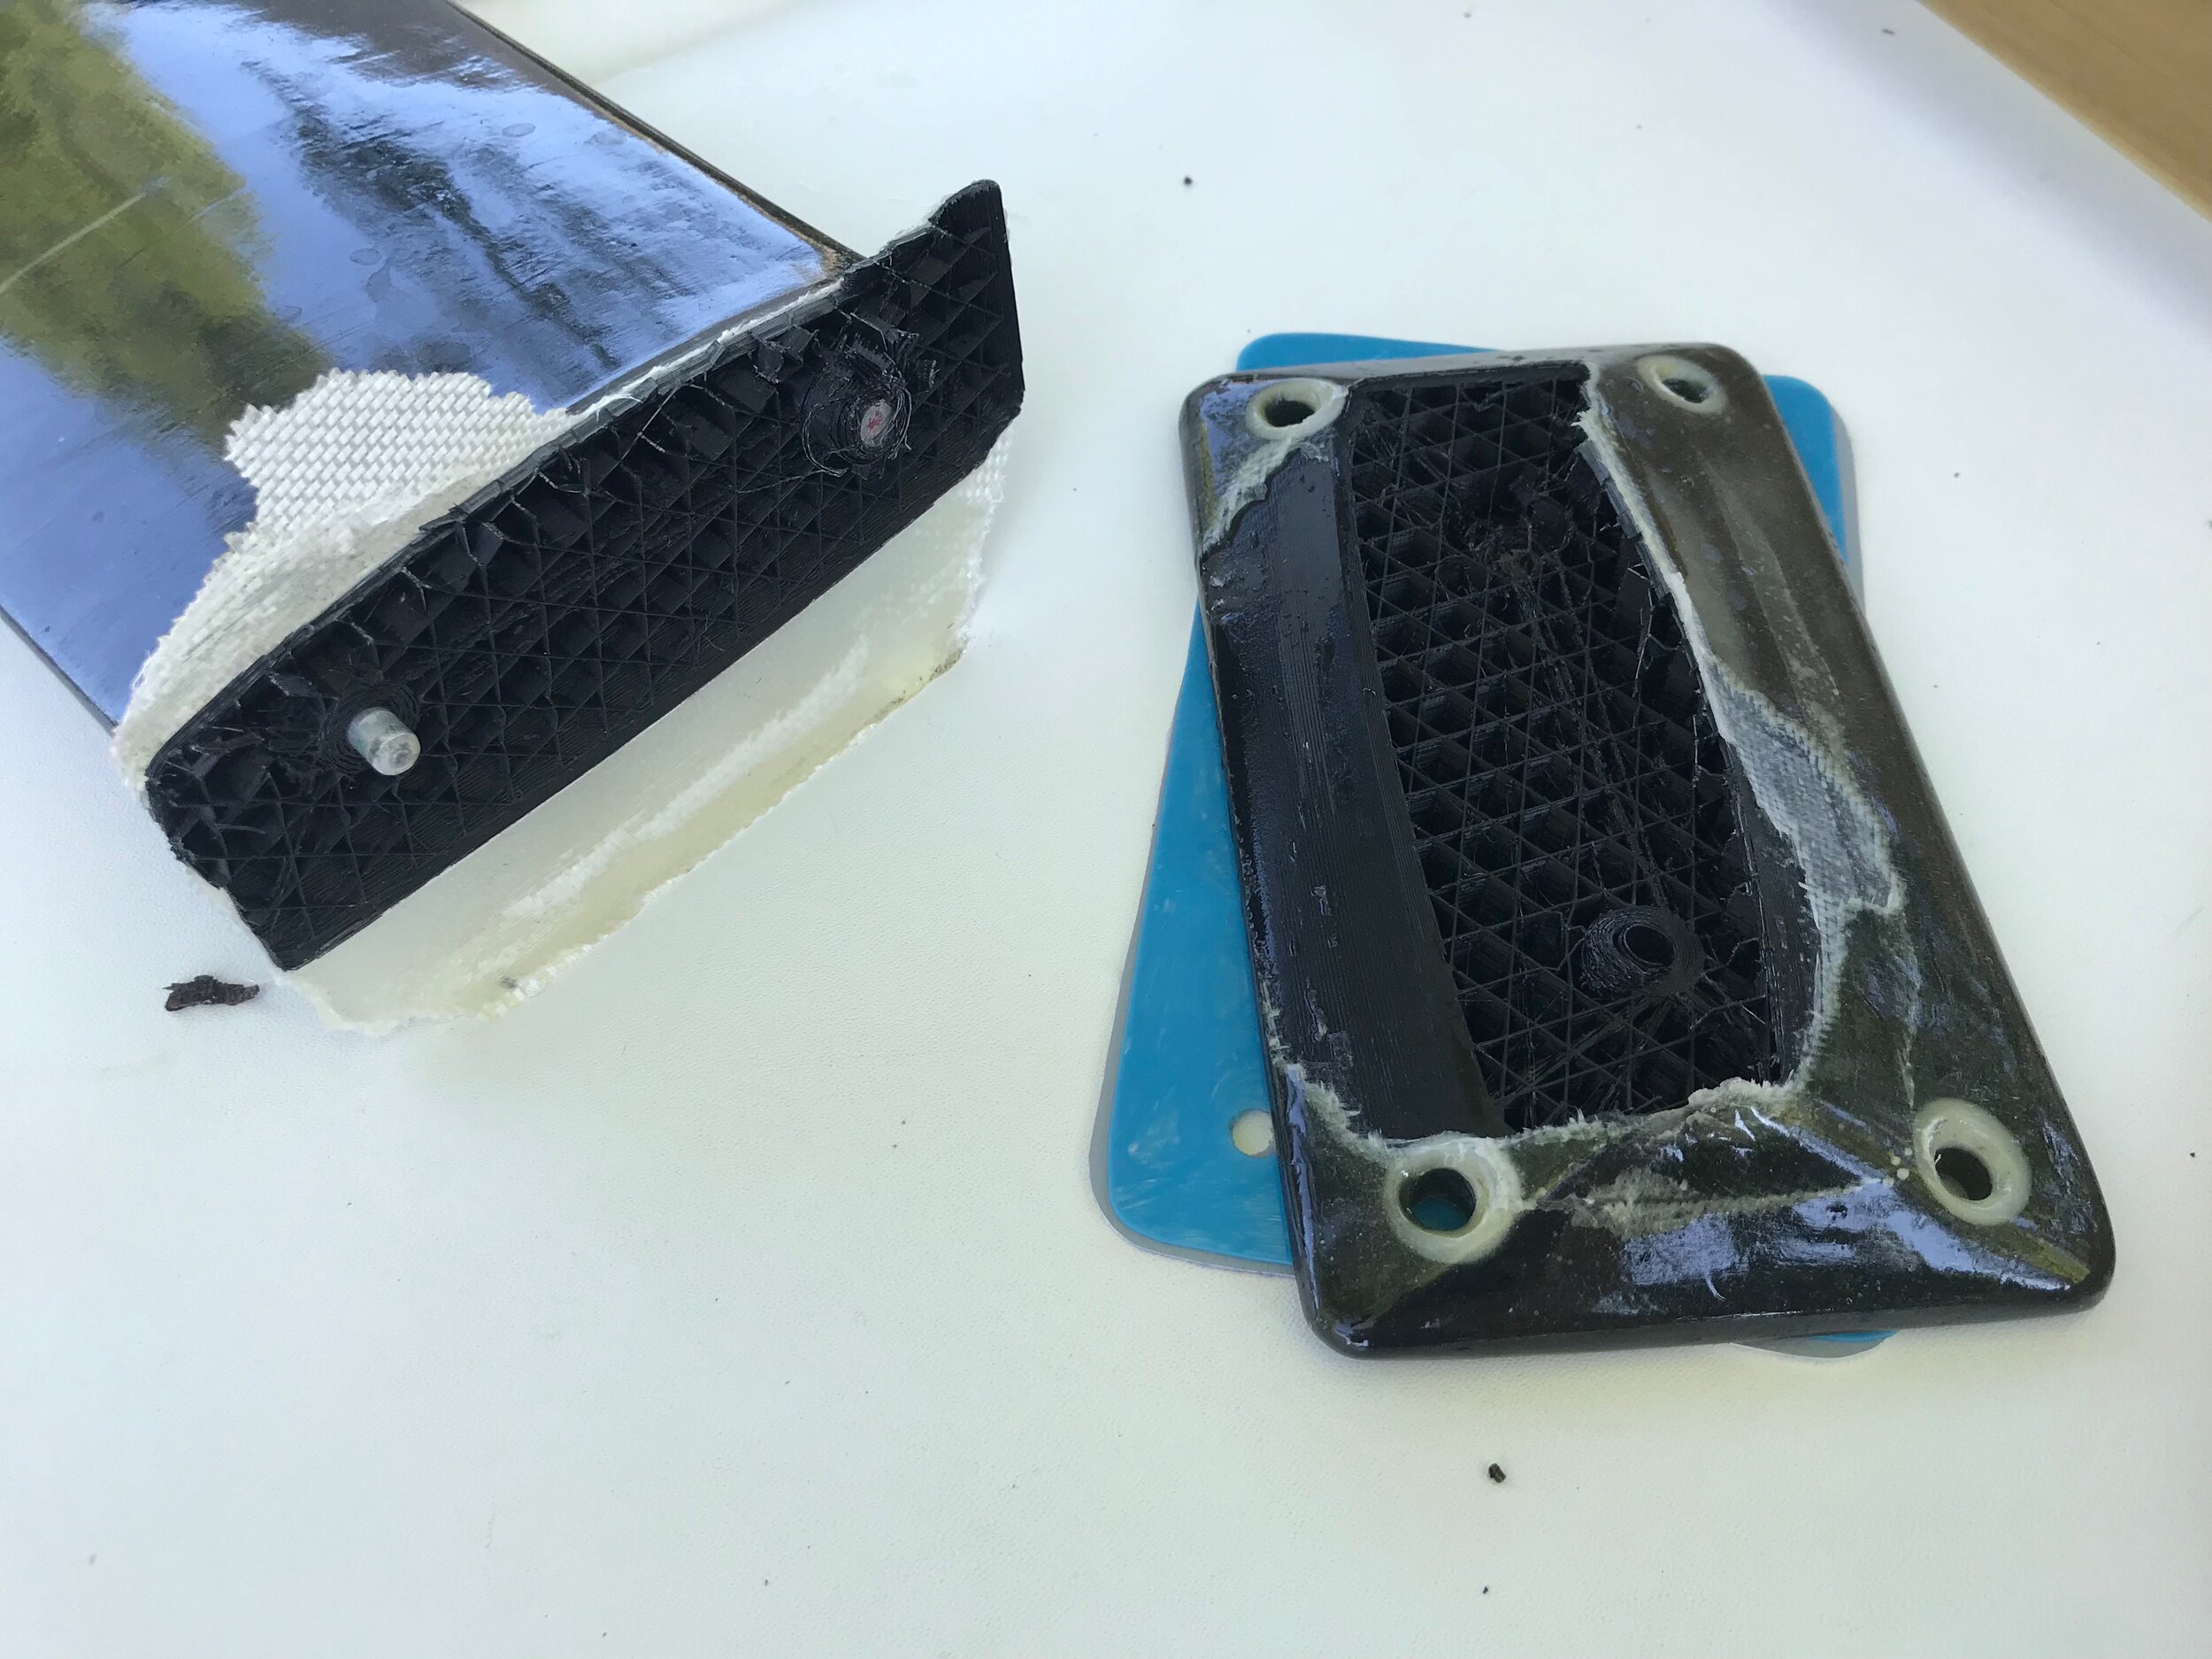
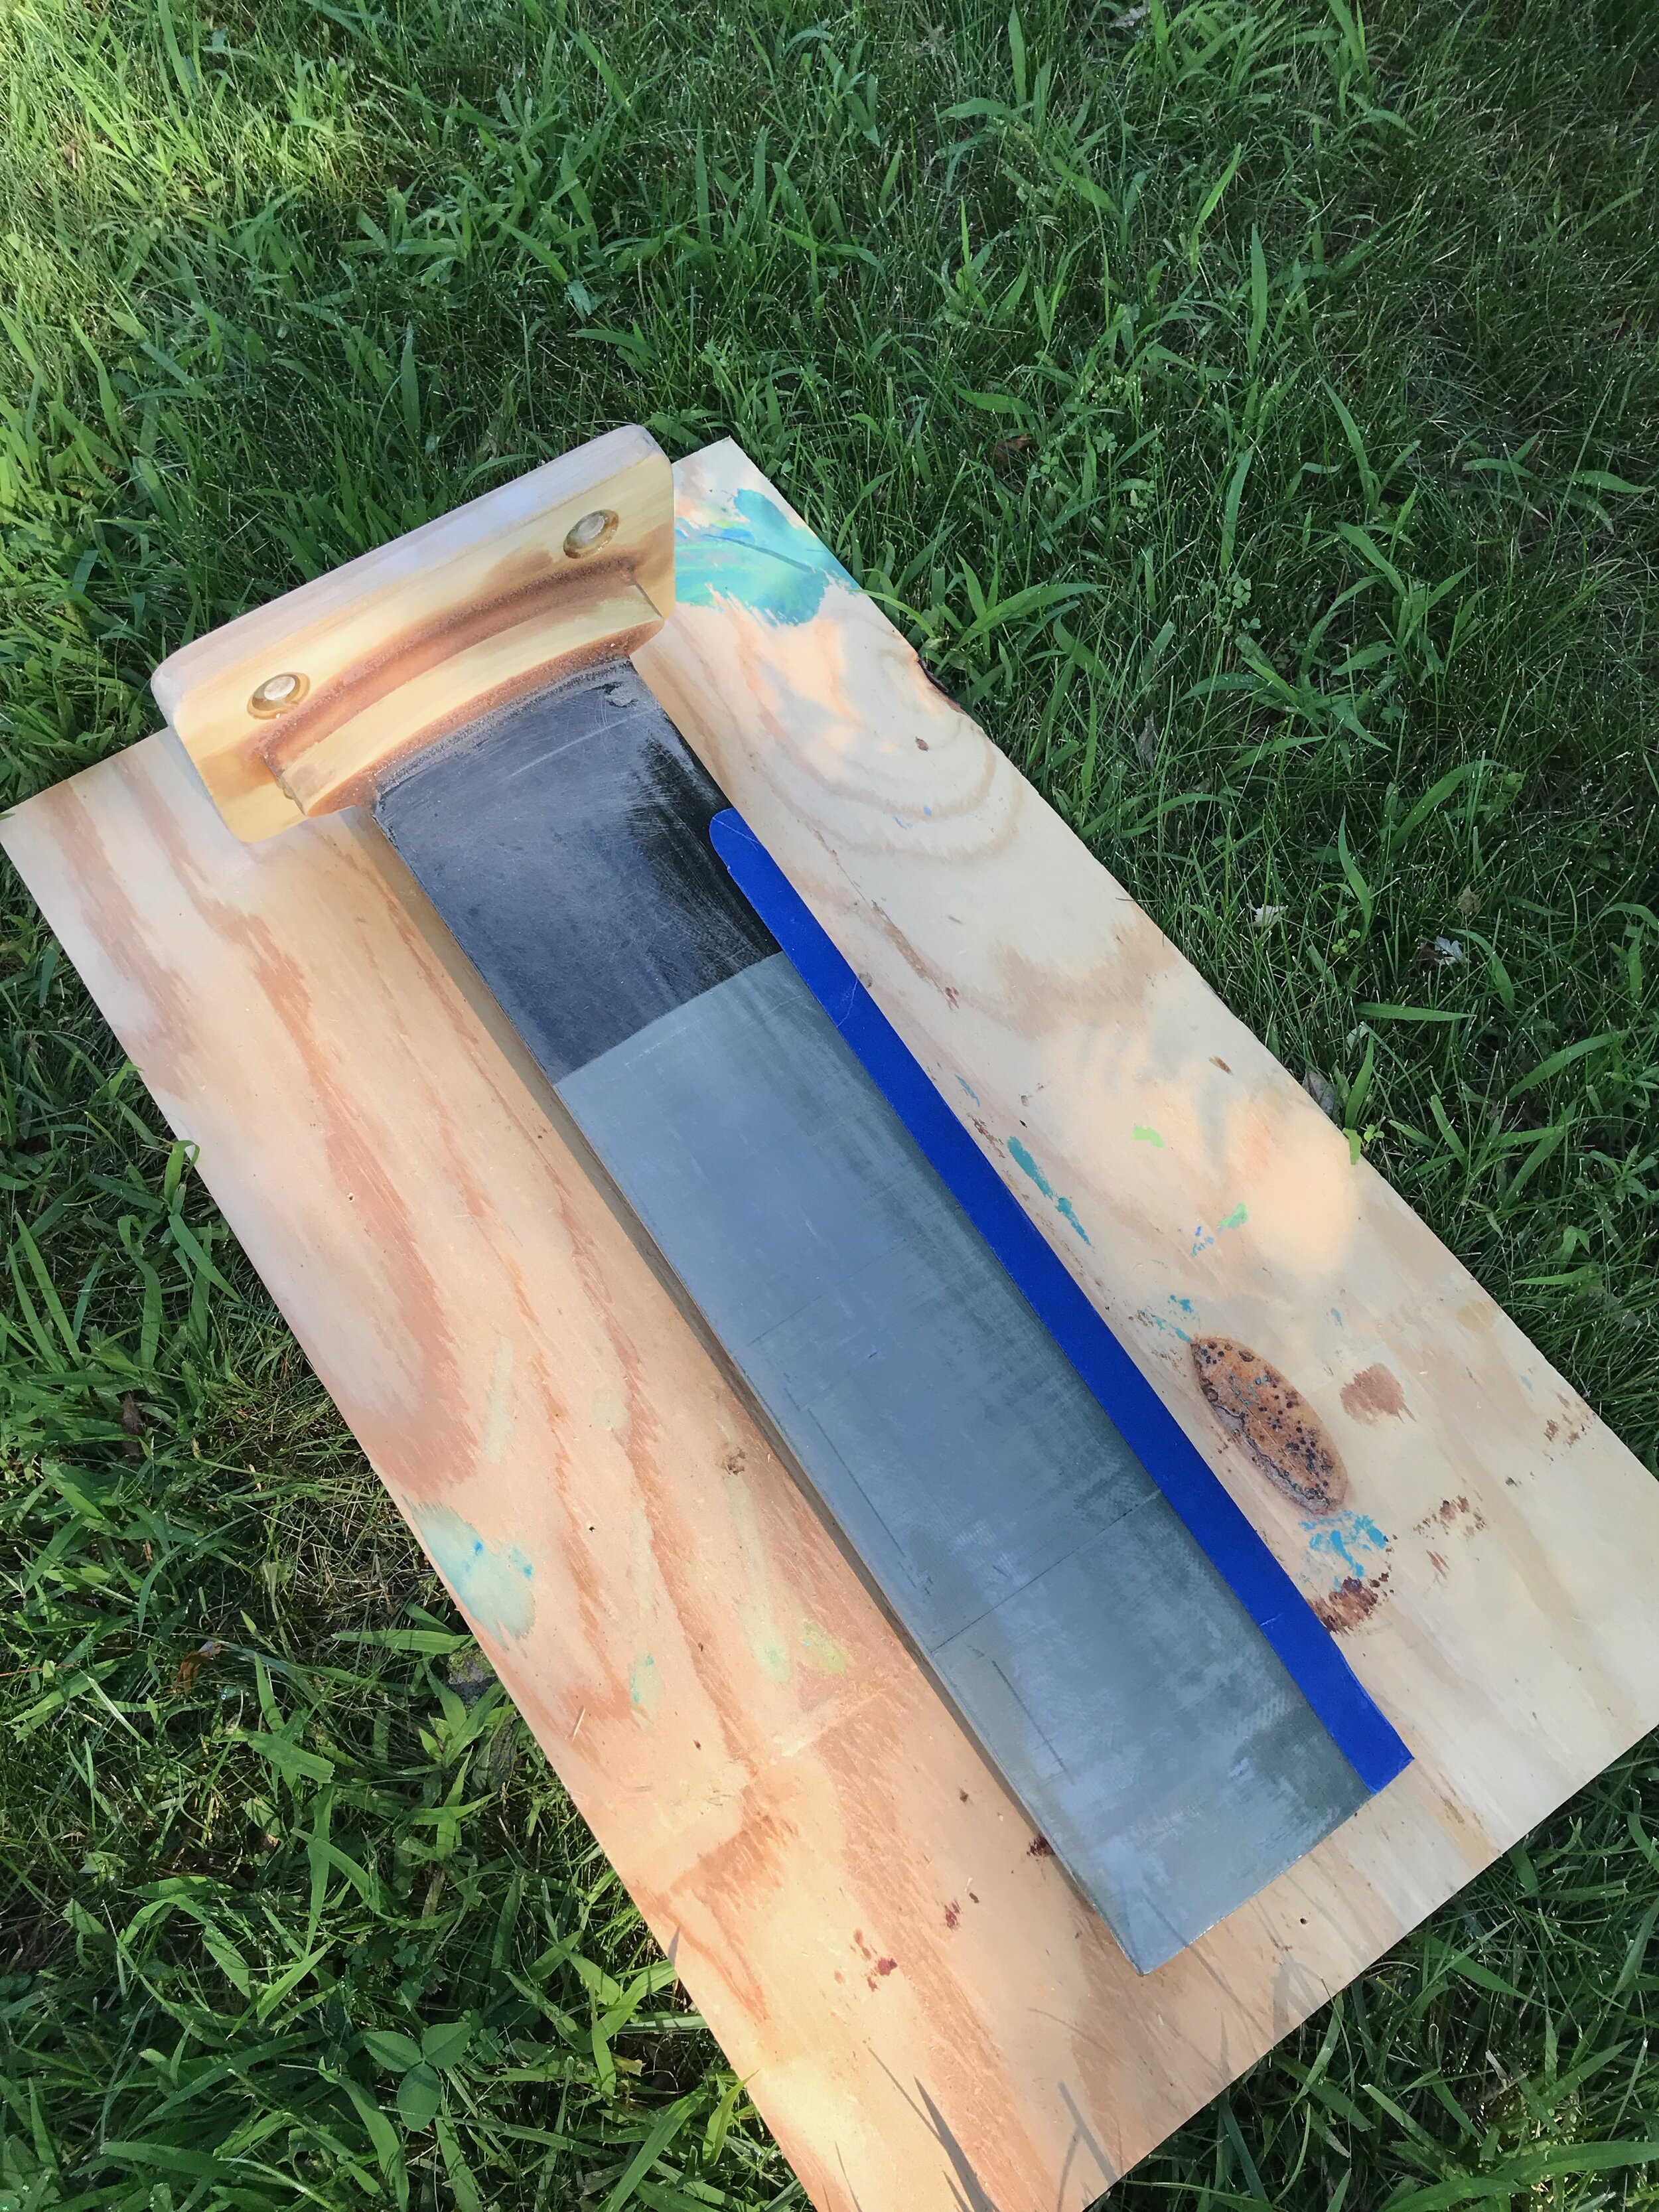
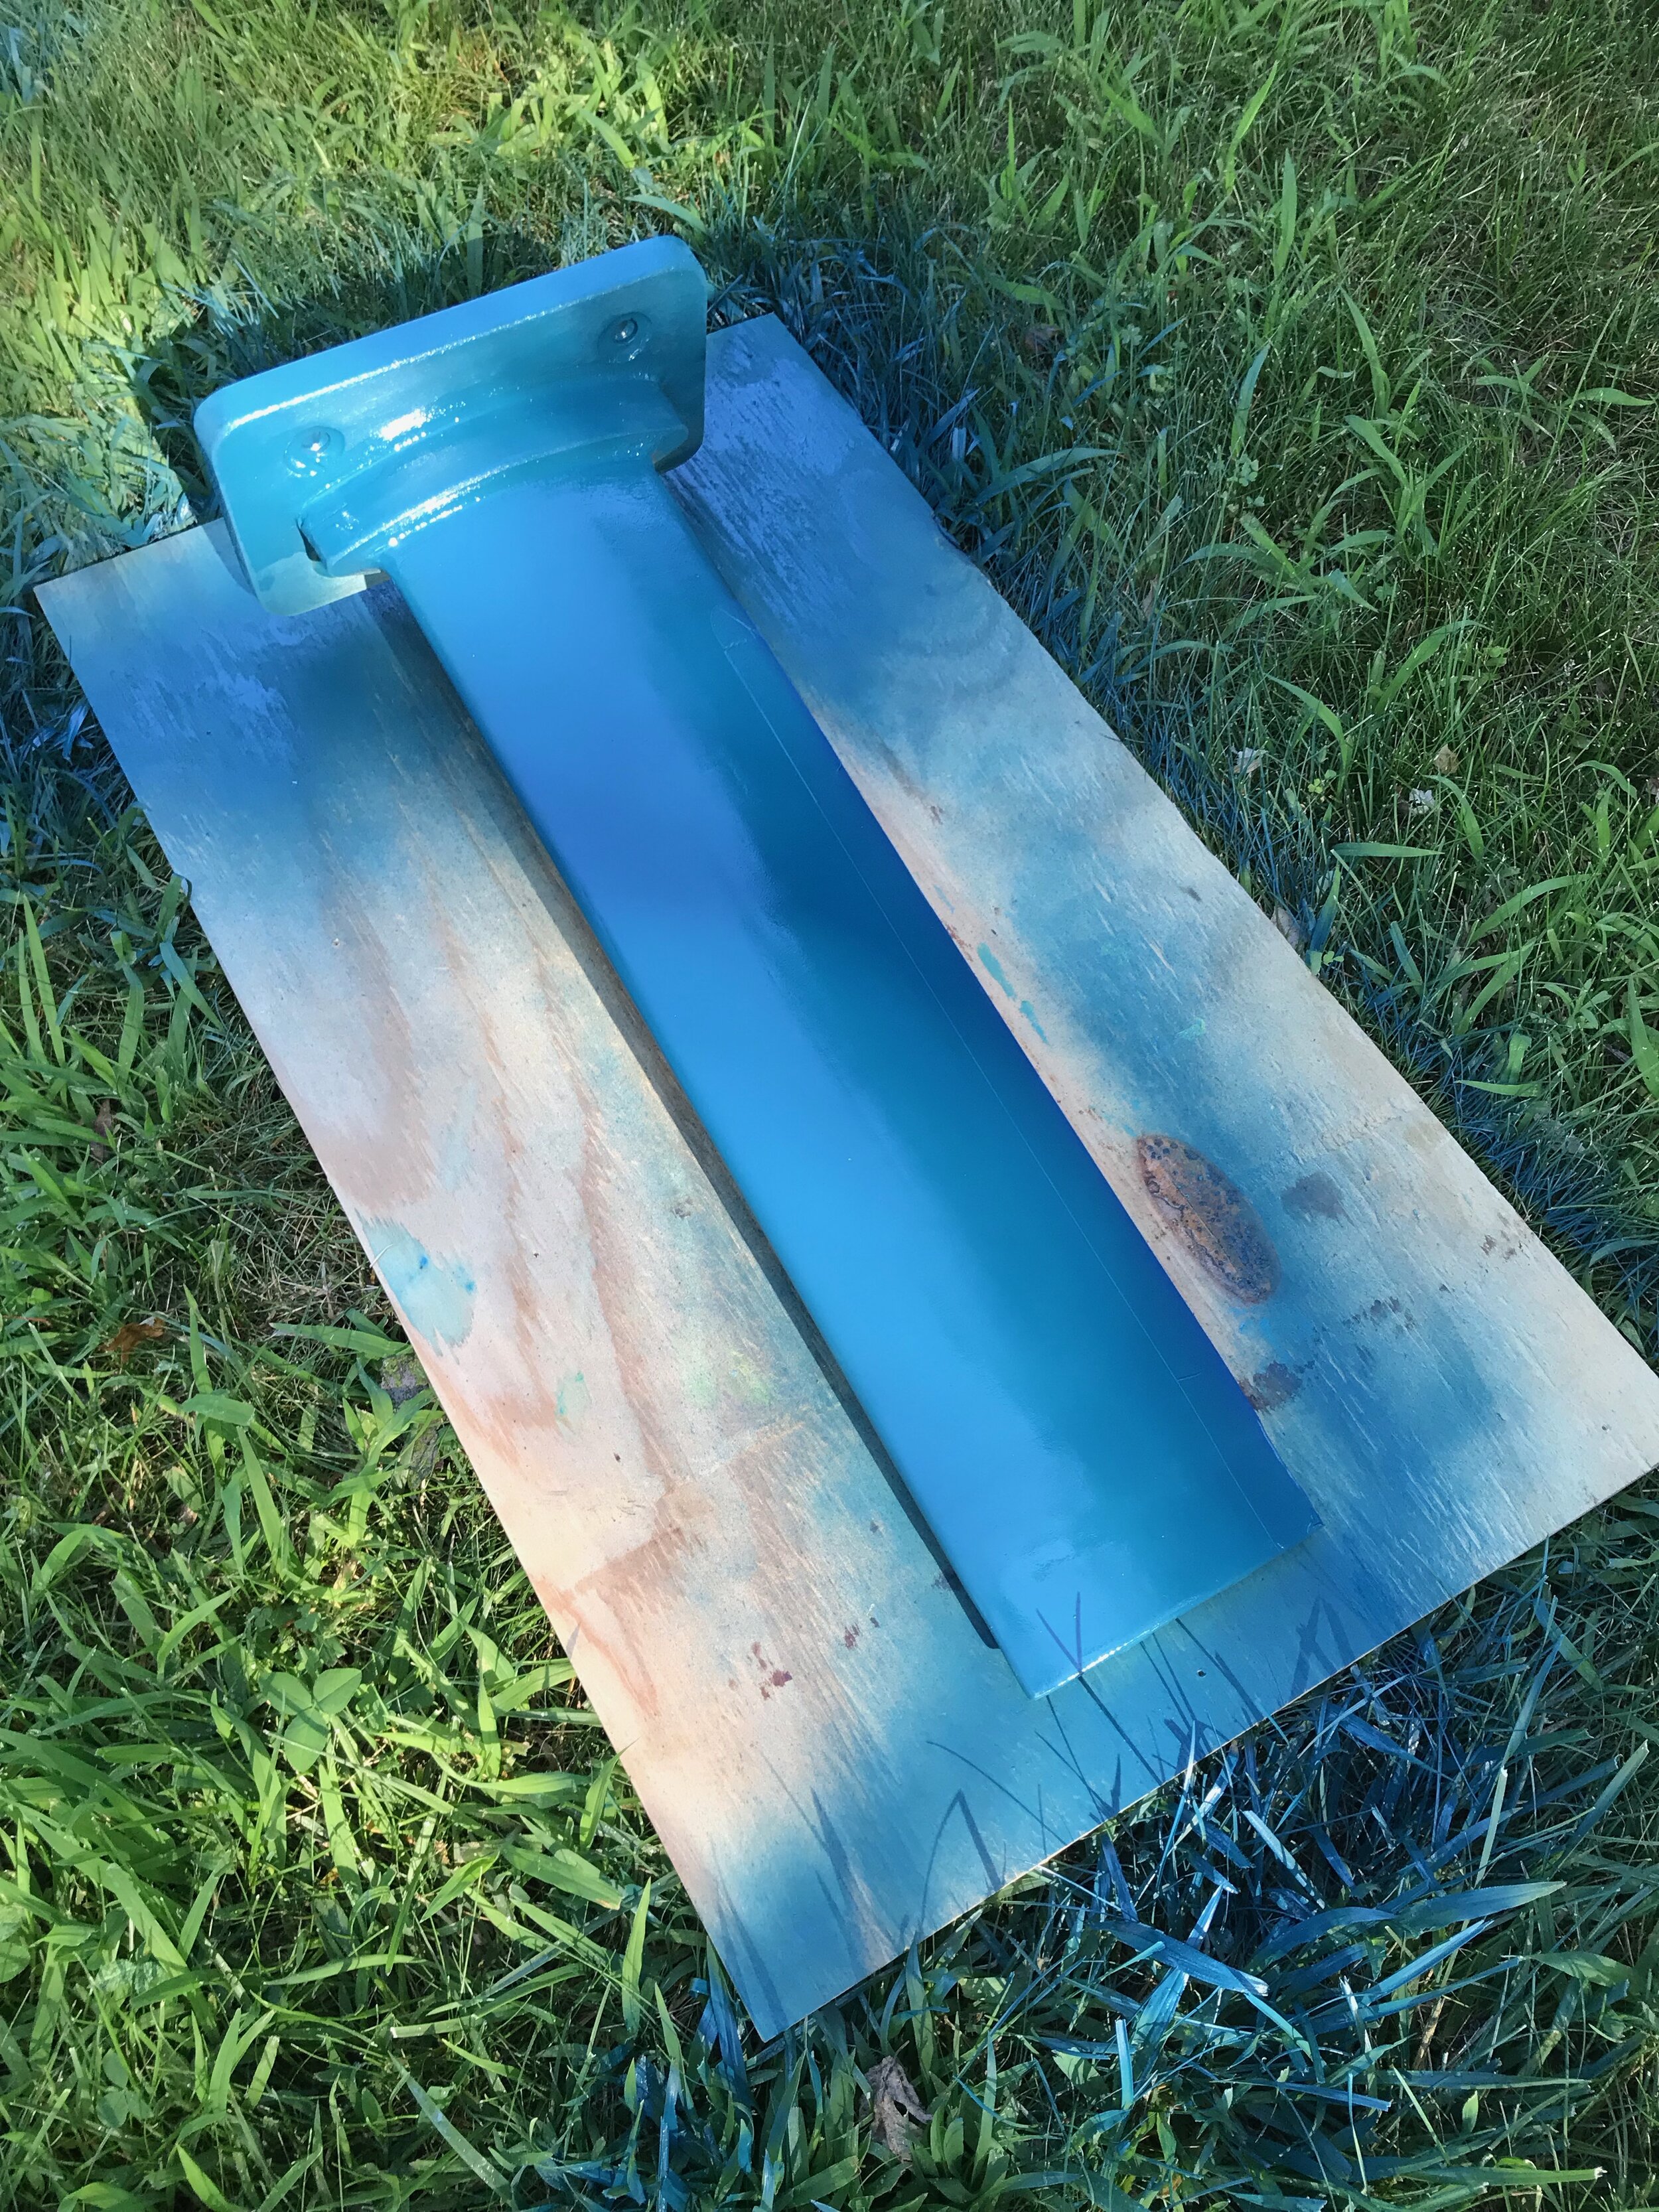
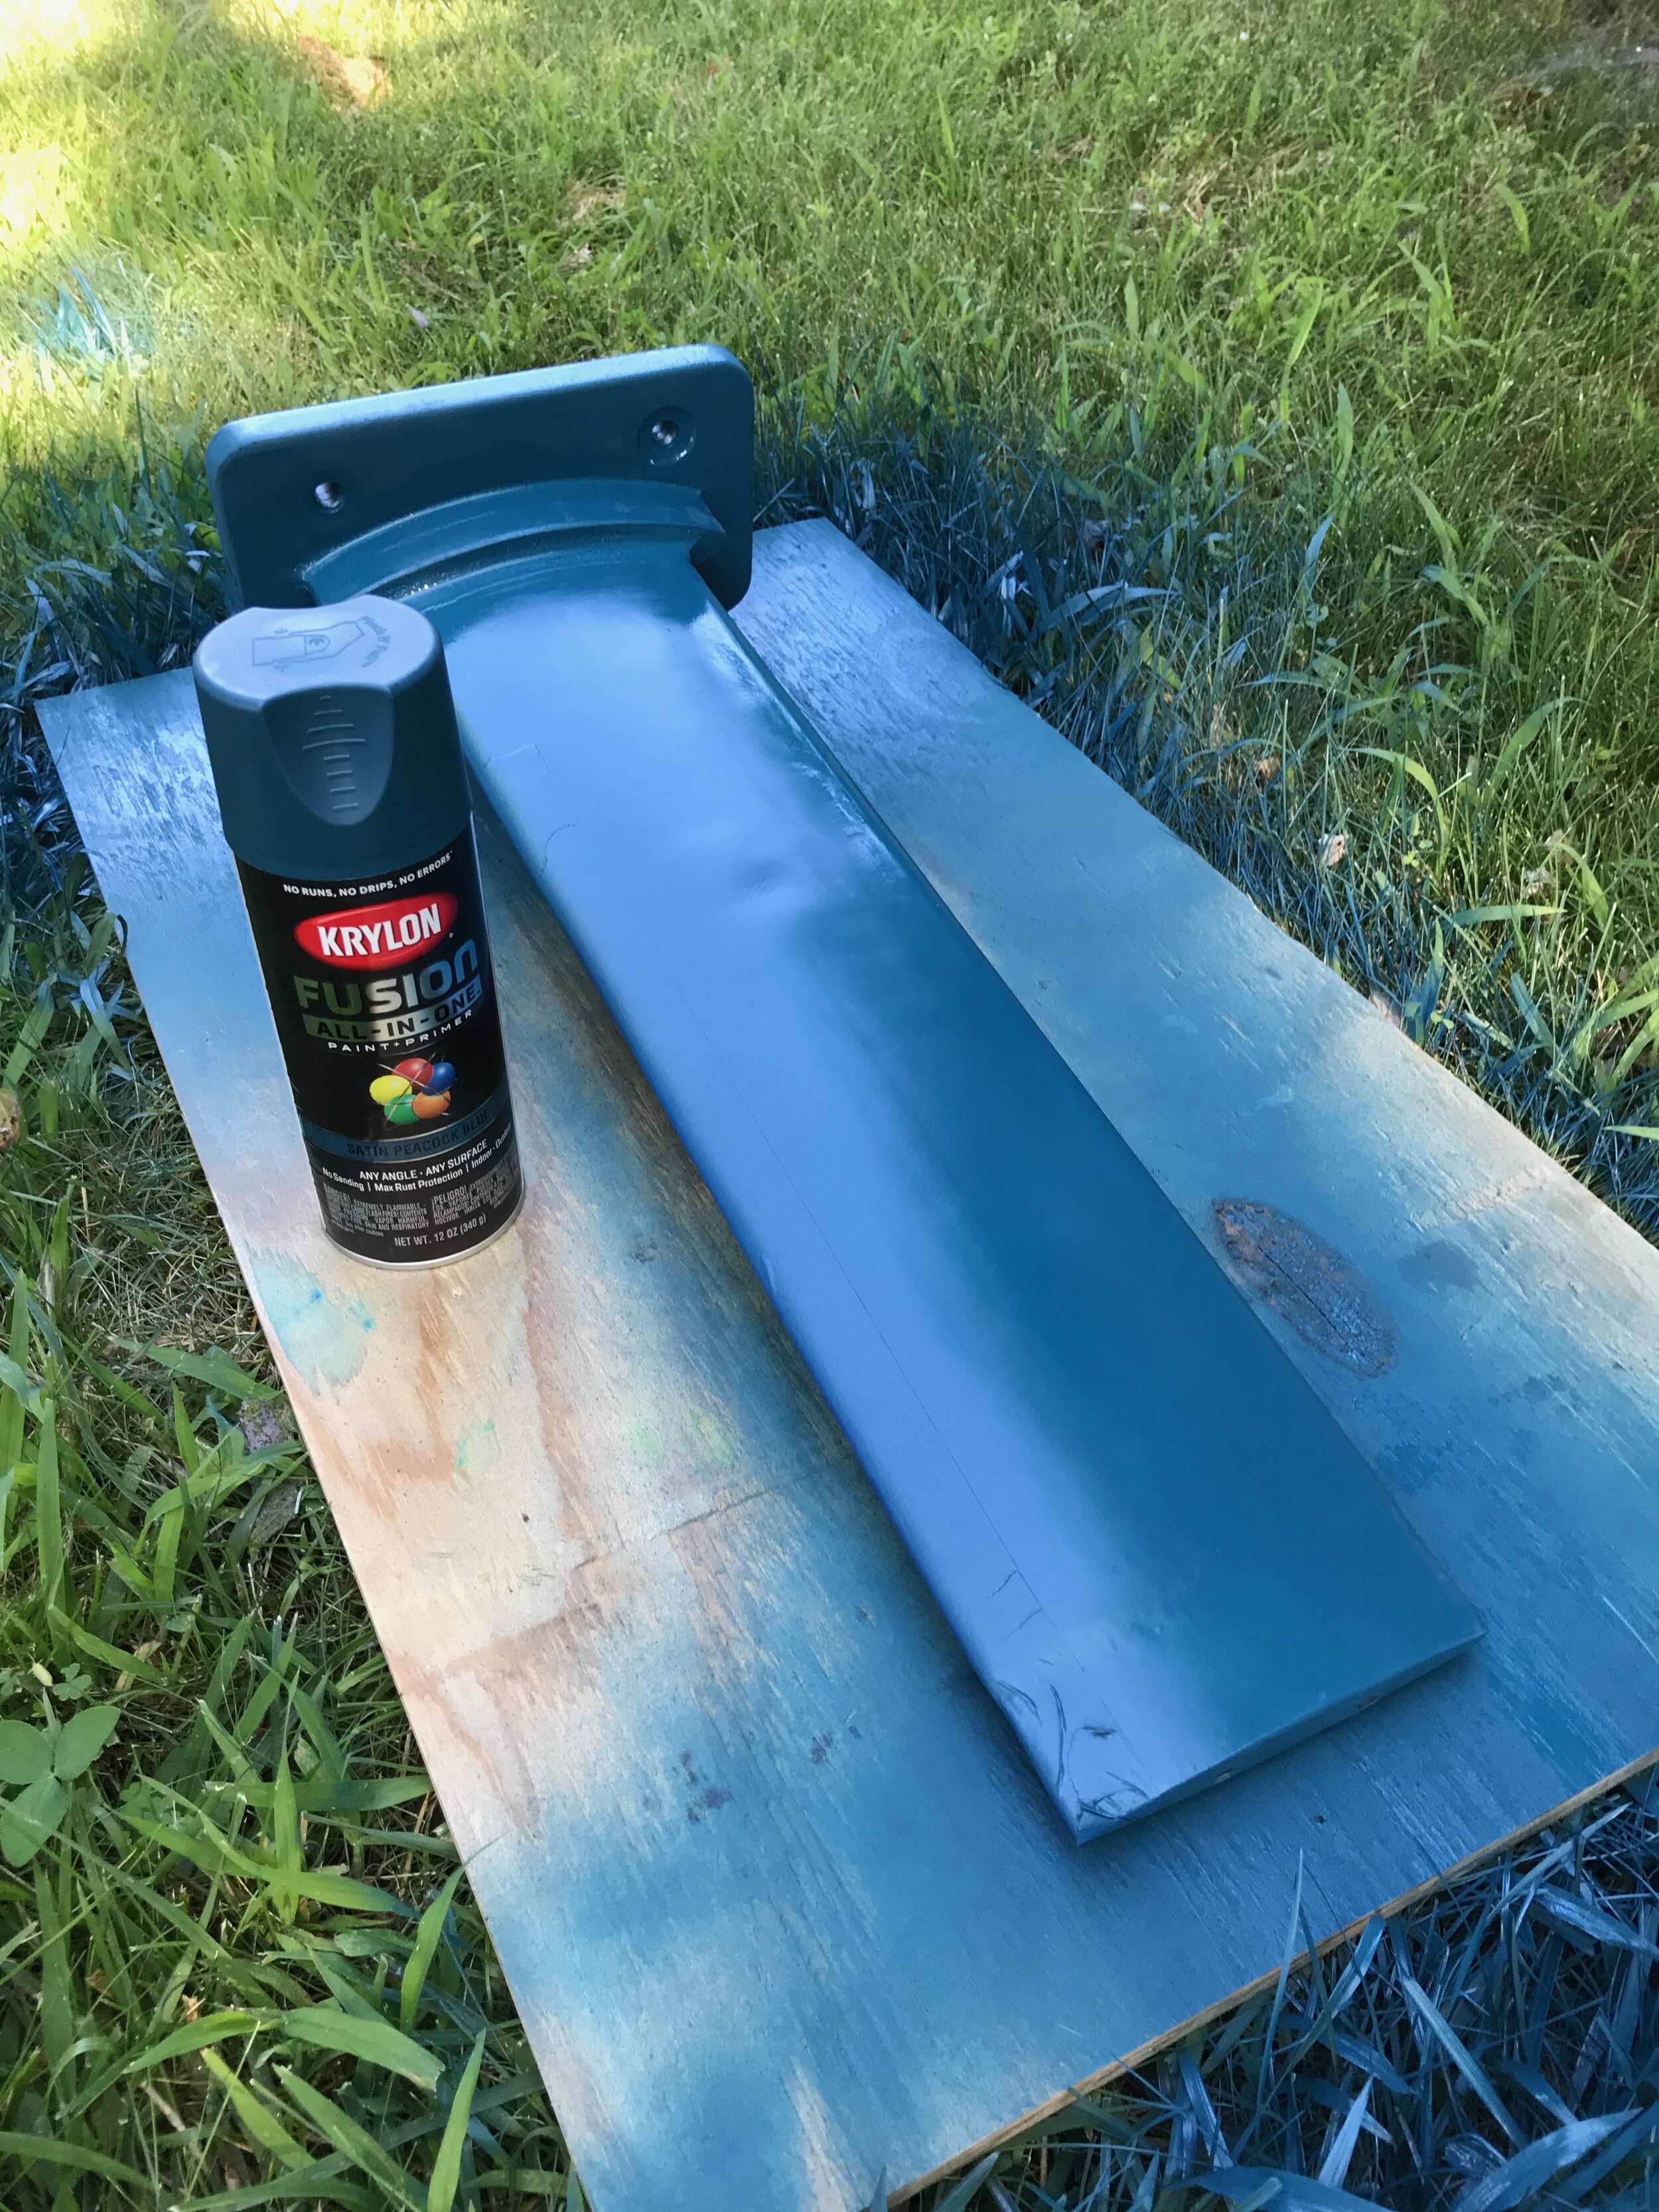
Building the Fins


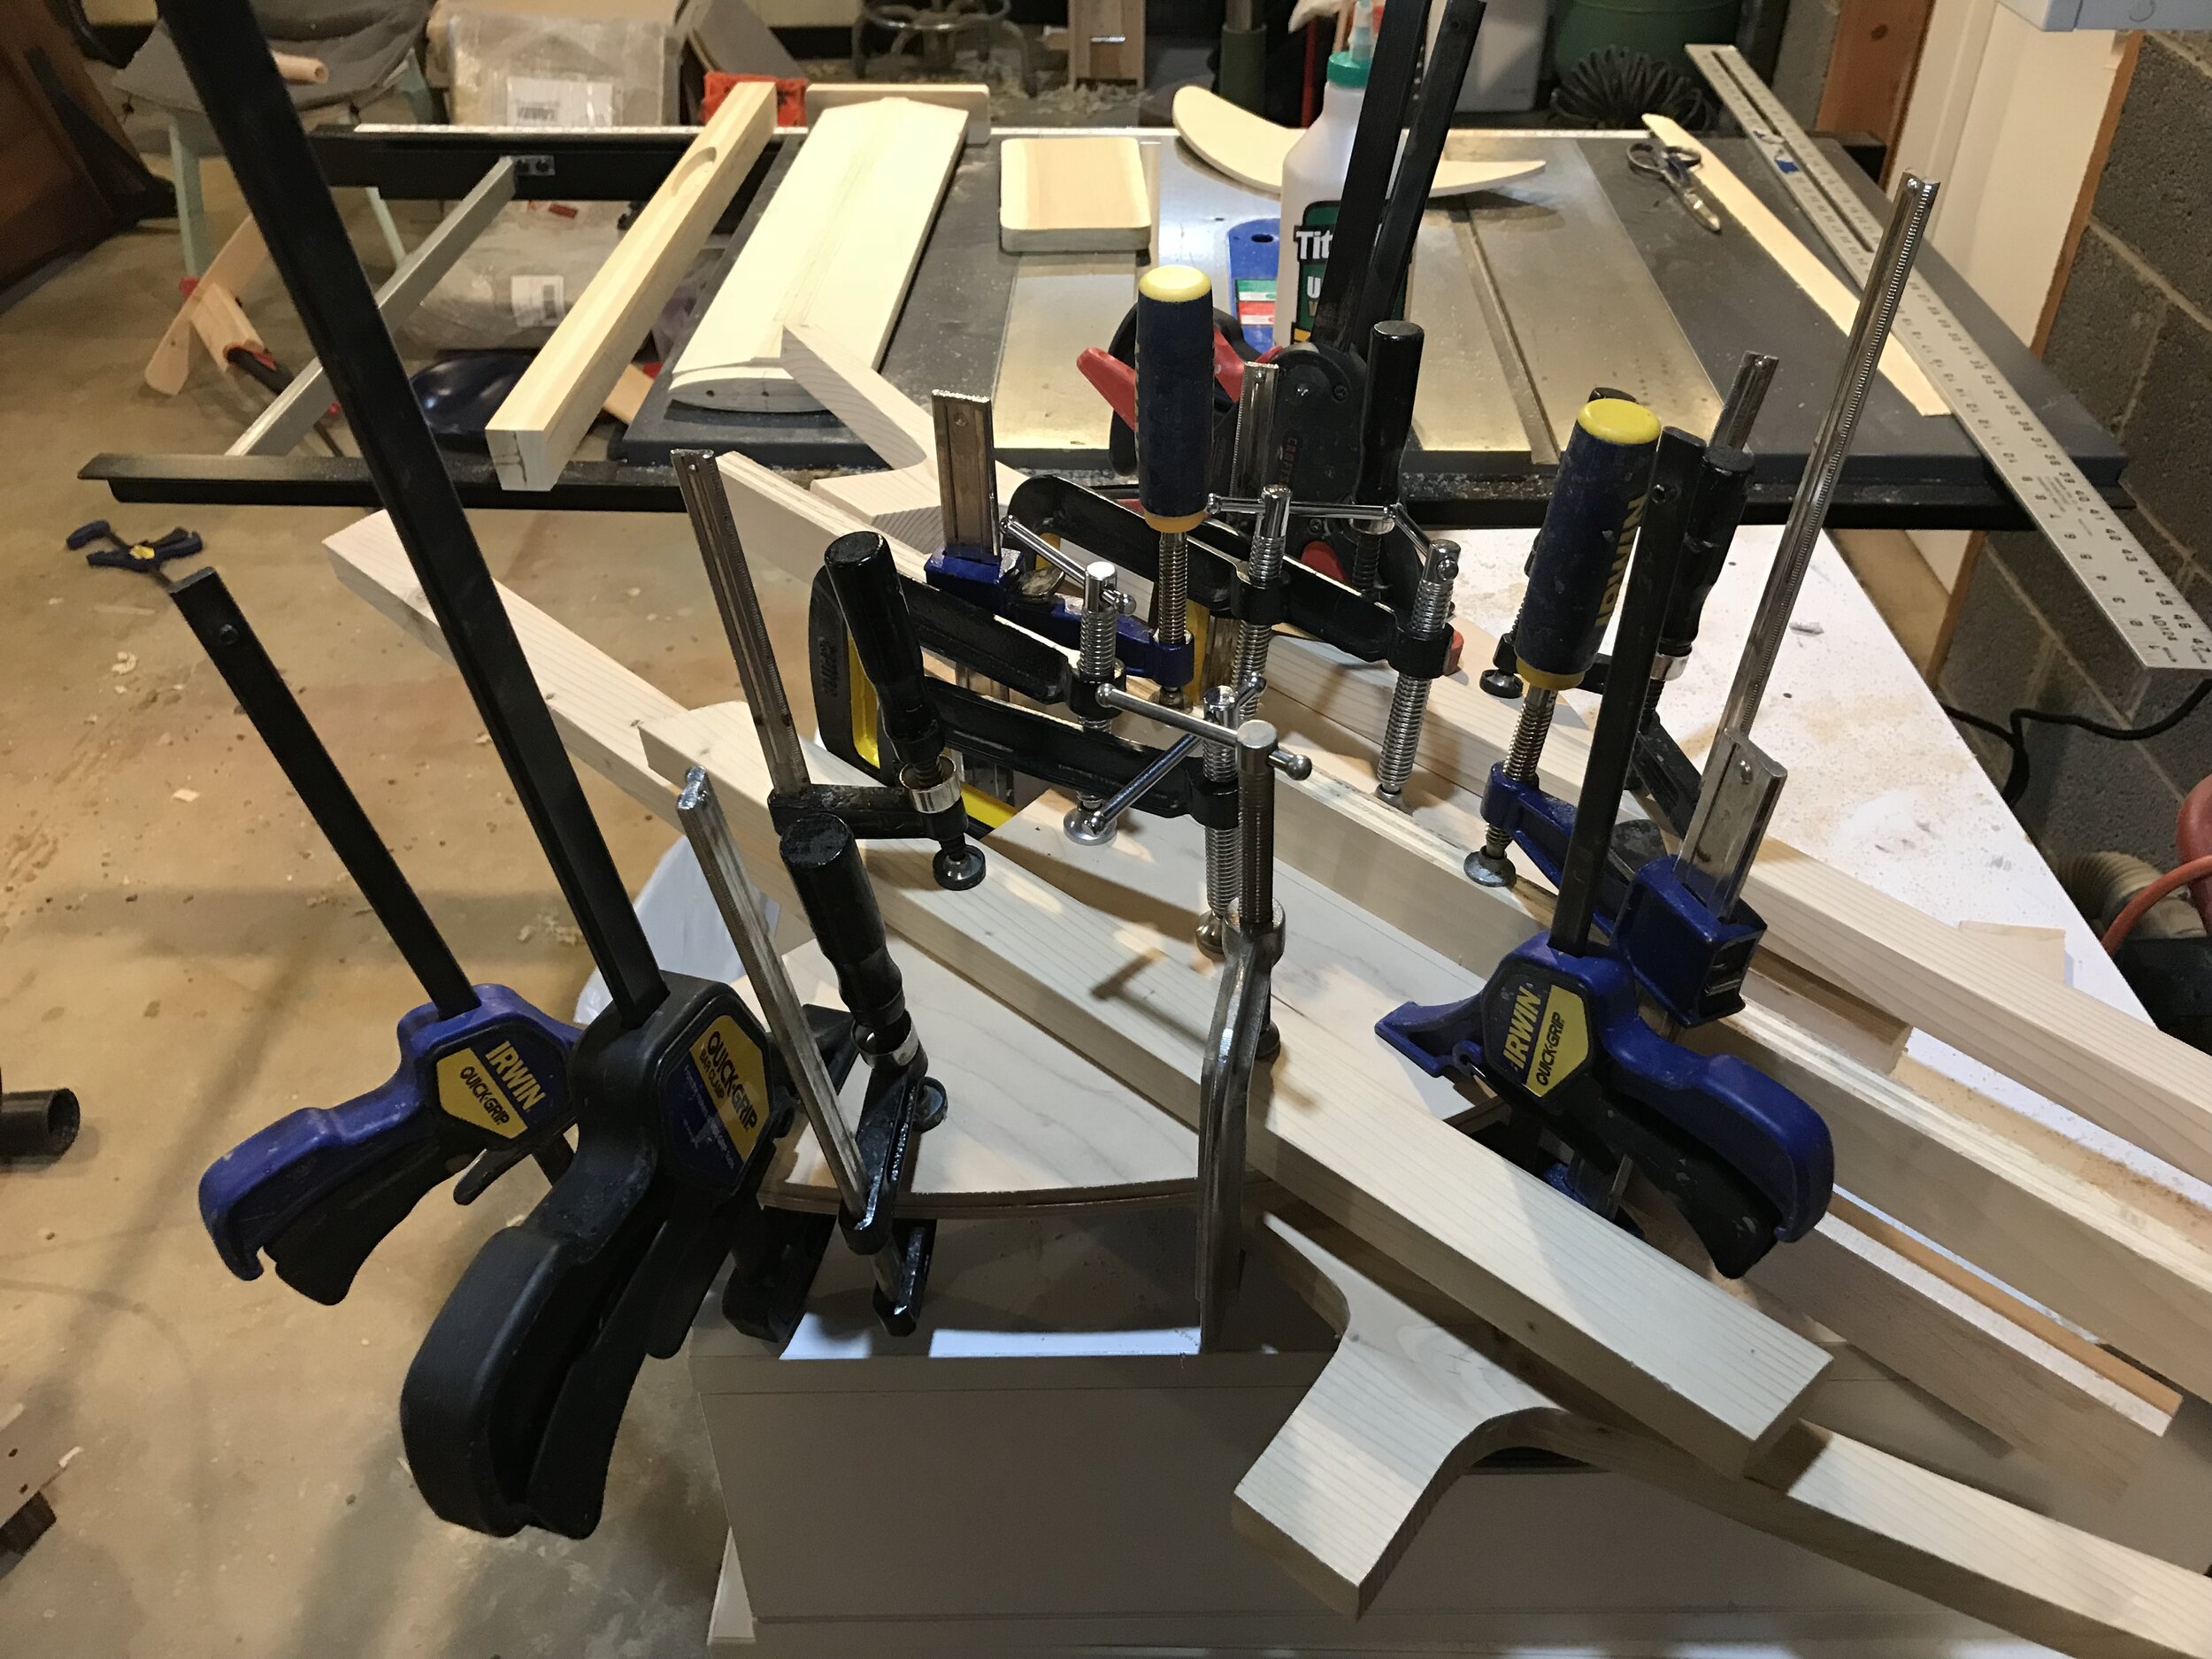
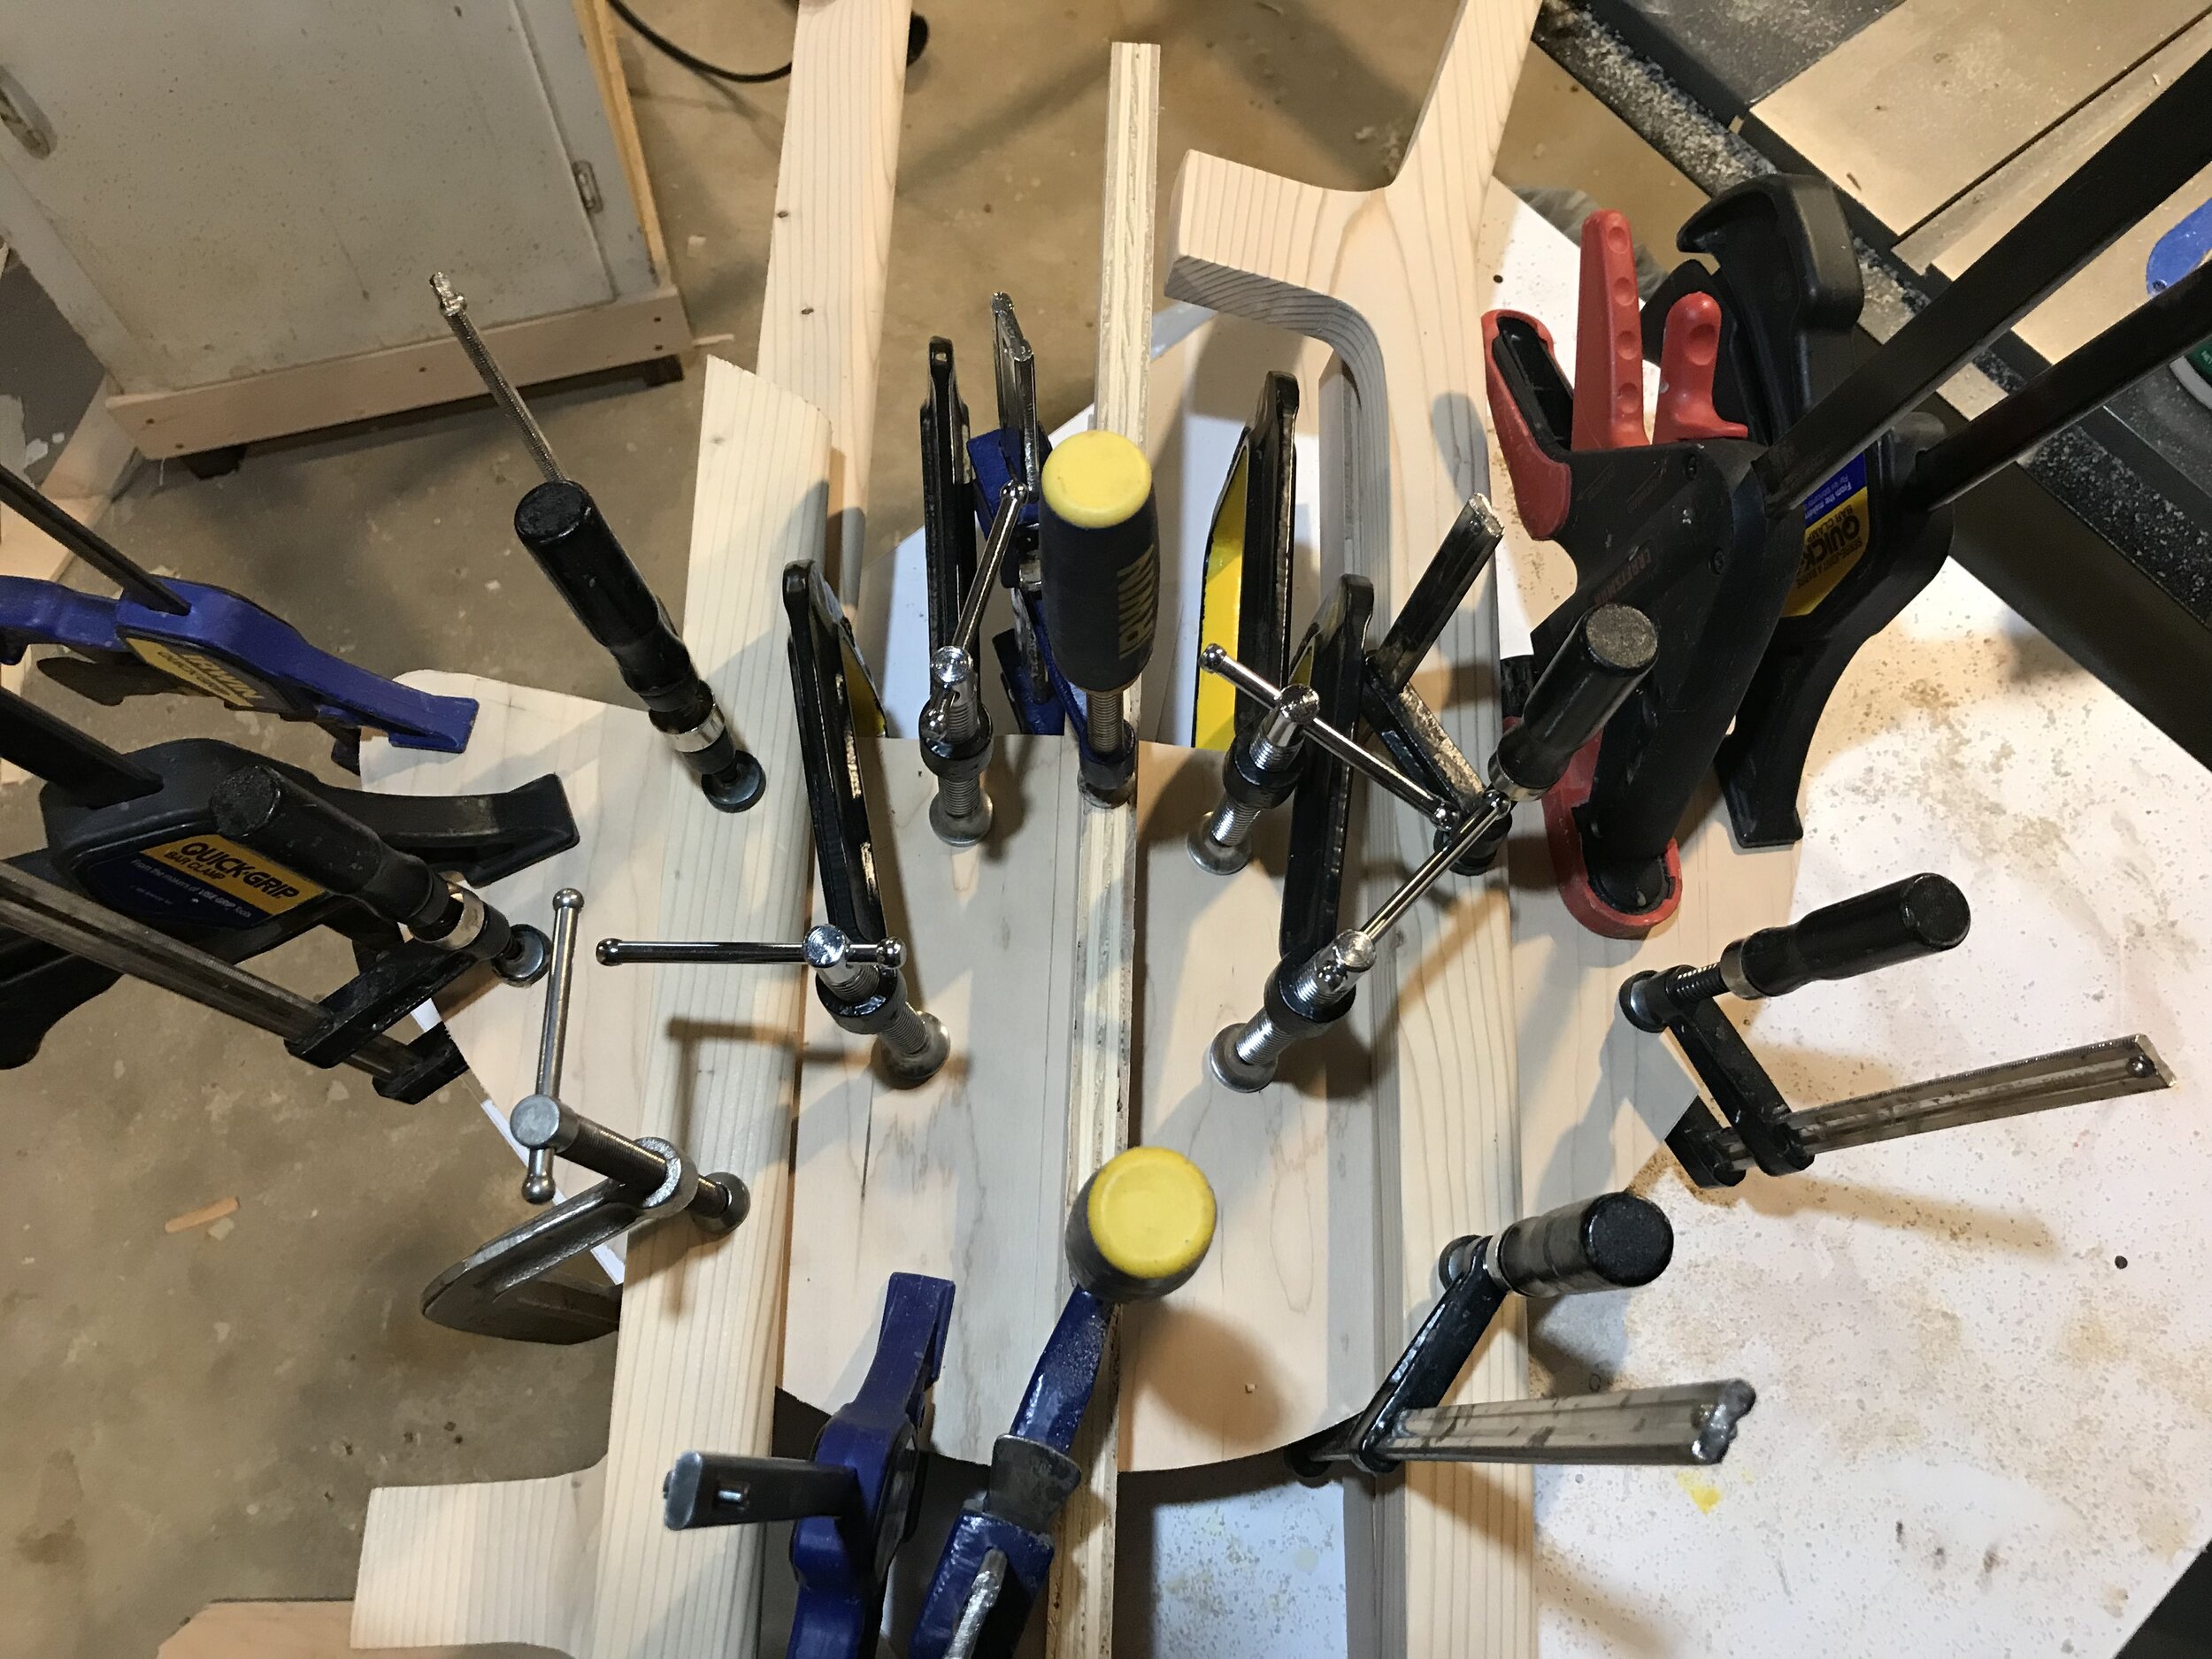
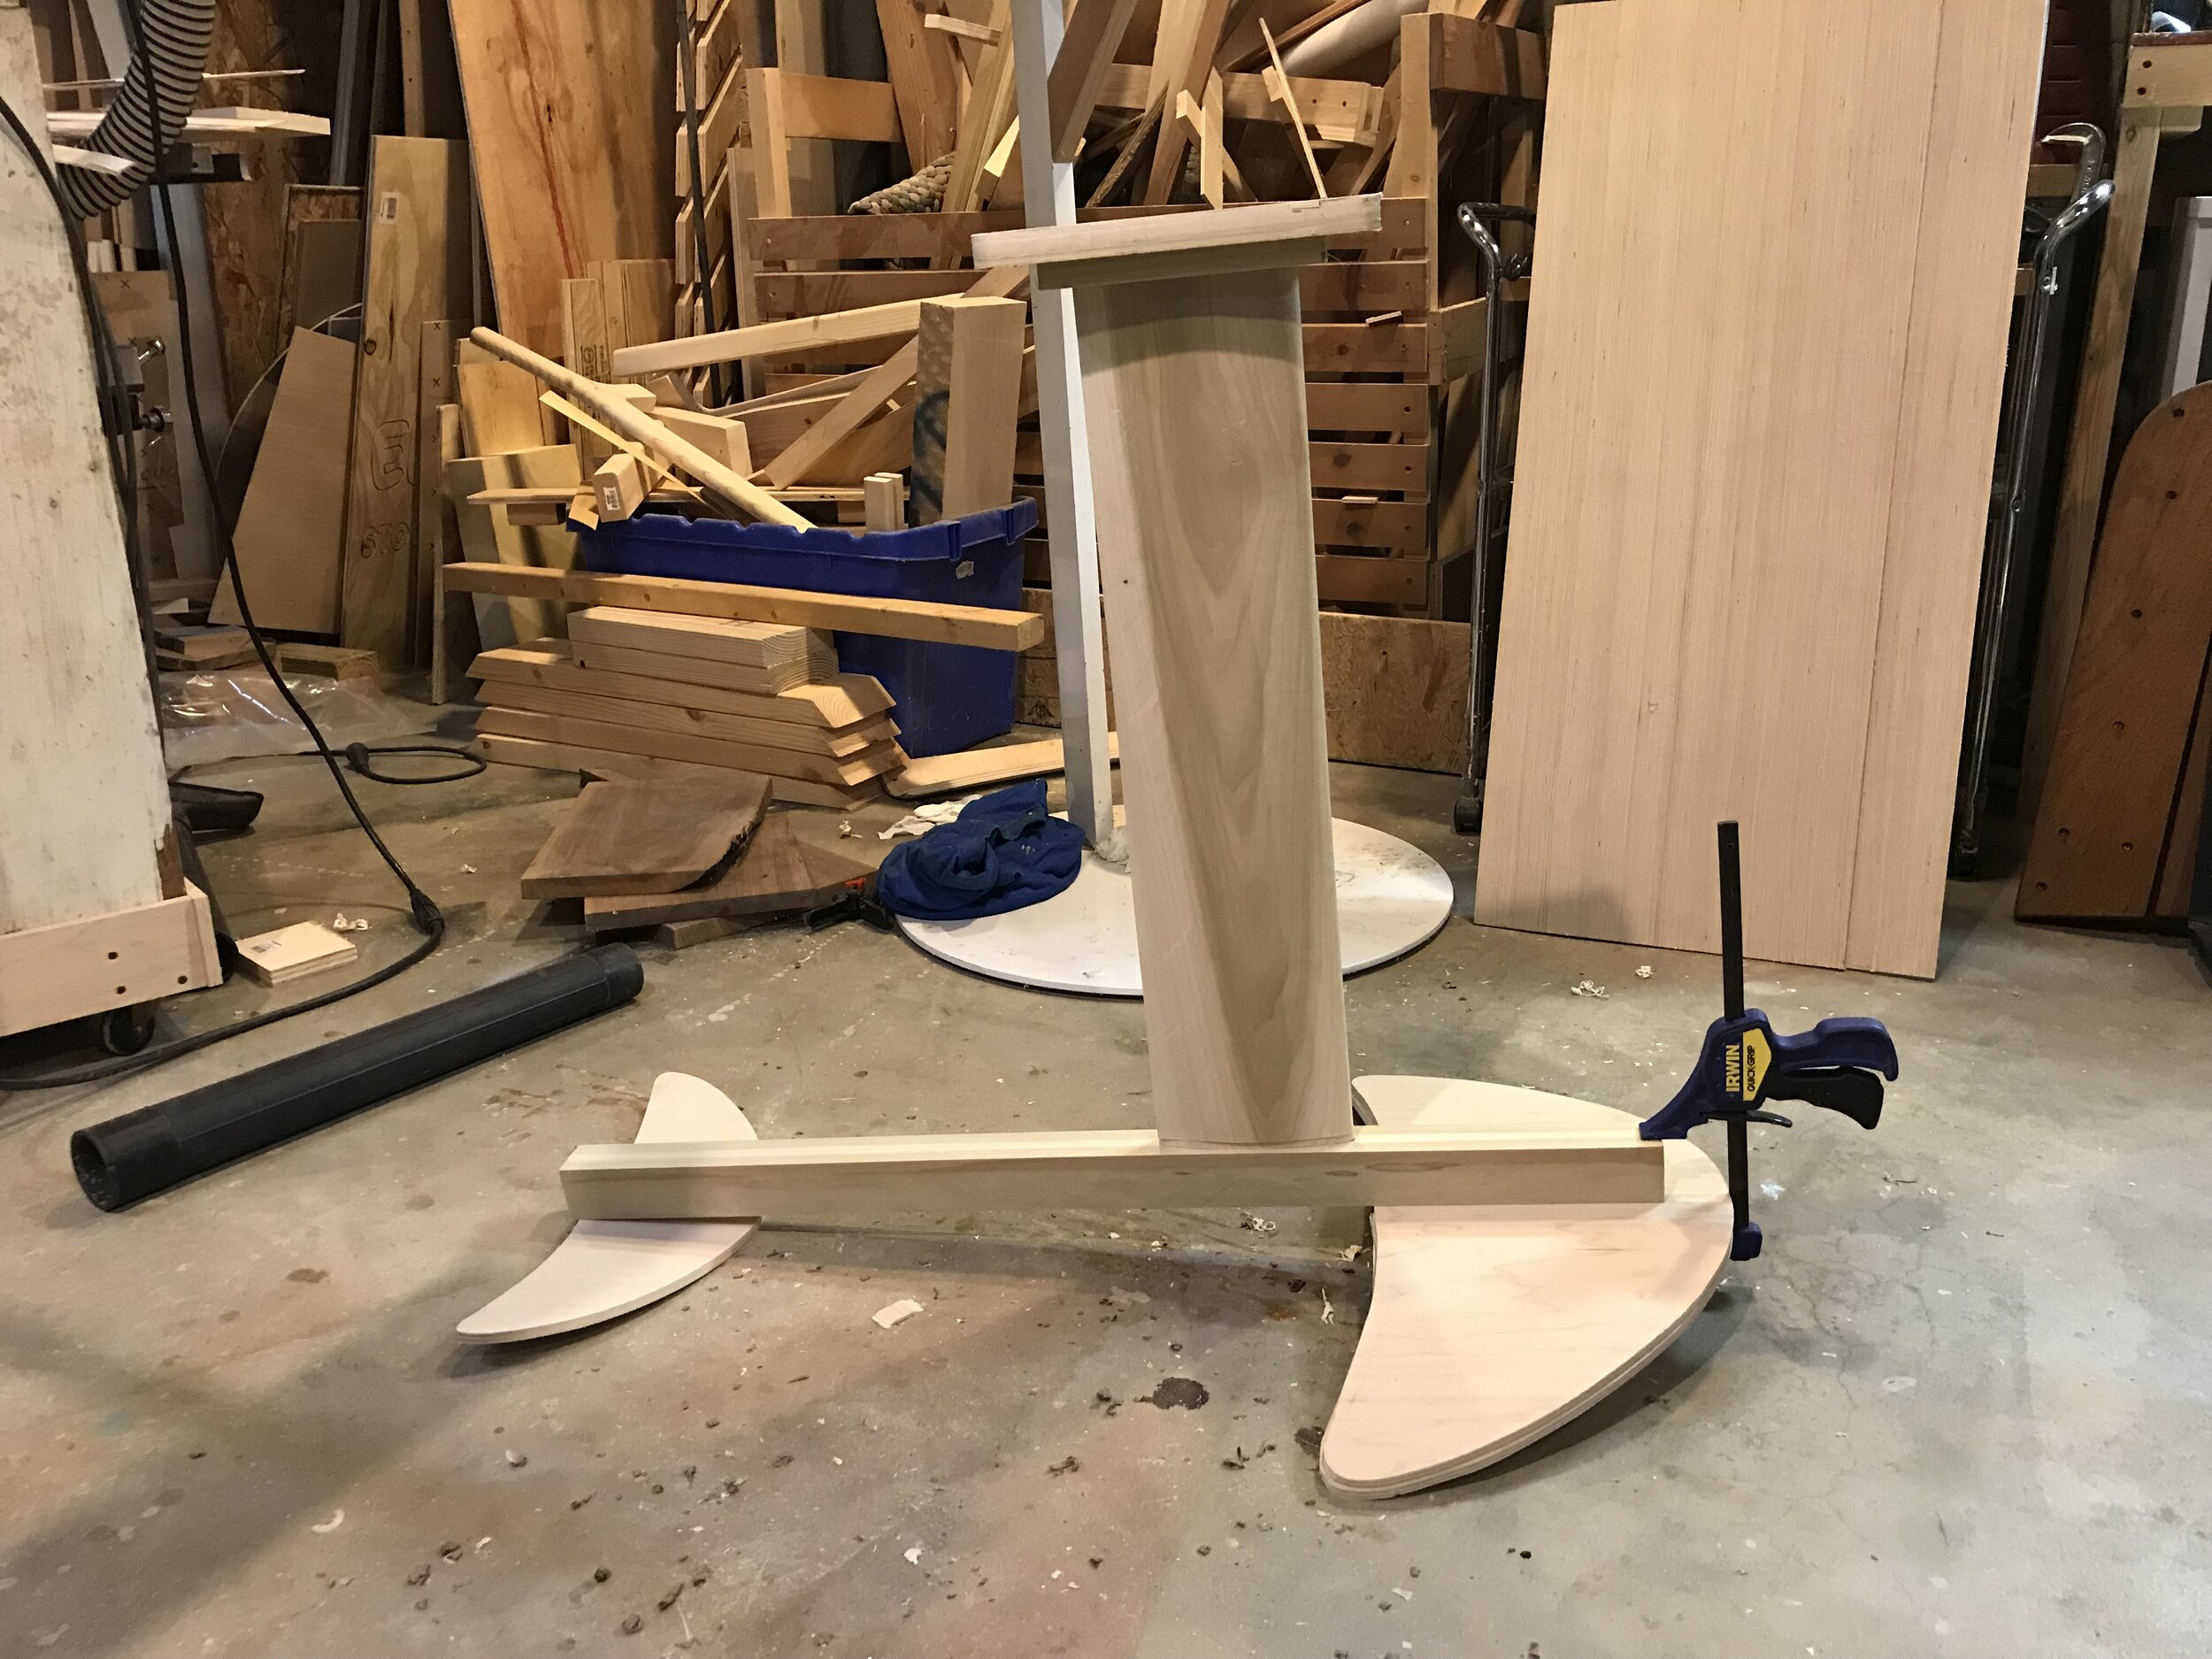
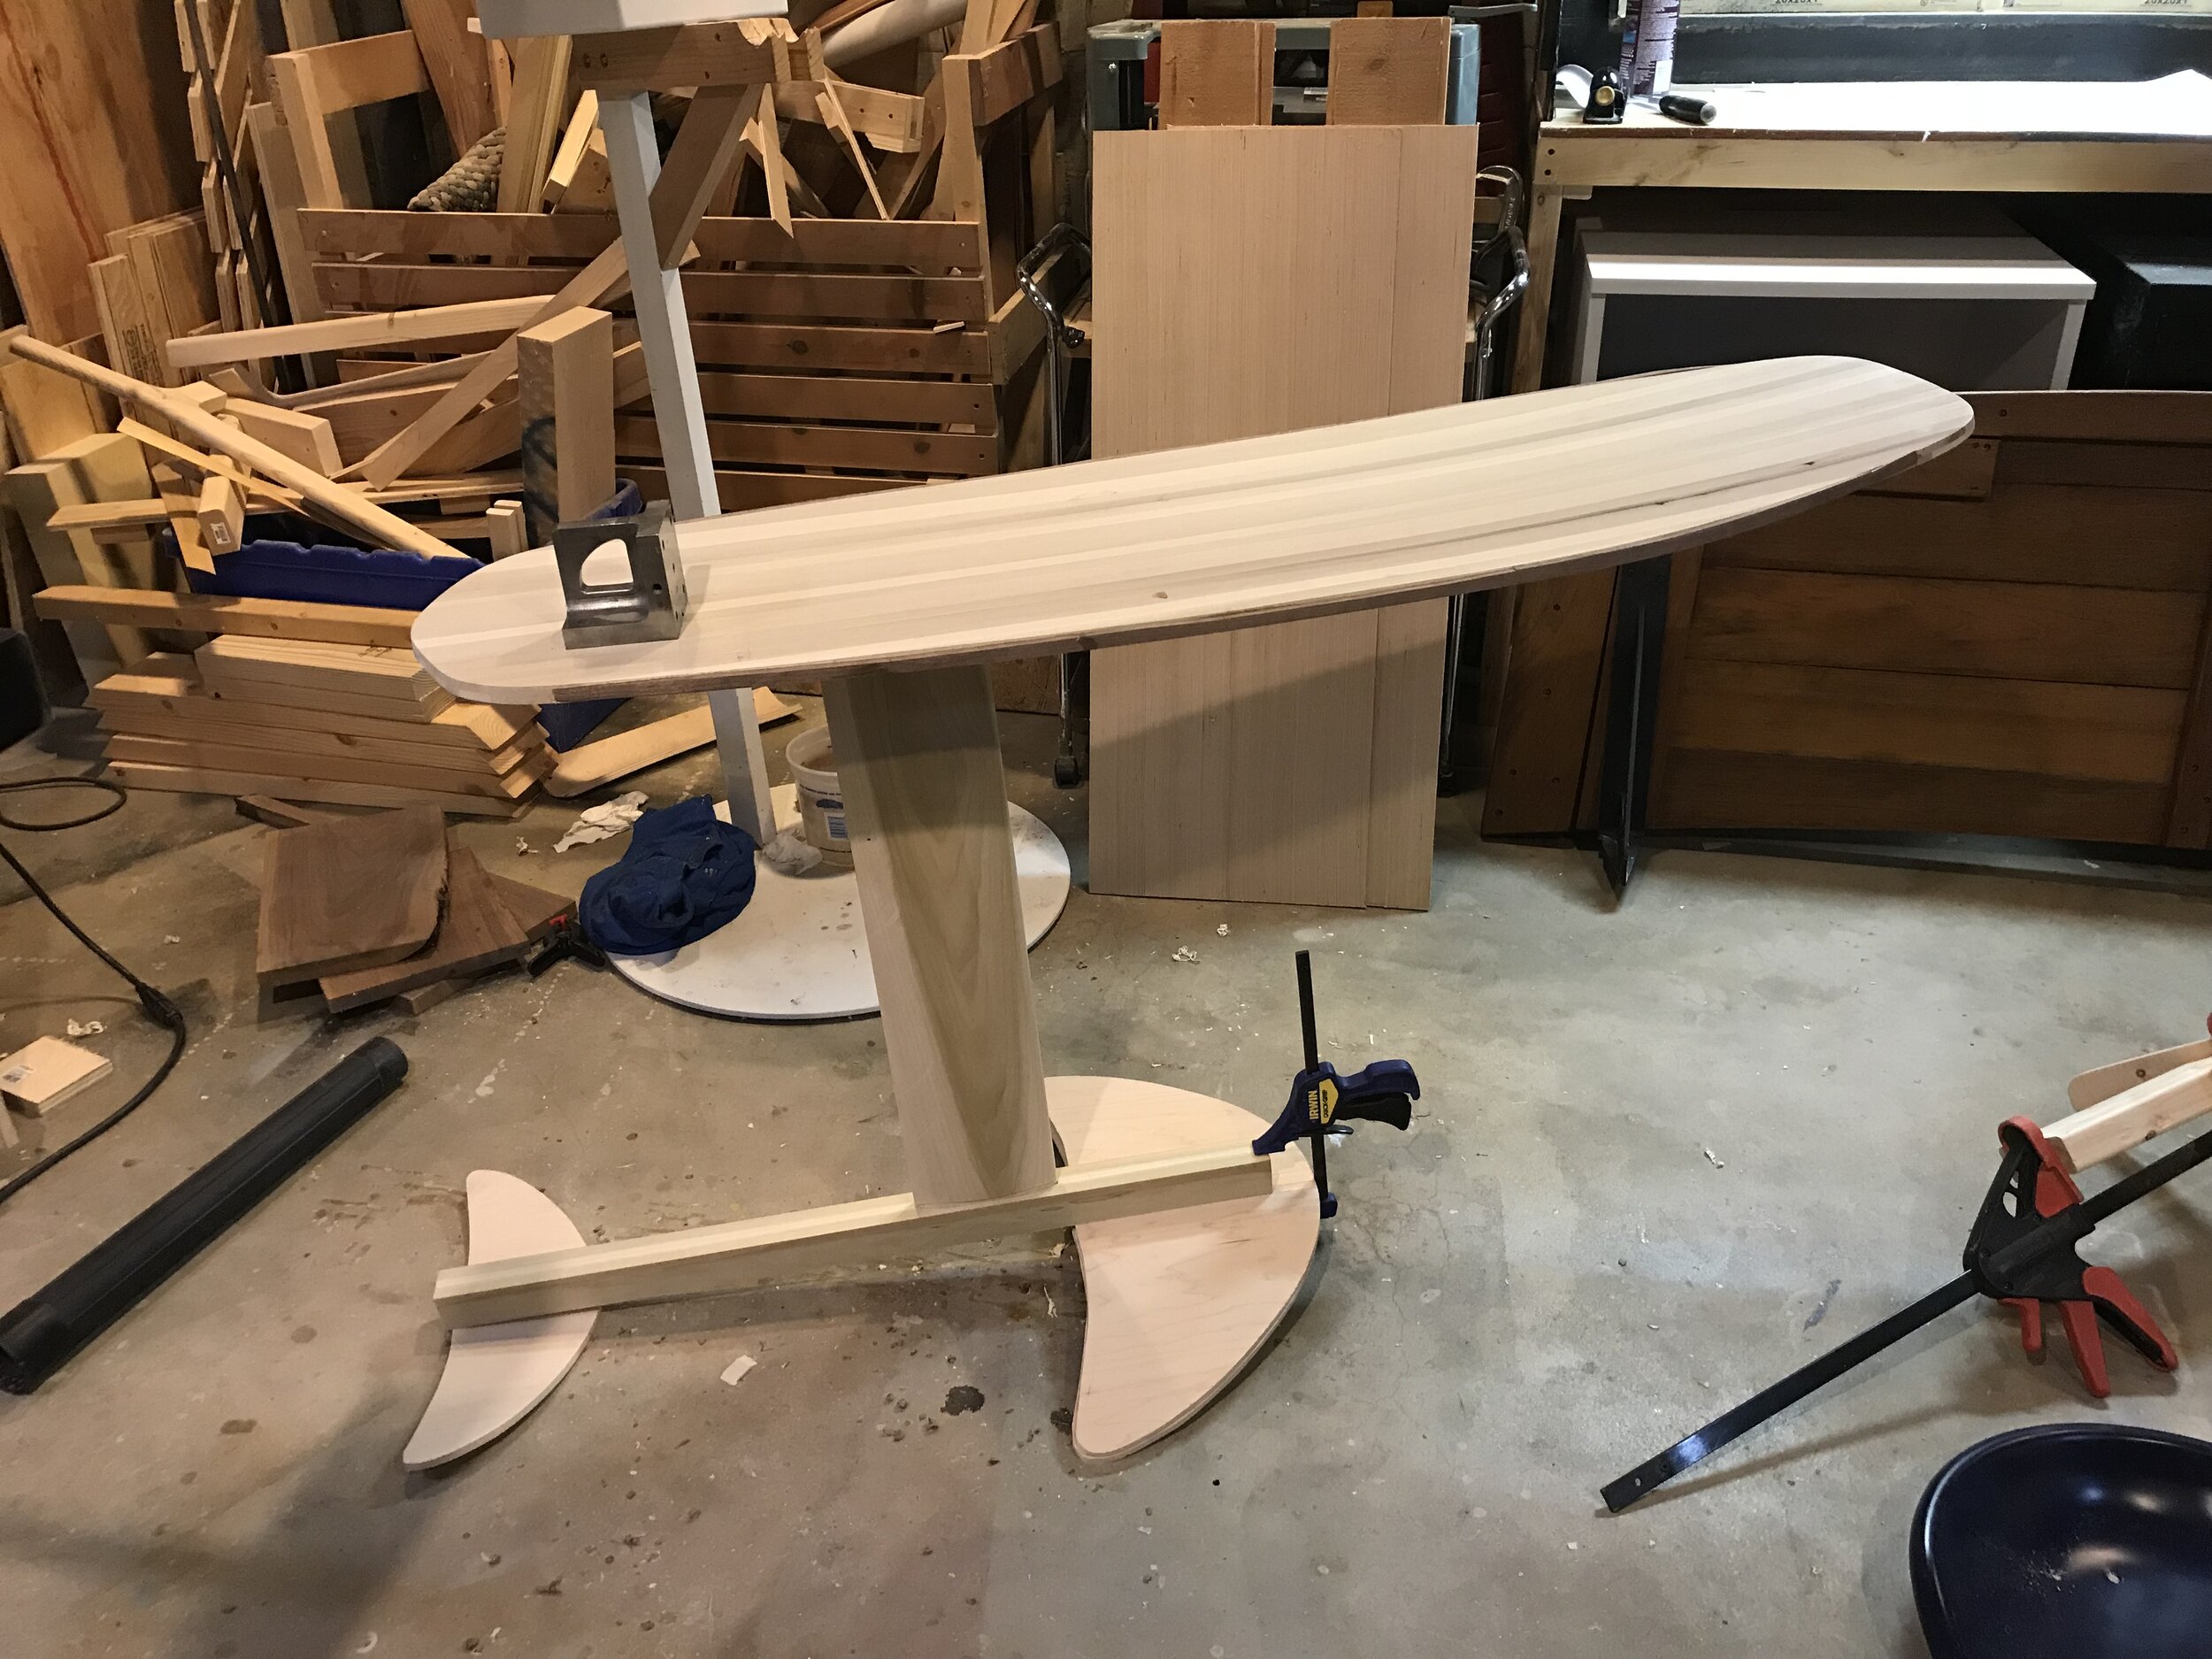
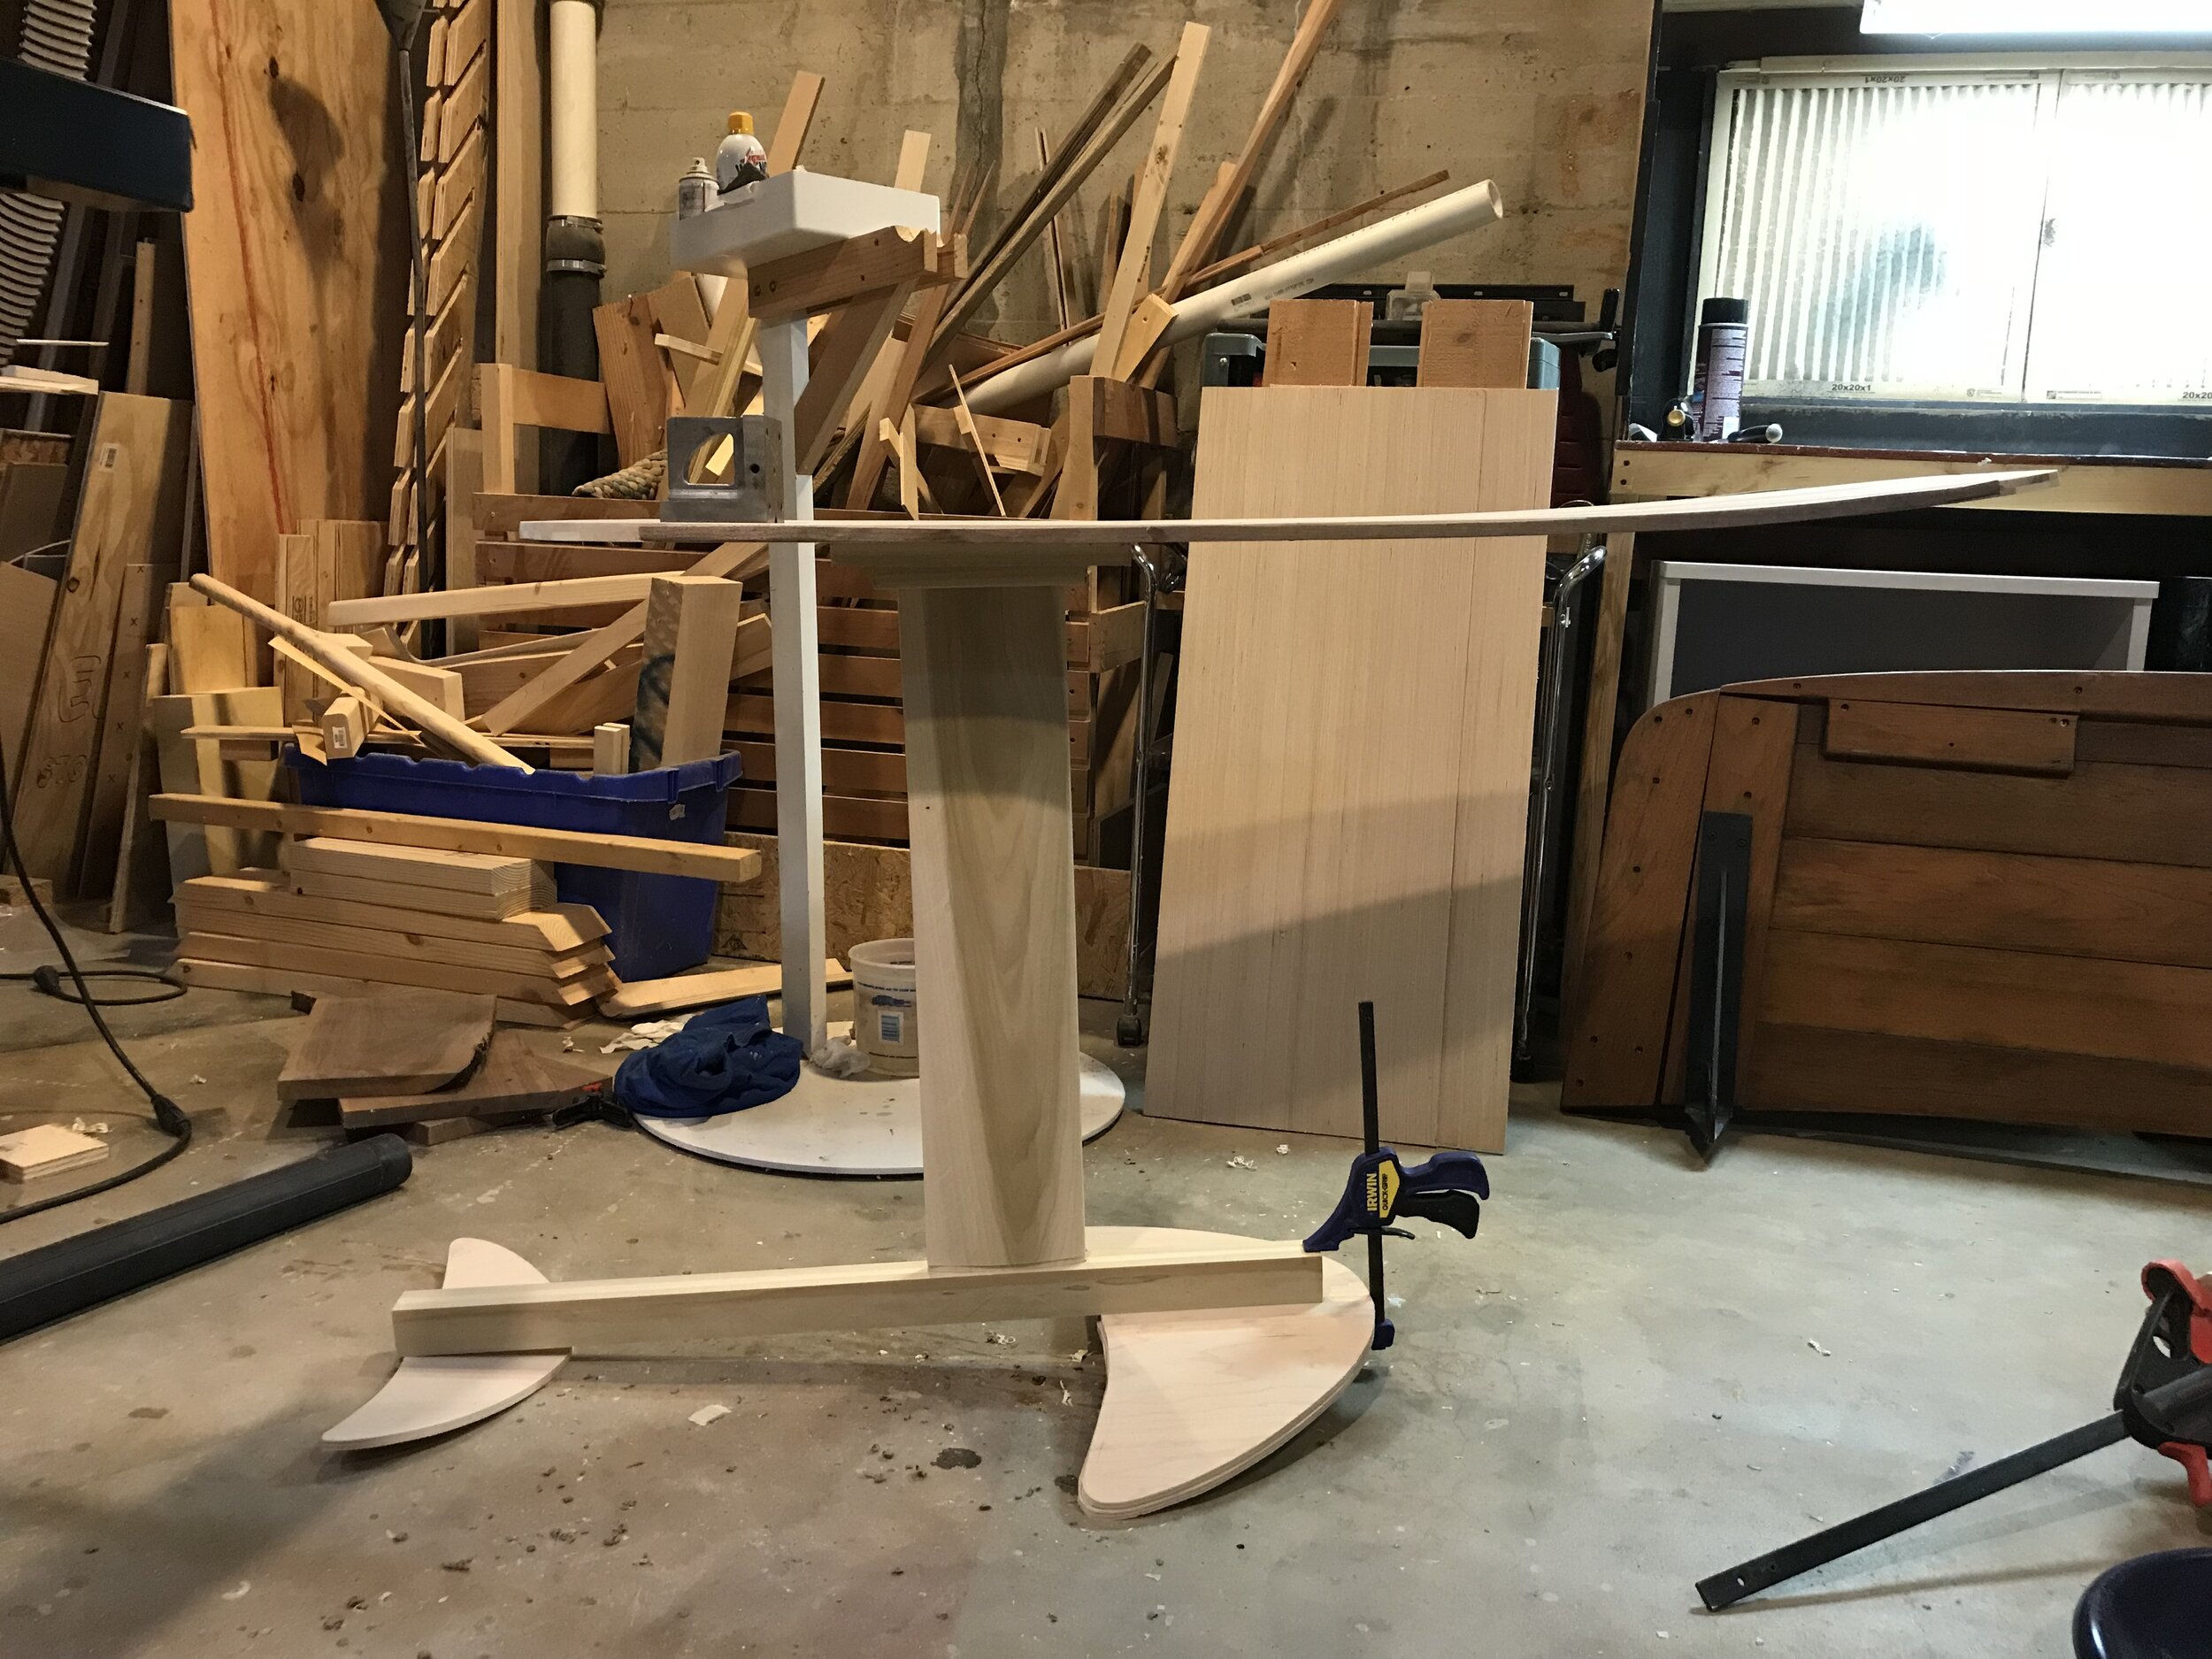
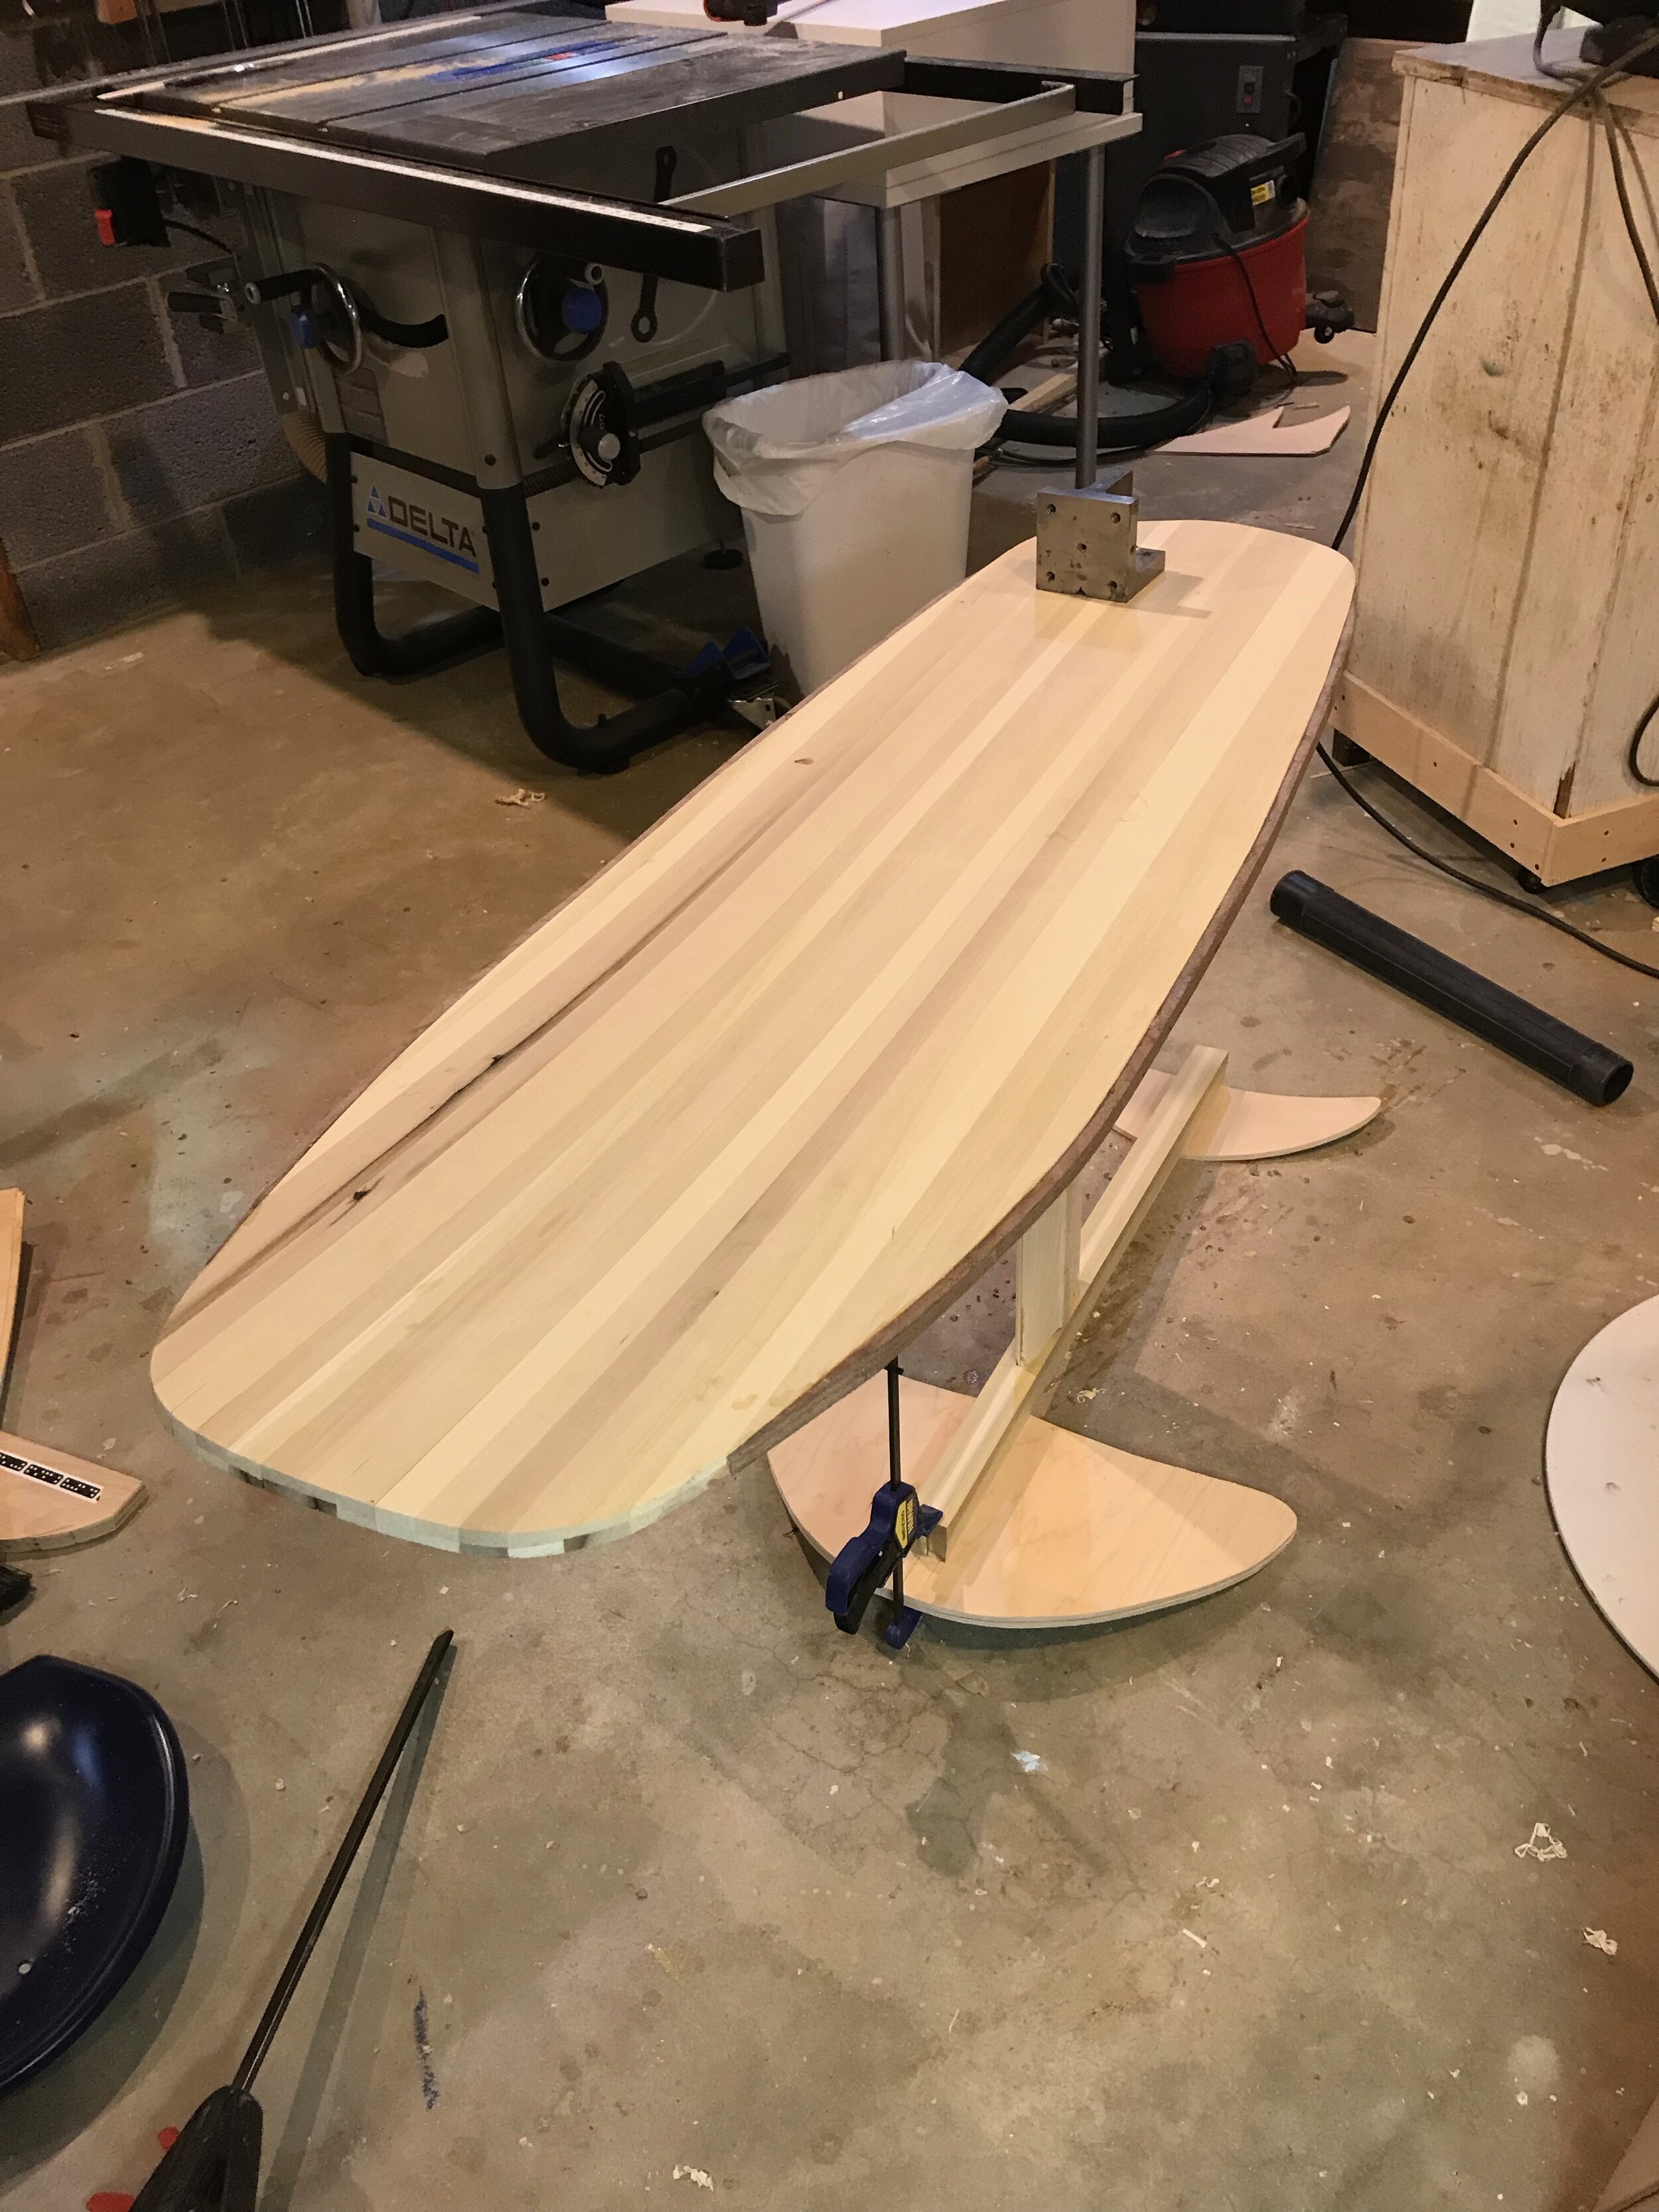
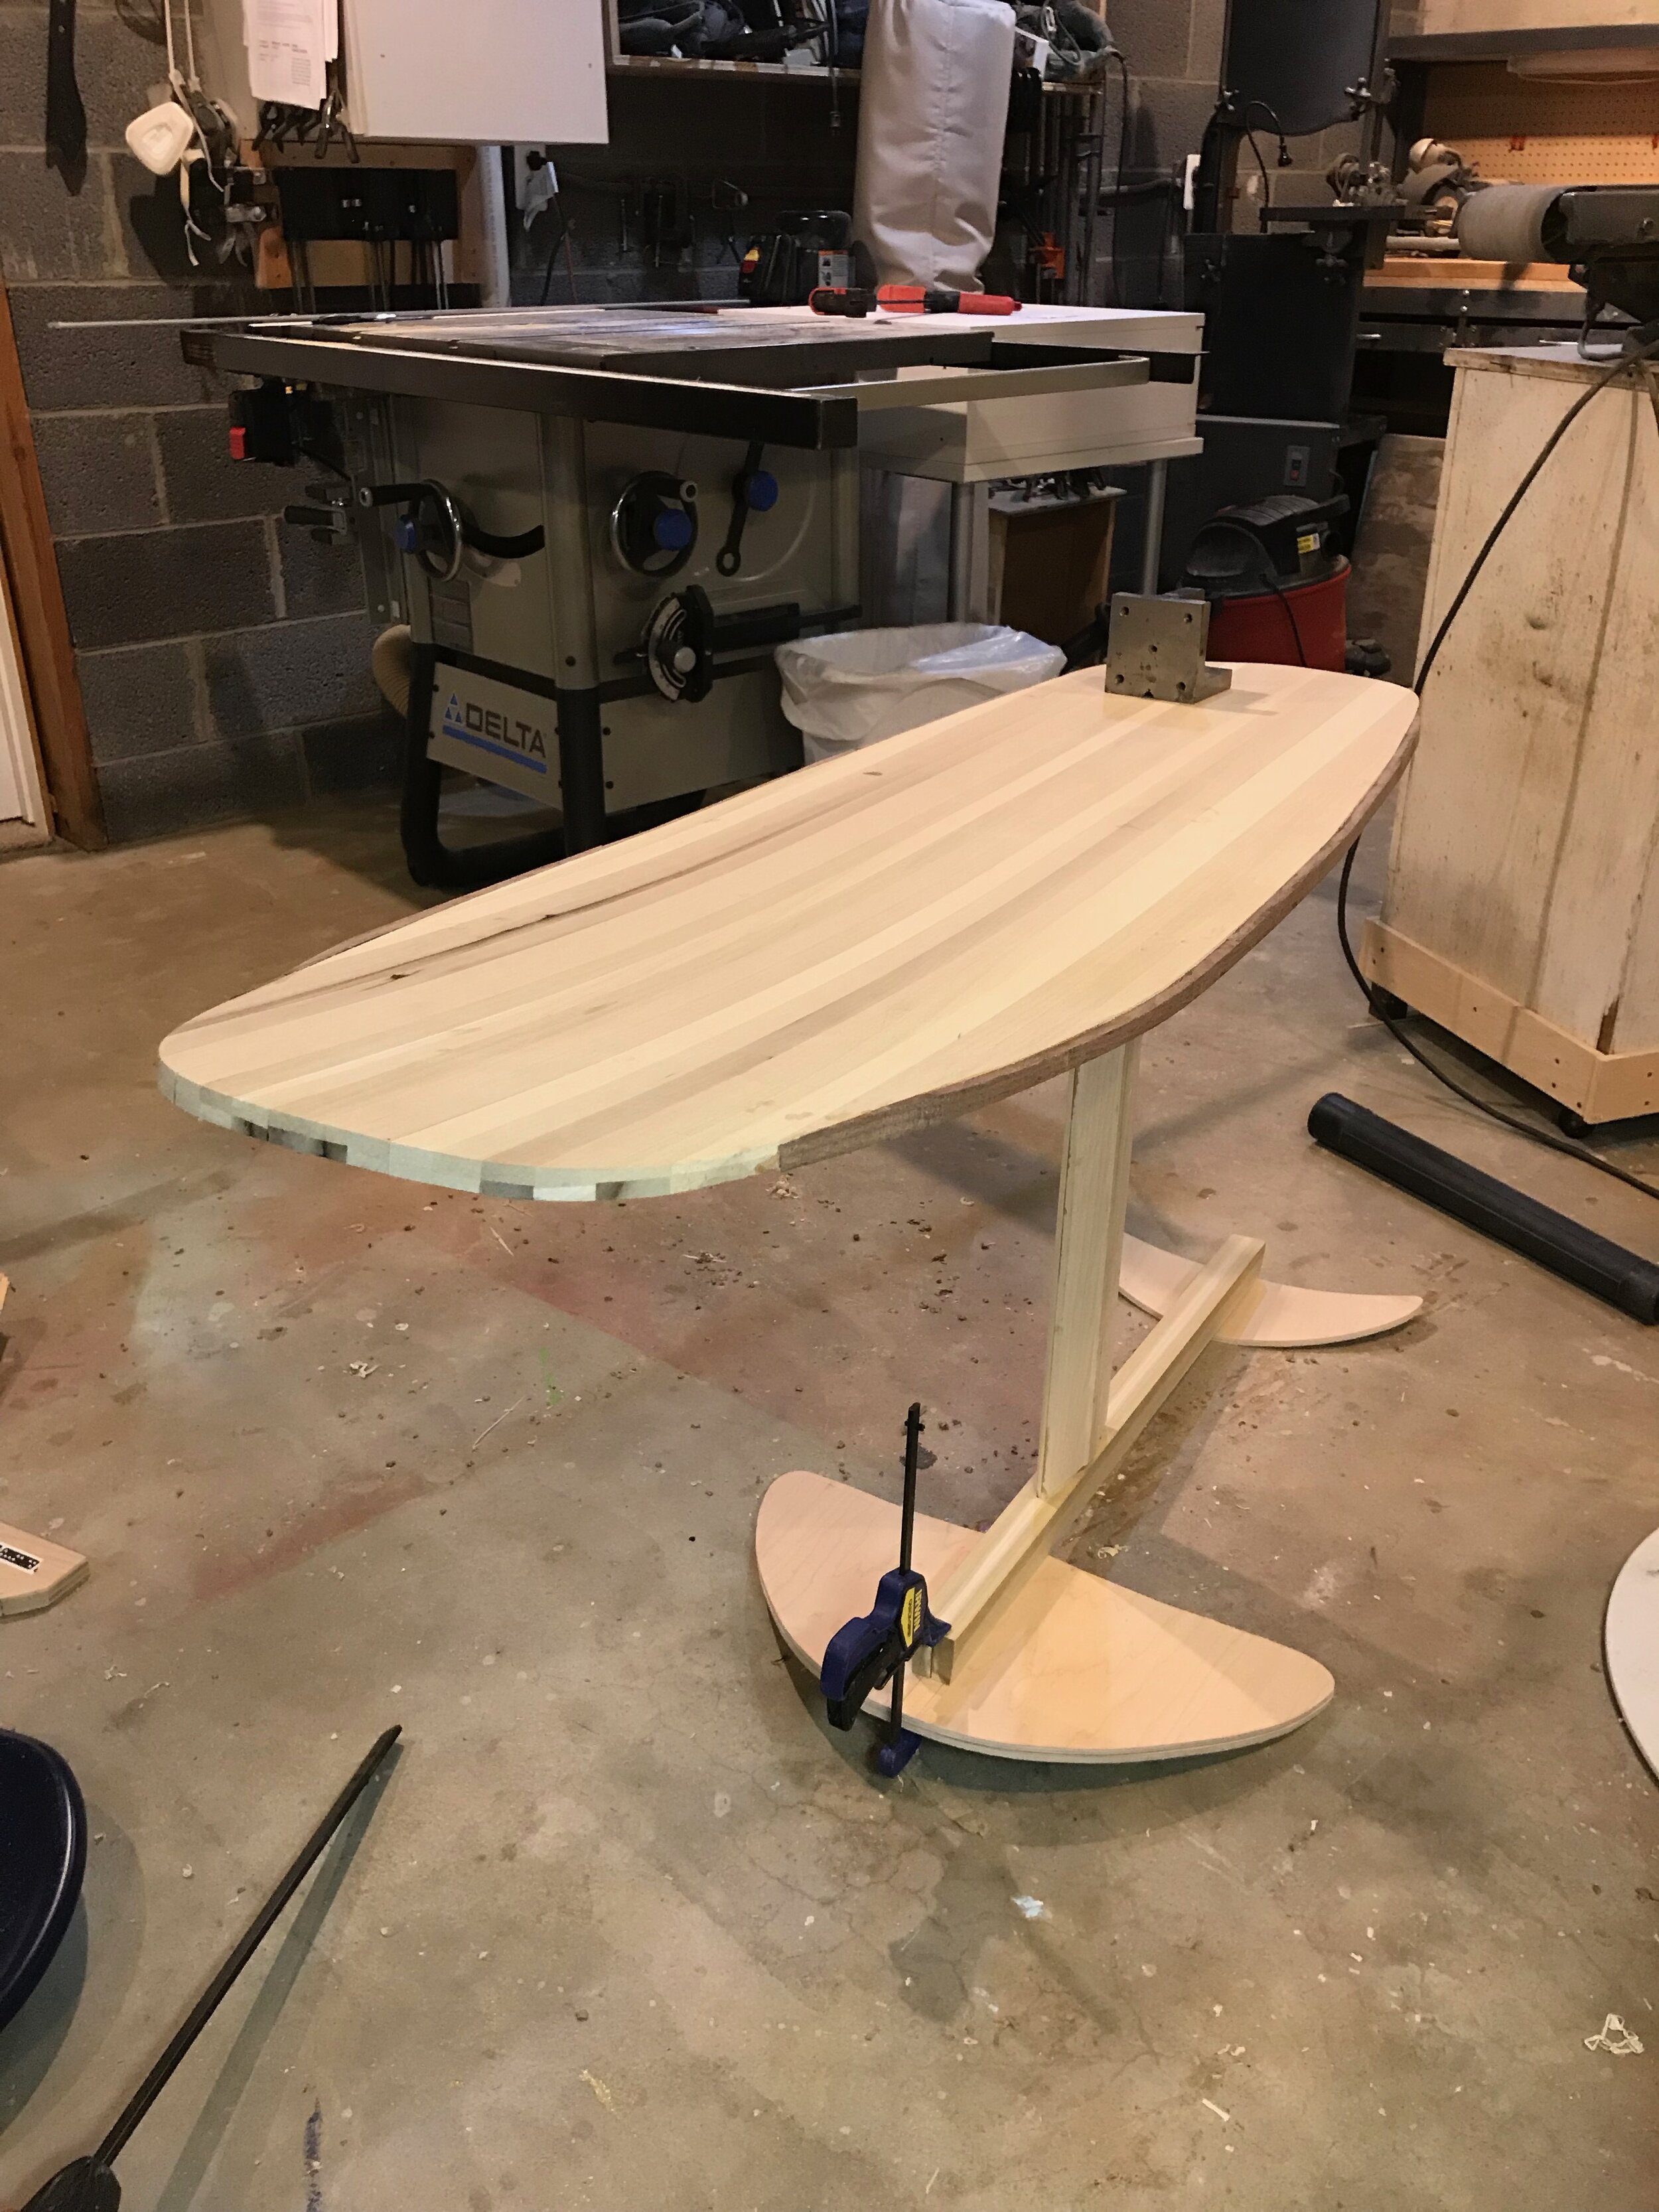
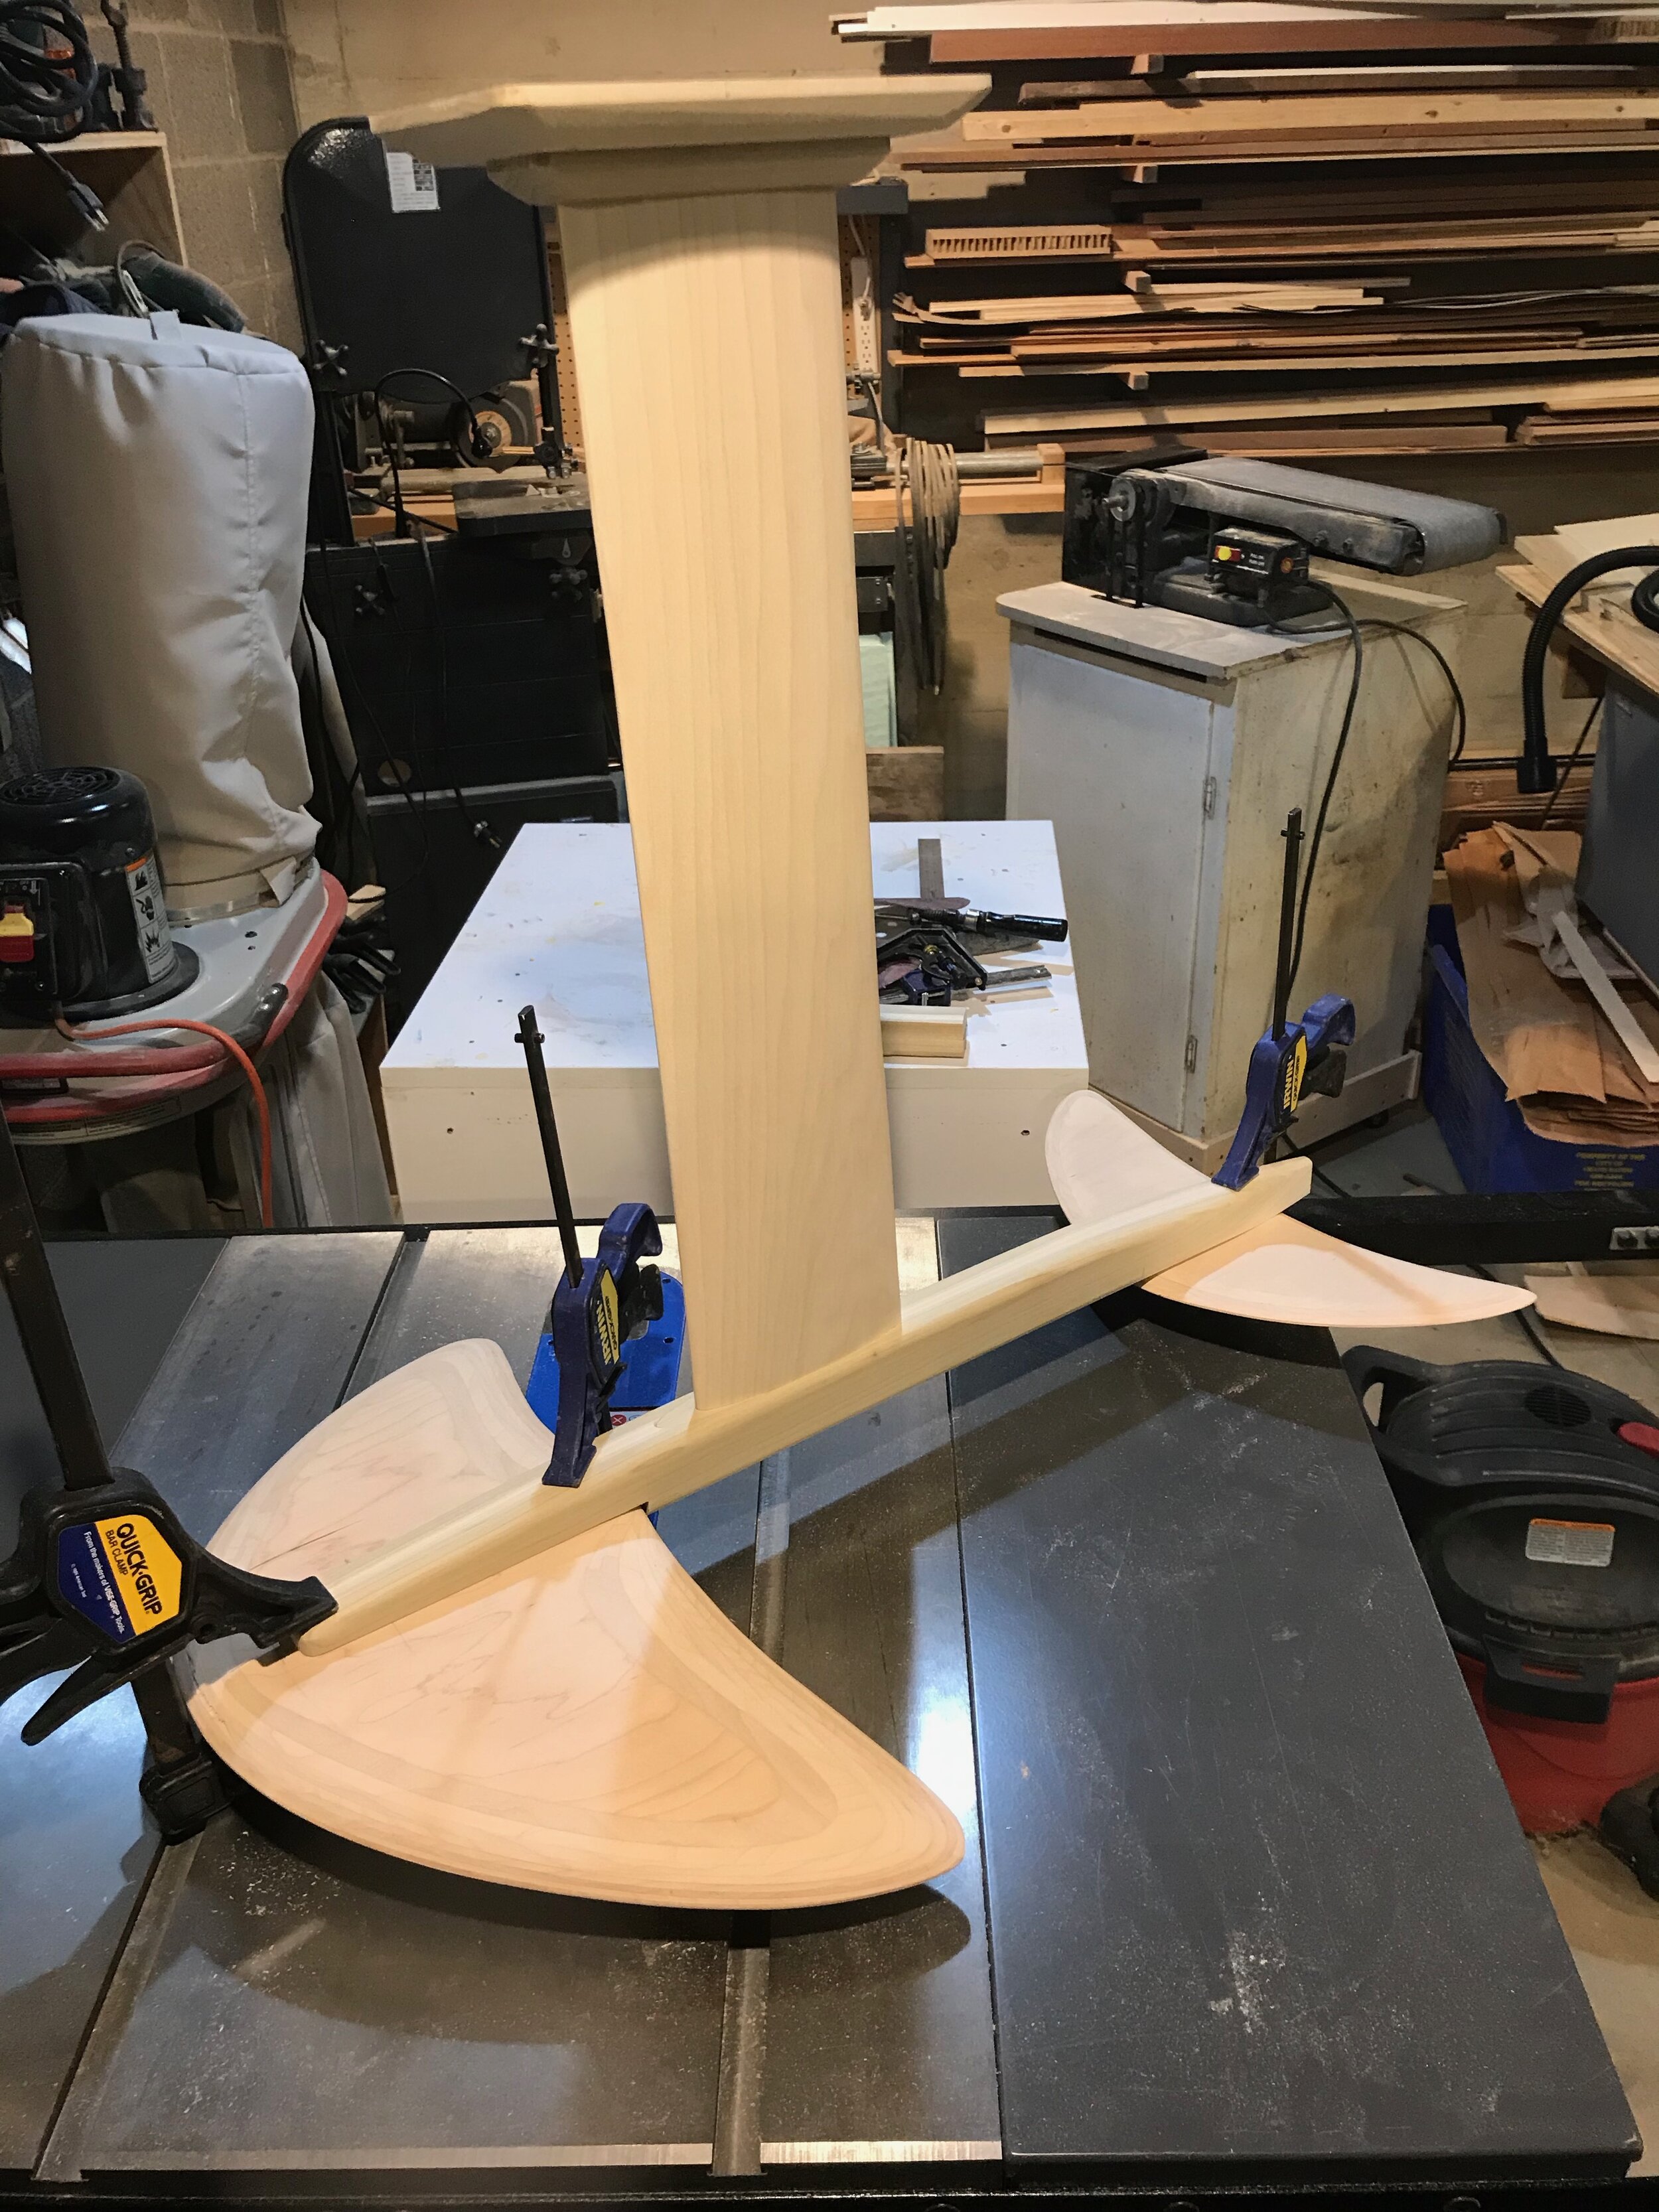
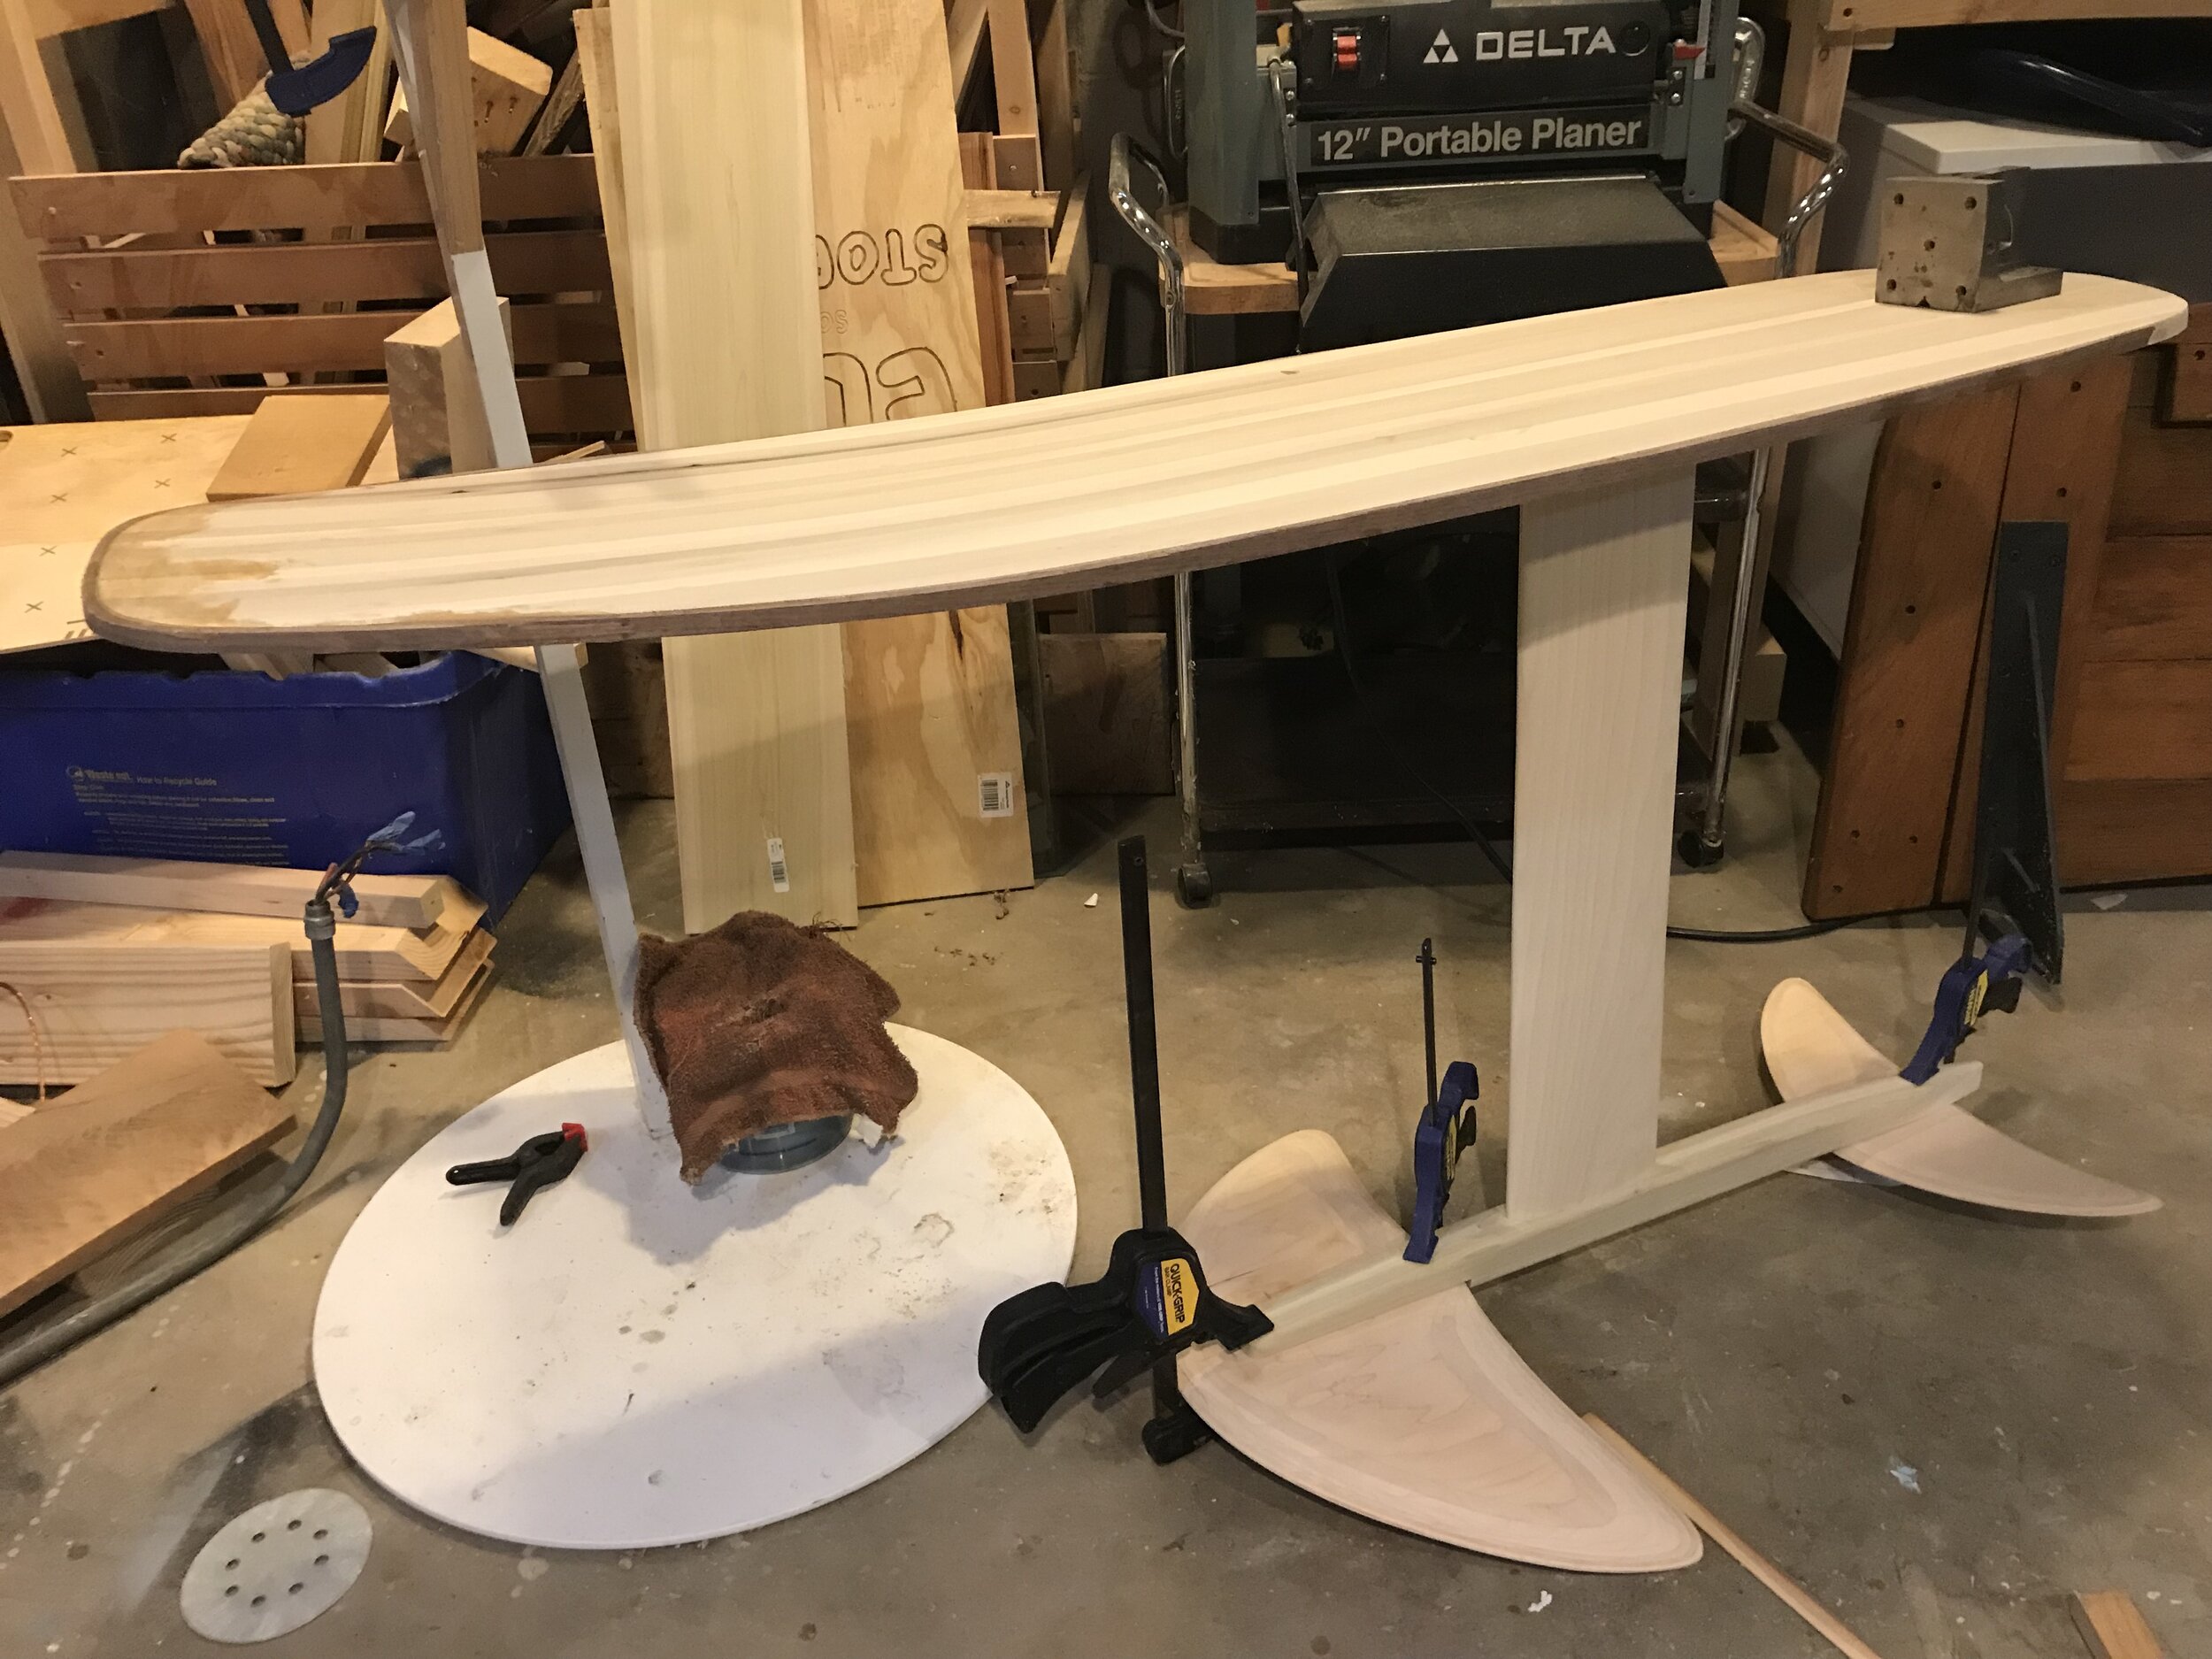
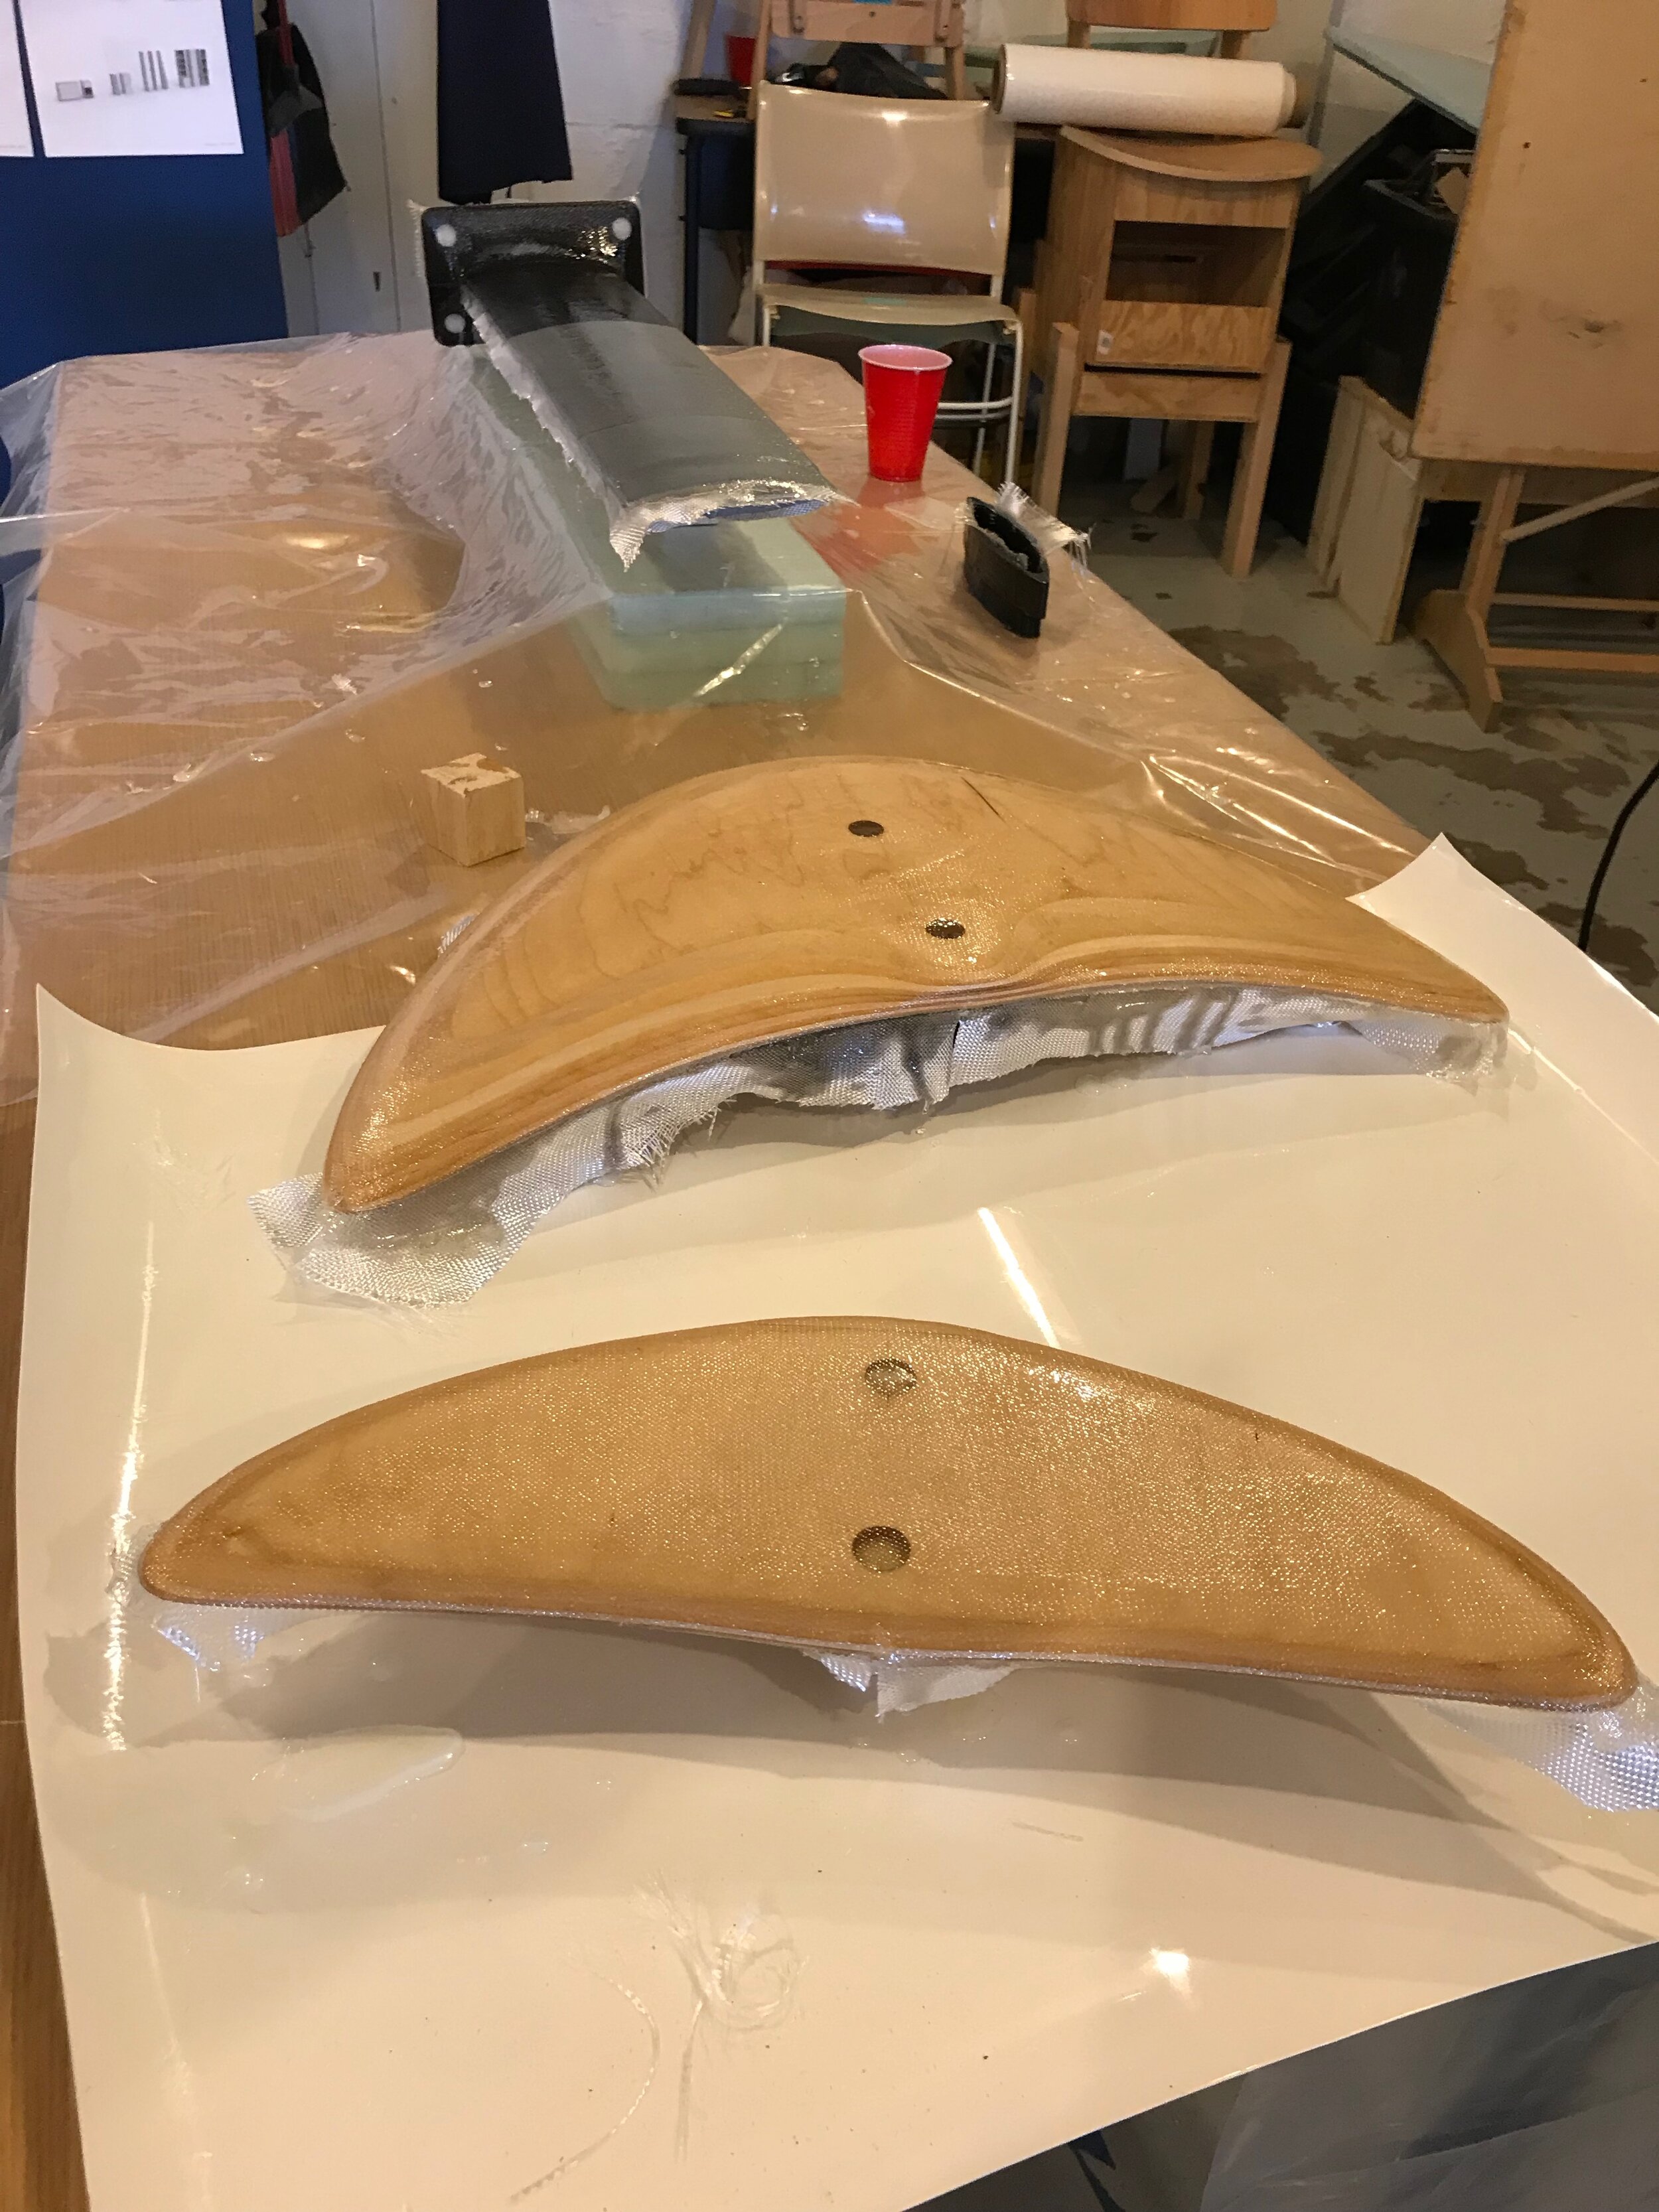
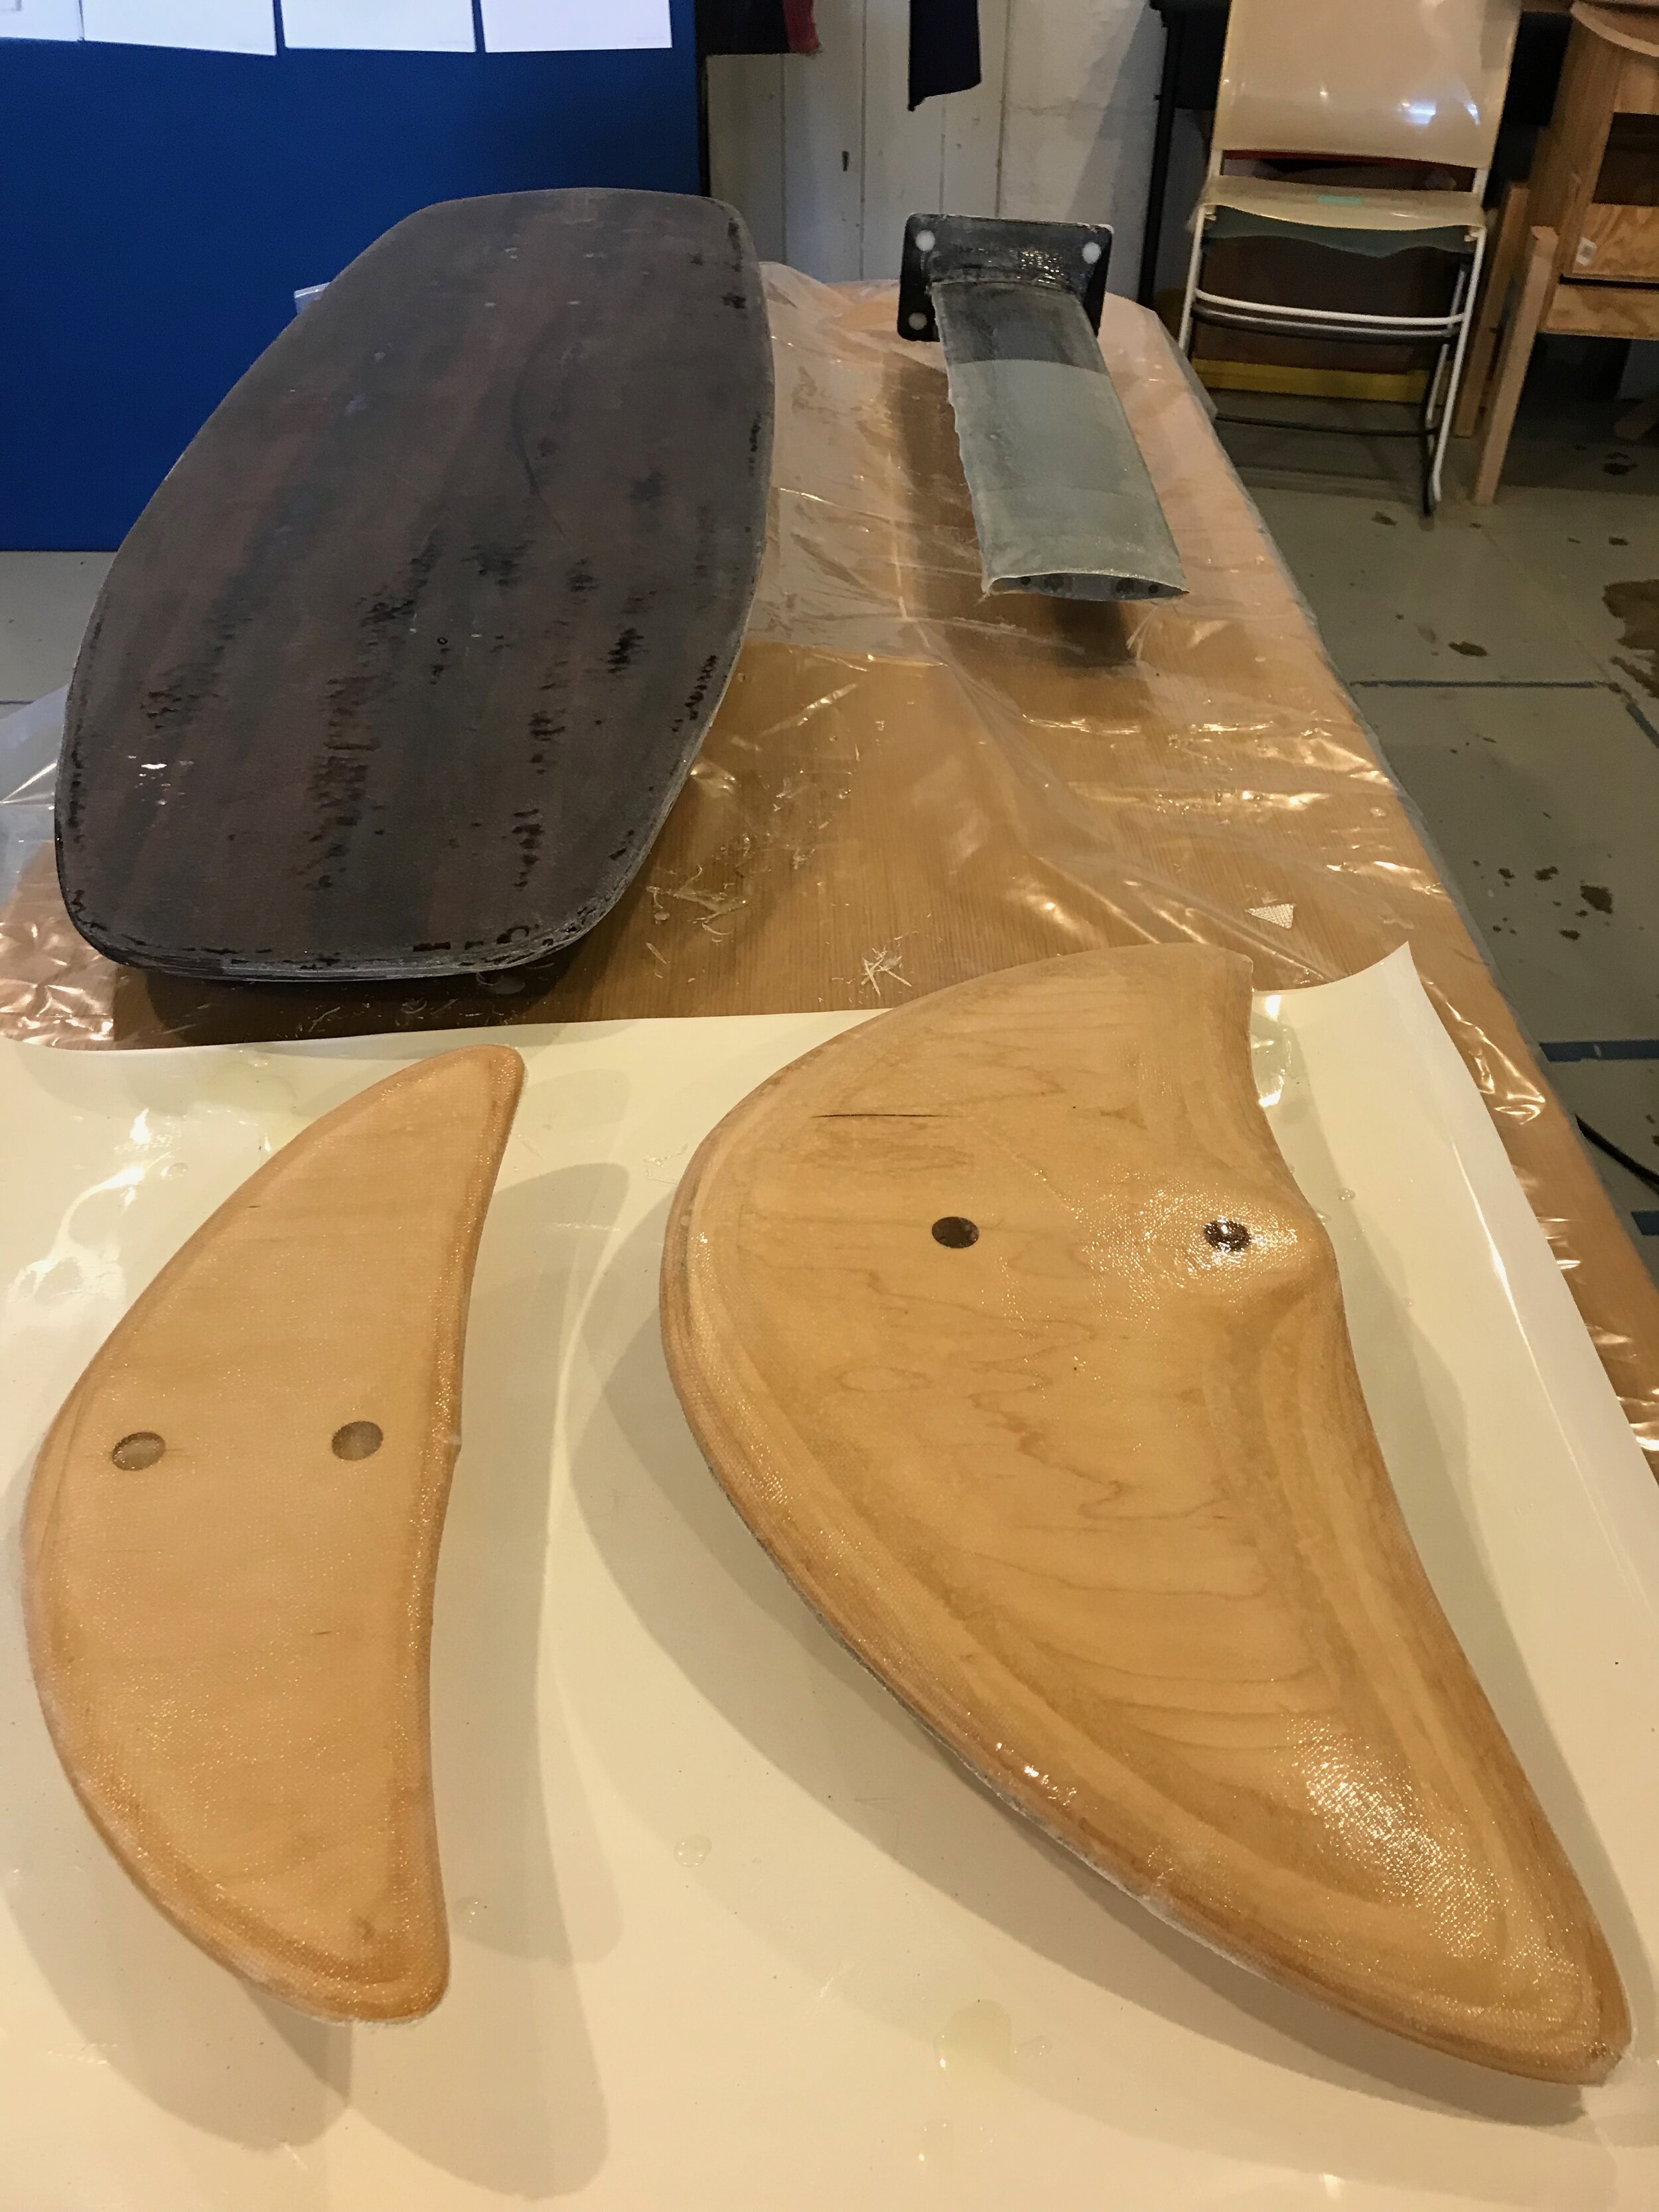

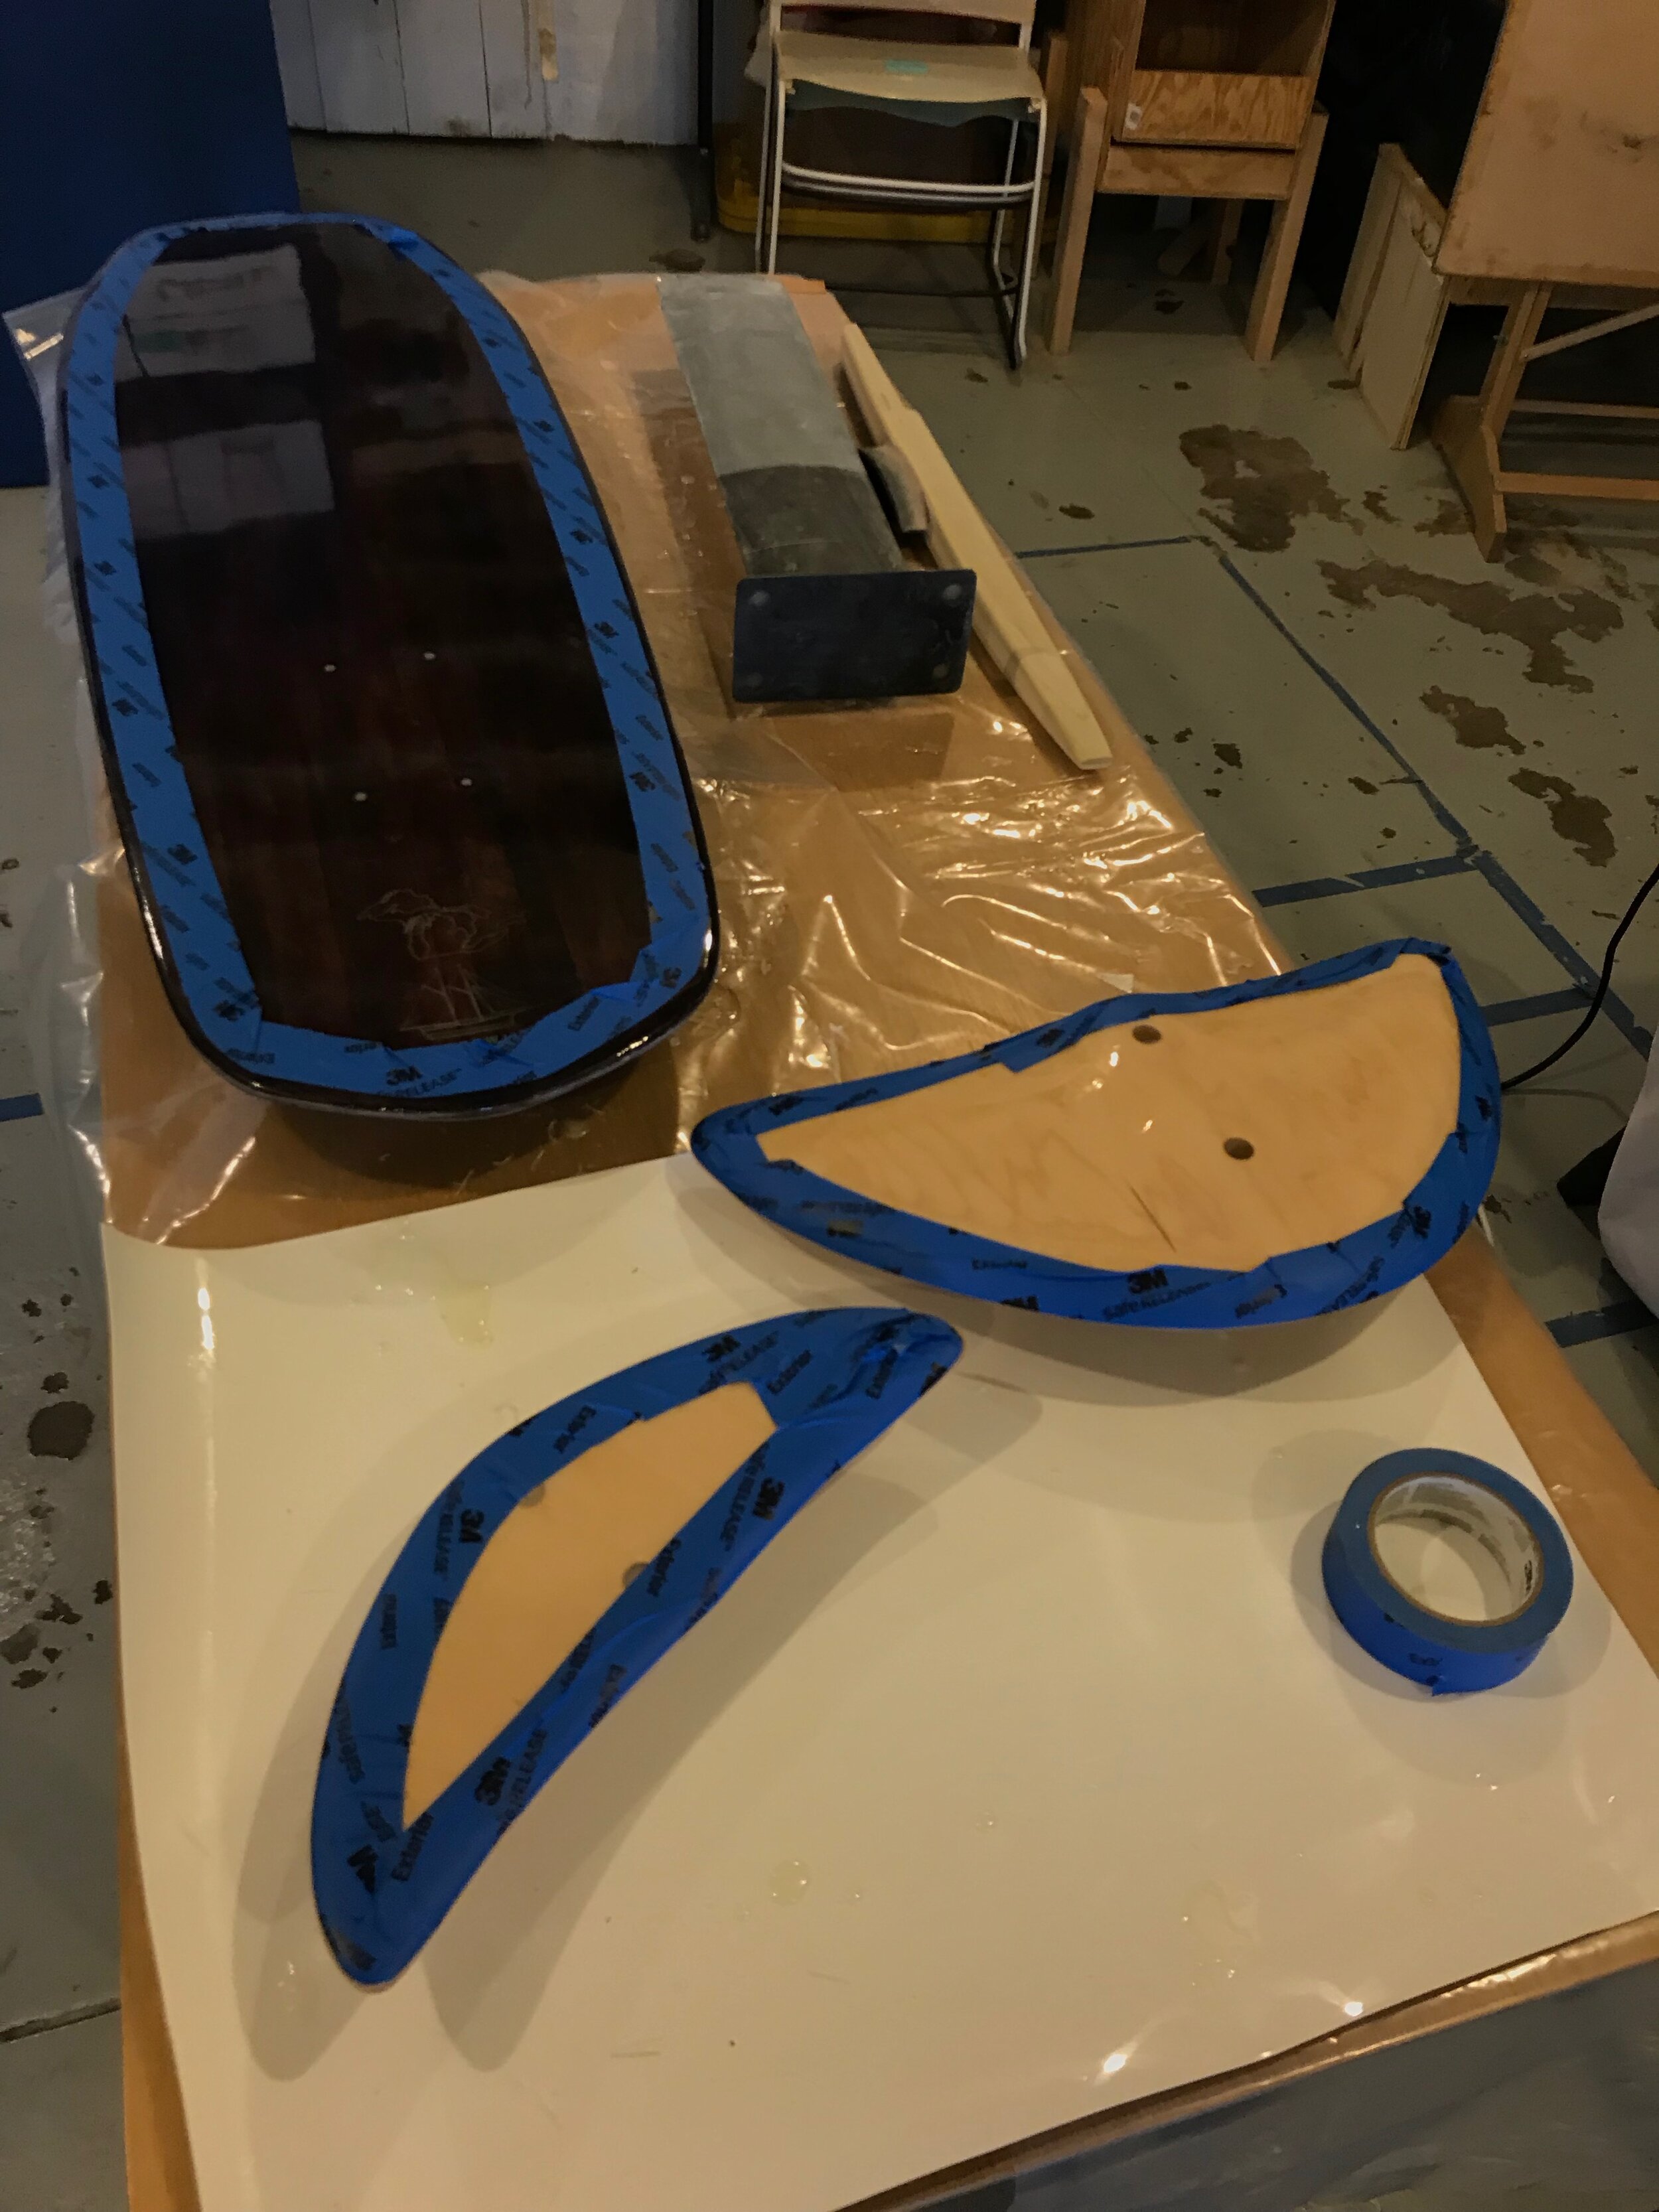
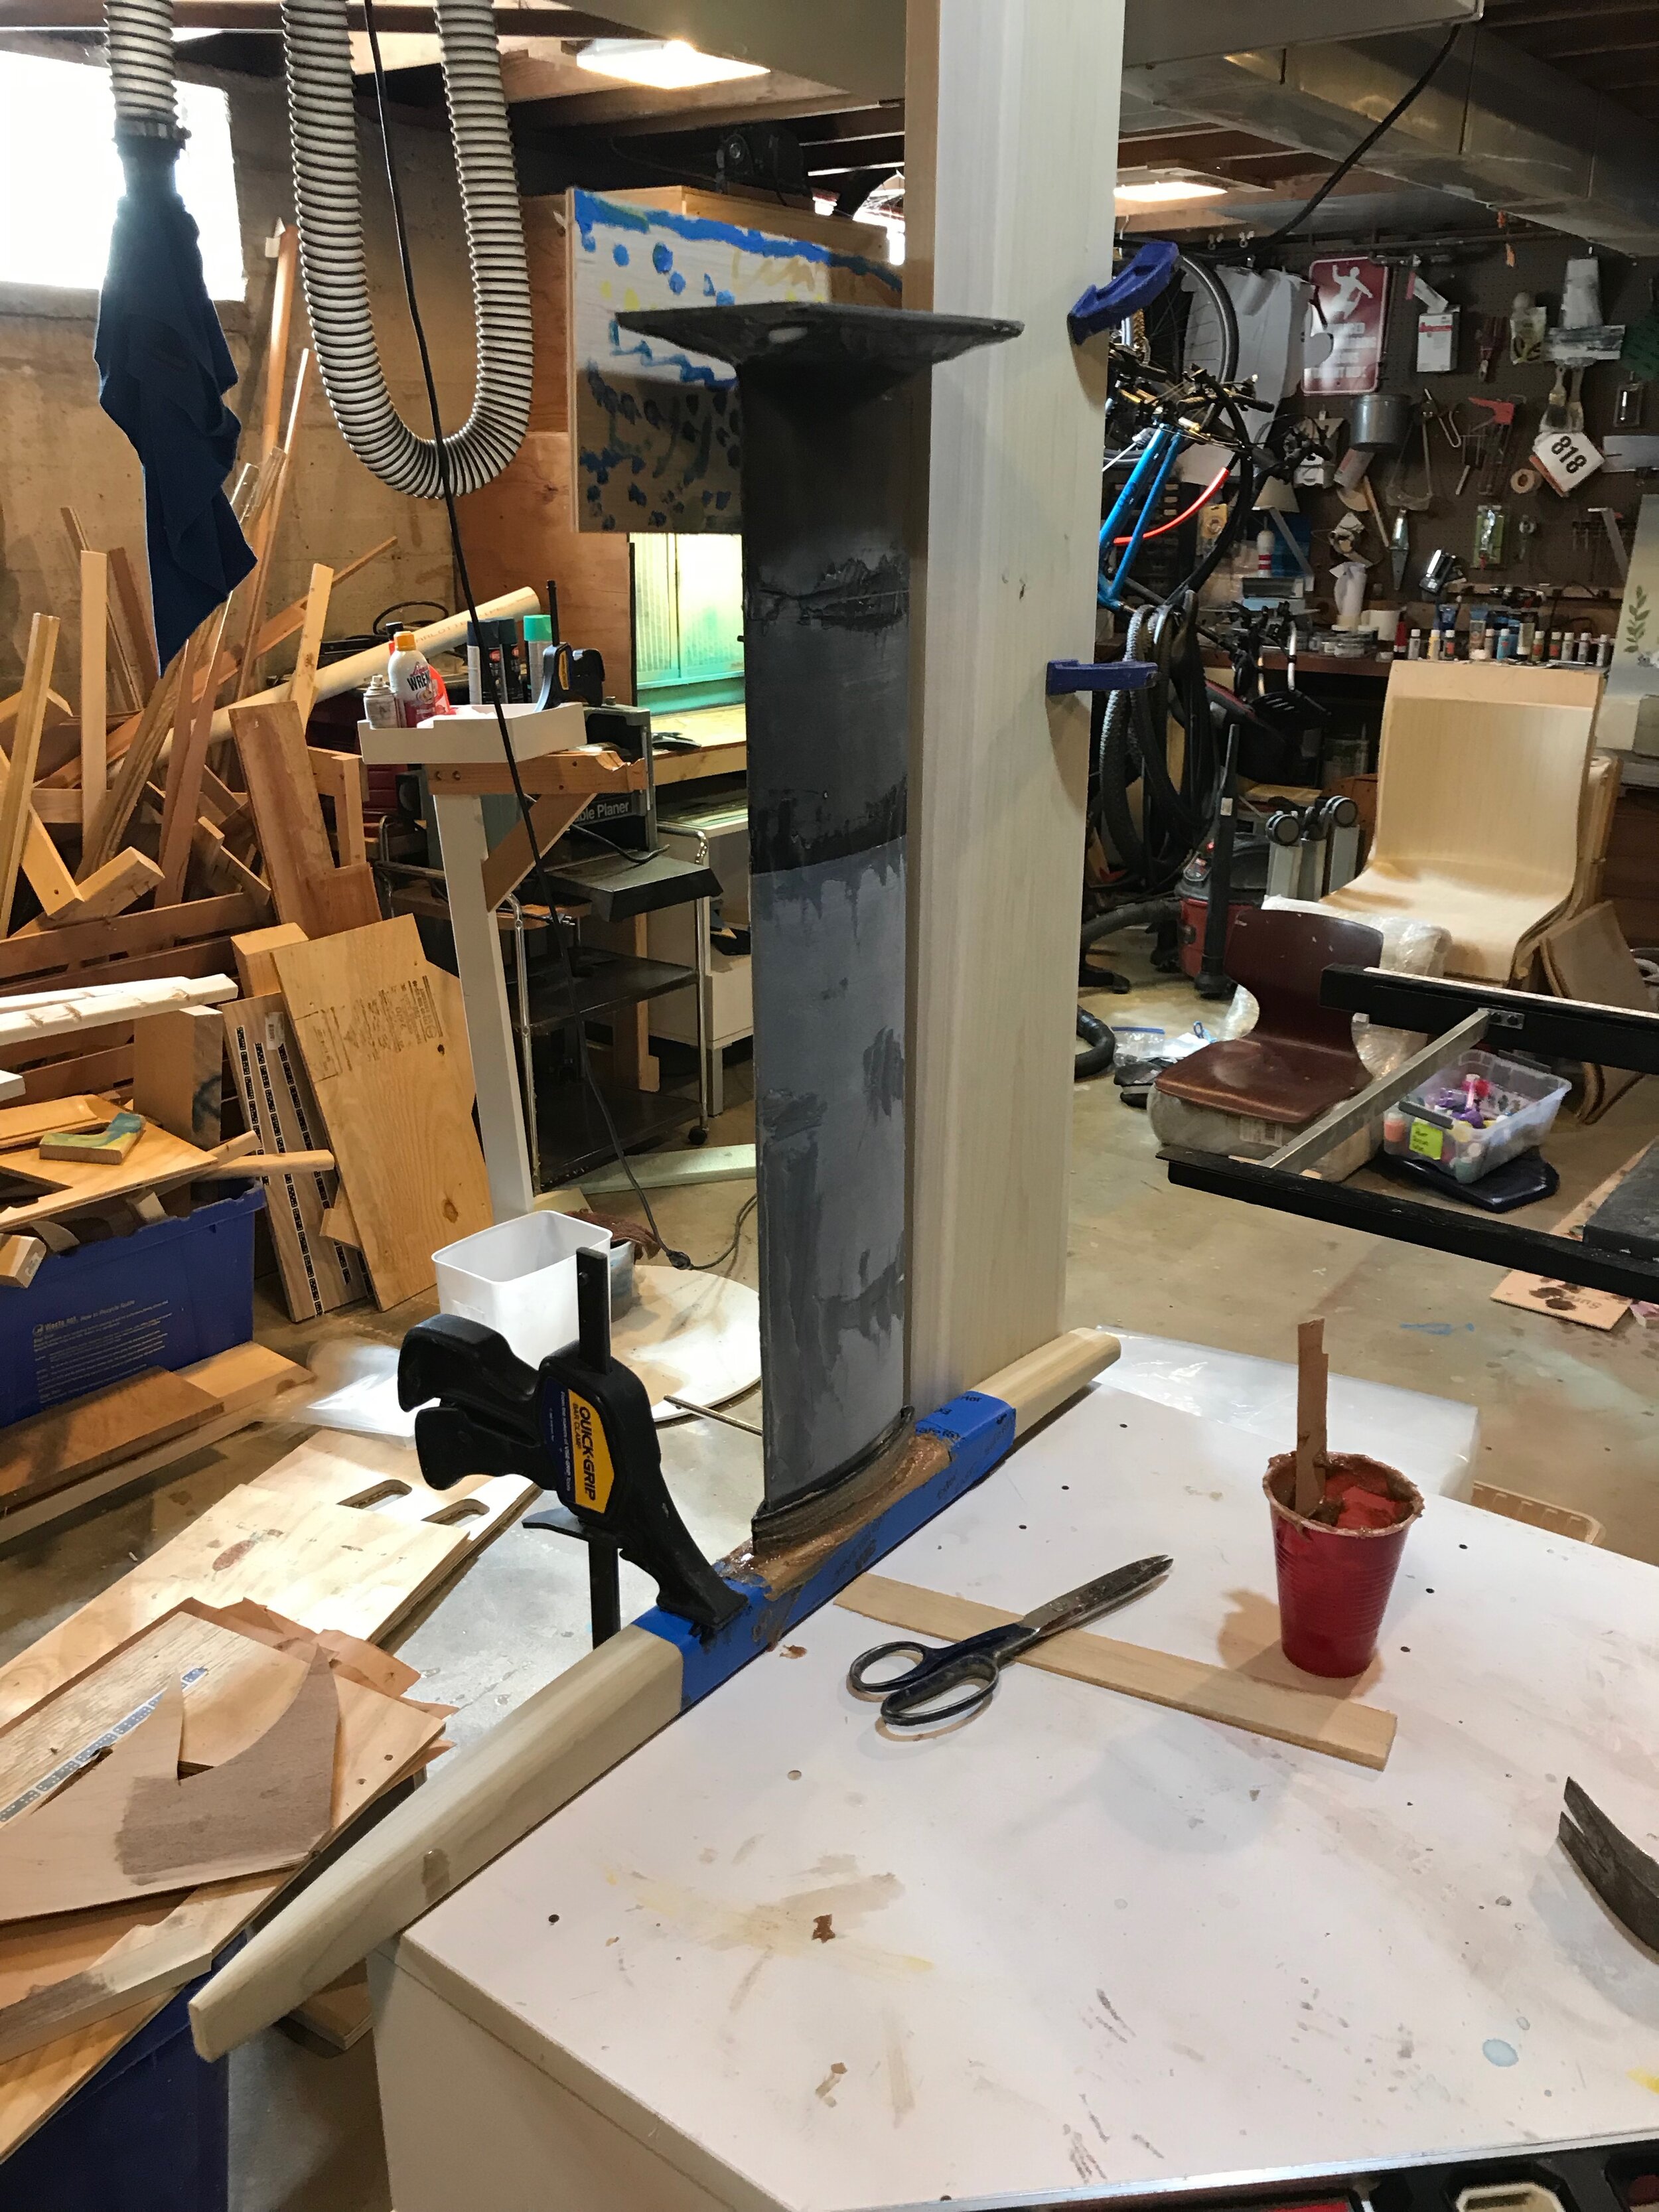
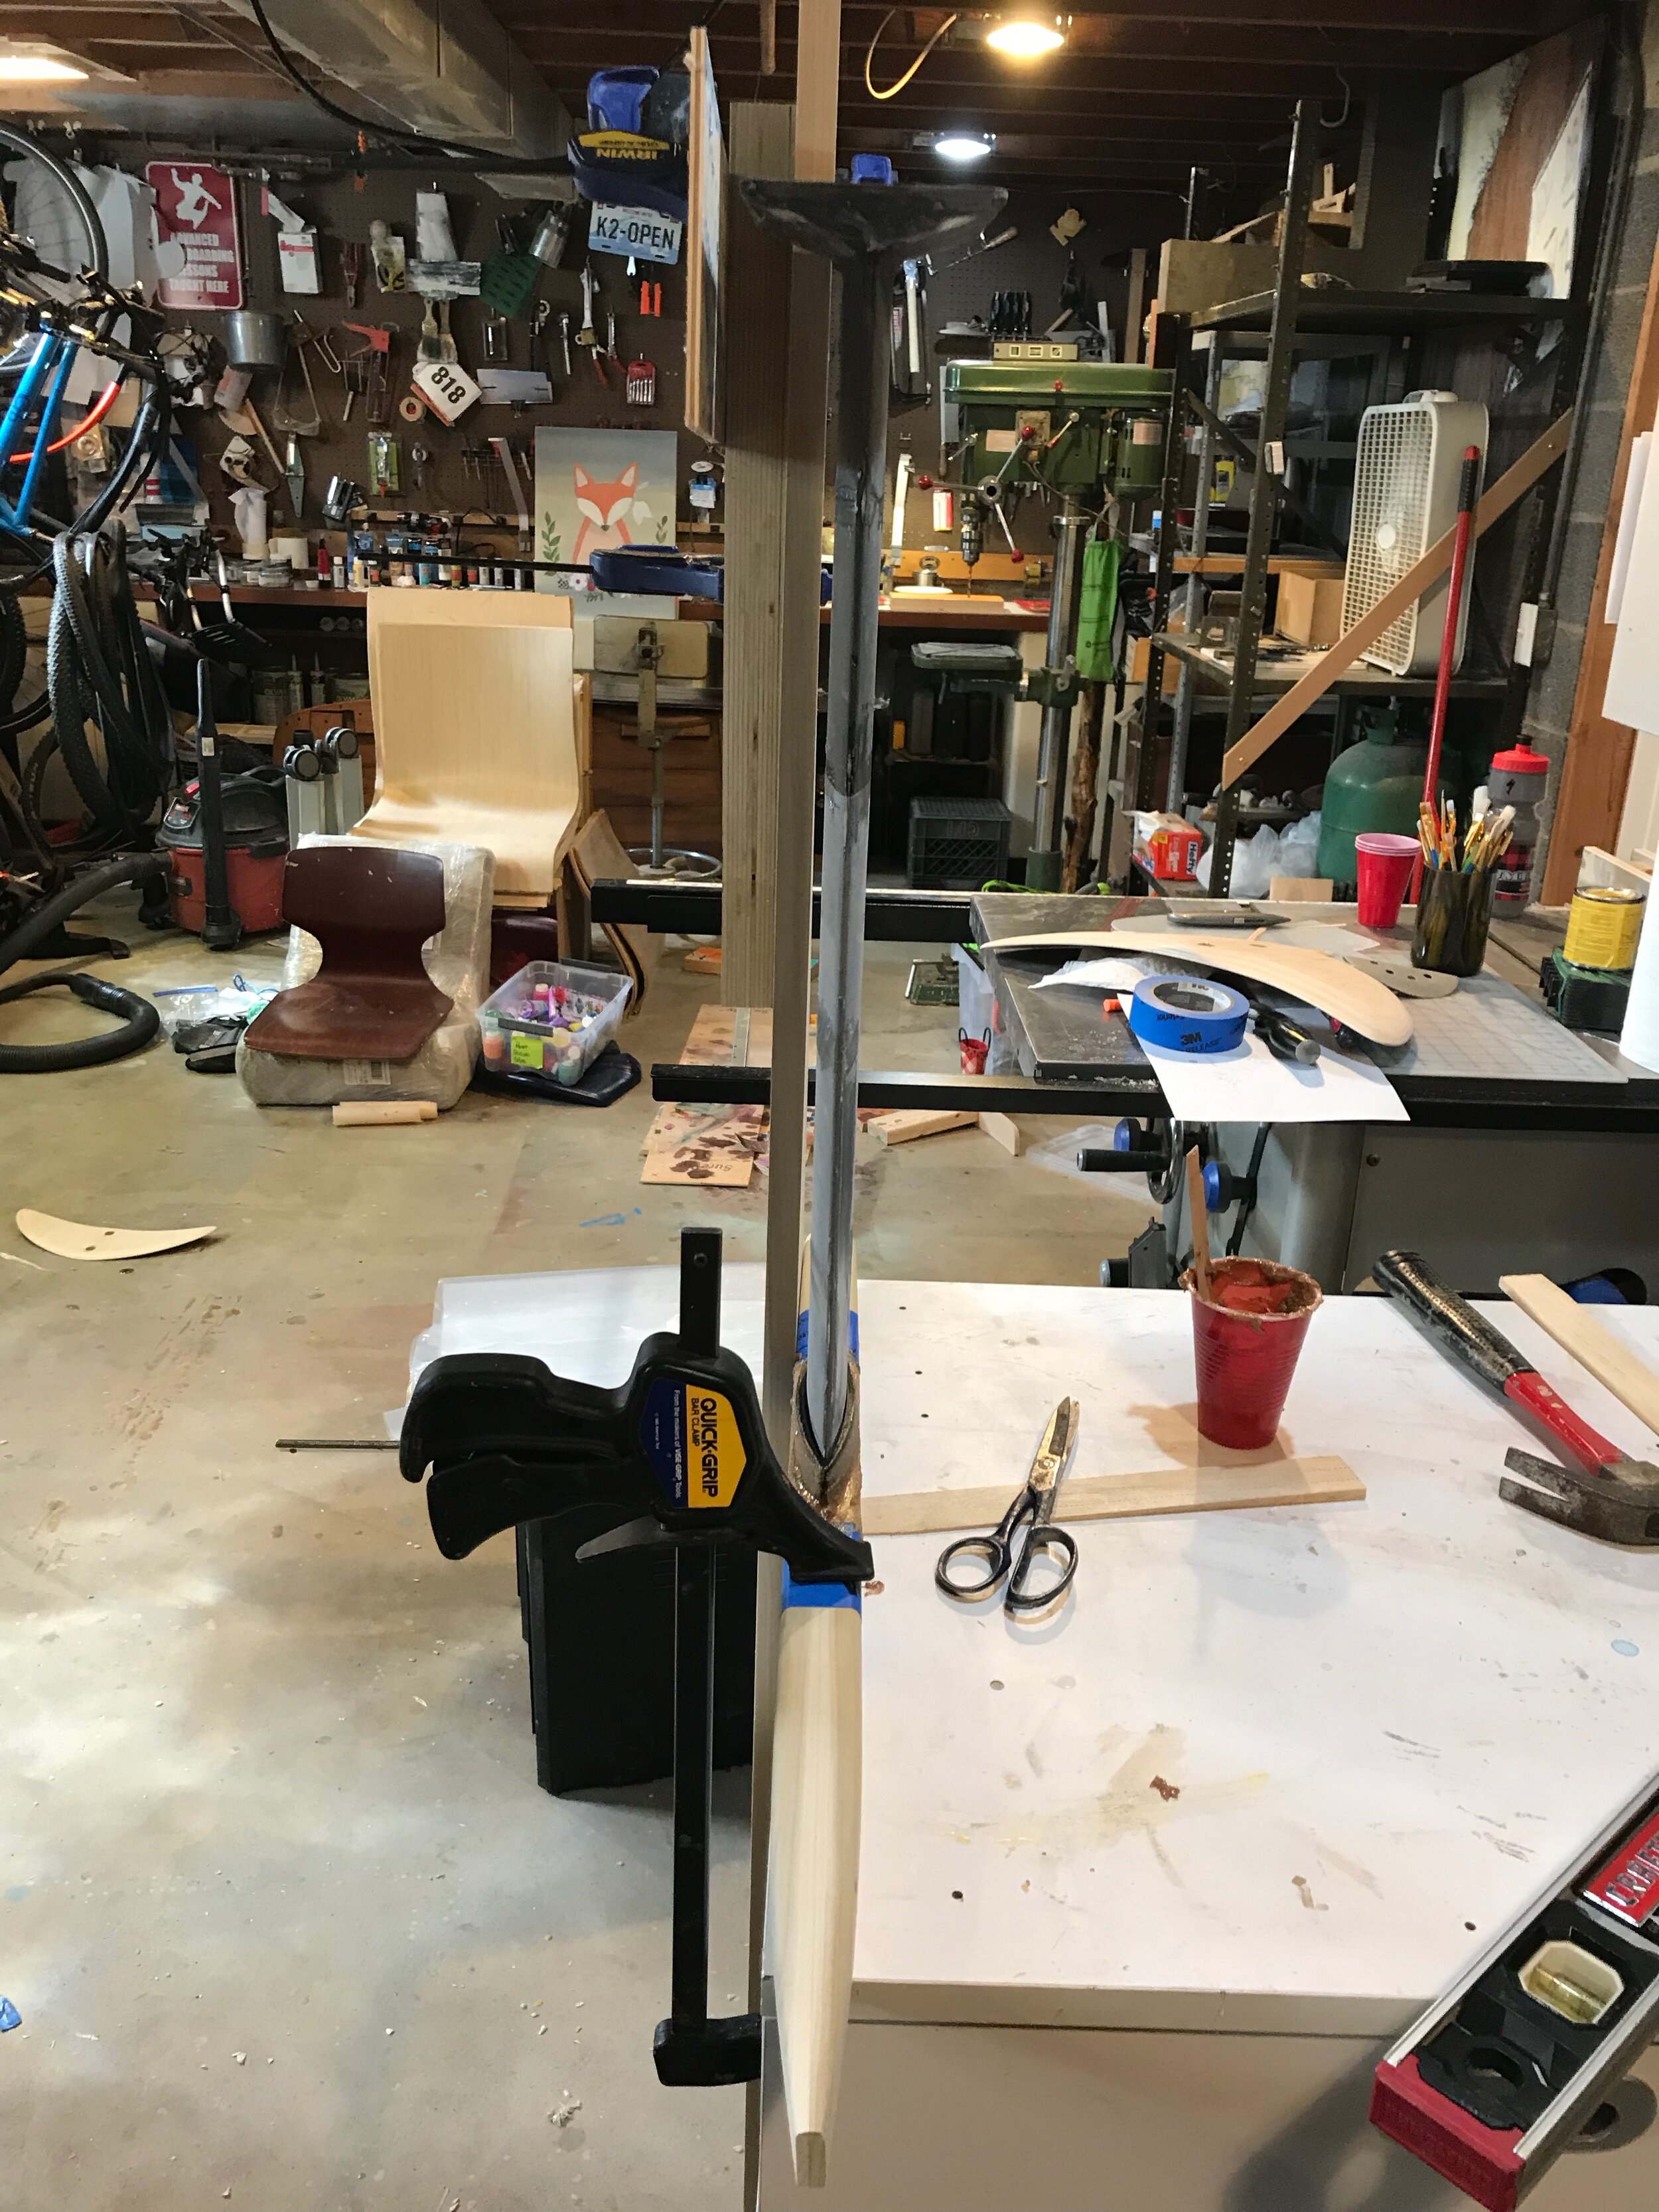
Building the Fuselage
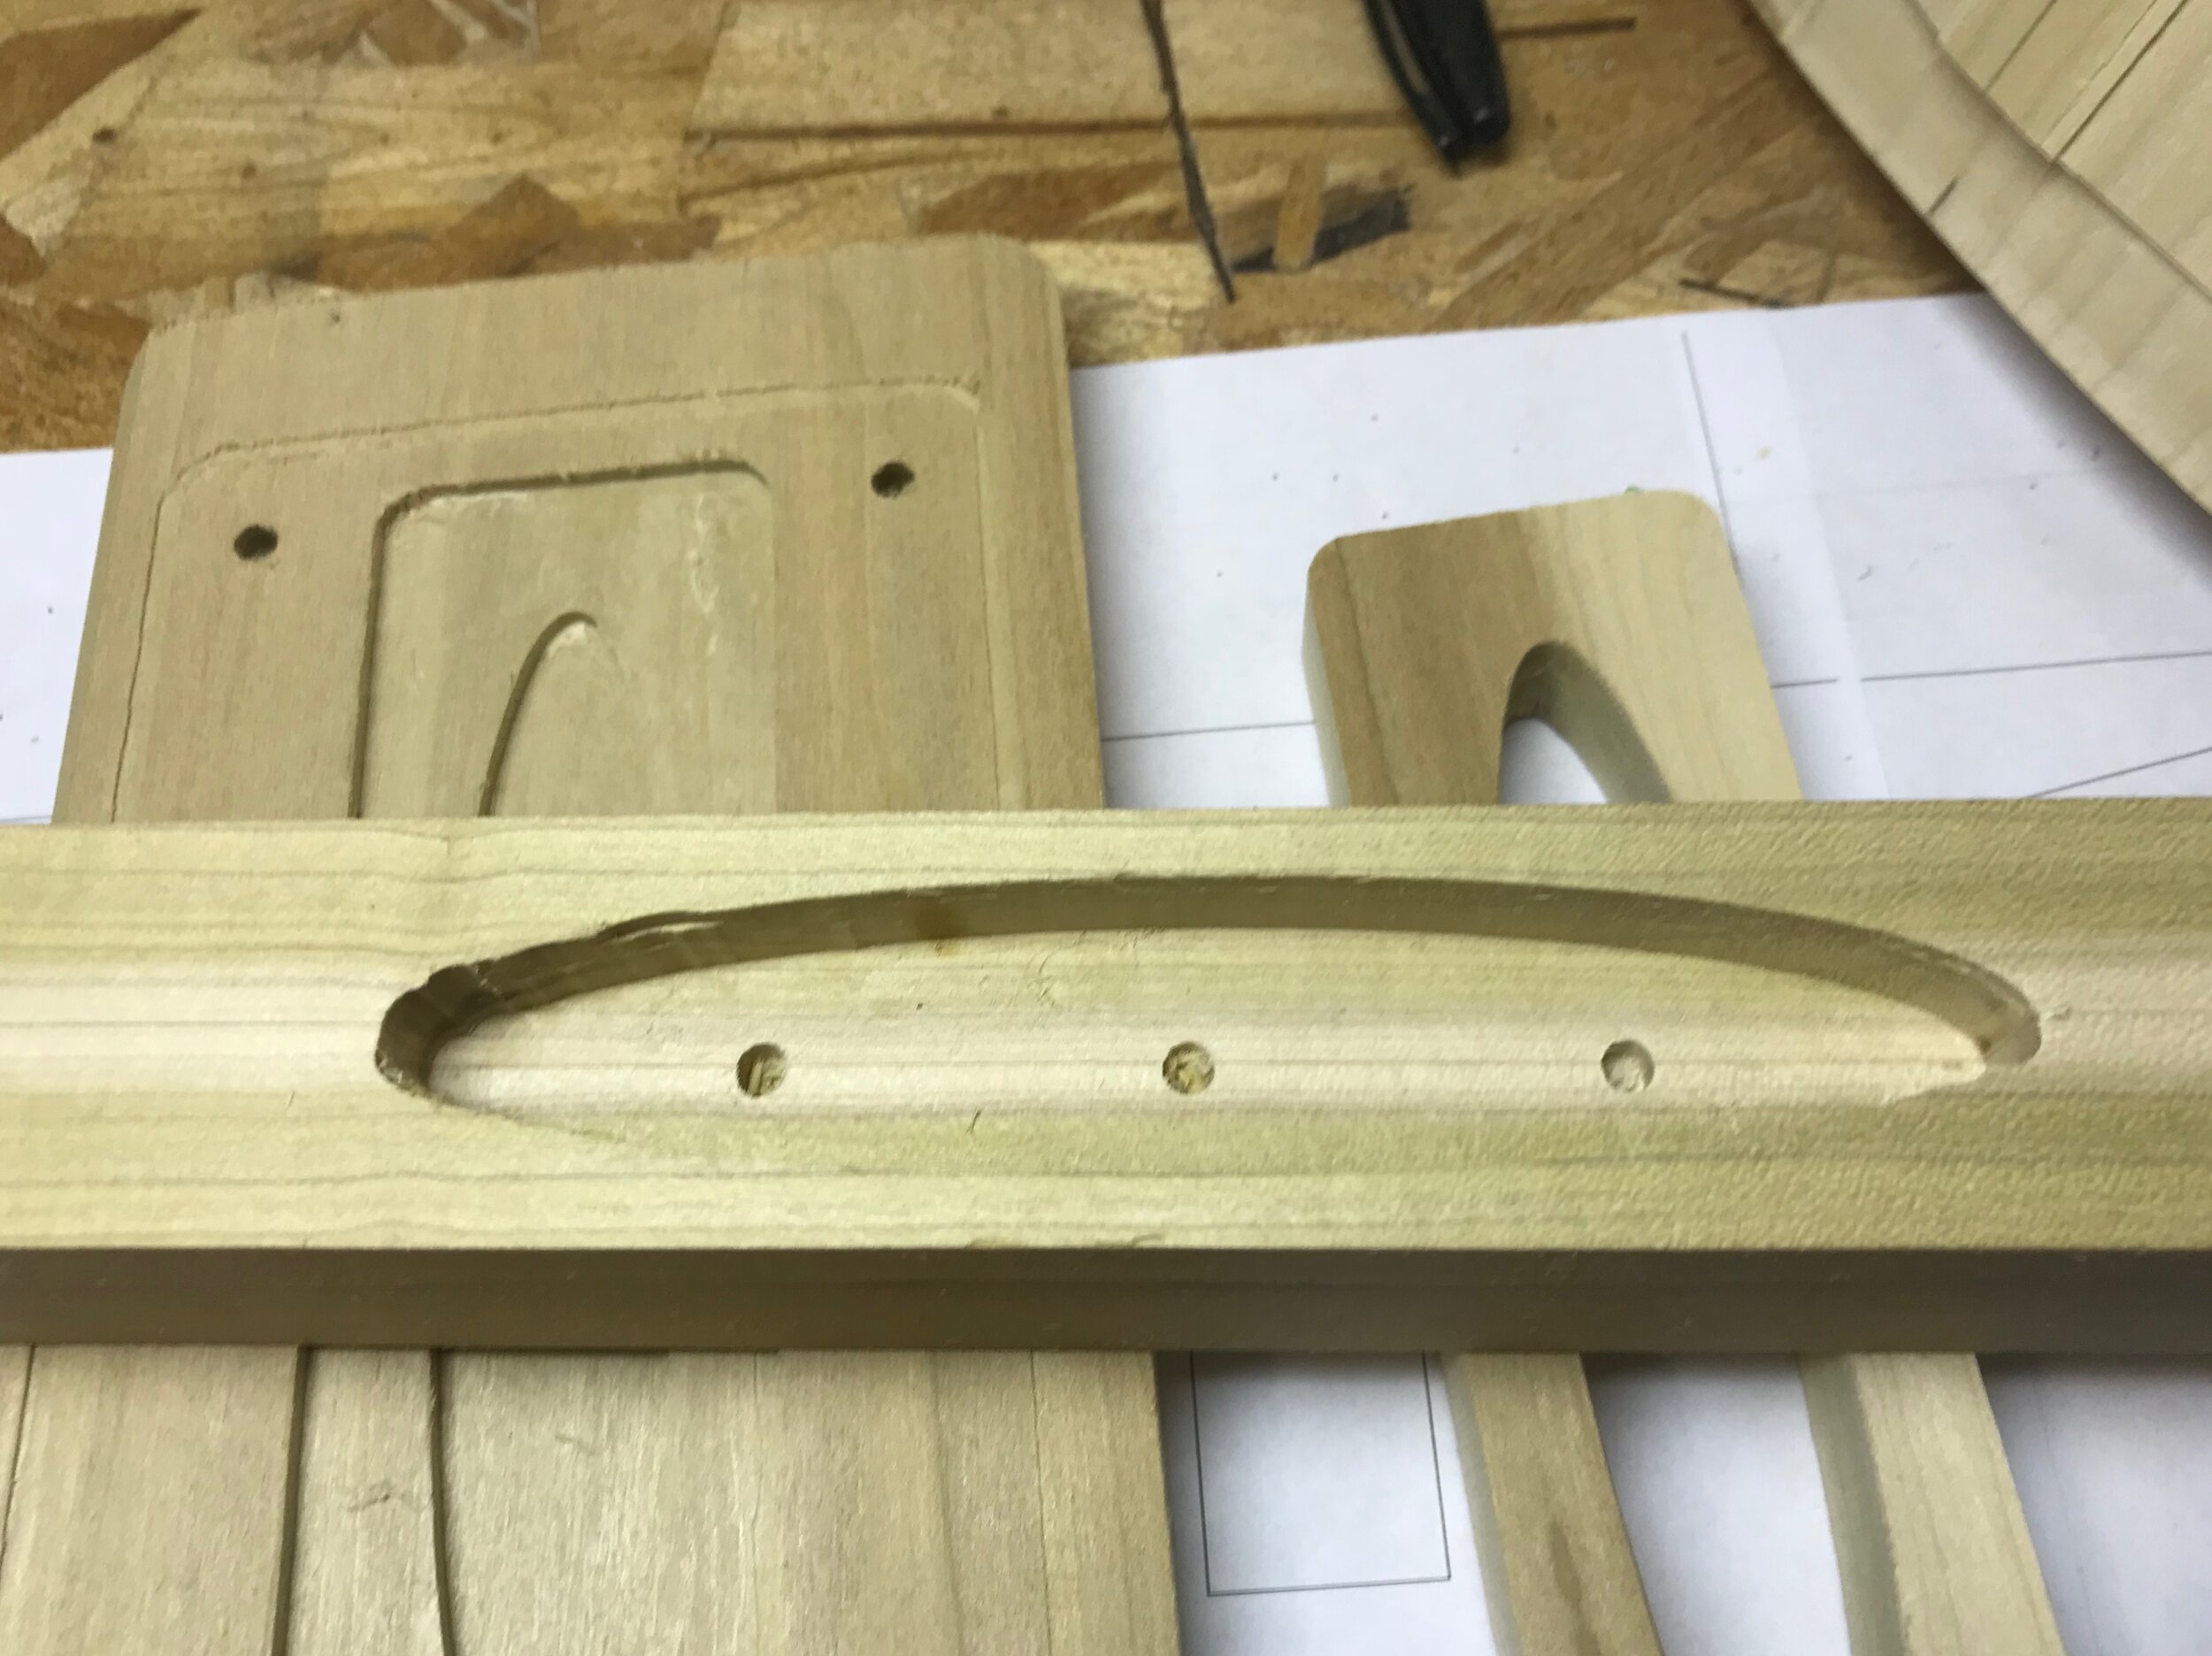

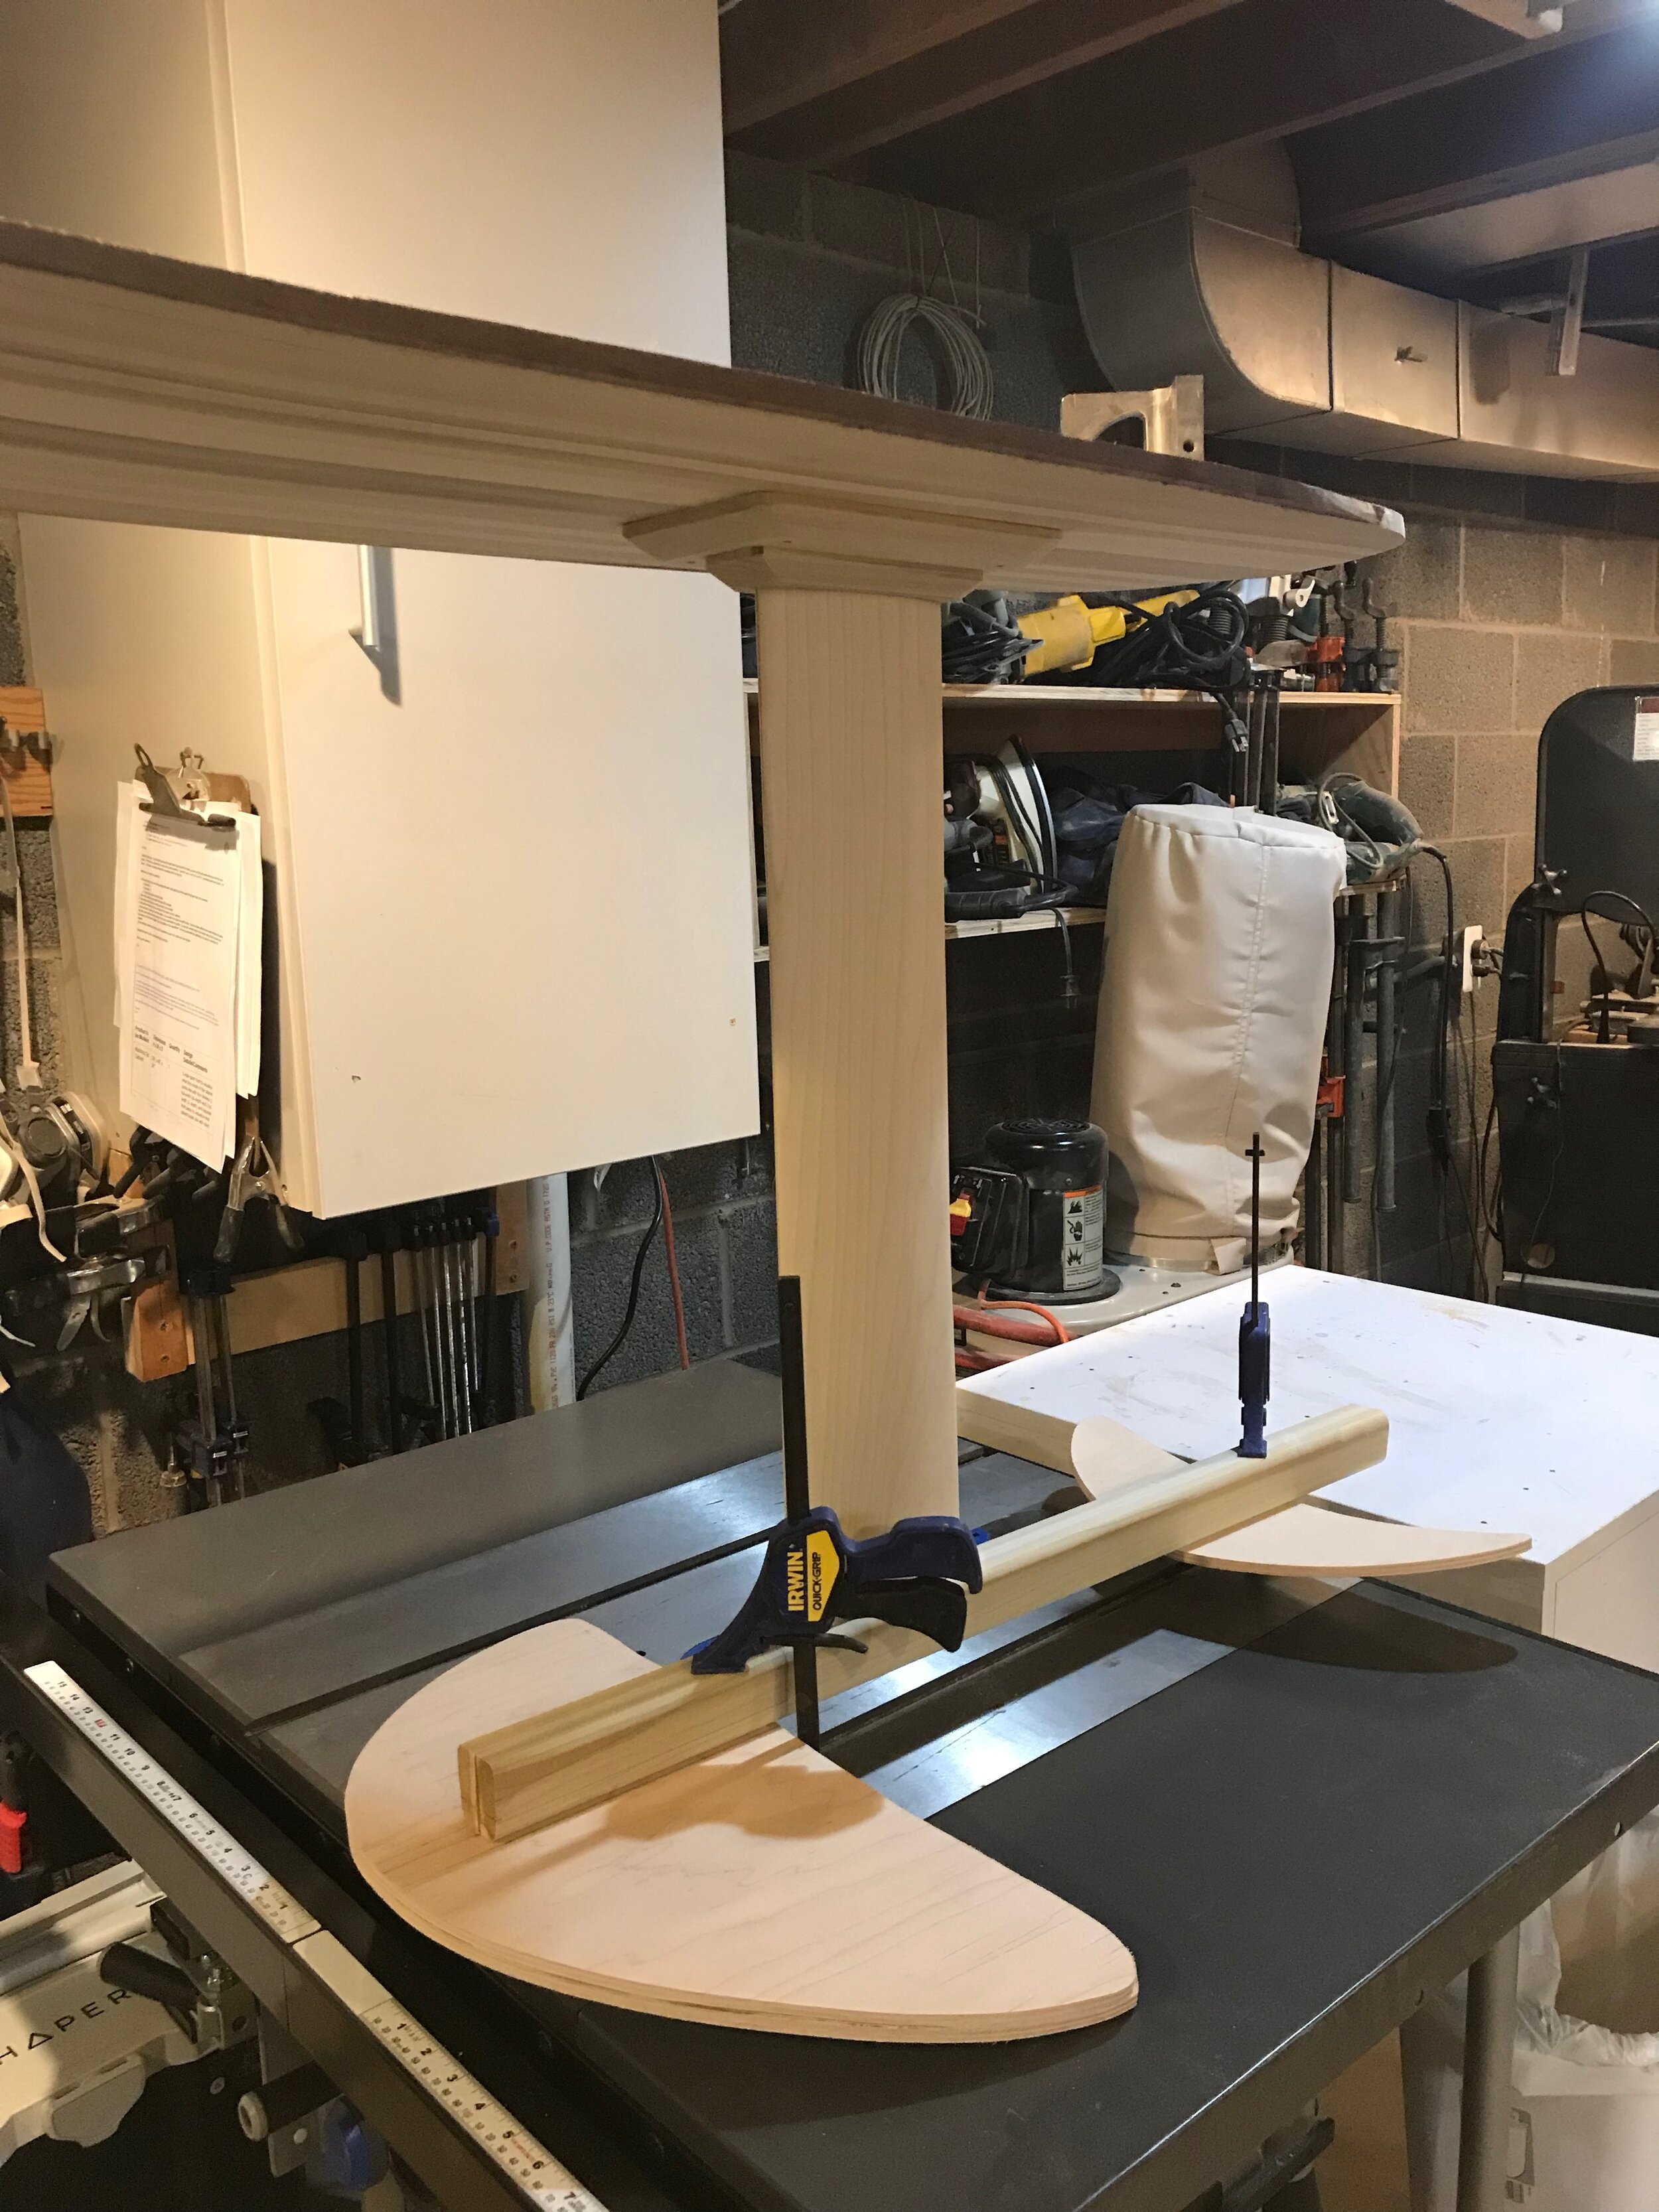


CNC’ing the Details

Brian’s Board

Learning
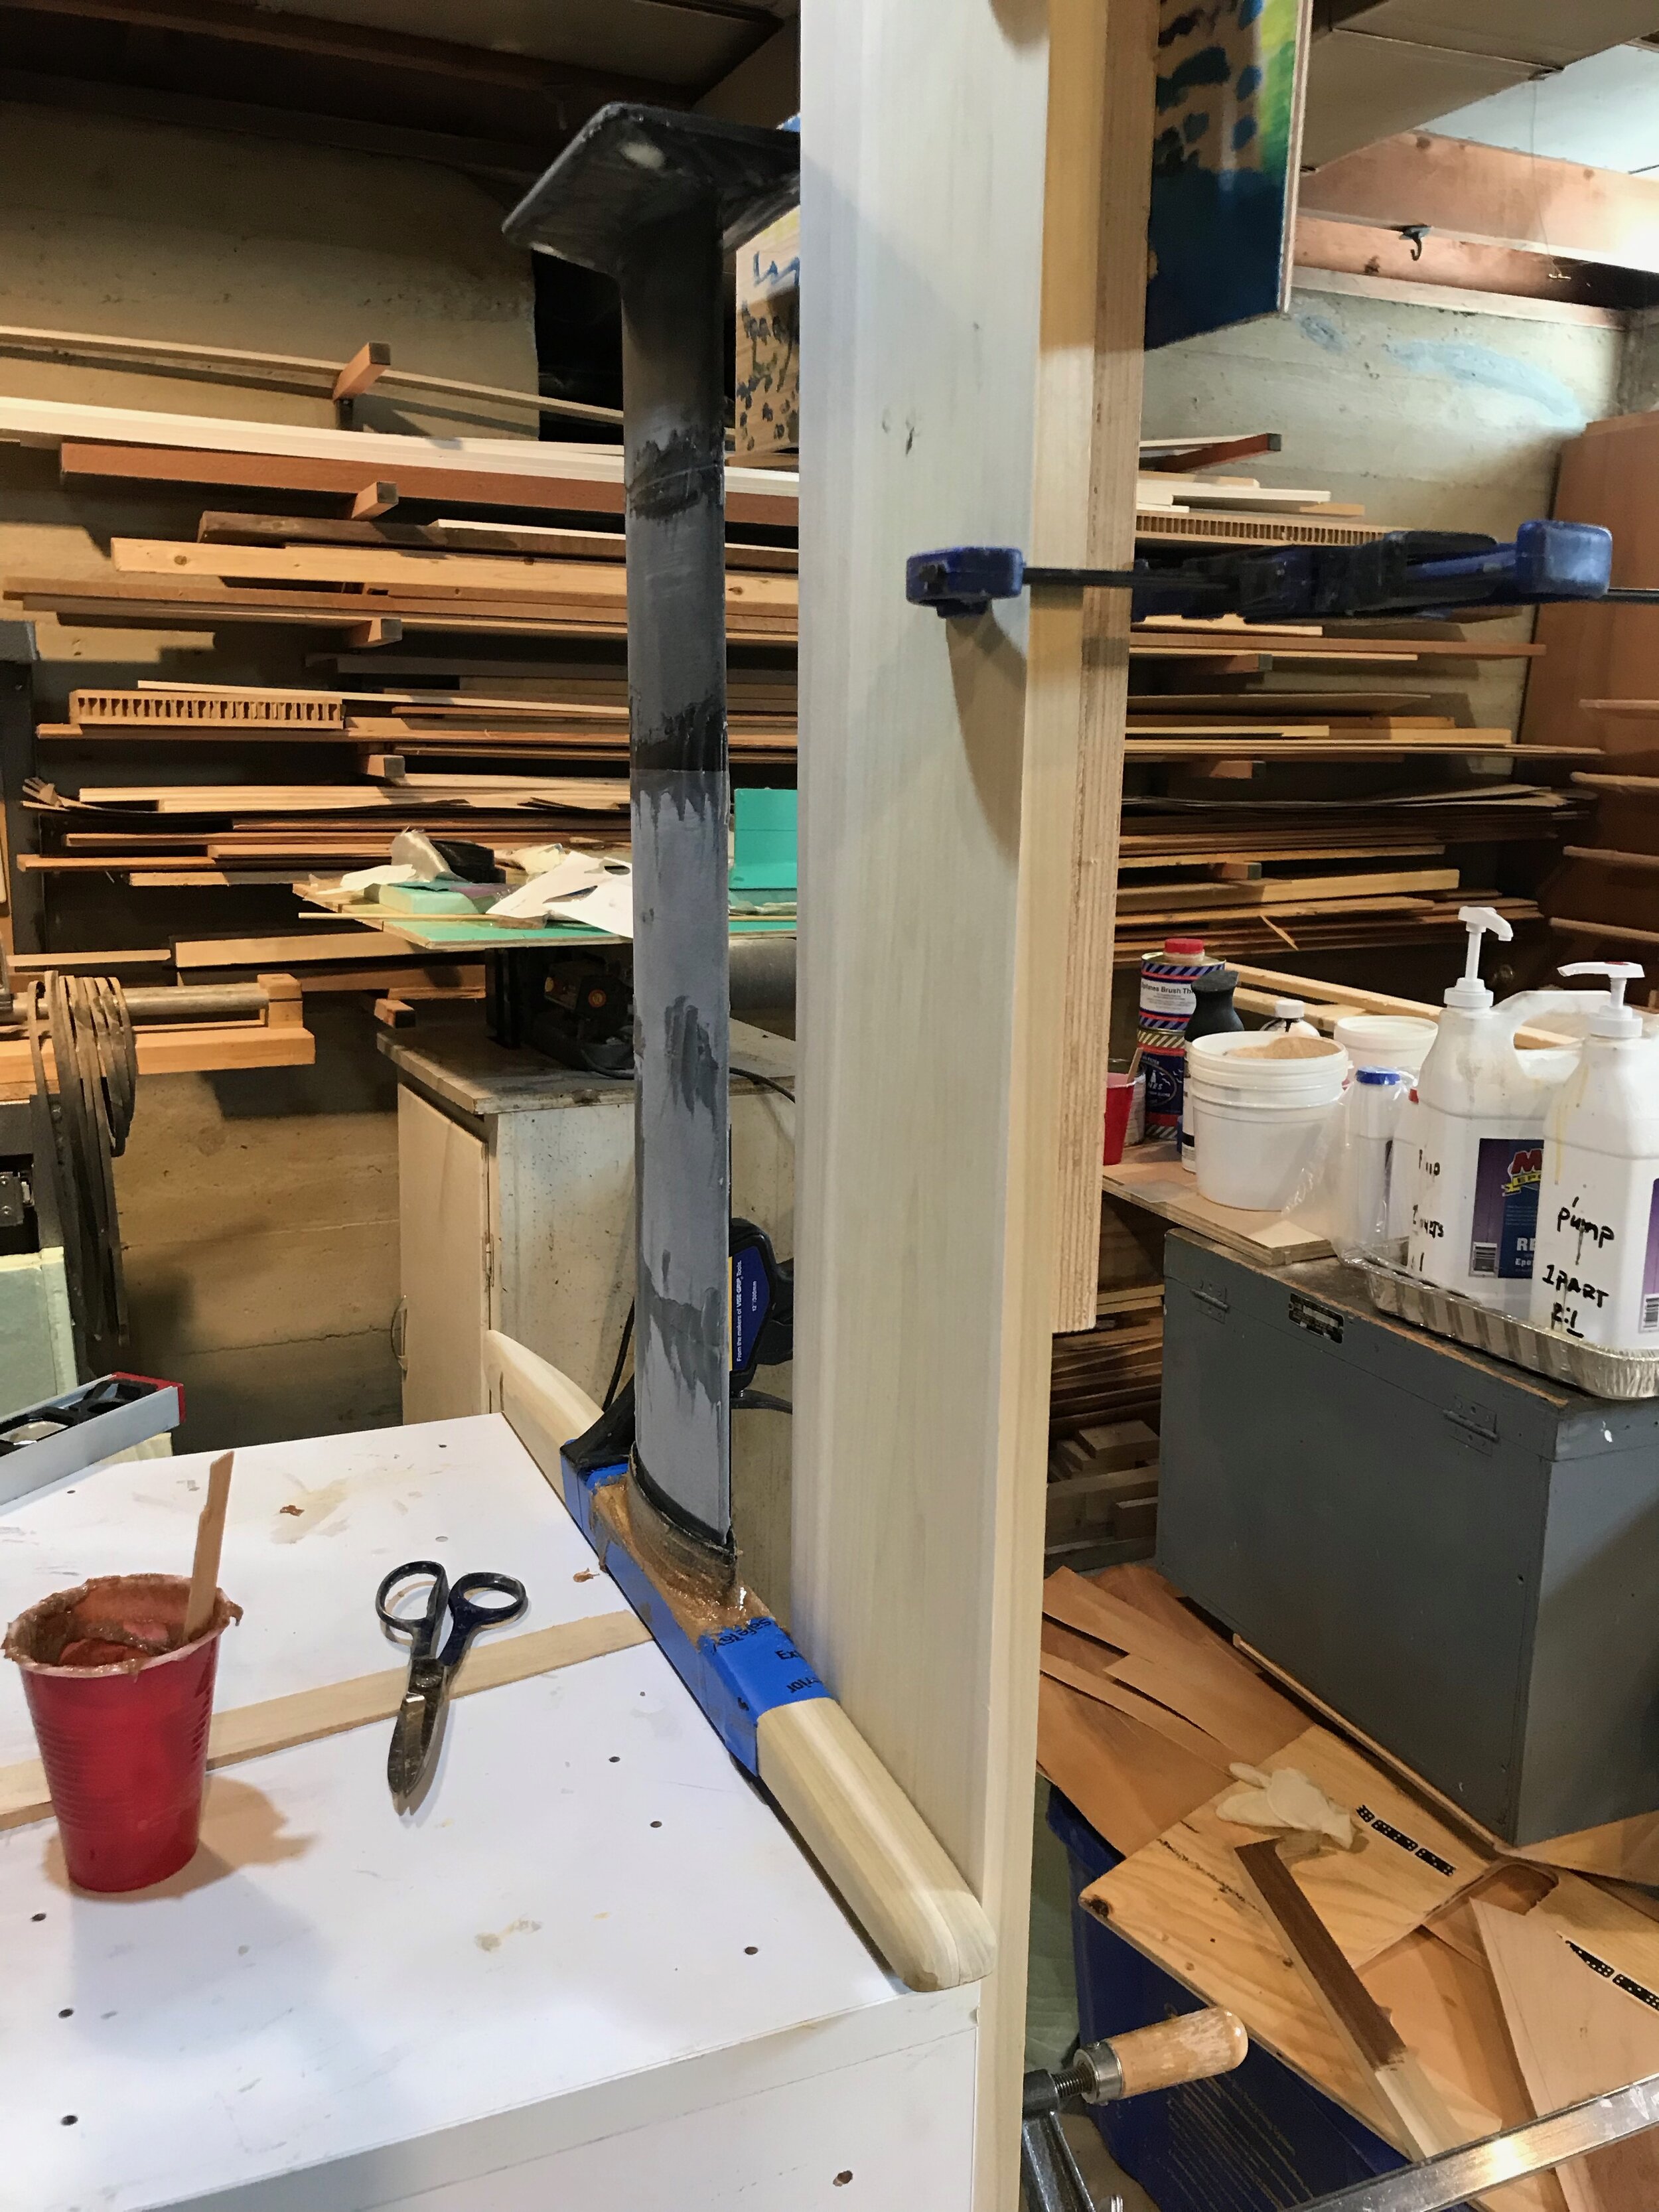
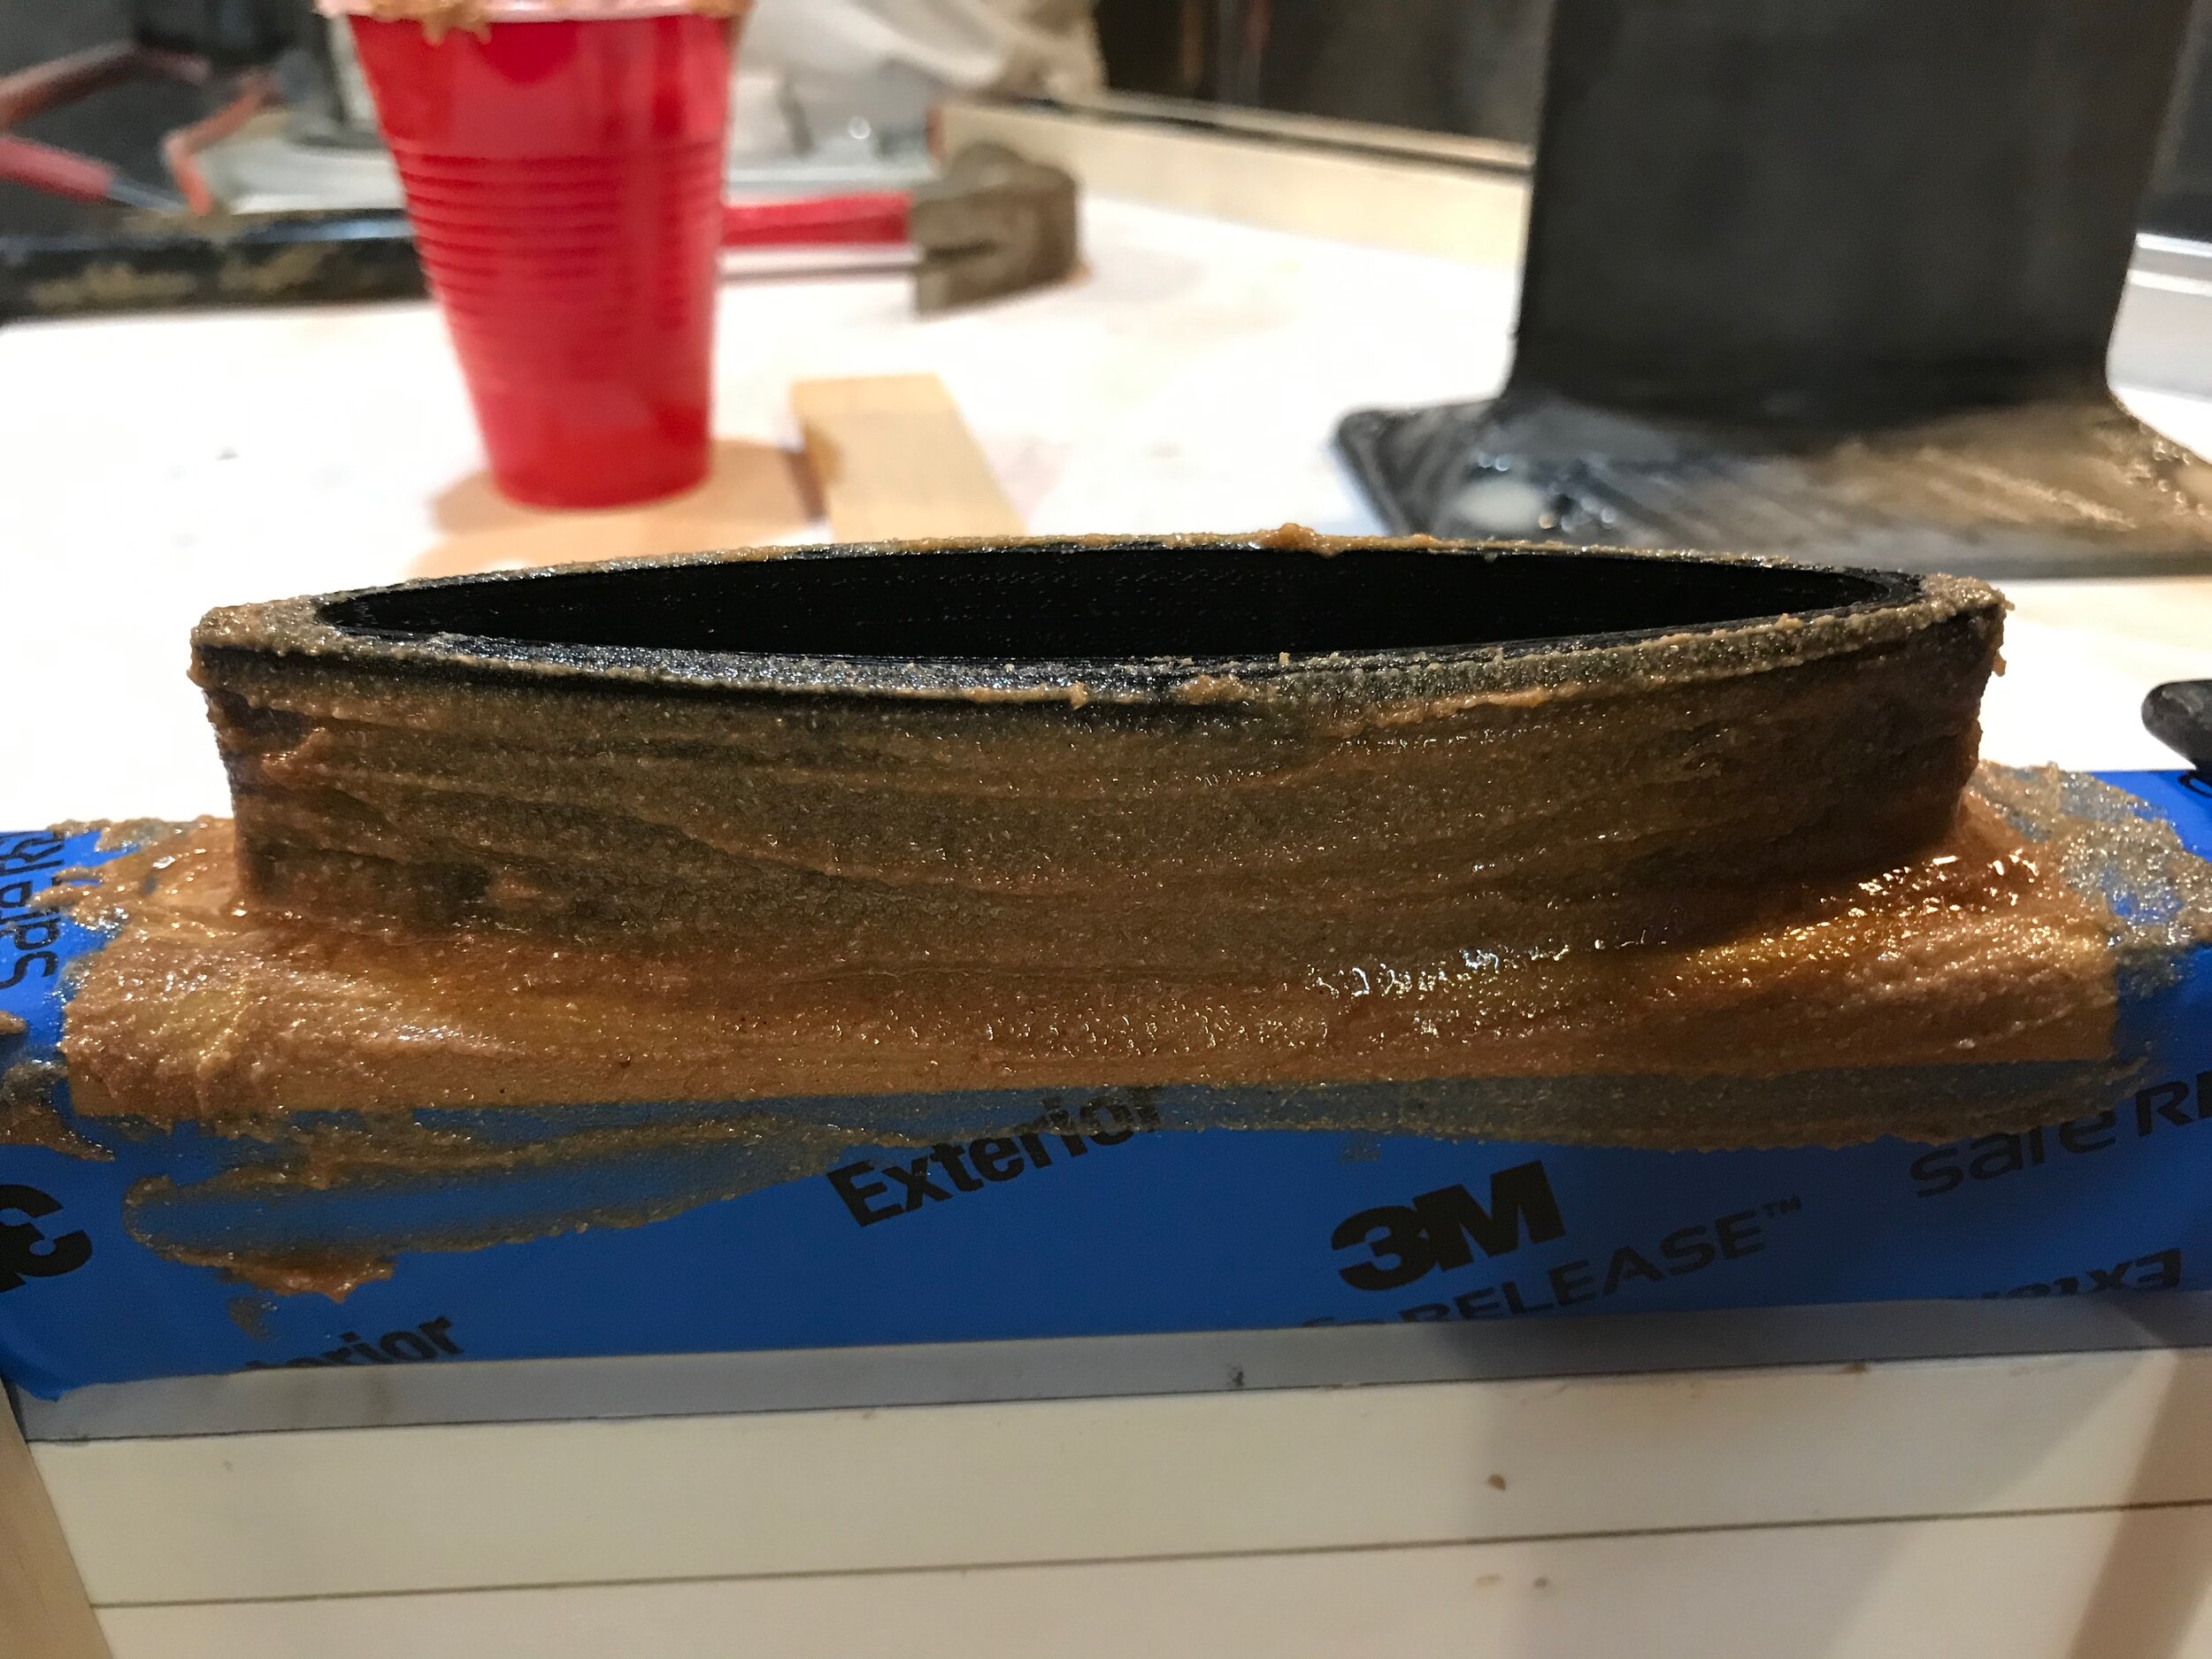
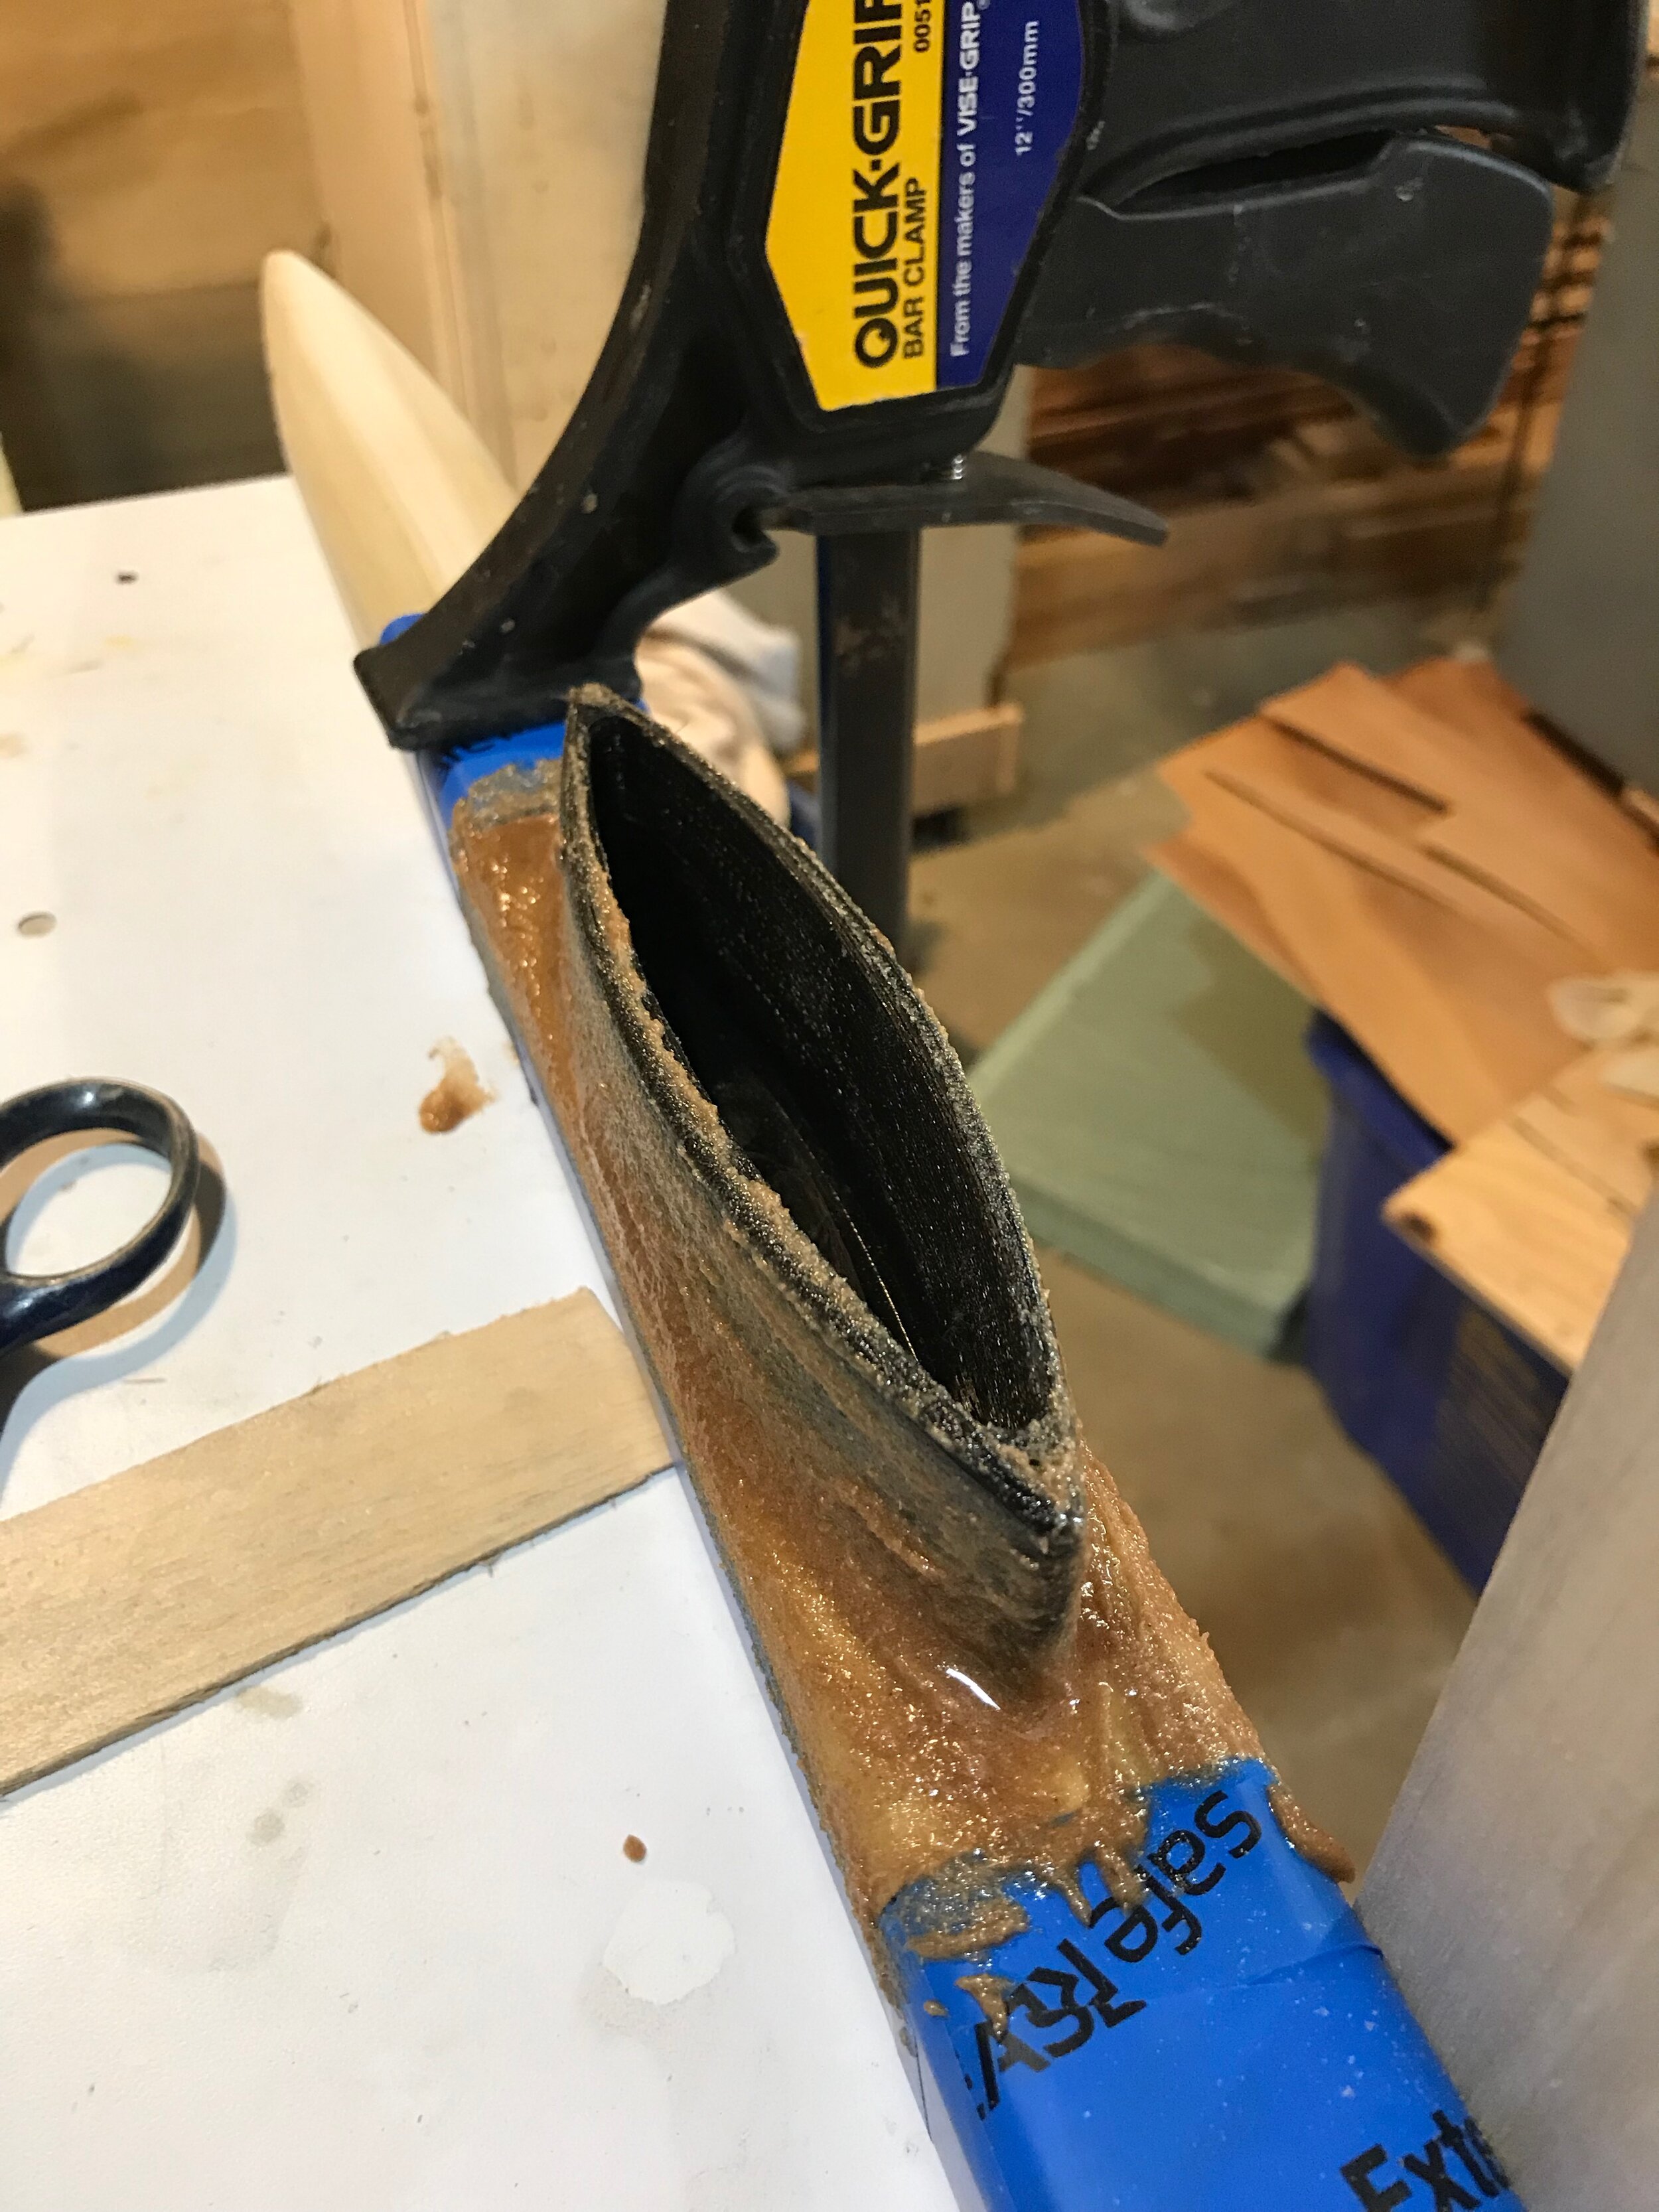
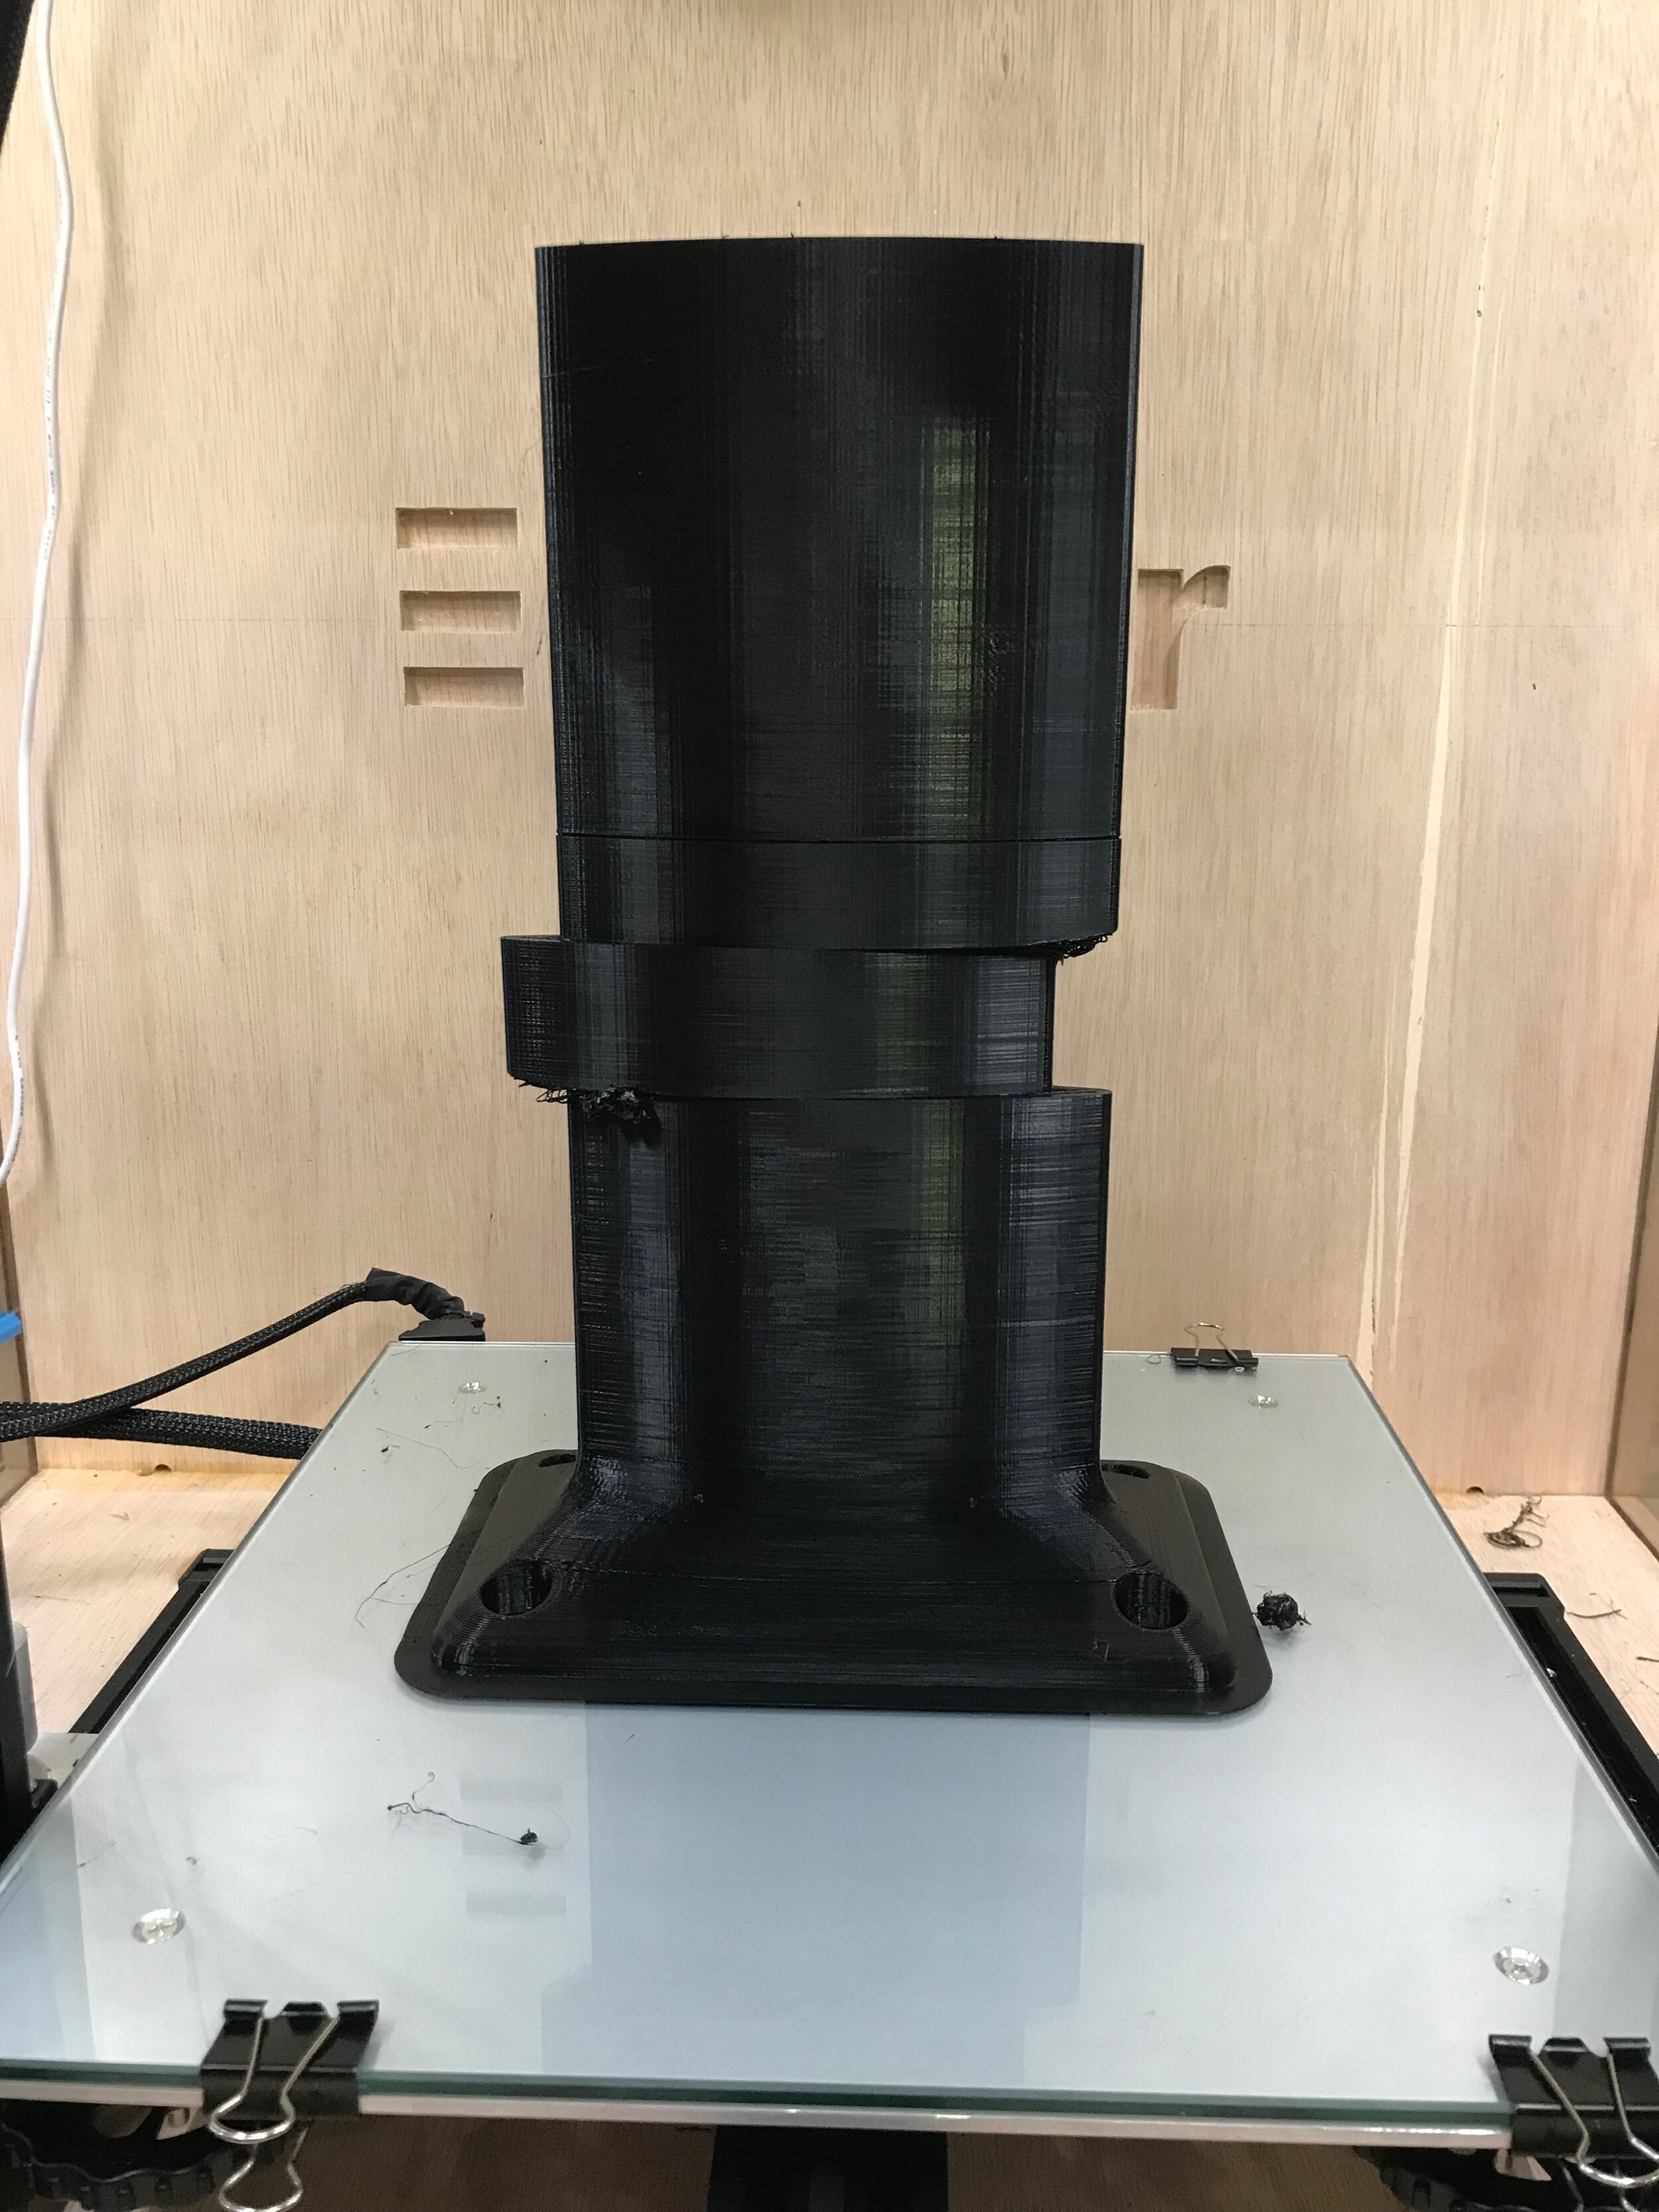
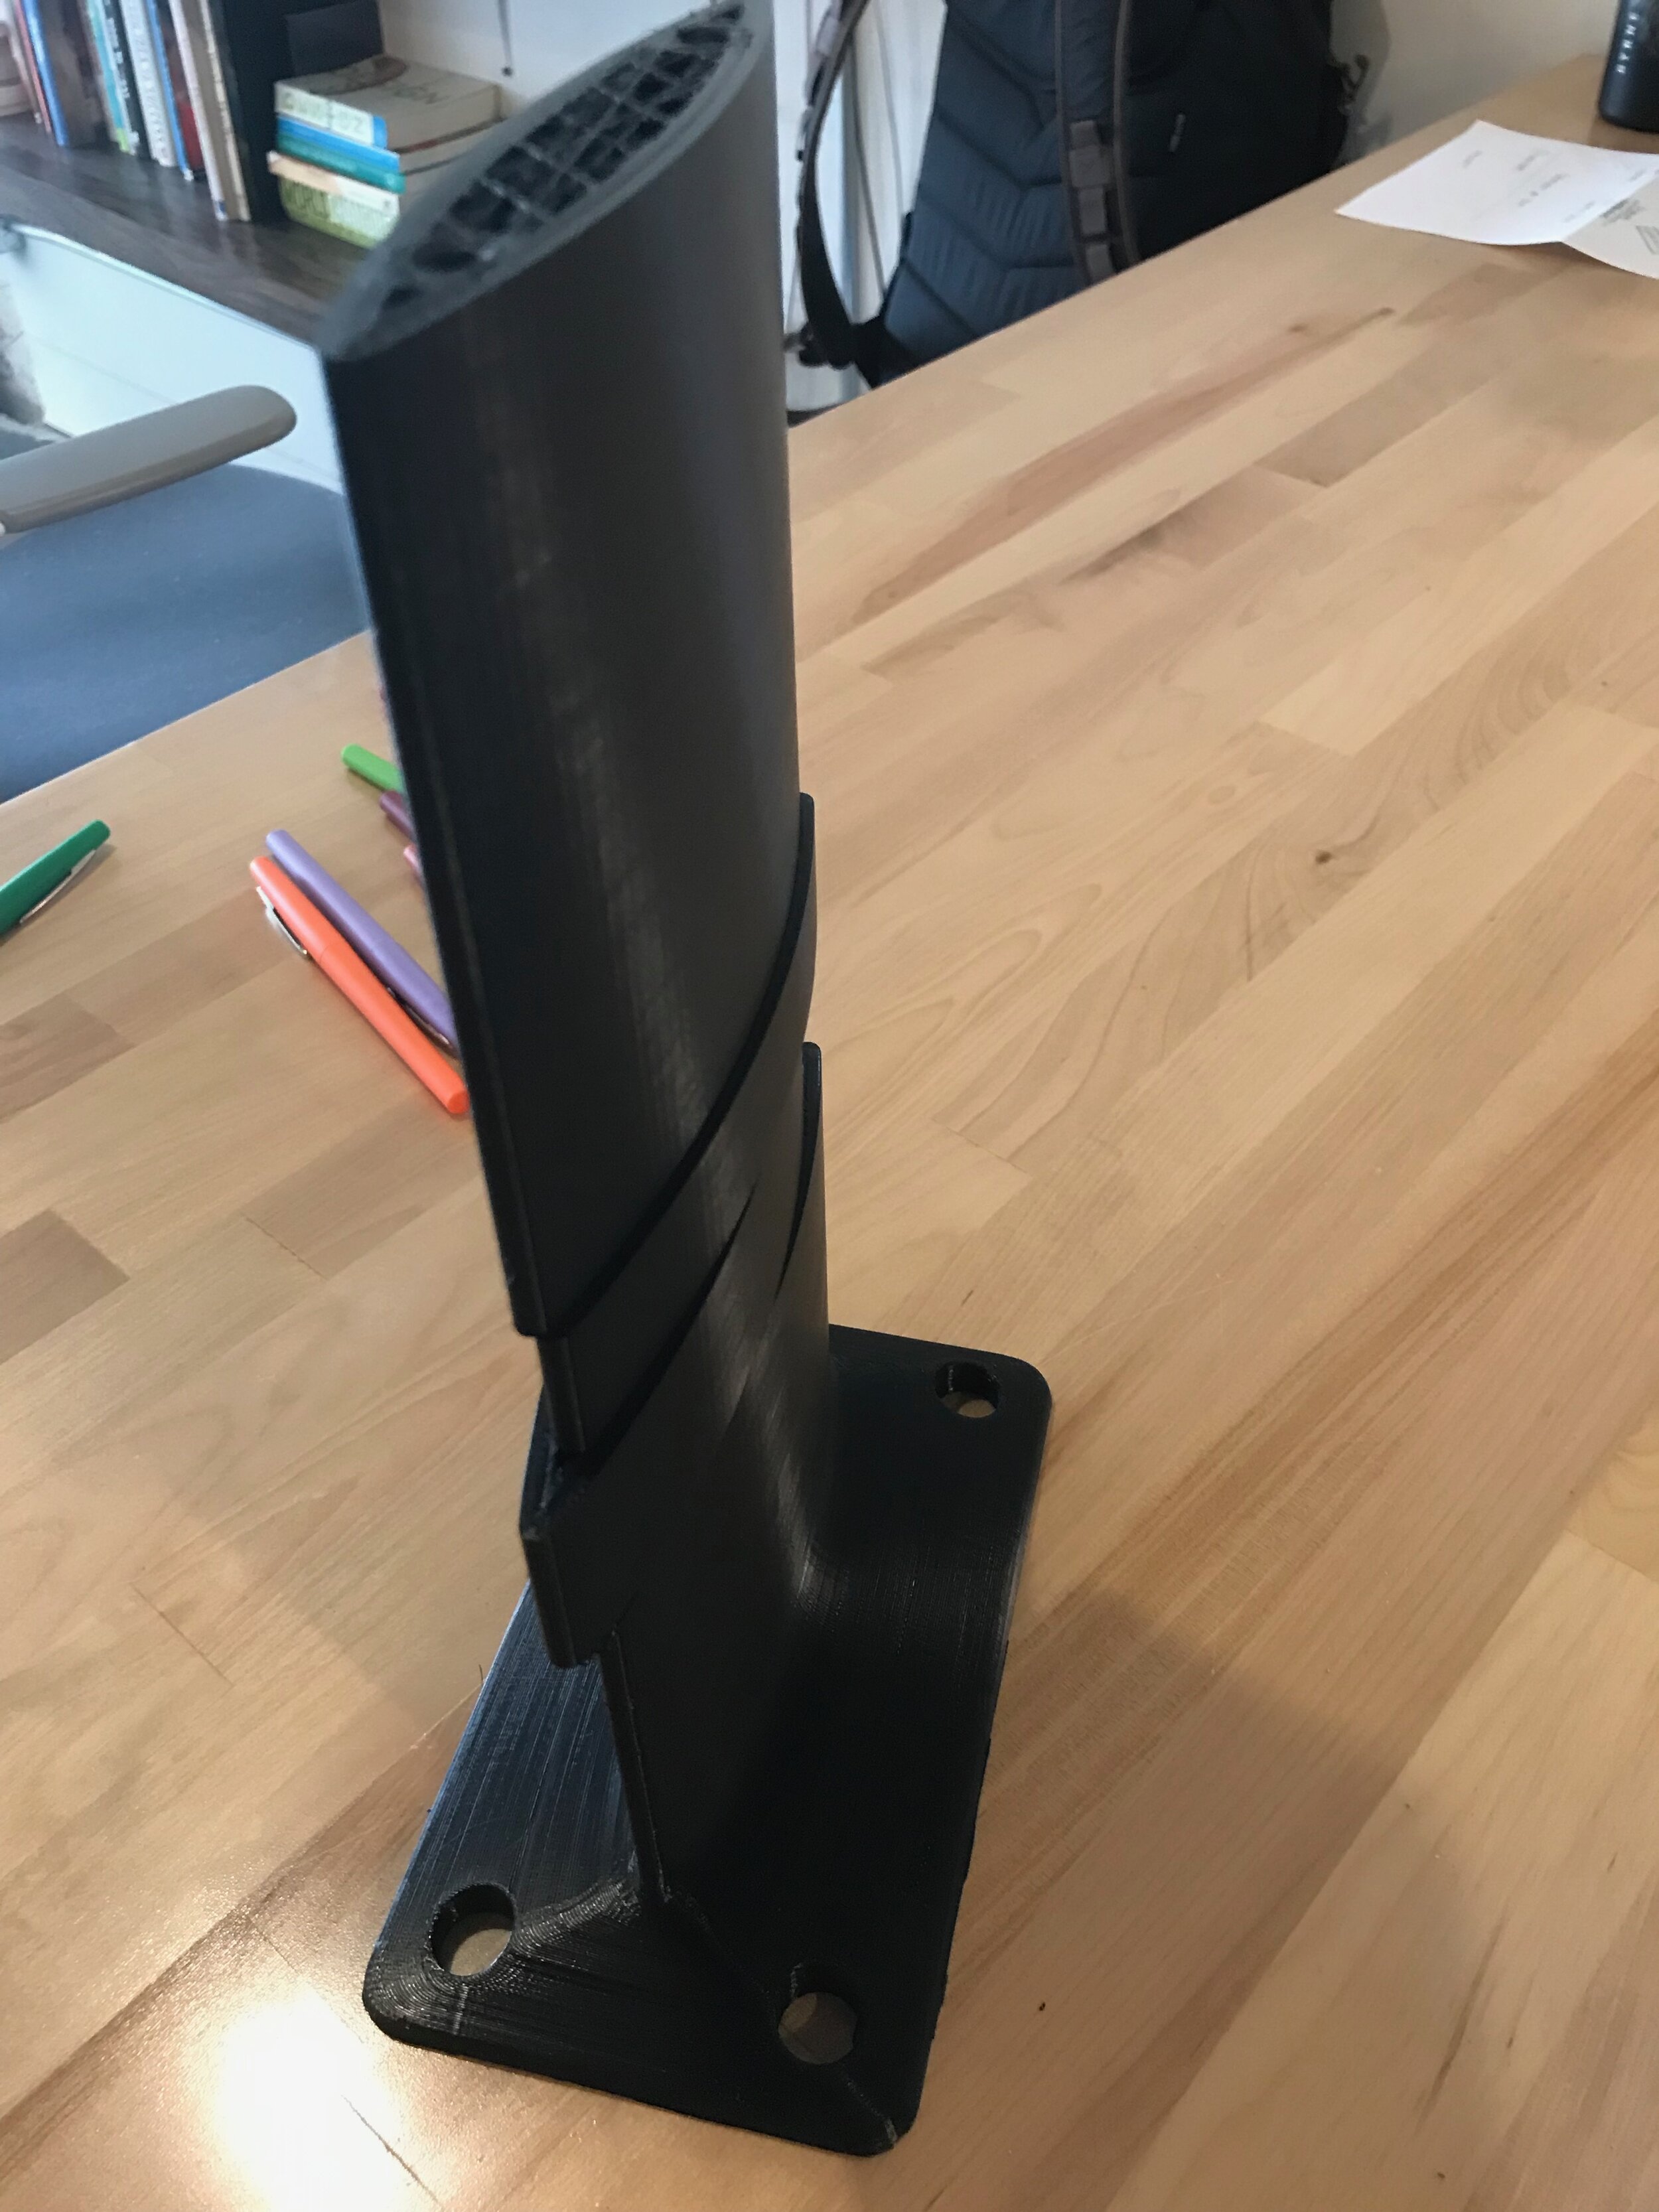
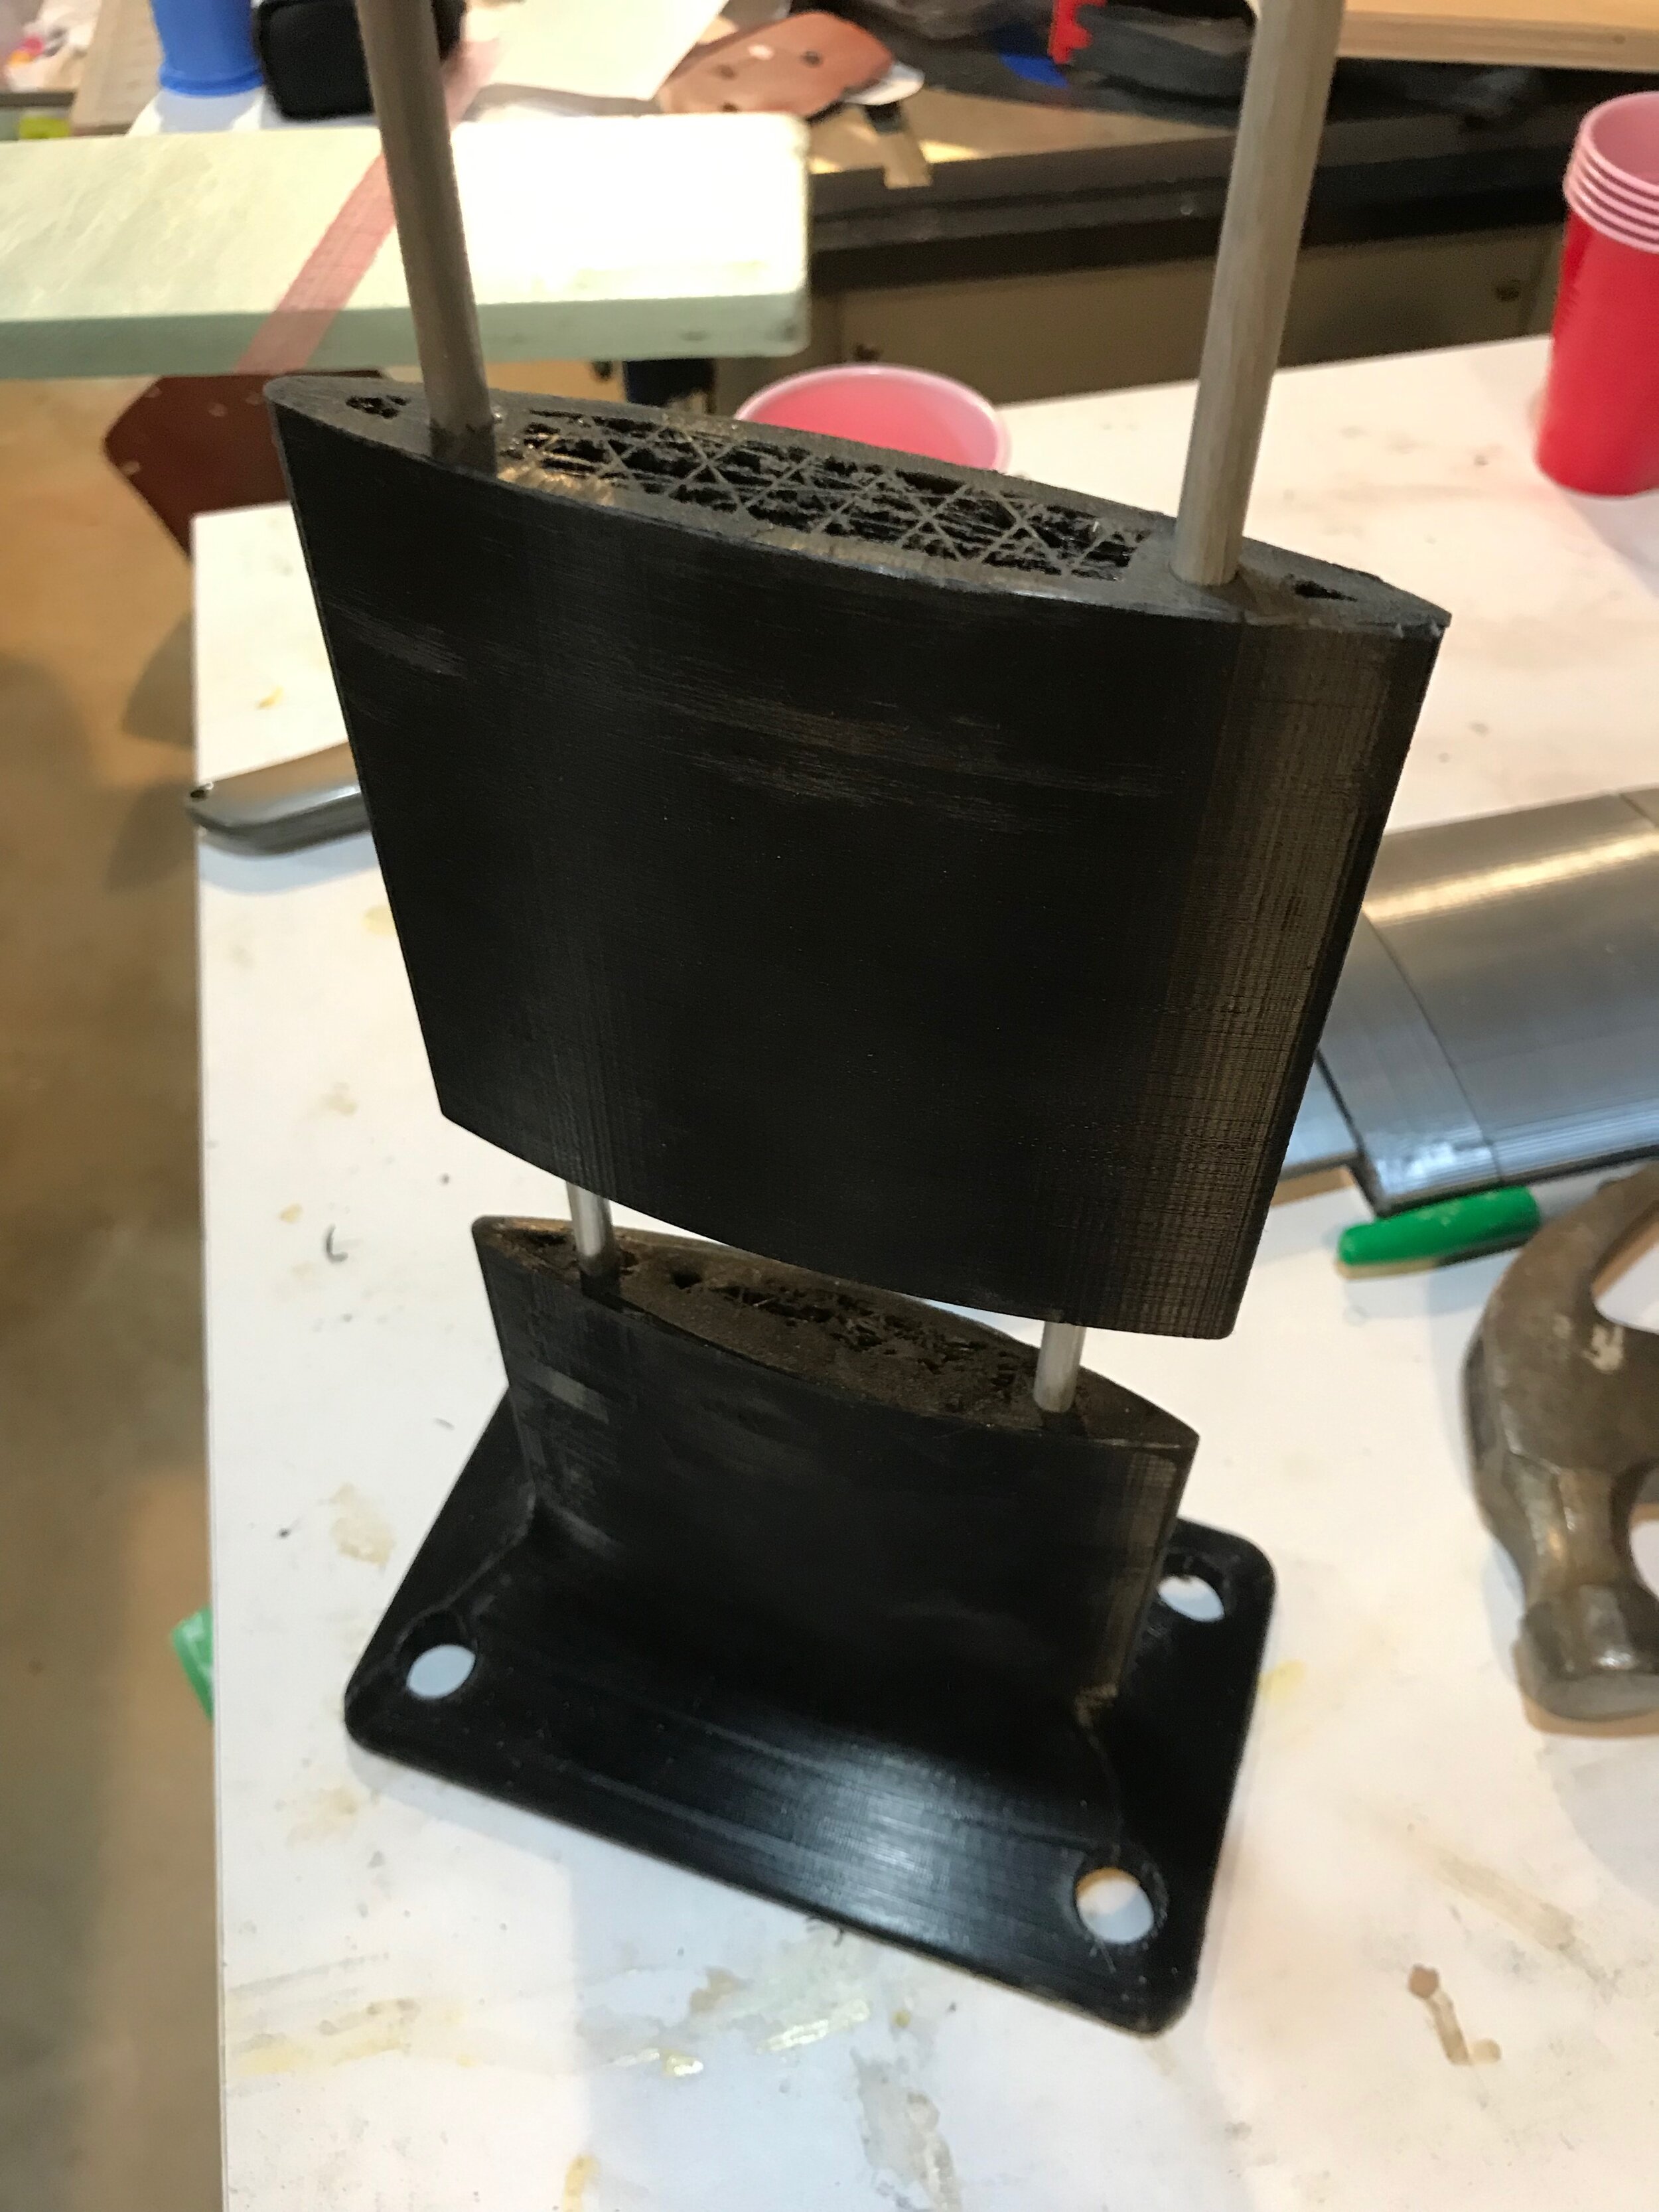
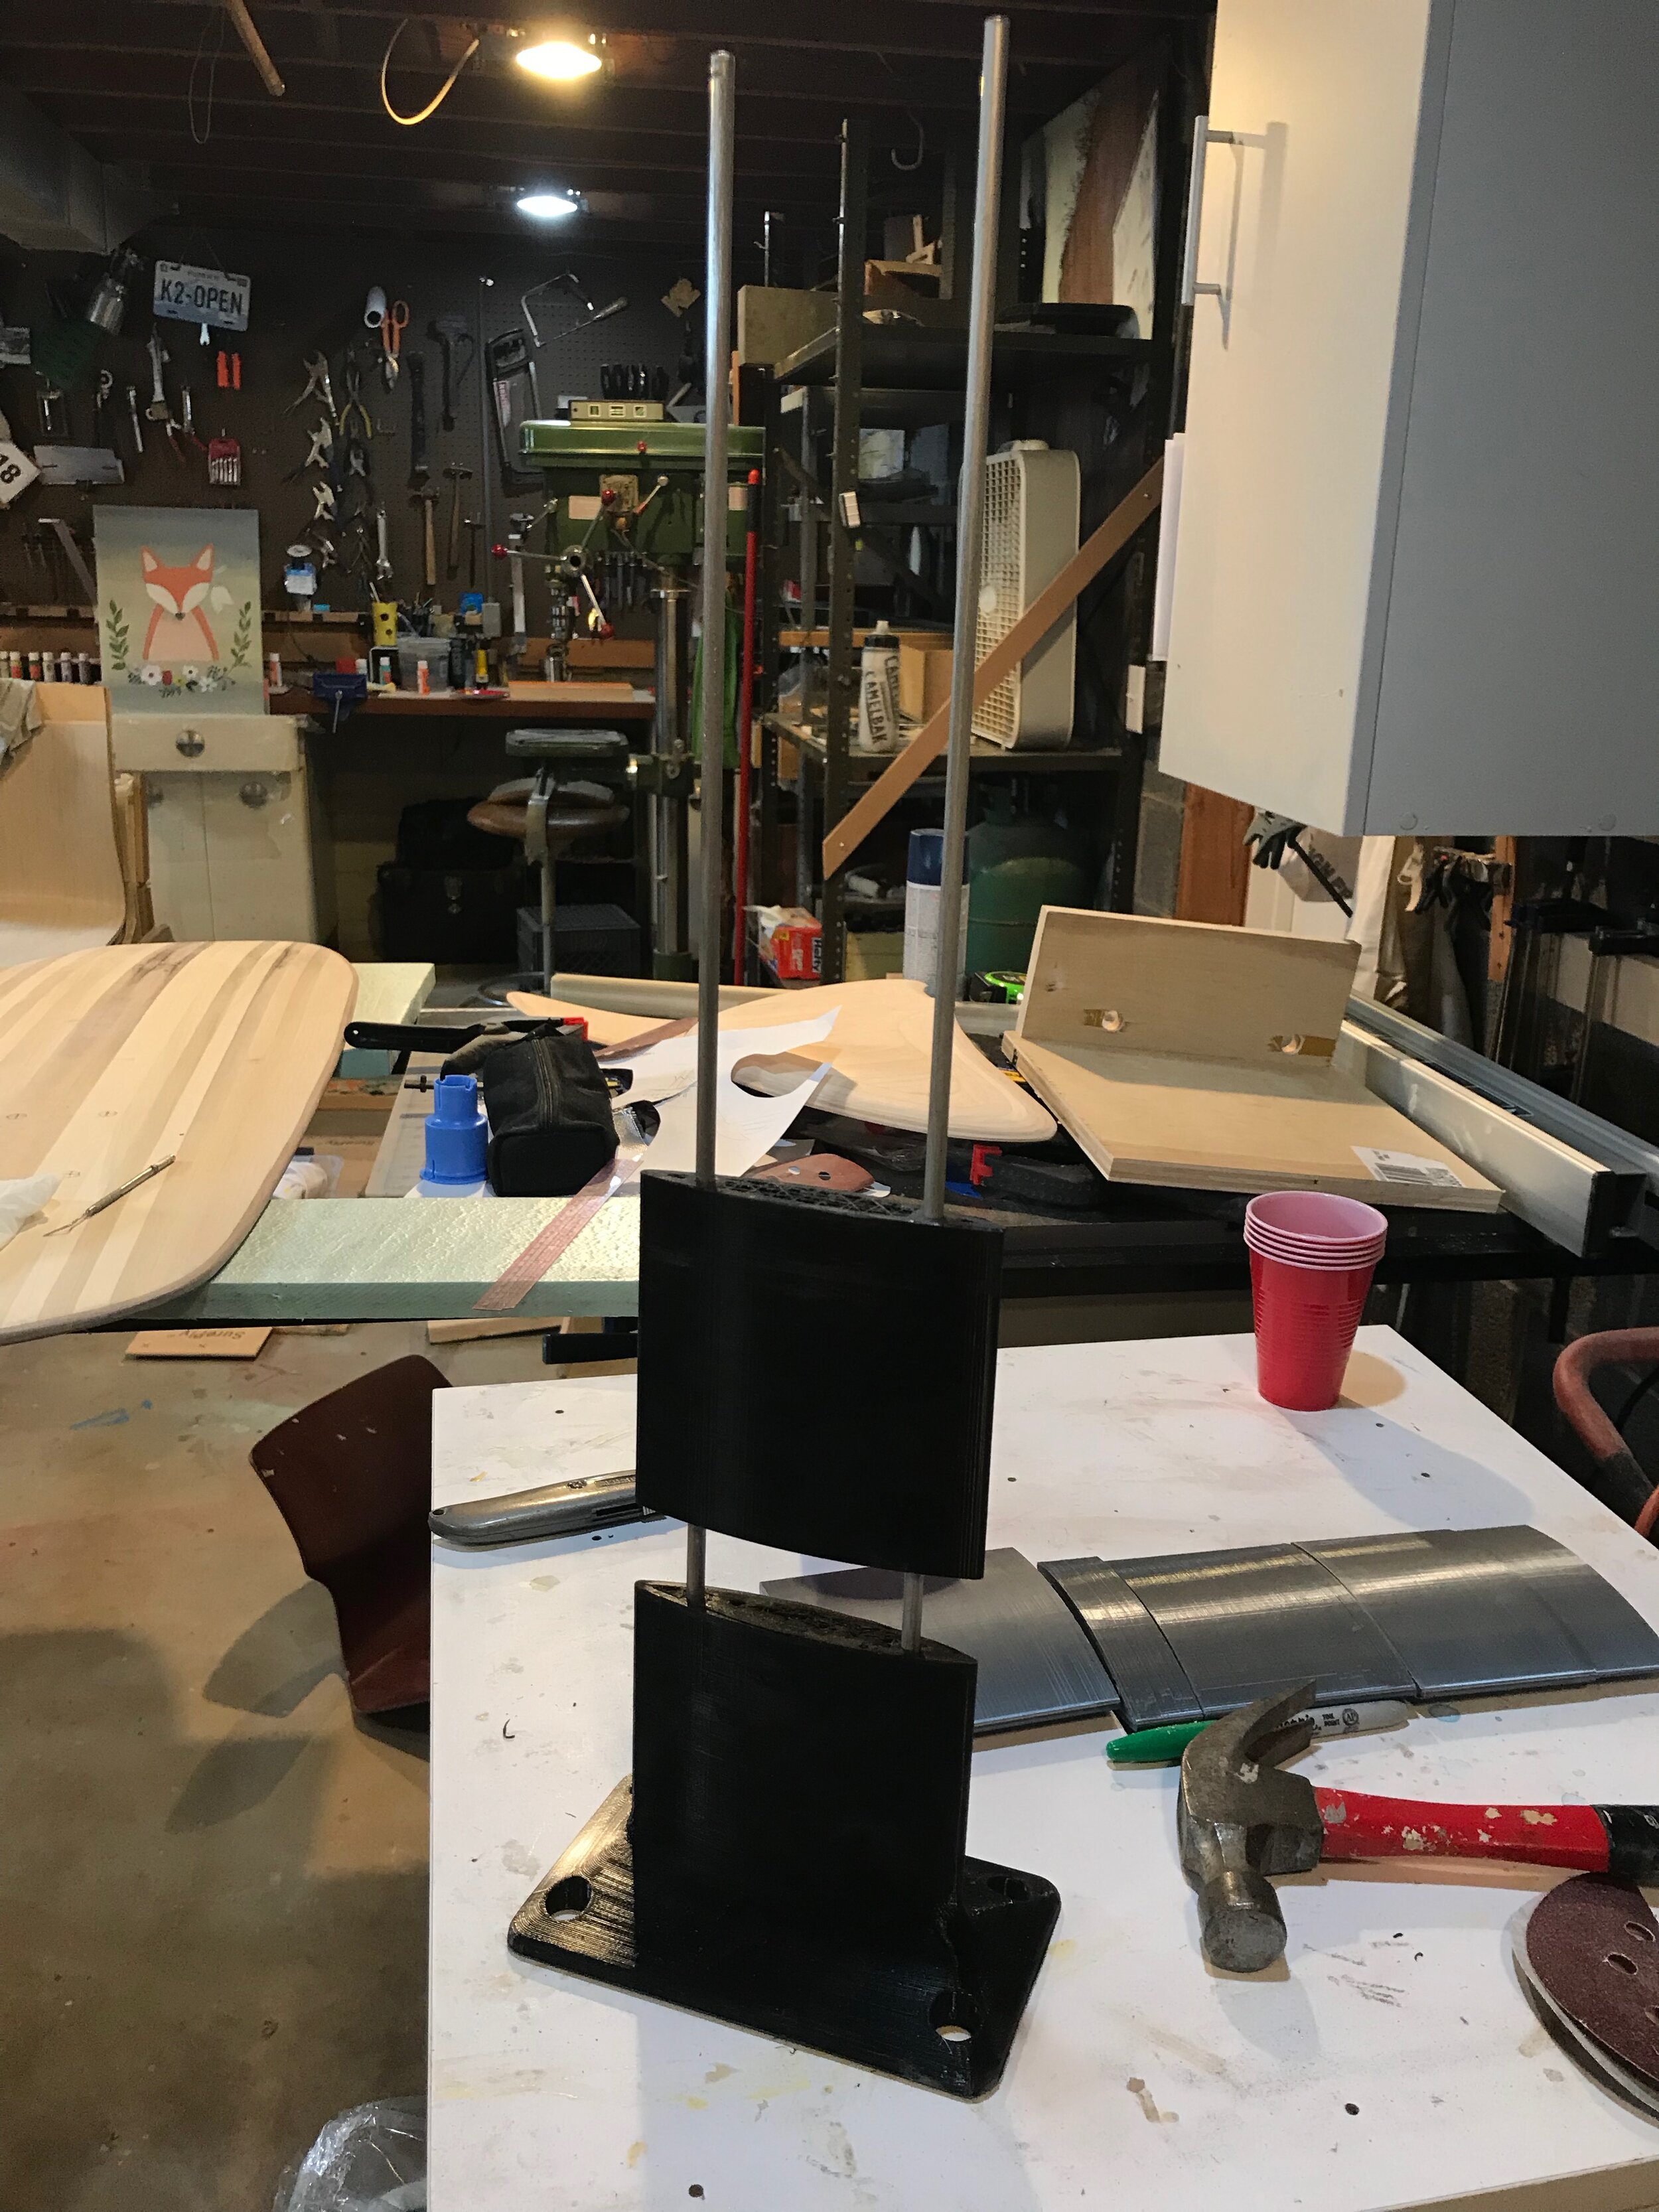
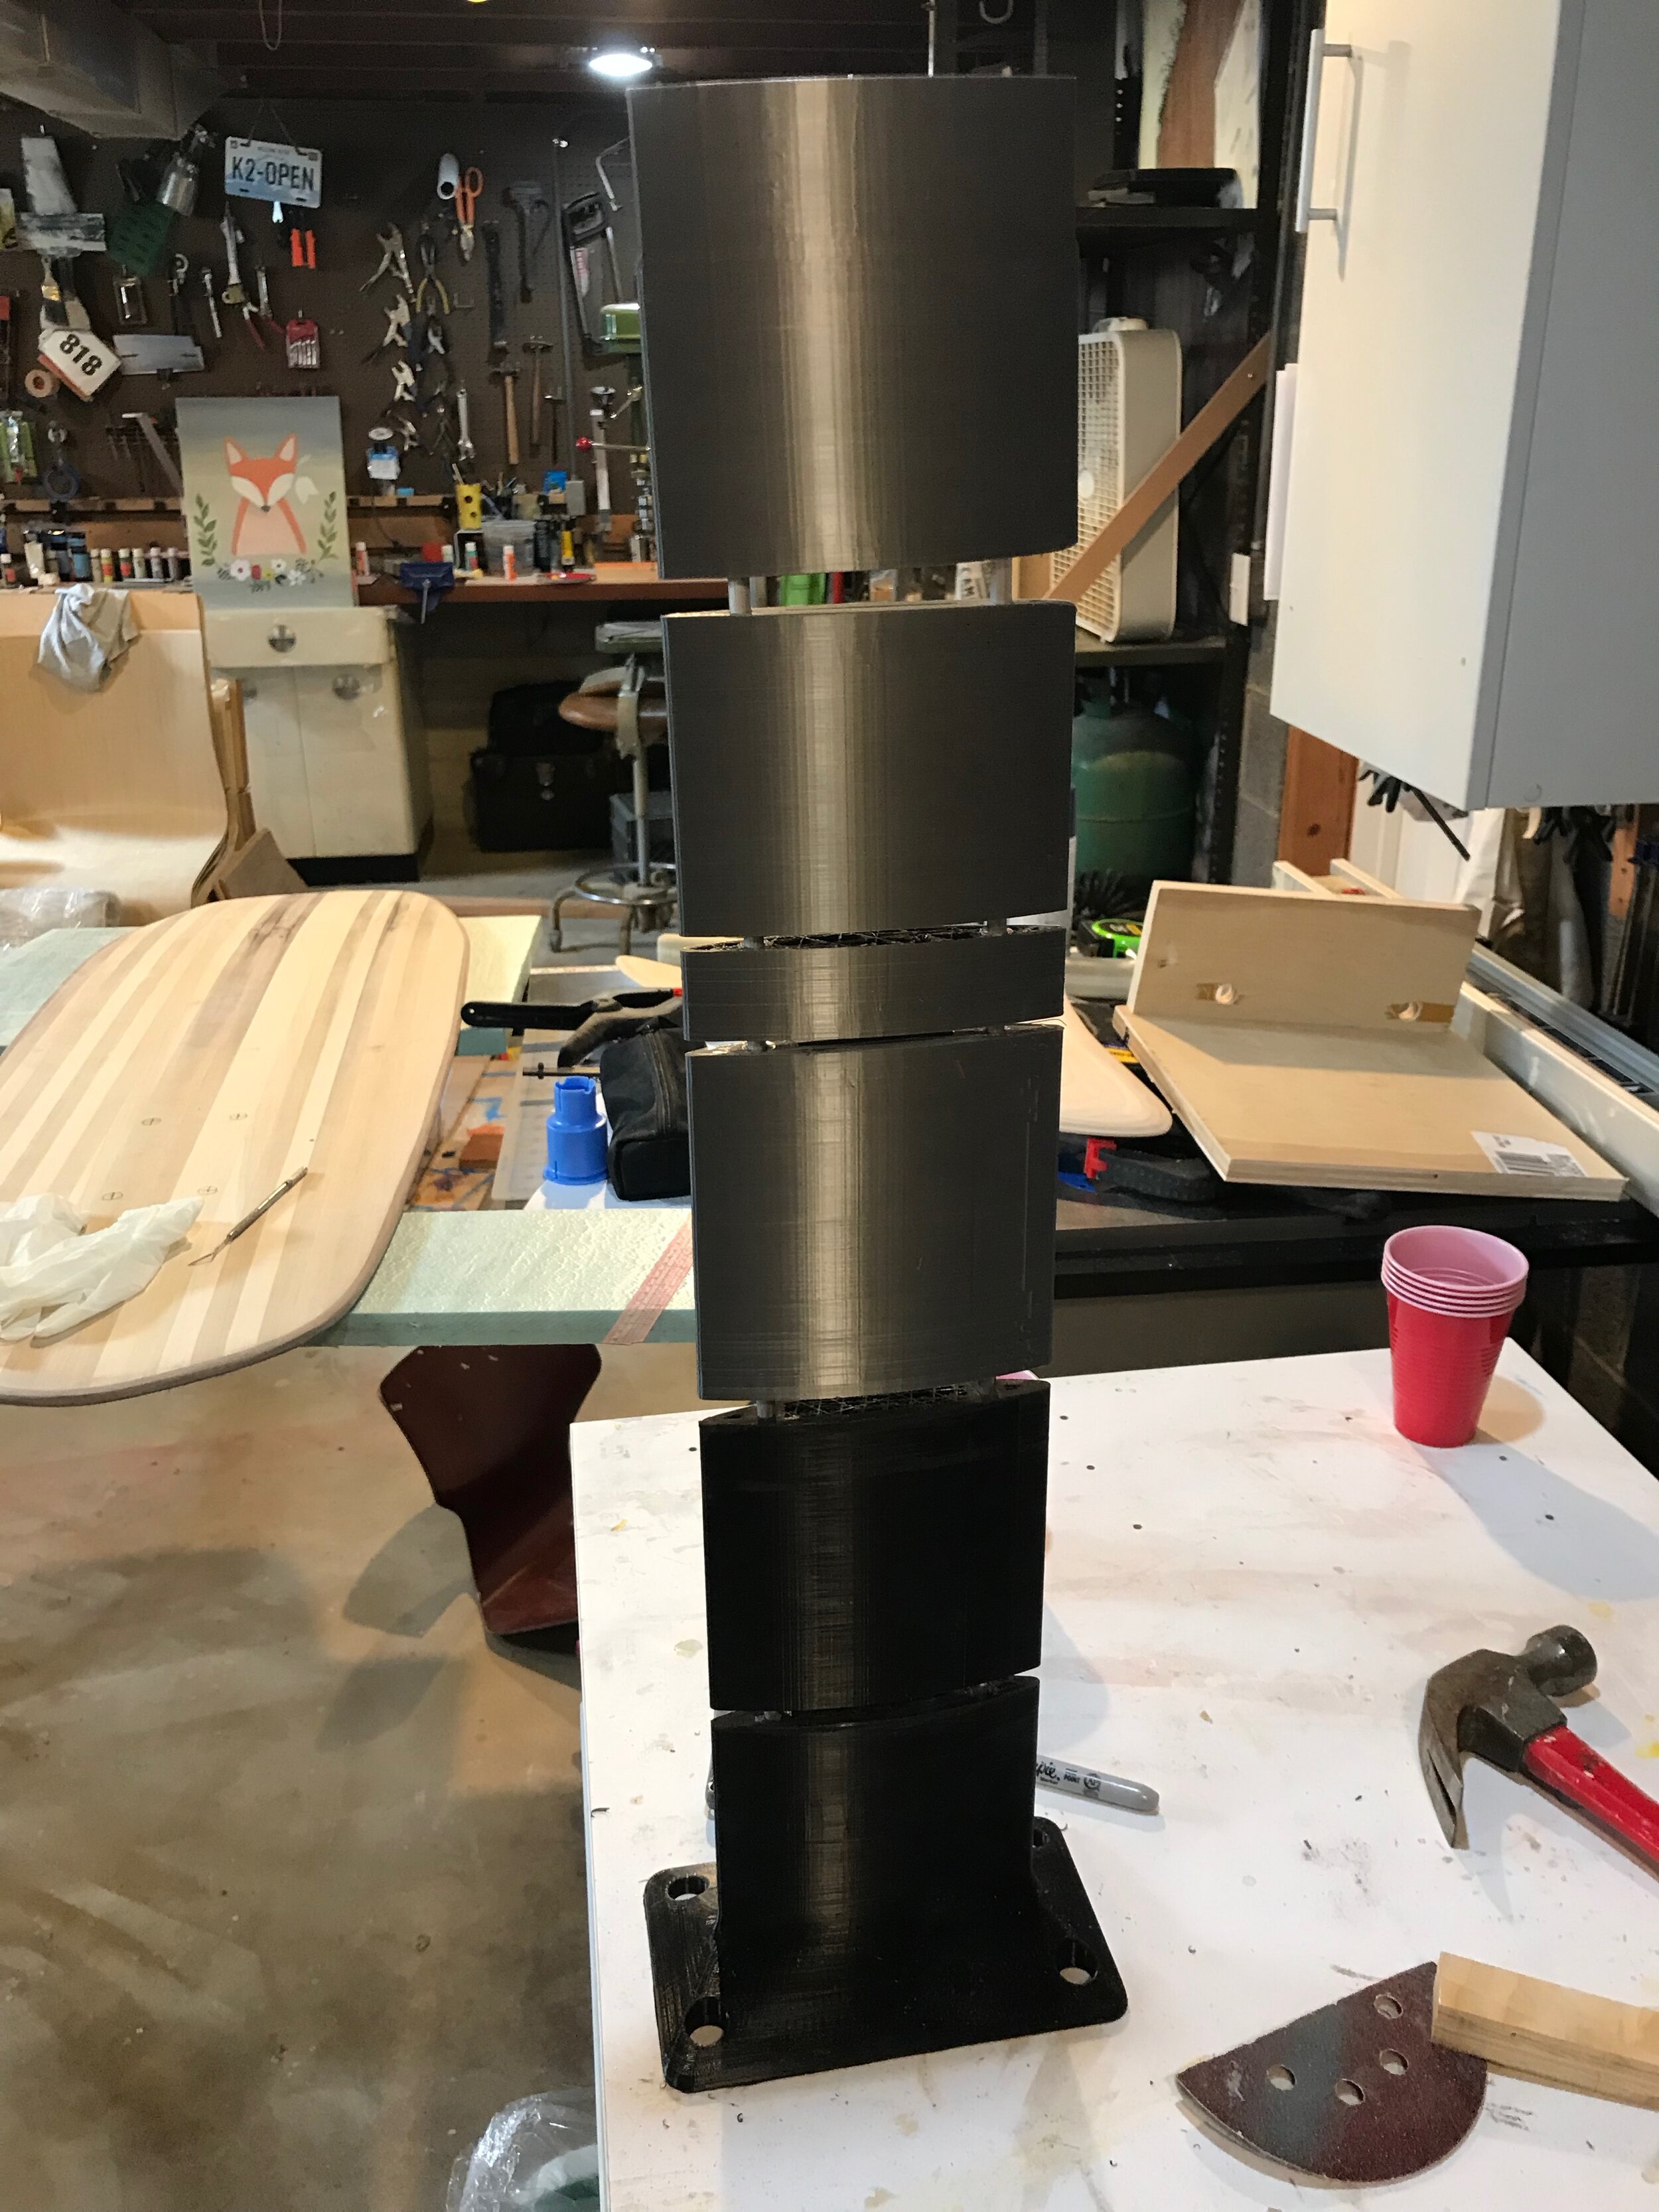
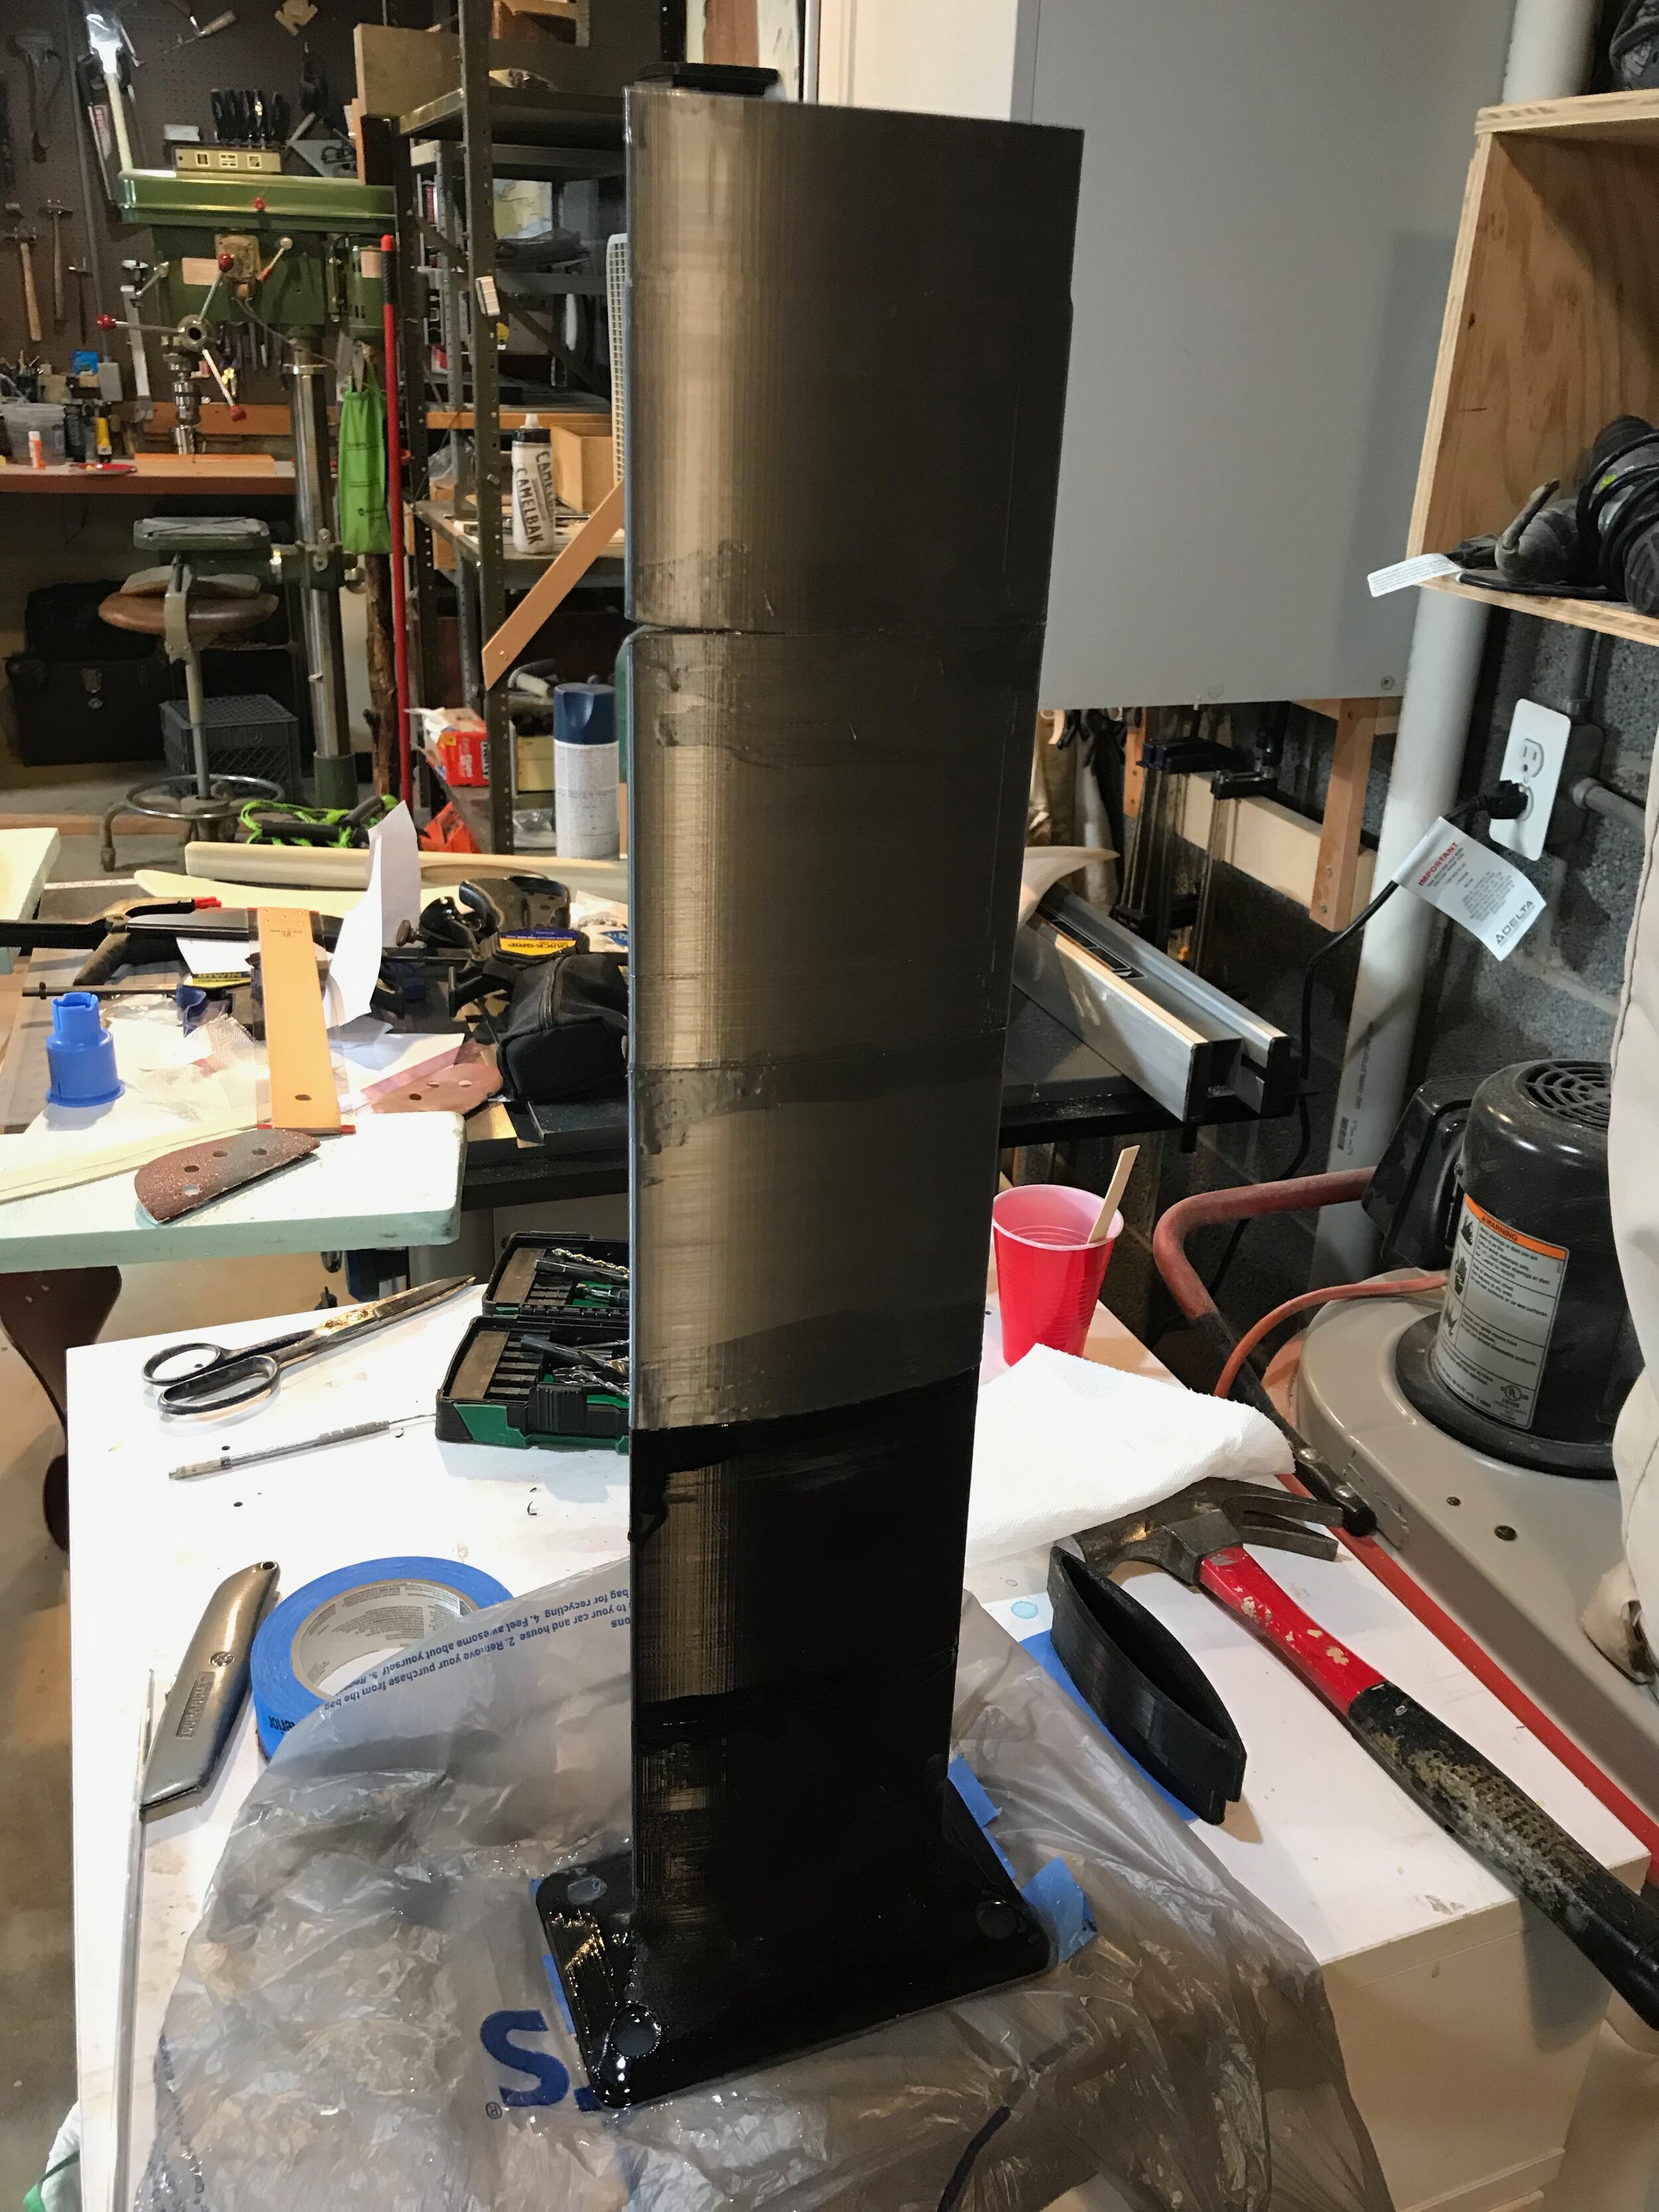
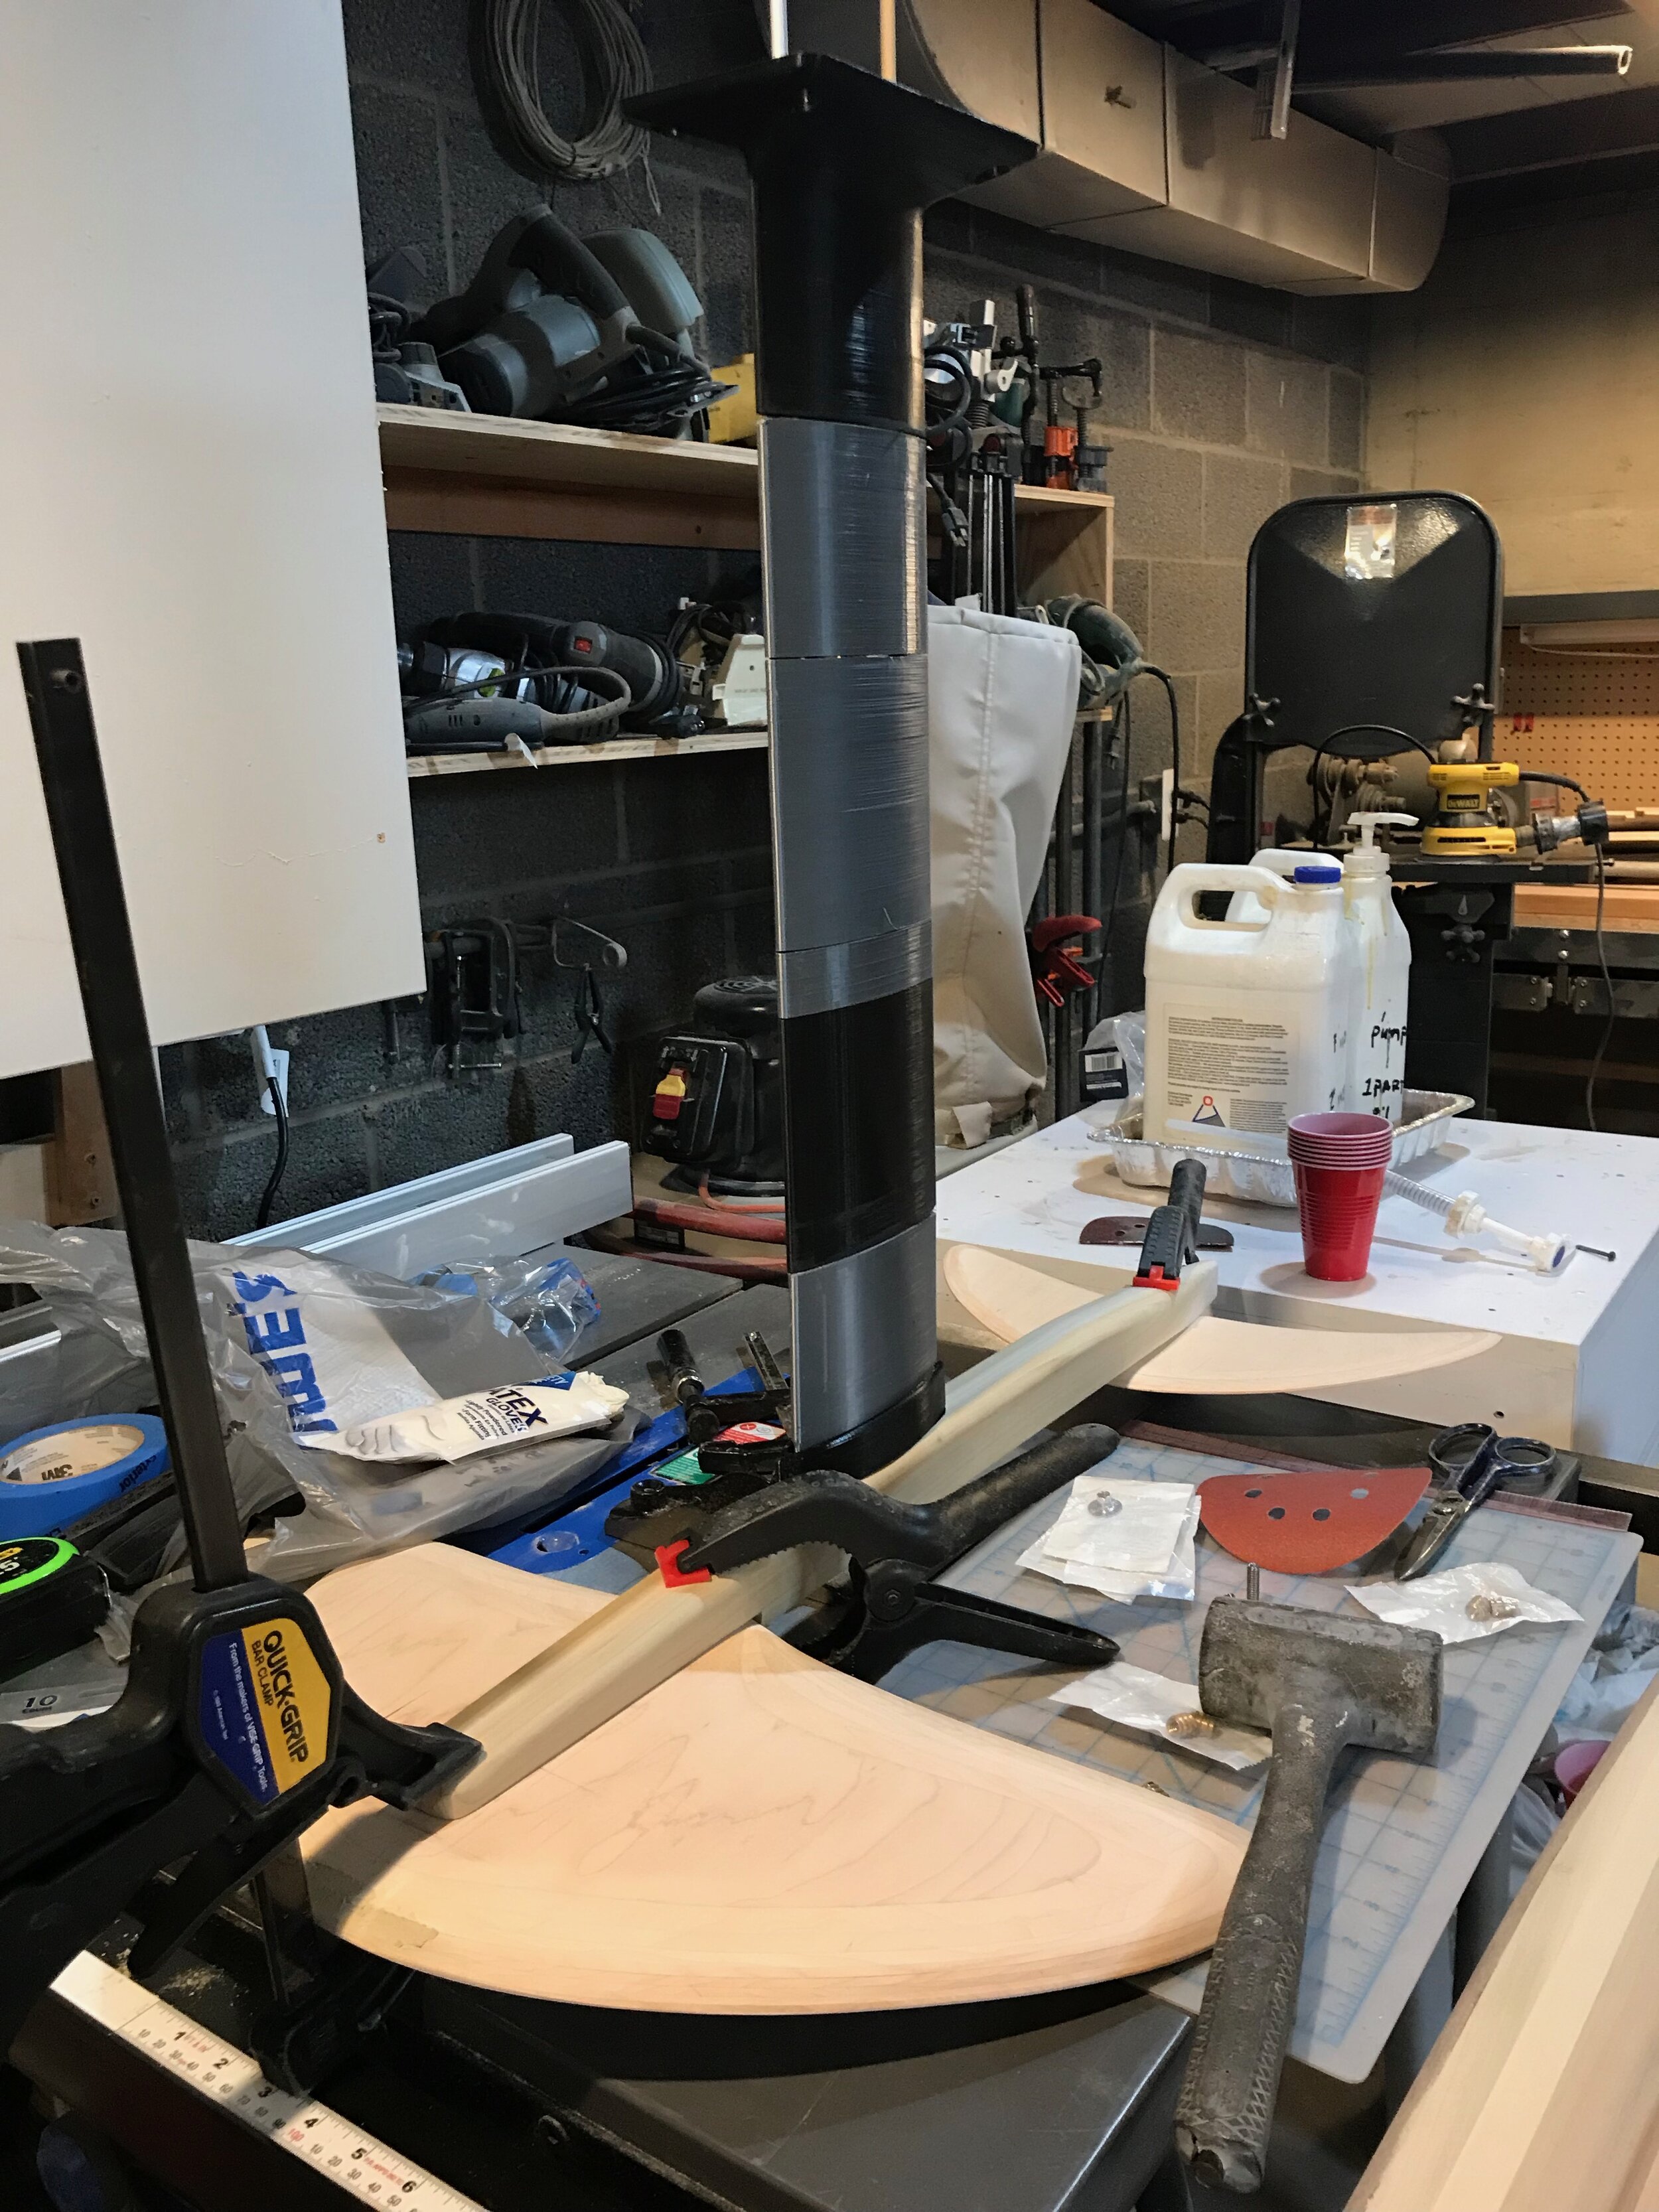
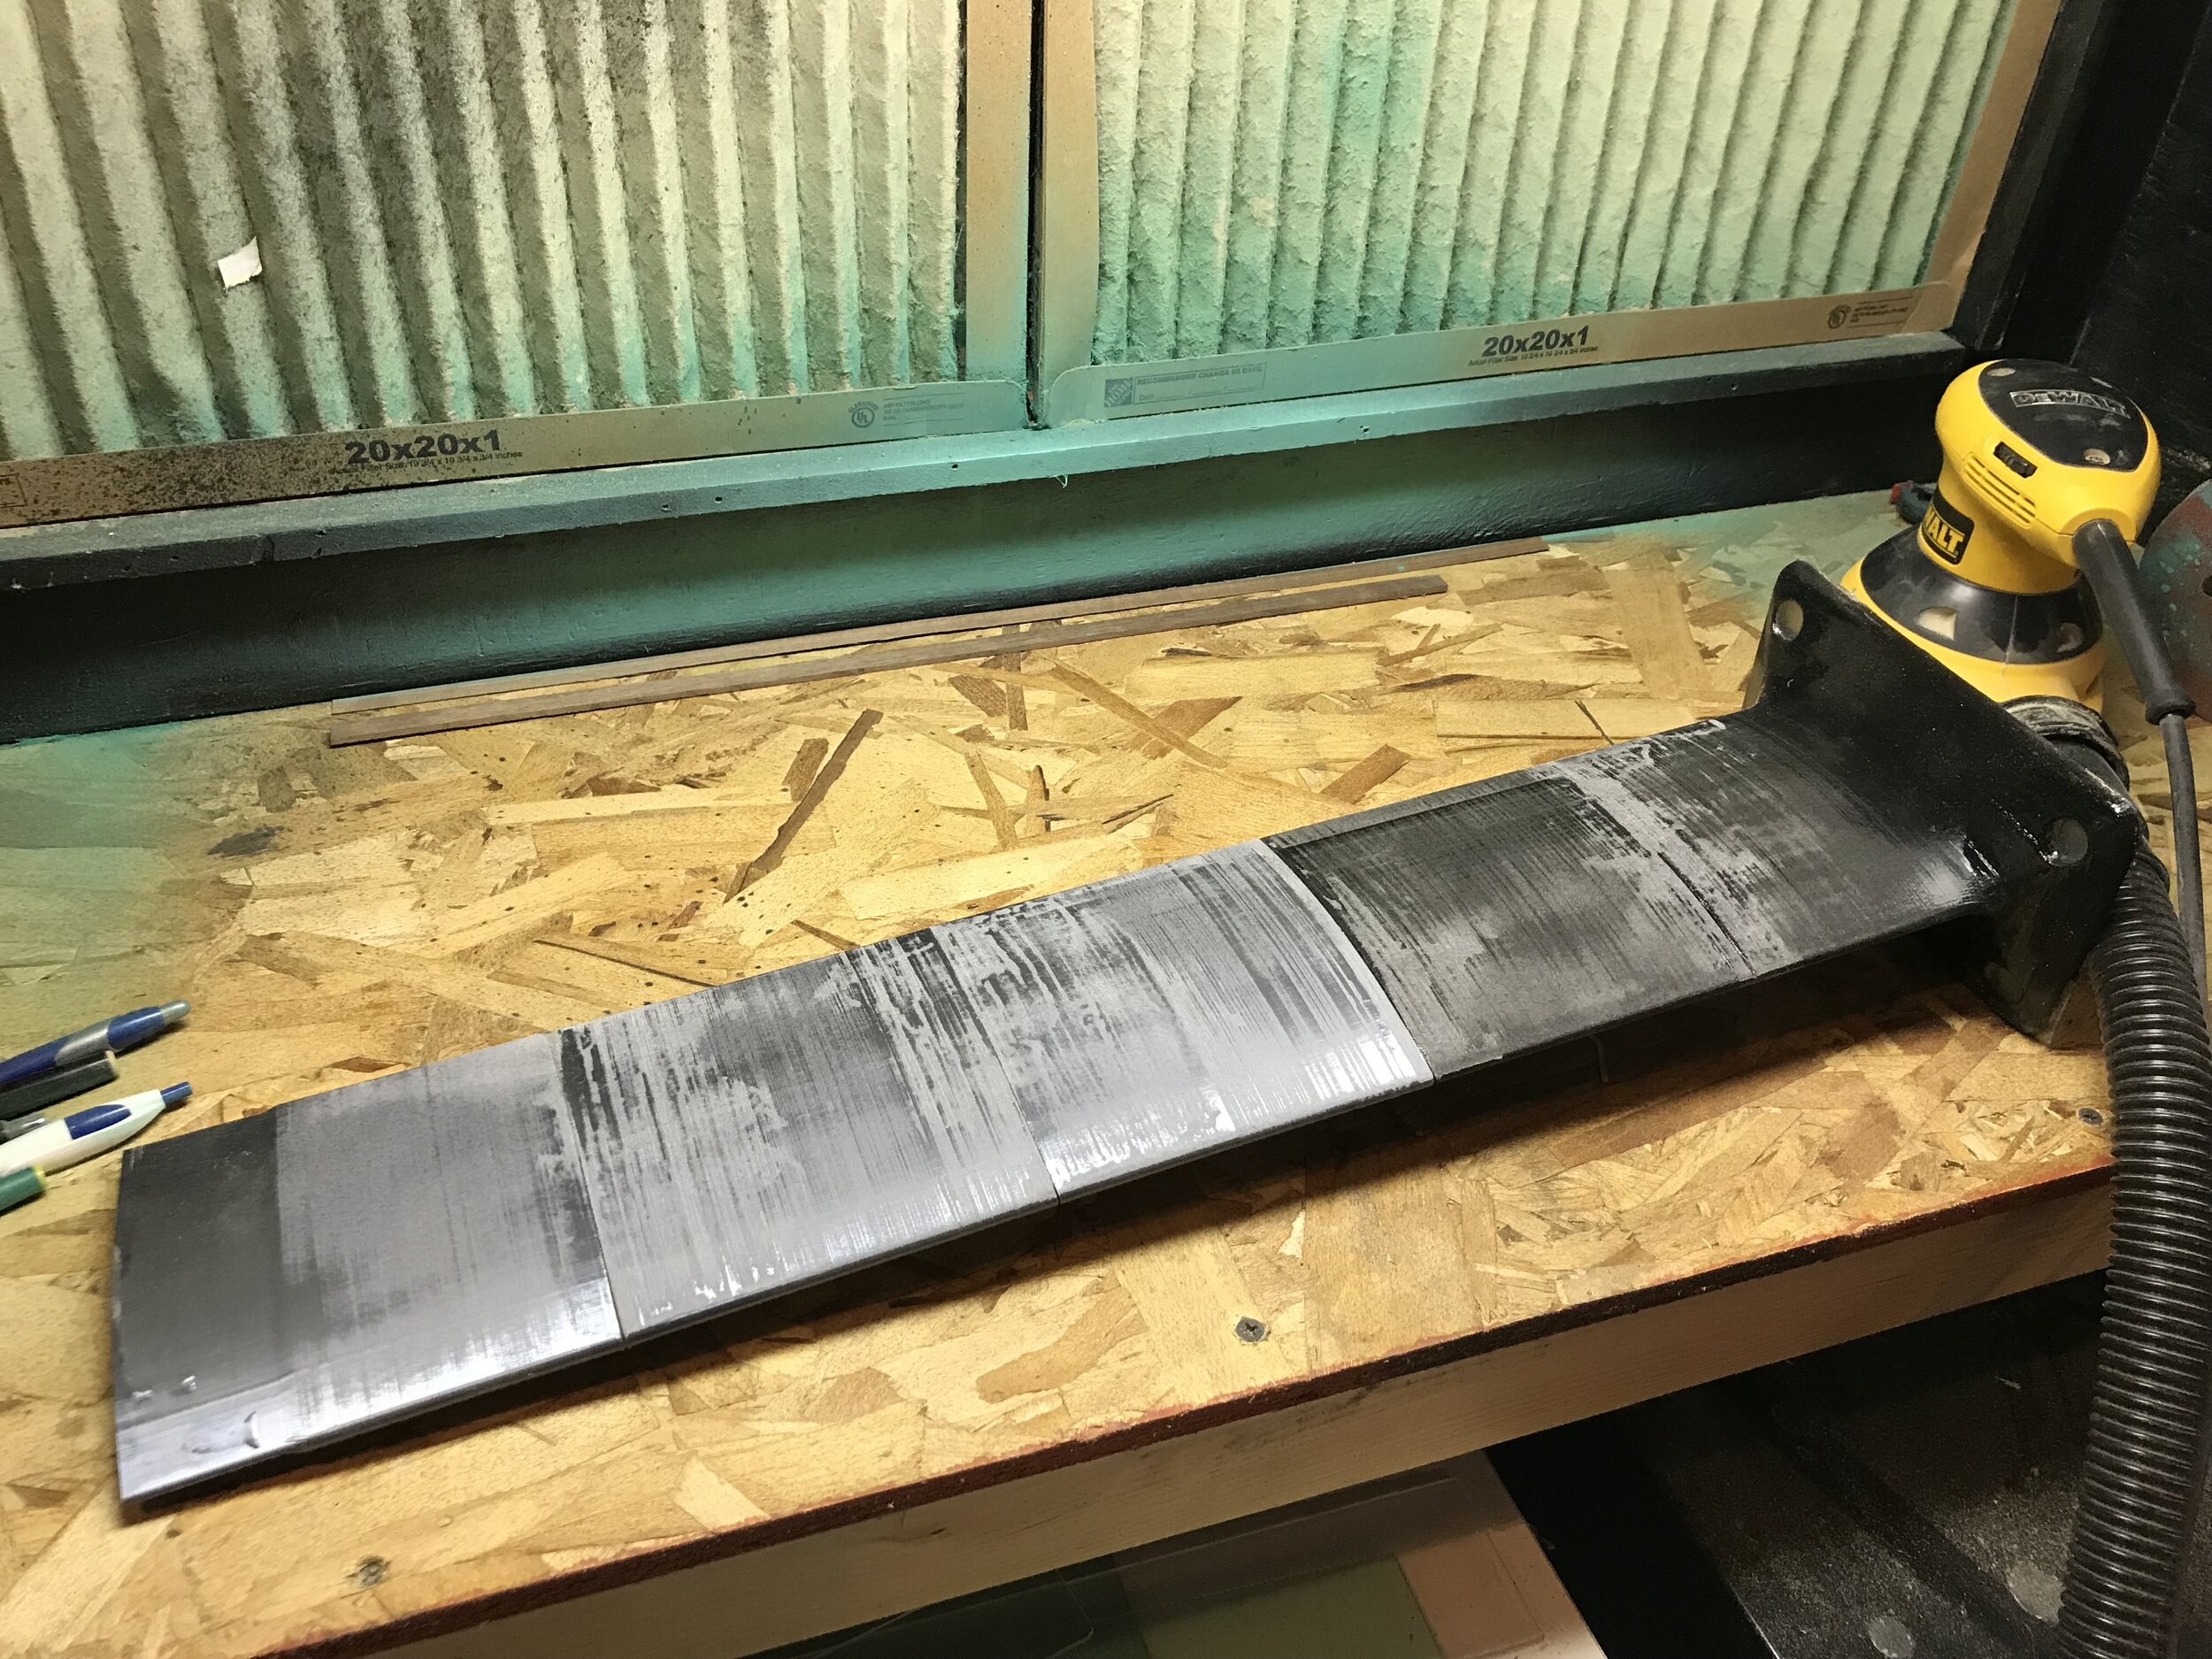
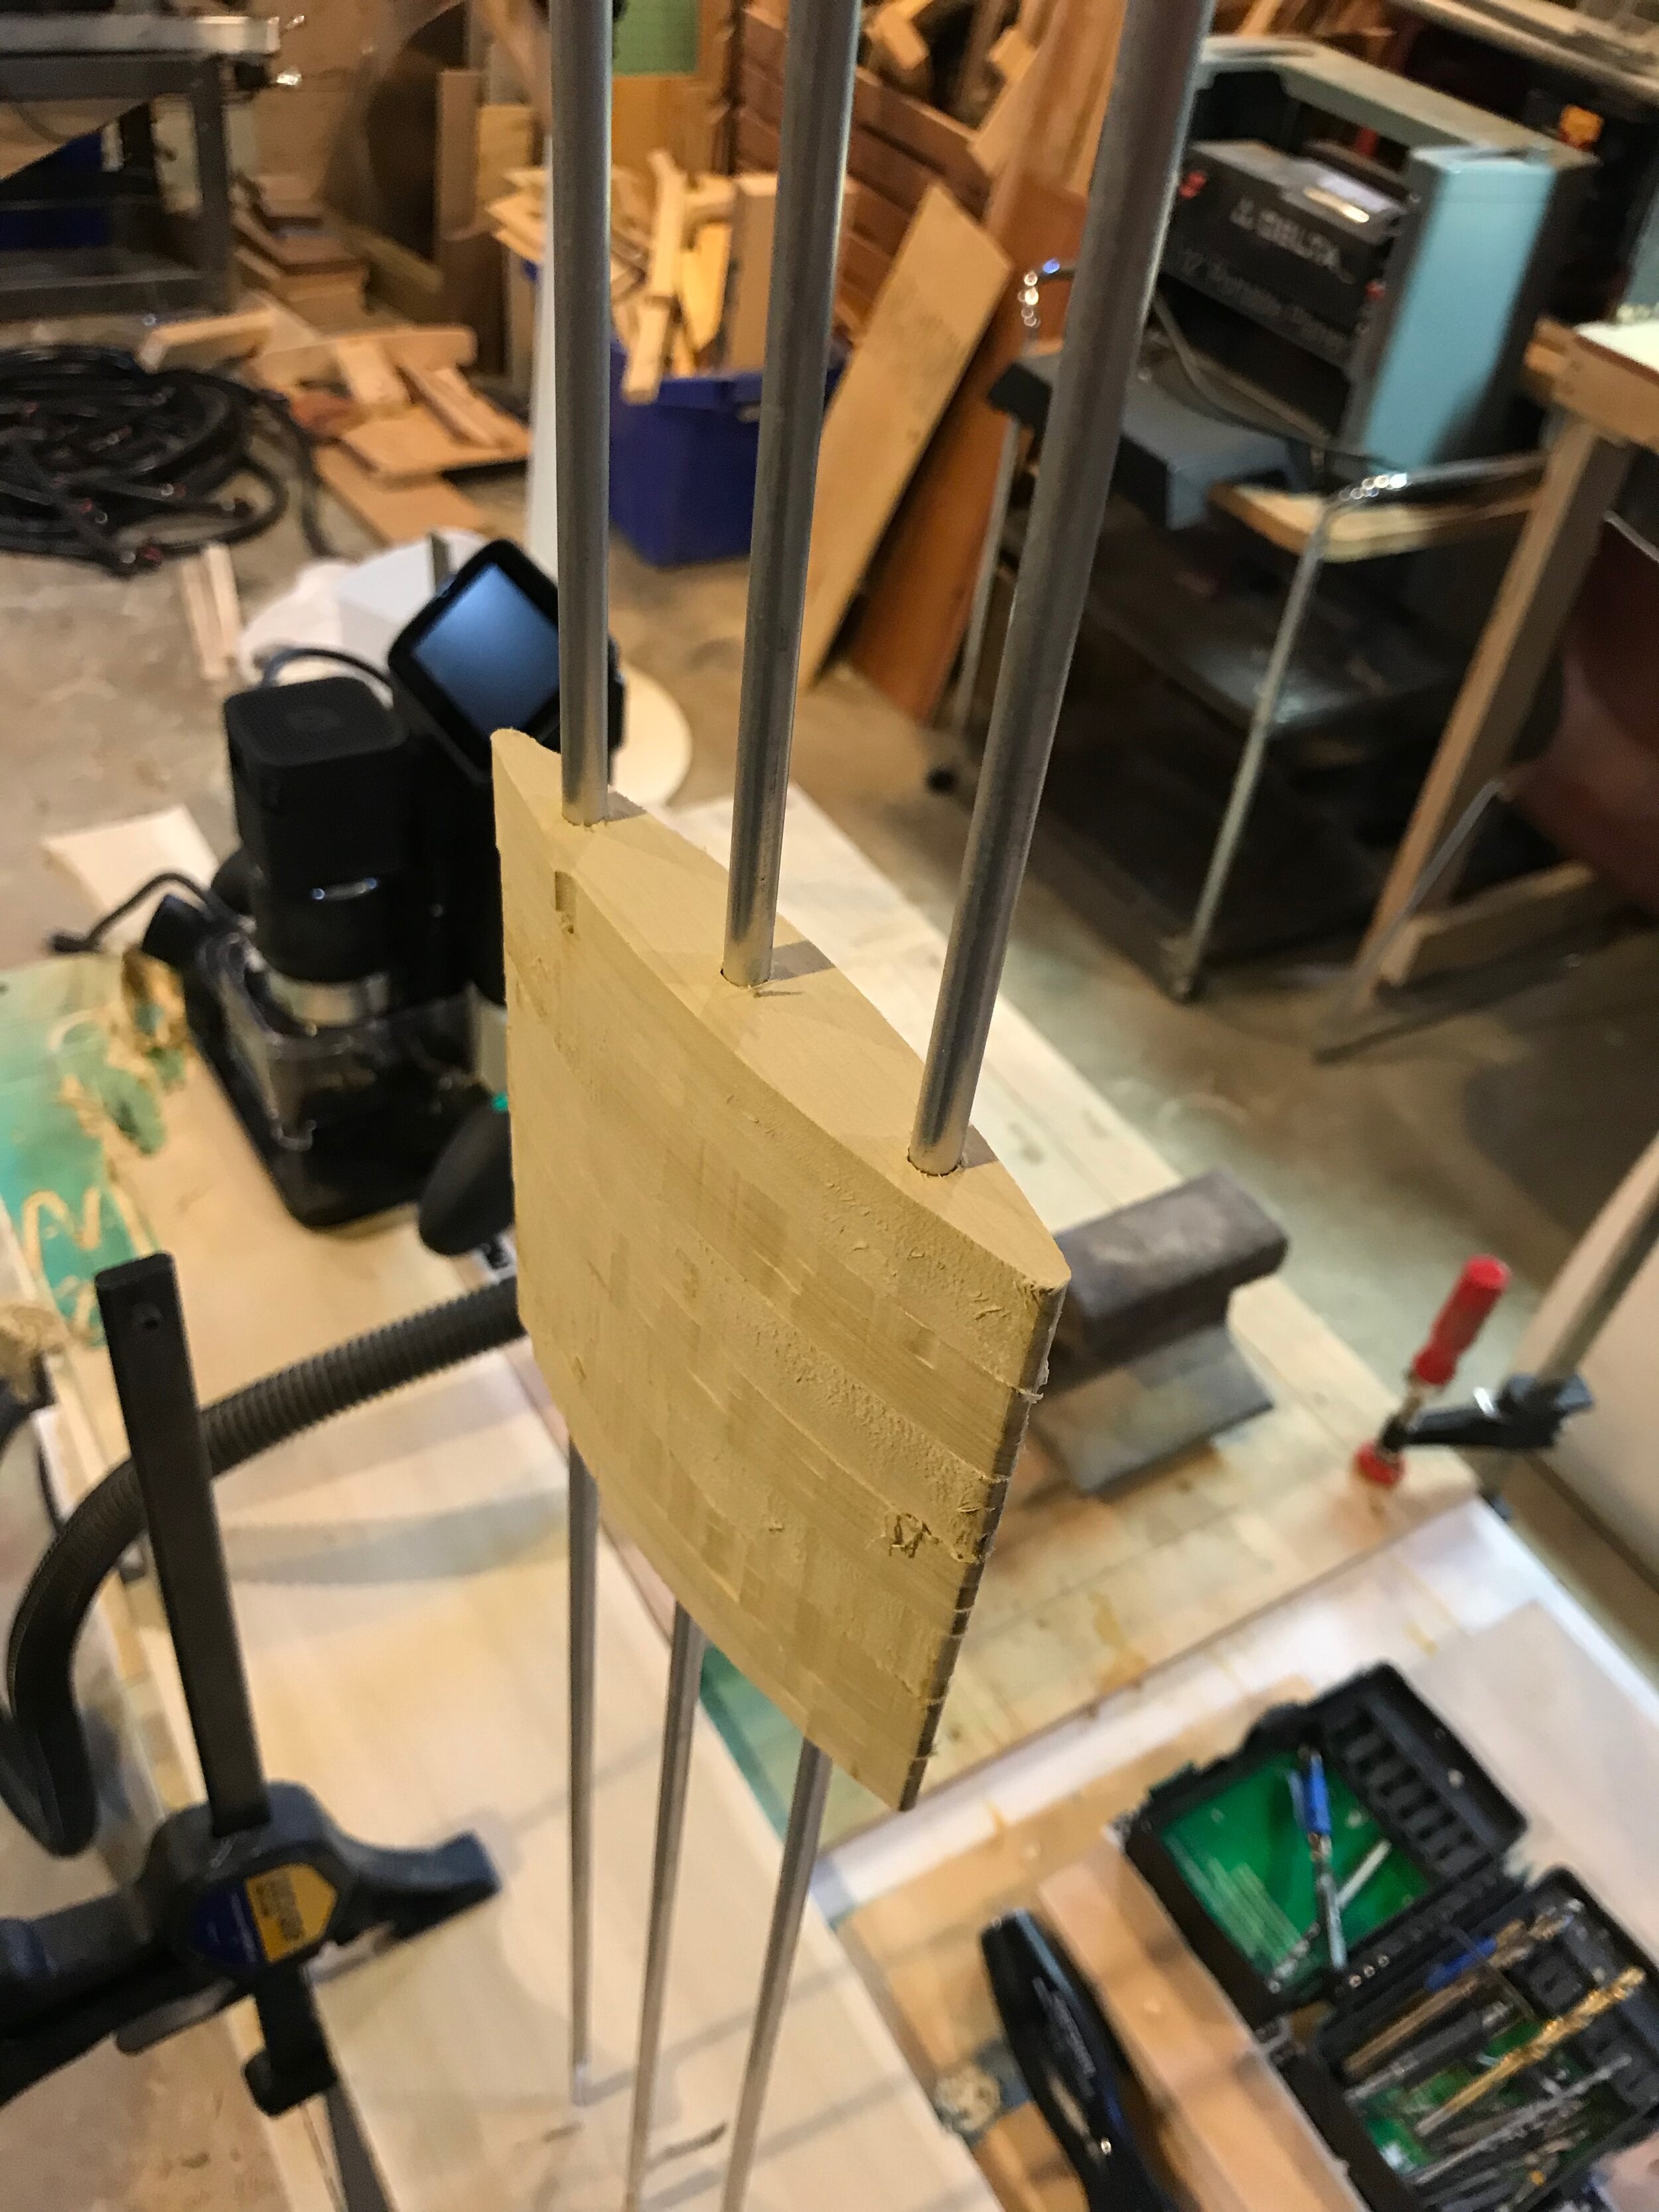
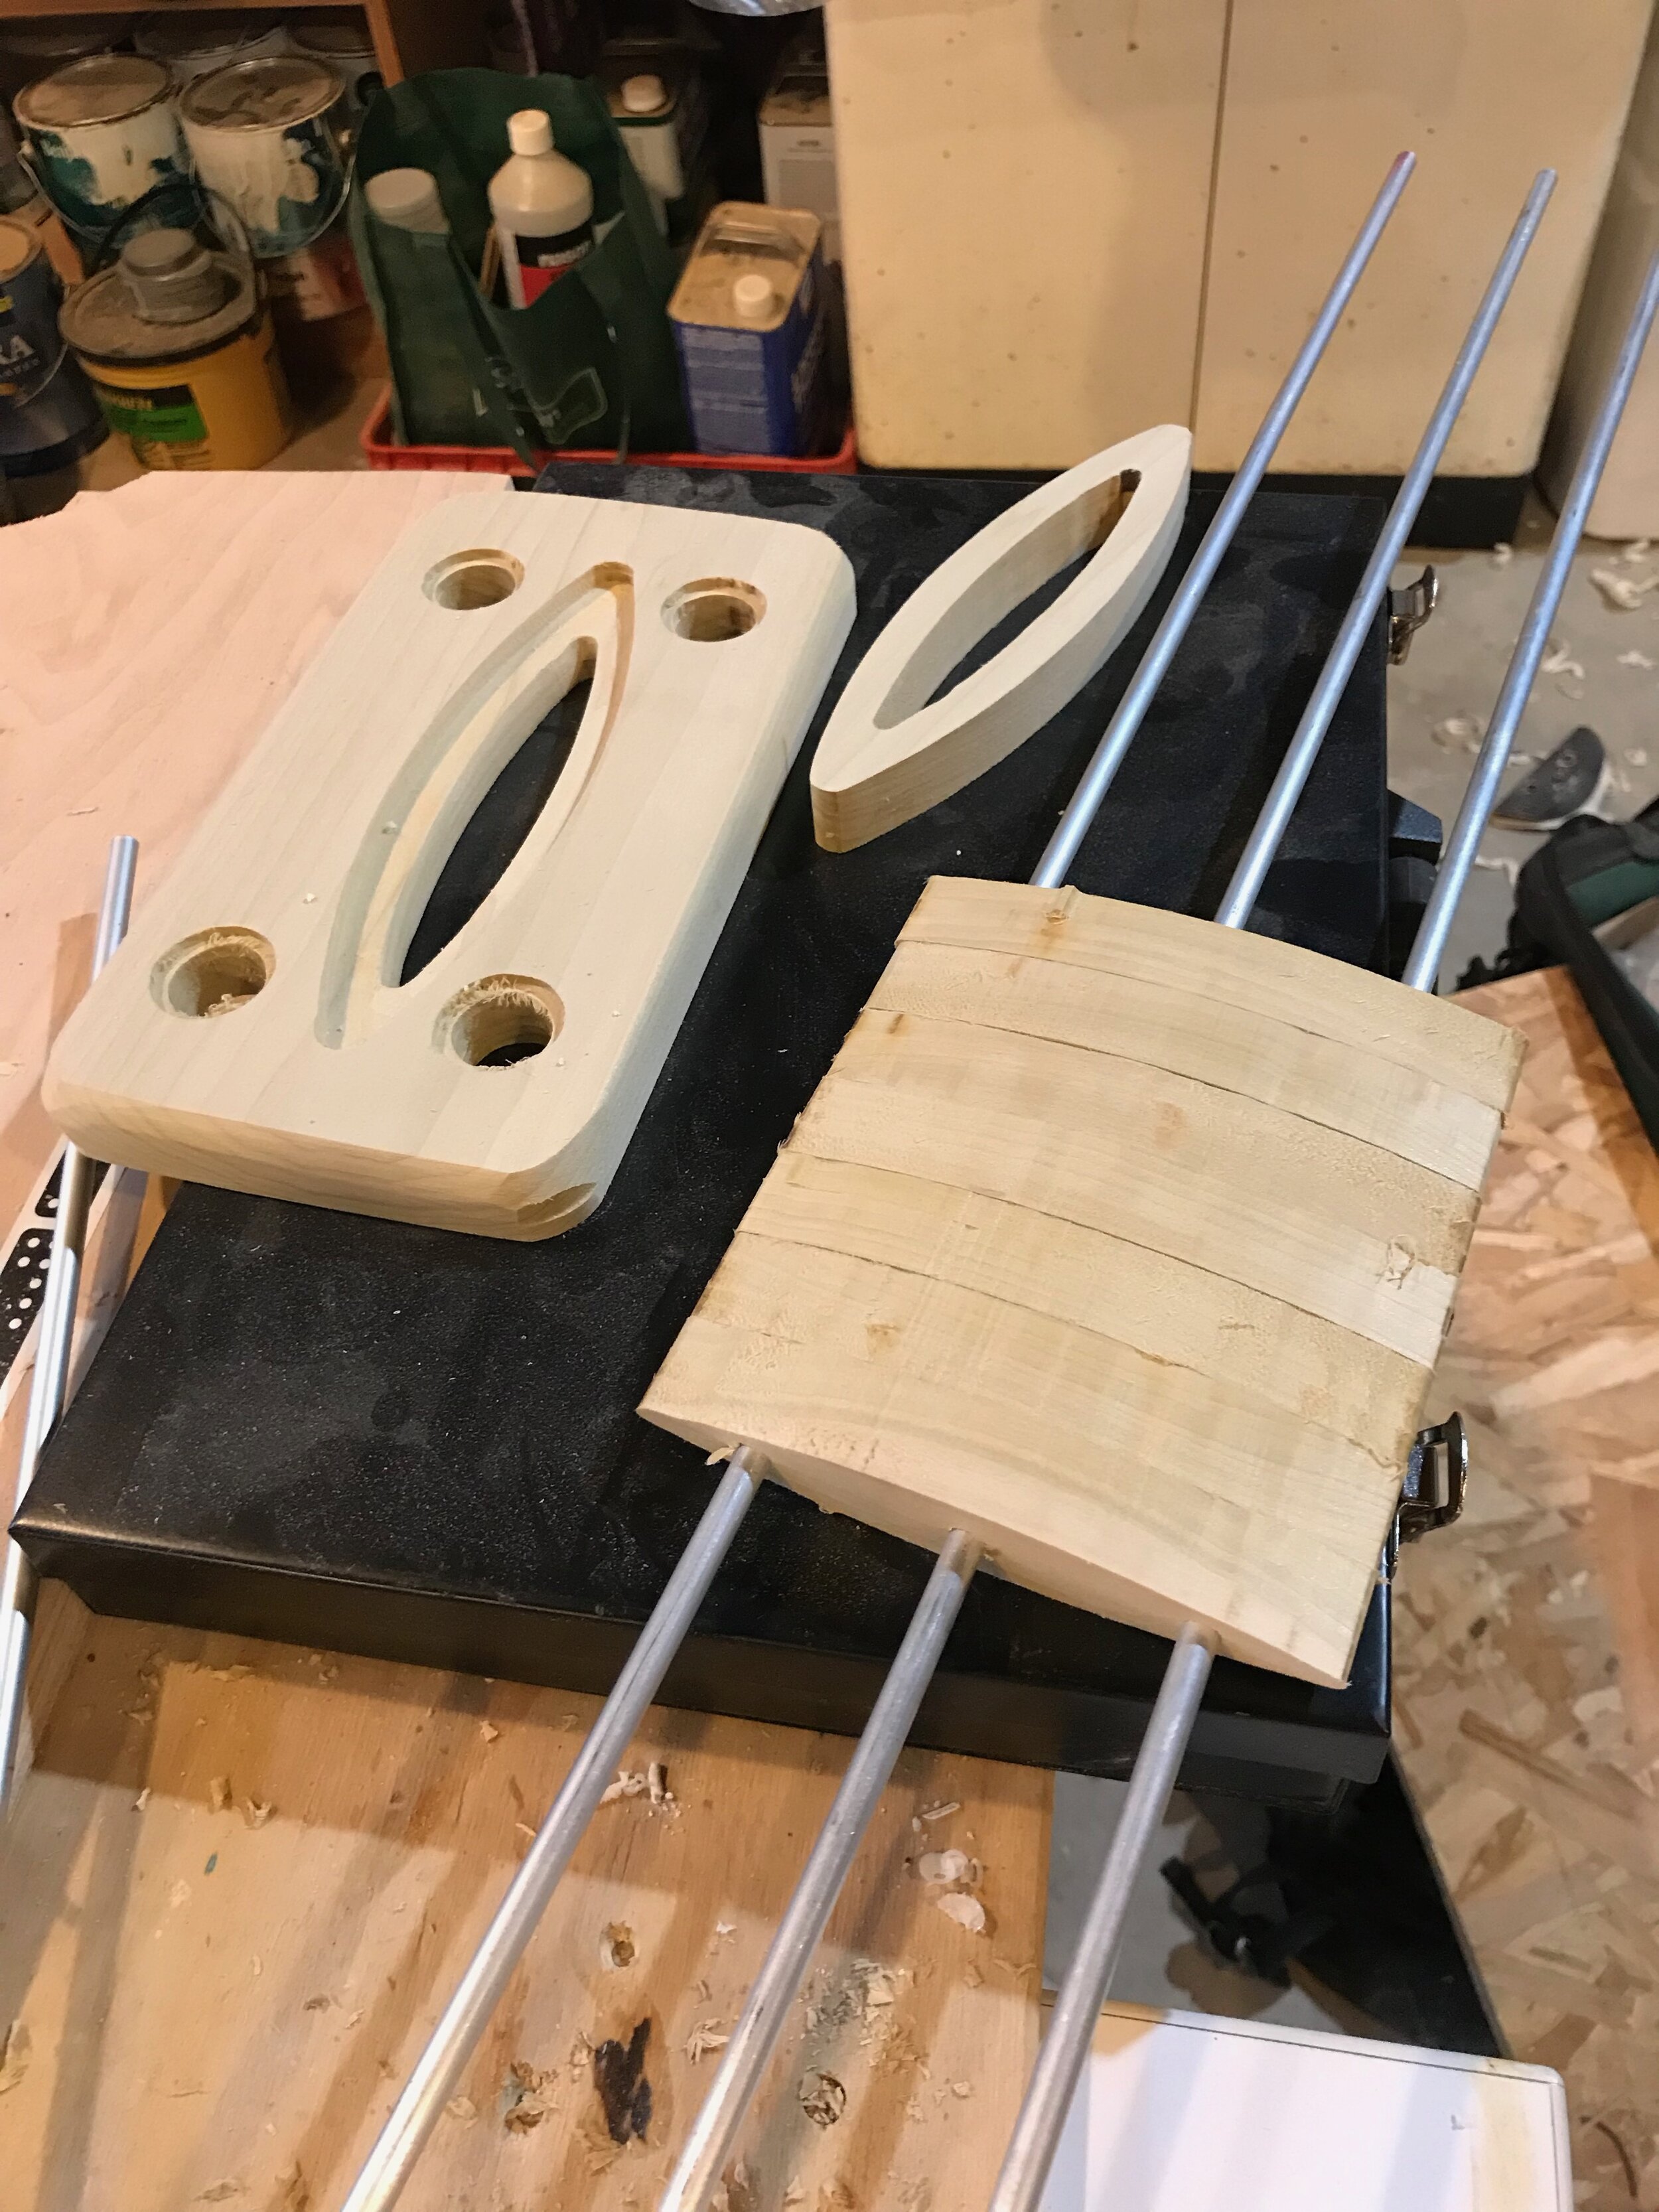
The one thing that I was very curious about was the strength of a PLA 3d print. As you can see in some of the pictures below, I 3D printed the full mast with our CR-10 PLA printer. Due to the height of our printer, I had to print the mast in pieces and joined them with epoxying two aluminum 0.25” rods through the middle of the prints. For some odd reason, the printer glitched and shifted the print for a bit. I glassed over the mast with two layers of fiber glass and epoxy. After the mast was complete, I noticed there was more flex than I wanted, but was still going to give it a try any ways. I also printed the connection parts for the fuselage to connected the mast to the wings.

Testing
I have ridden a foil board once and I was far from getting a good understanding of how to ride them. I am still had to figure out what the best speed to go with the boat. Whats the best way to get up on the board. Where is the best spot to put your feet. So I did not know if the board, foil, rider or boat driver were off. I am always game for a good challenge. As you can see in this video, I struggled on the first few attempts of getting up. But finally started to get a better understanding of all the variables.
Results
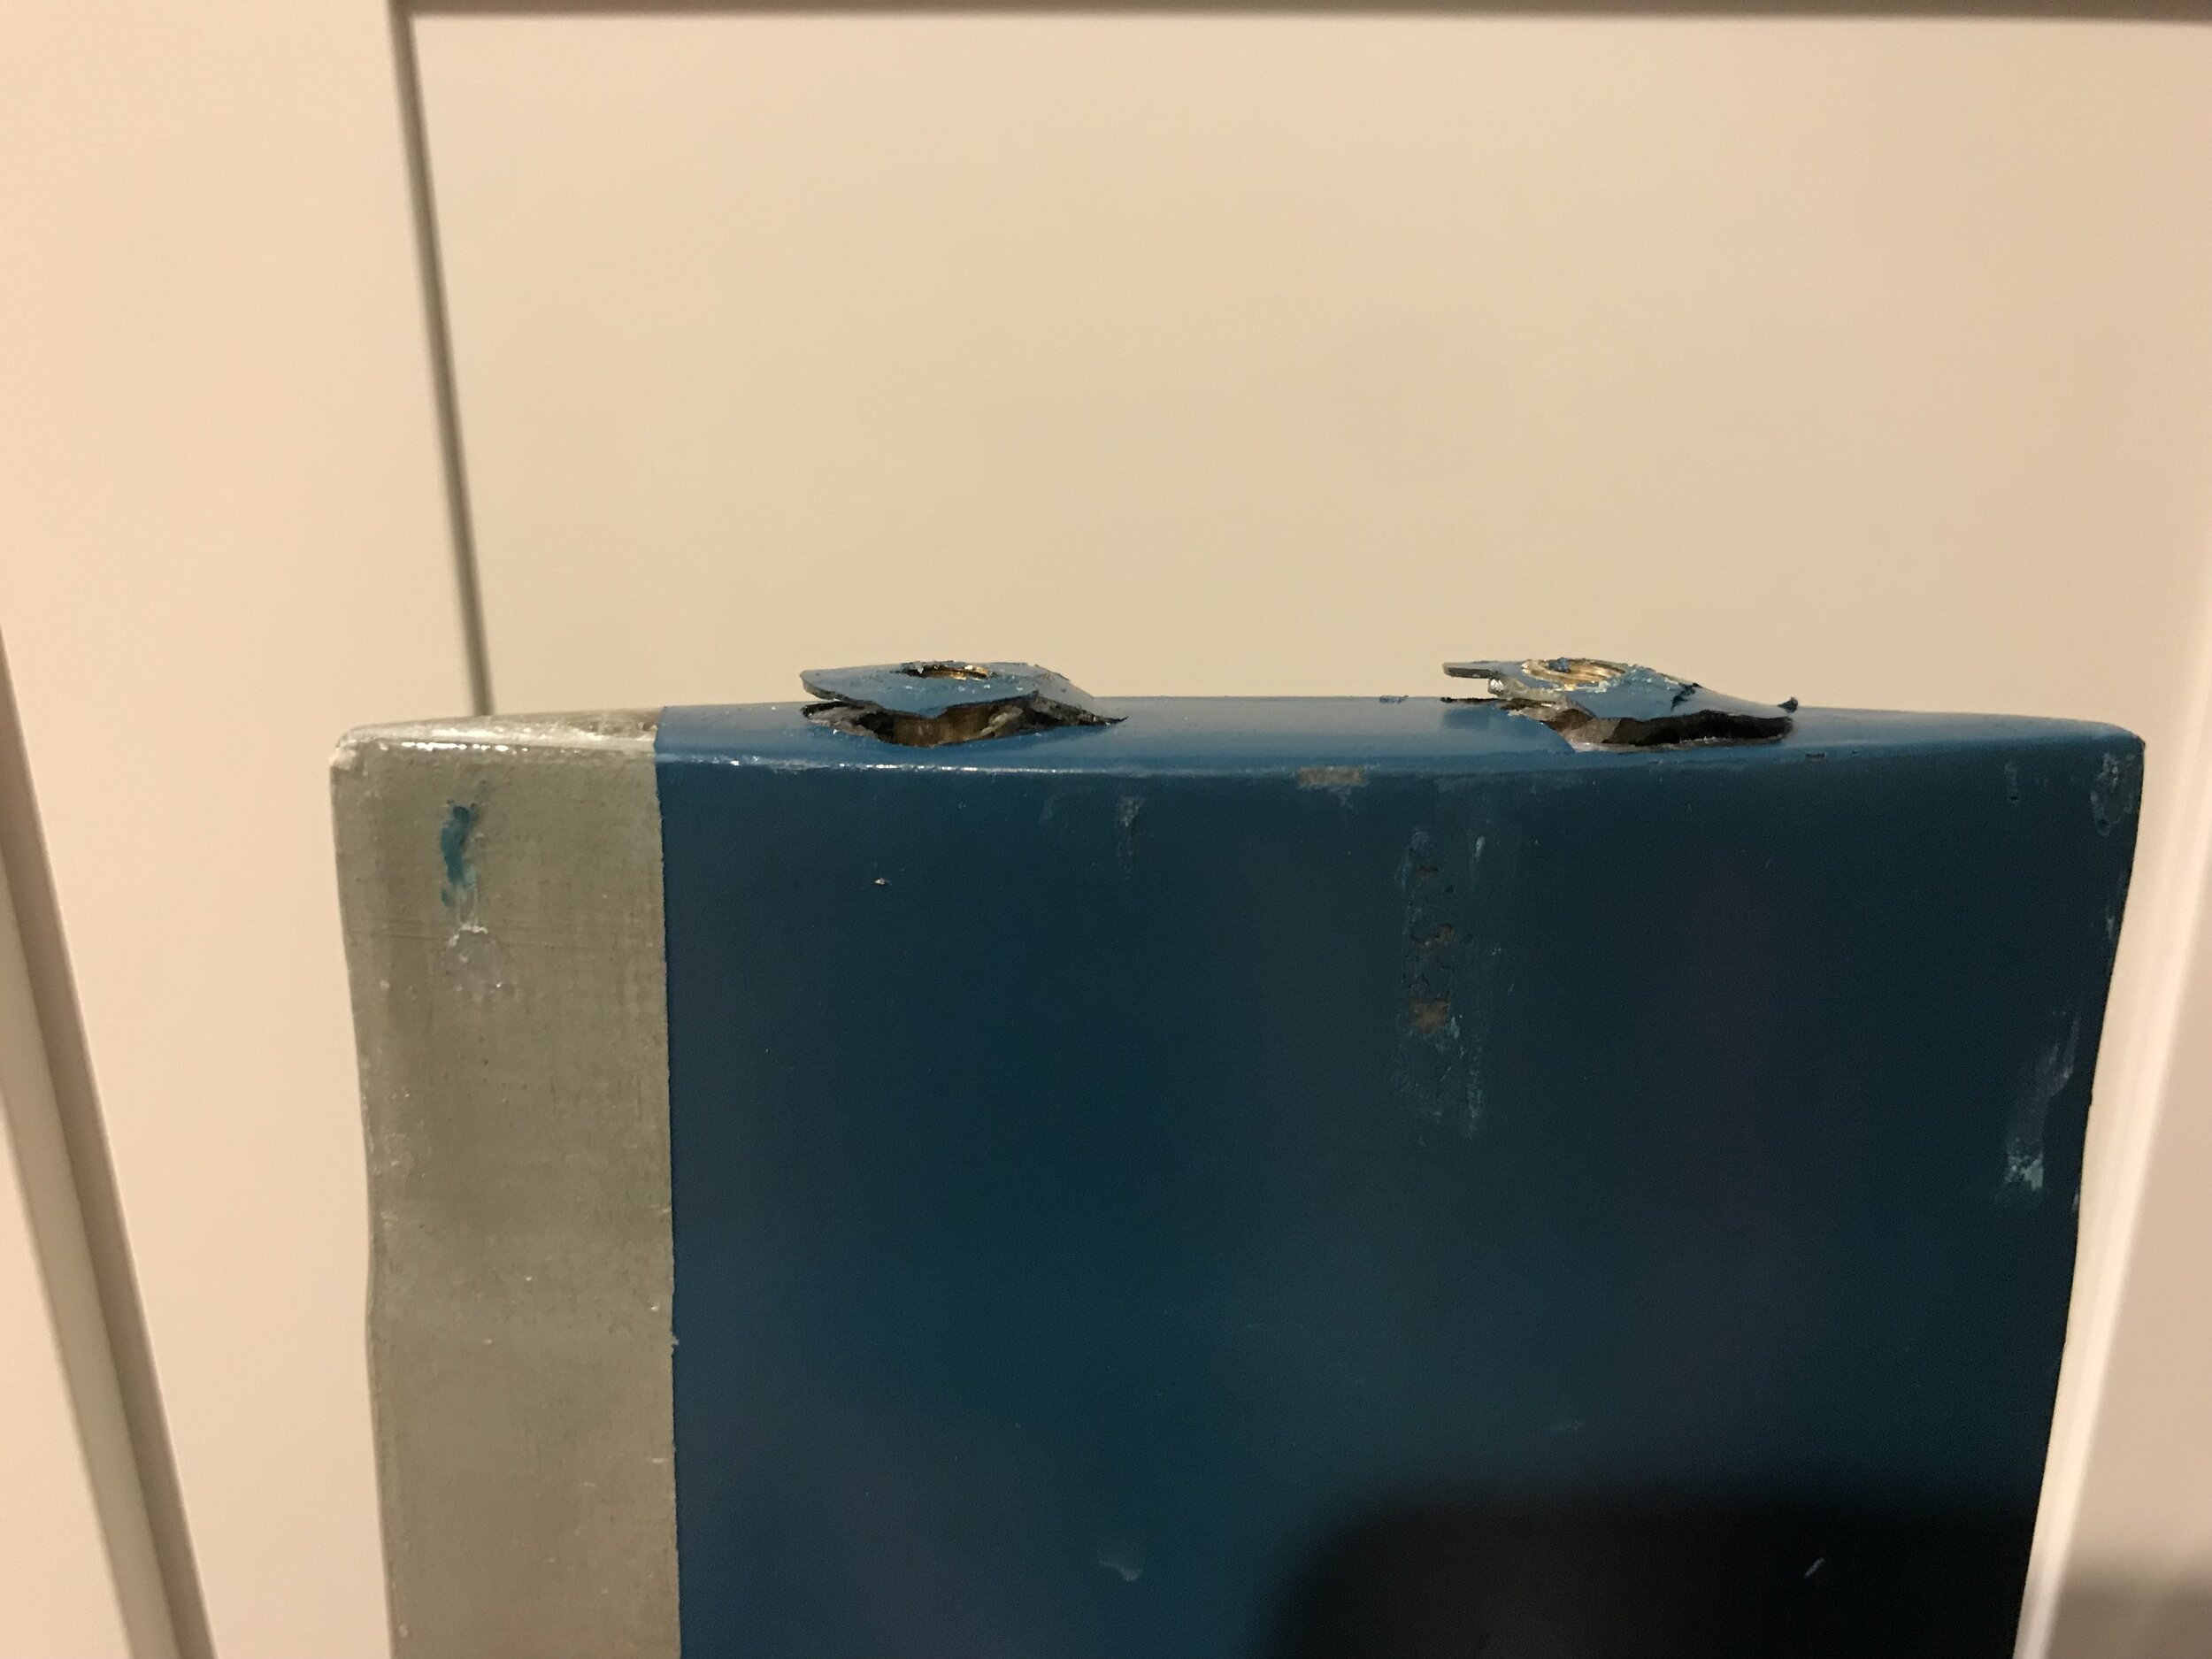
It worked! kind of. Nothing like designing, building and testing something and having it work. I think I was least worried about the board breaking. I was ok with it breaking and almost planning on it breaking. I was going to be surprised if it all went perfectly. The main discovery were that the mast had too much flex, especially at the connection to the board. You can see in the video above how much I struggled to keep my balance on the board. It was wobbling all over. The board felt solid. The fins felt solid. But the mast had too much flex.
After a few rides, I snapped the mast. Heard it pop/break on one of my falls. It broke almost exactly where I thought it would.
Conclusion and Next
I am going to start working through a new mast design and potentially some new fin shapes. I created a quick fix for the mast to work the rest of the summer, but I want to build a full new mast that is much stiffer. I am starting to work through some new designs. Overall, I am very happy with the results and have learned a variety of different things in the process. Primarily the parameters of the strength of a PLA print. I am have a much better understanding of what my Shaper Origin (CNC) is capable of as well. Lastly, I have a better understanding of the strength characteristics of Poplar. These are all things that I can directly apply to my every day design practice. Sometimes these projects may feel like a waste of time, but exploring materials and processes first hand is so core to a being a designer.


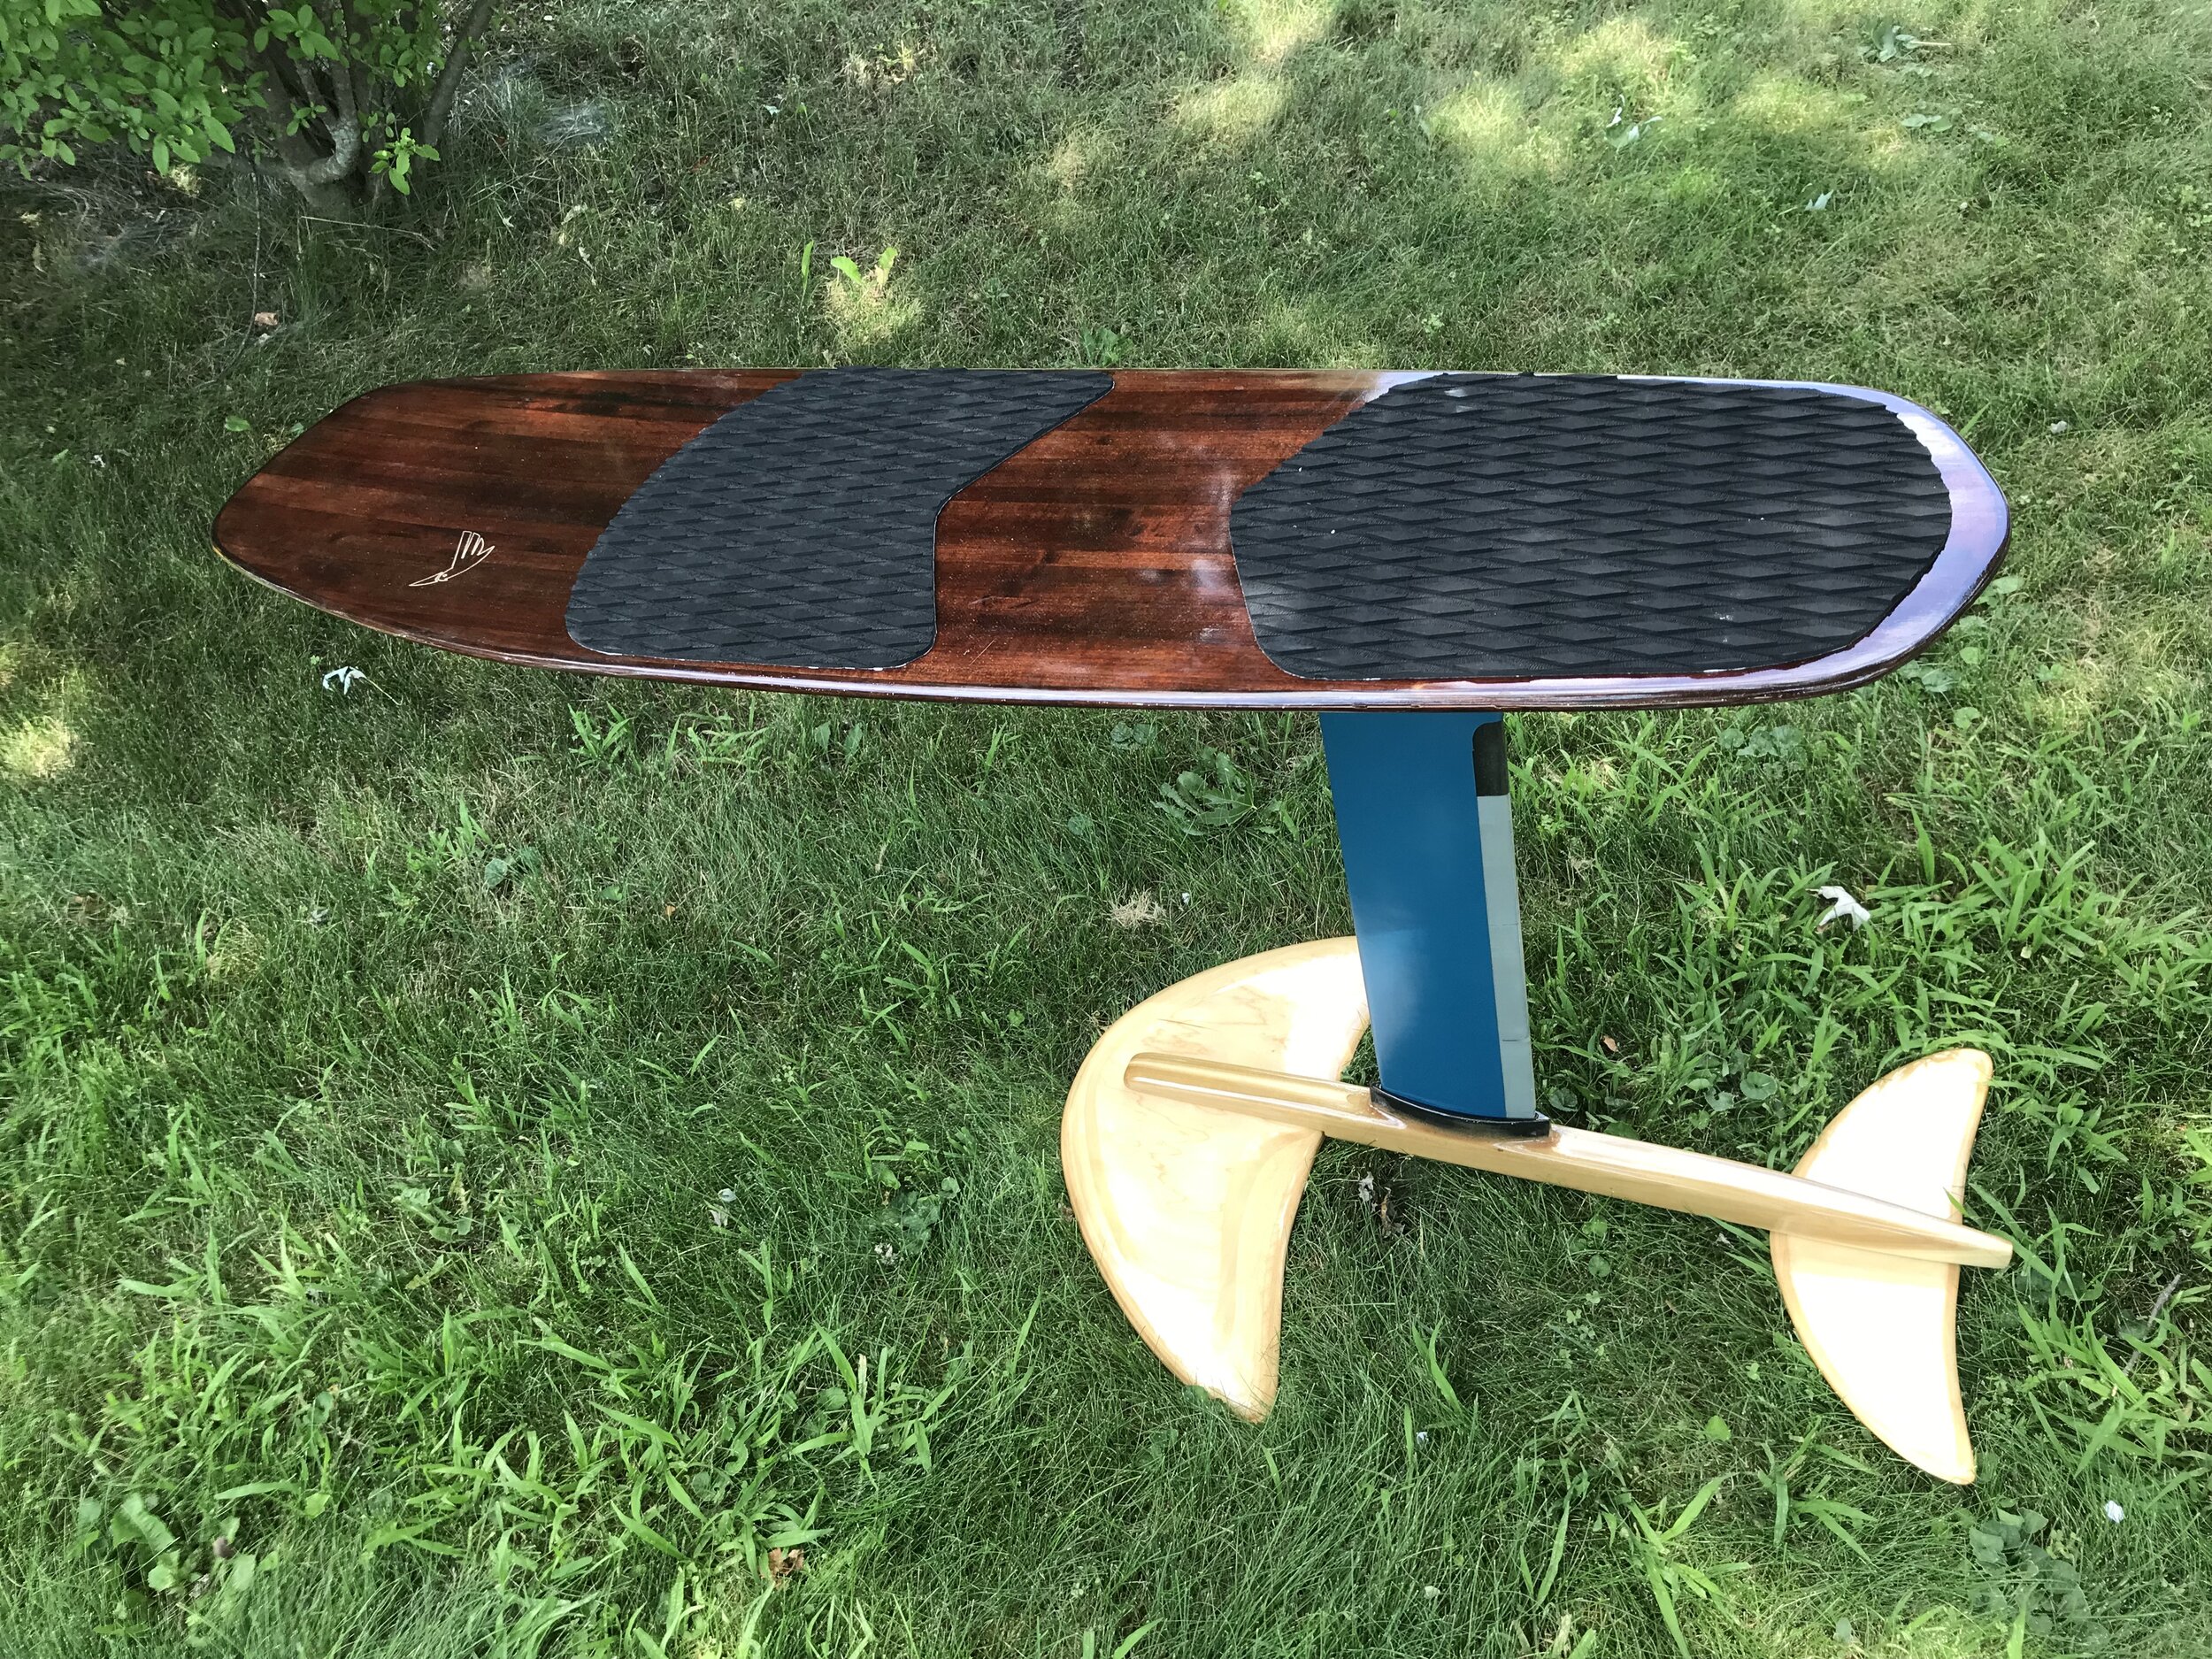
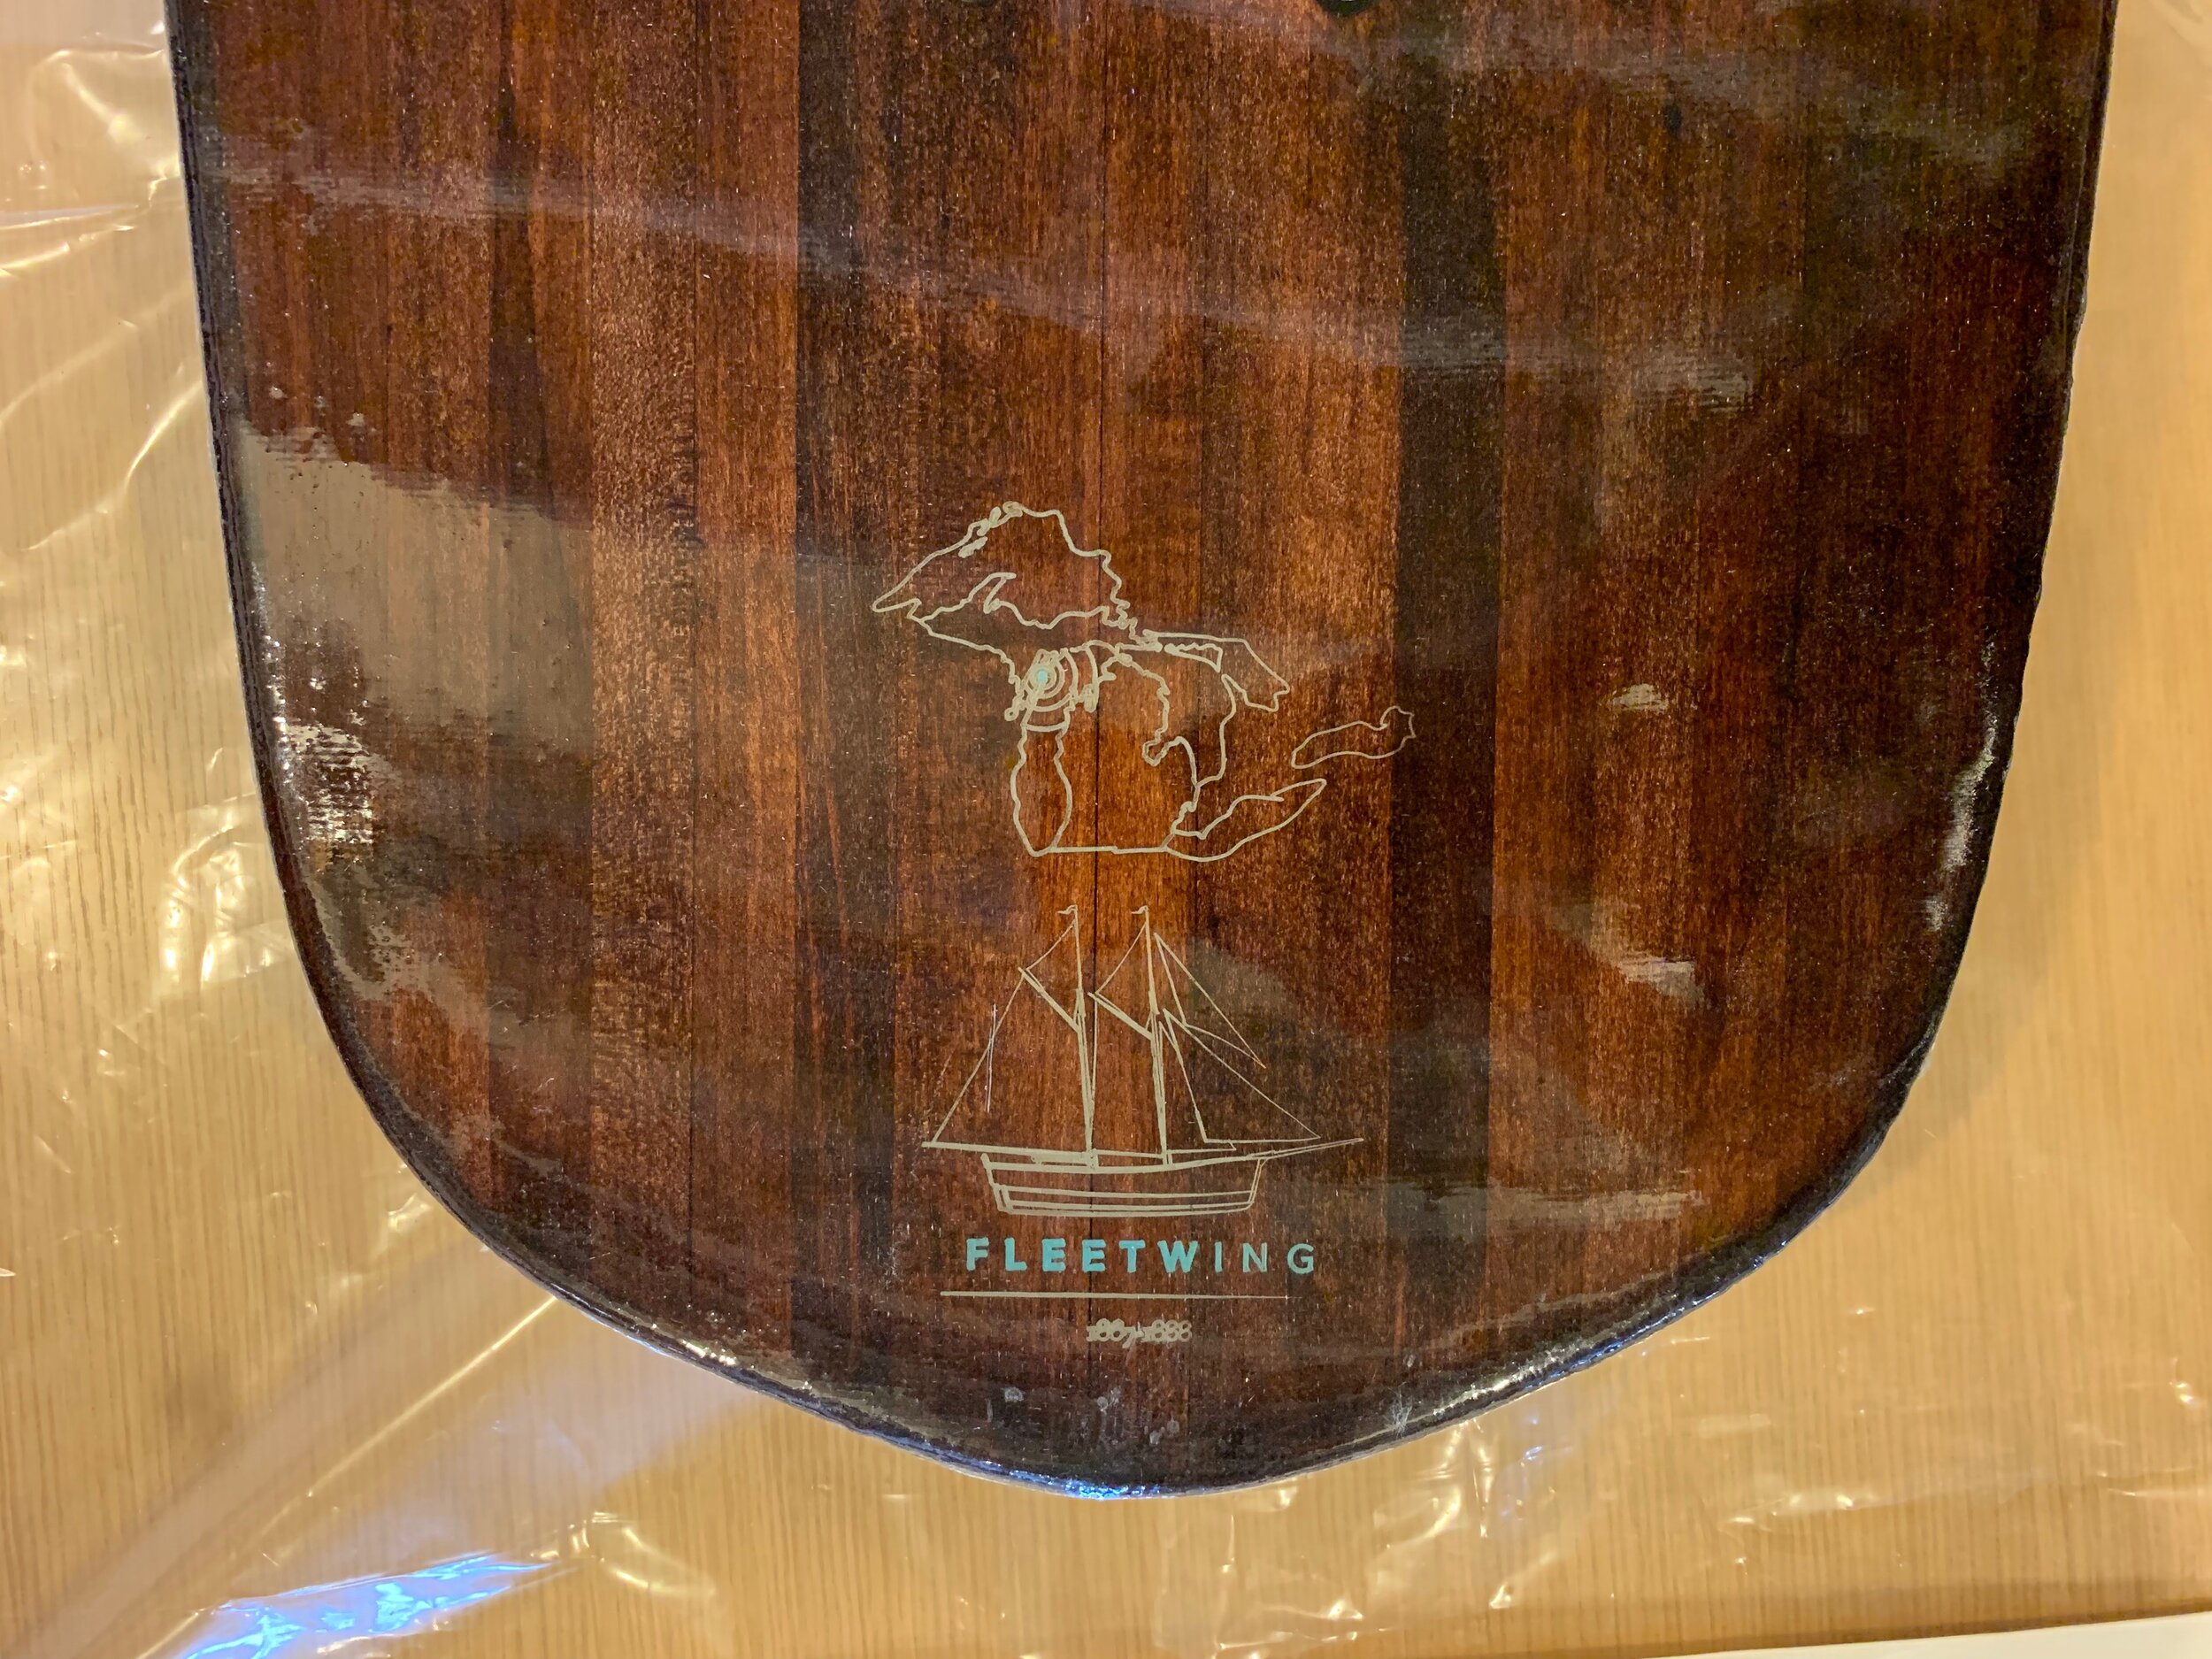
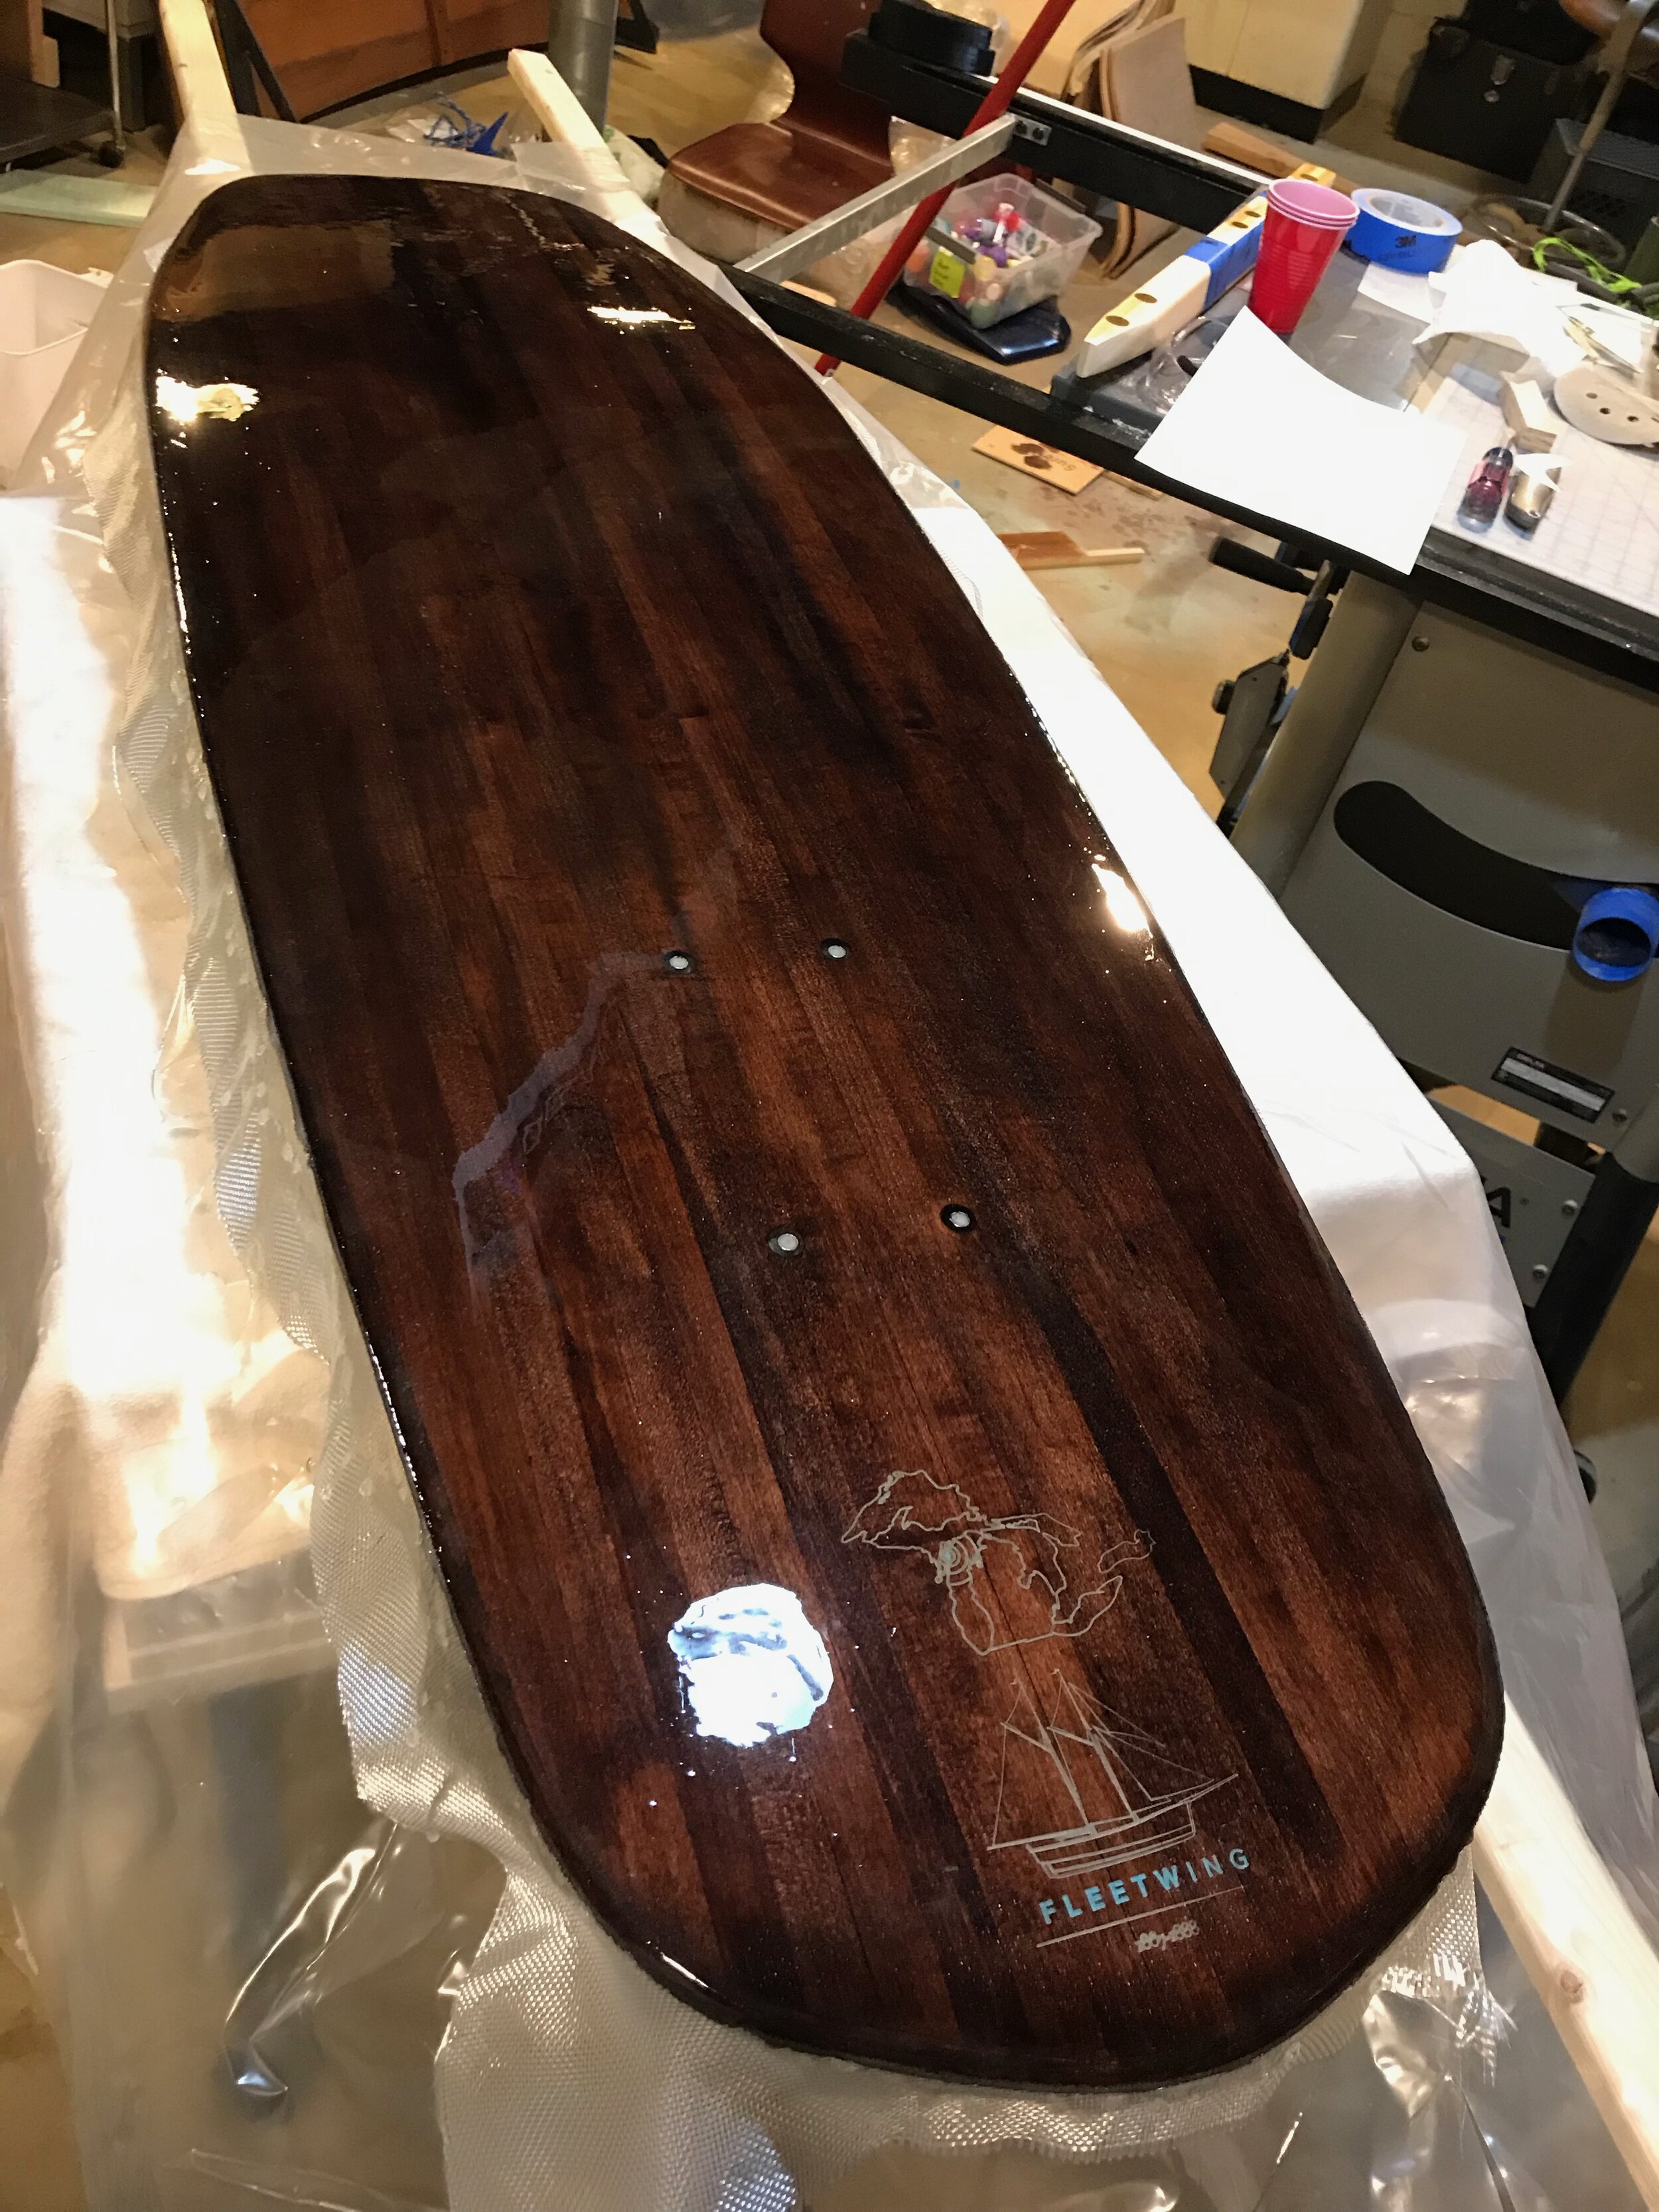
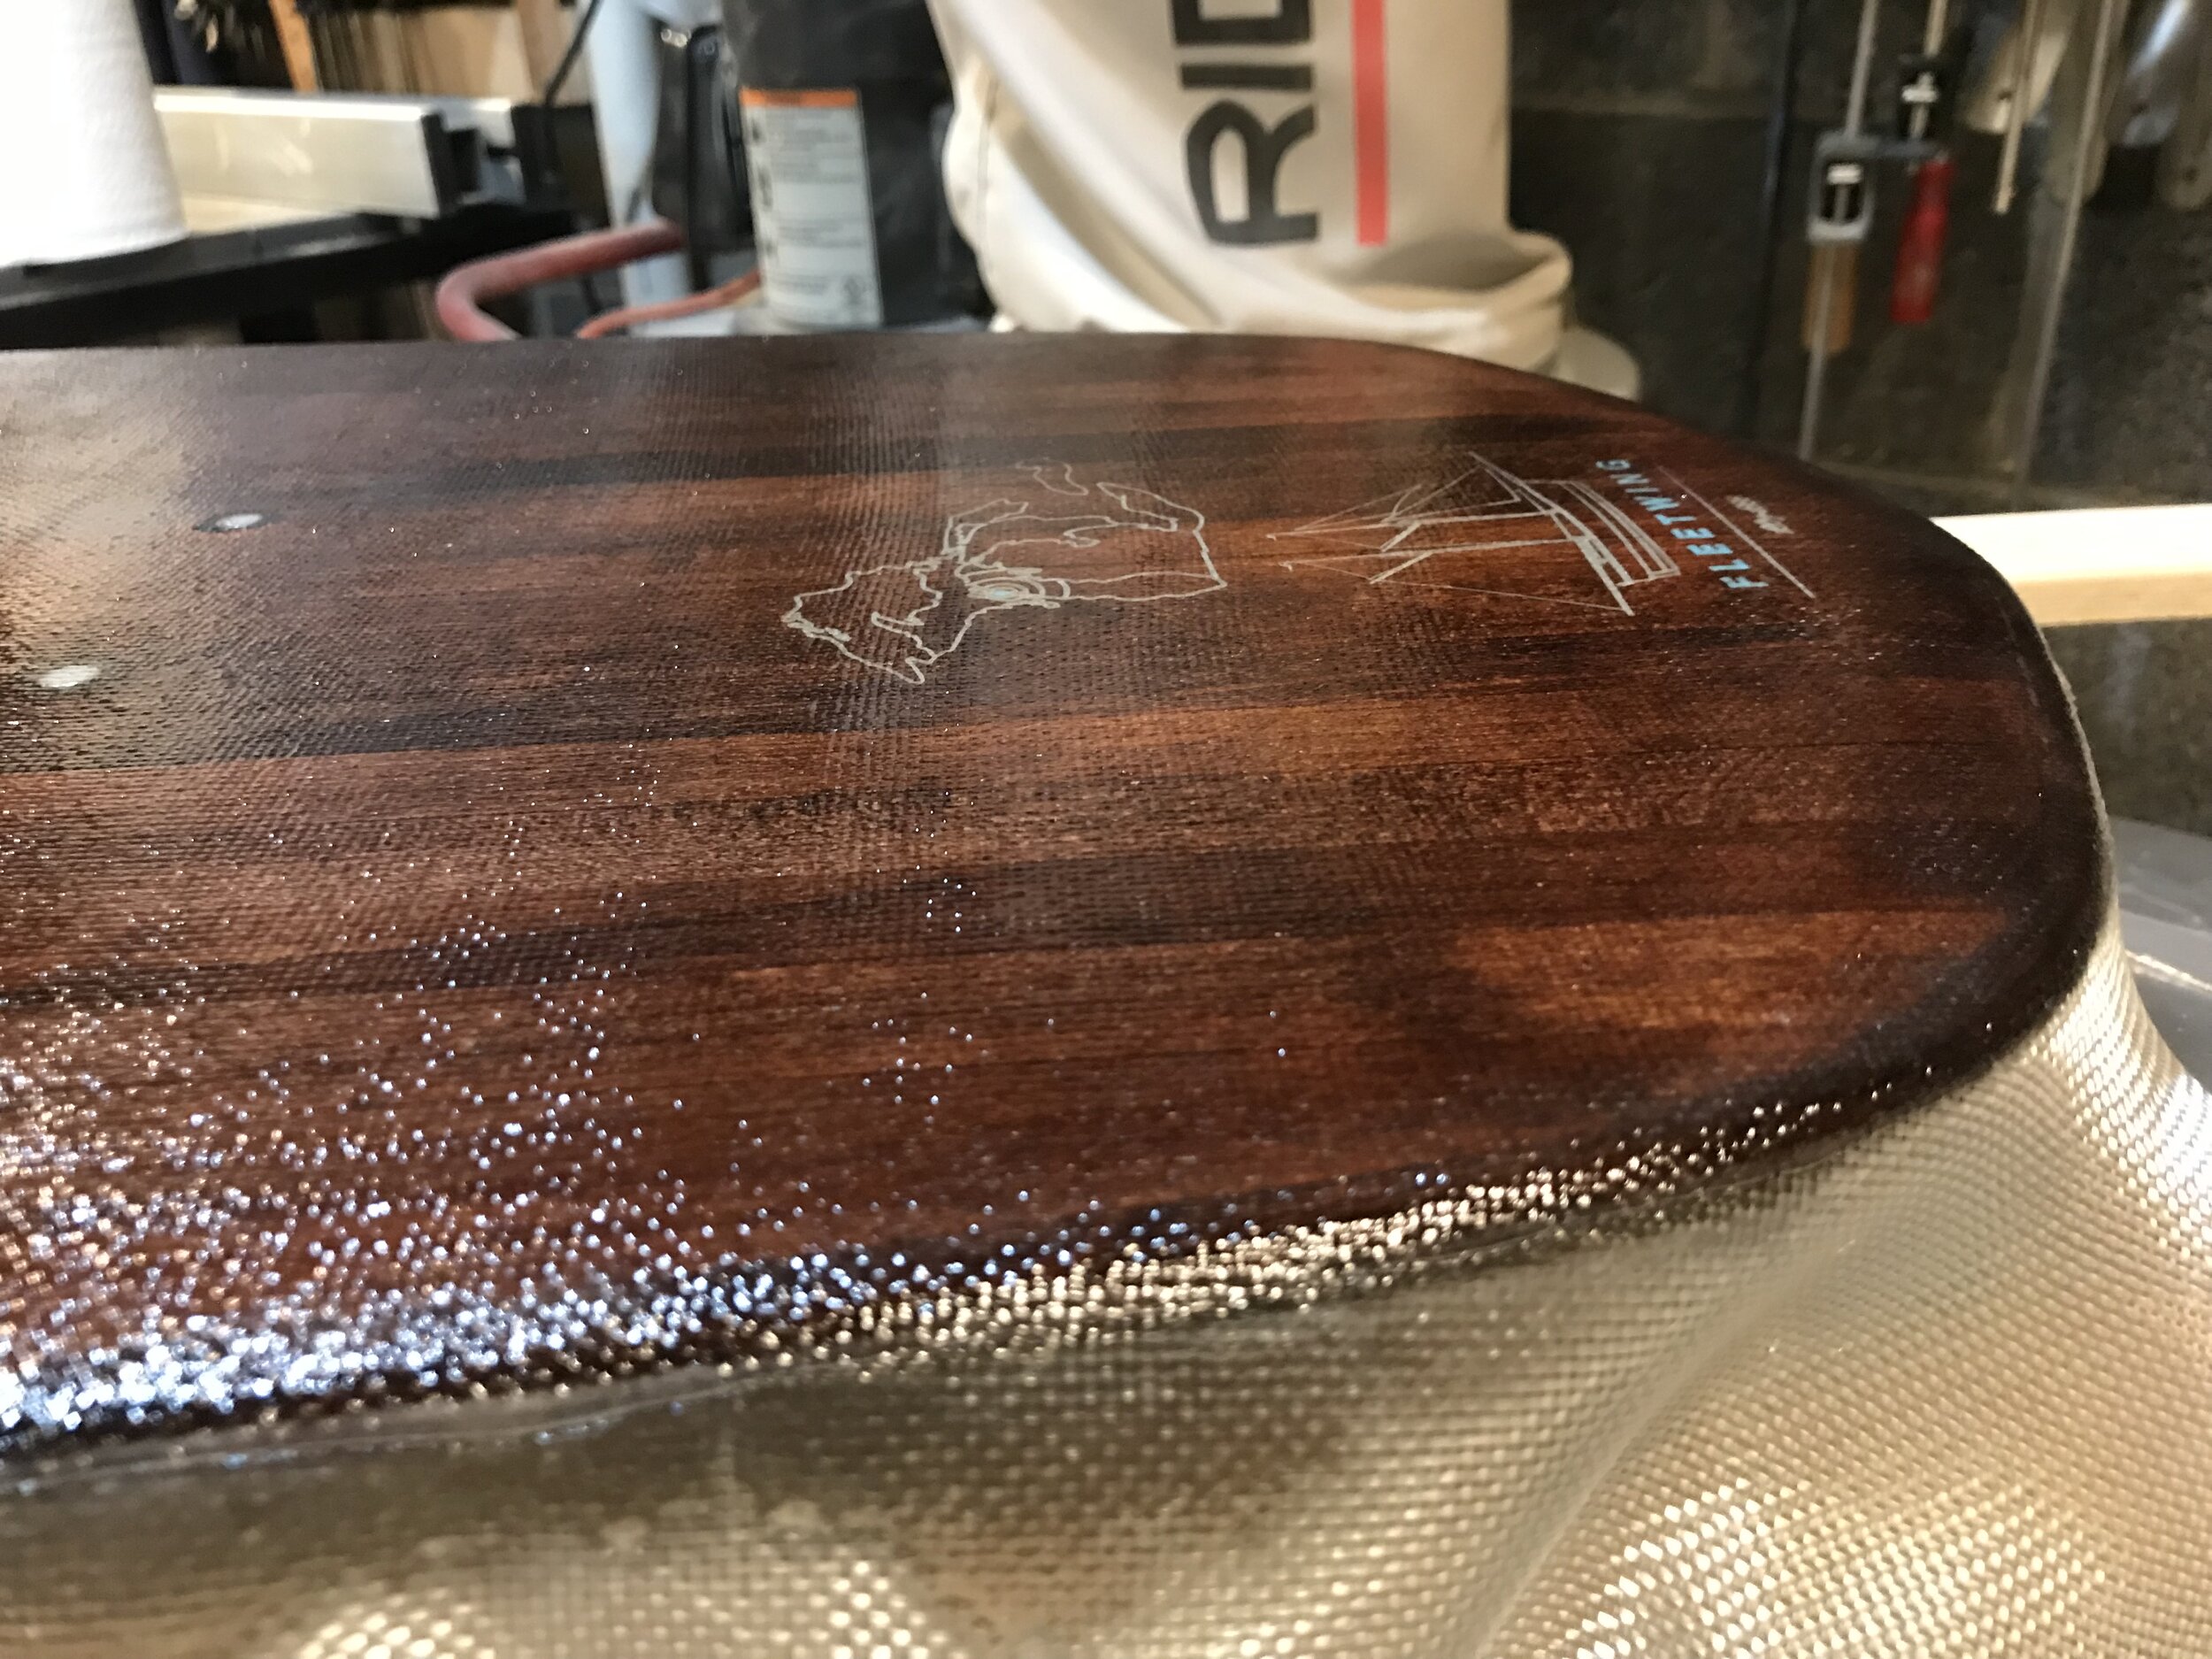
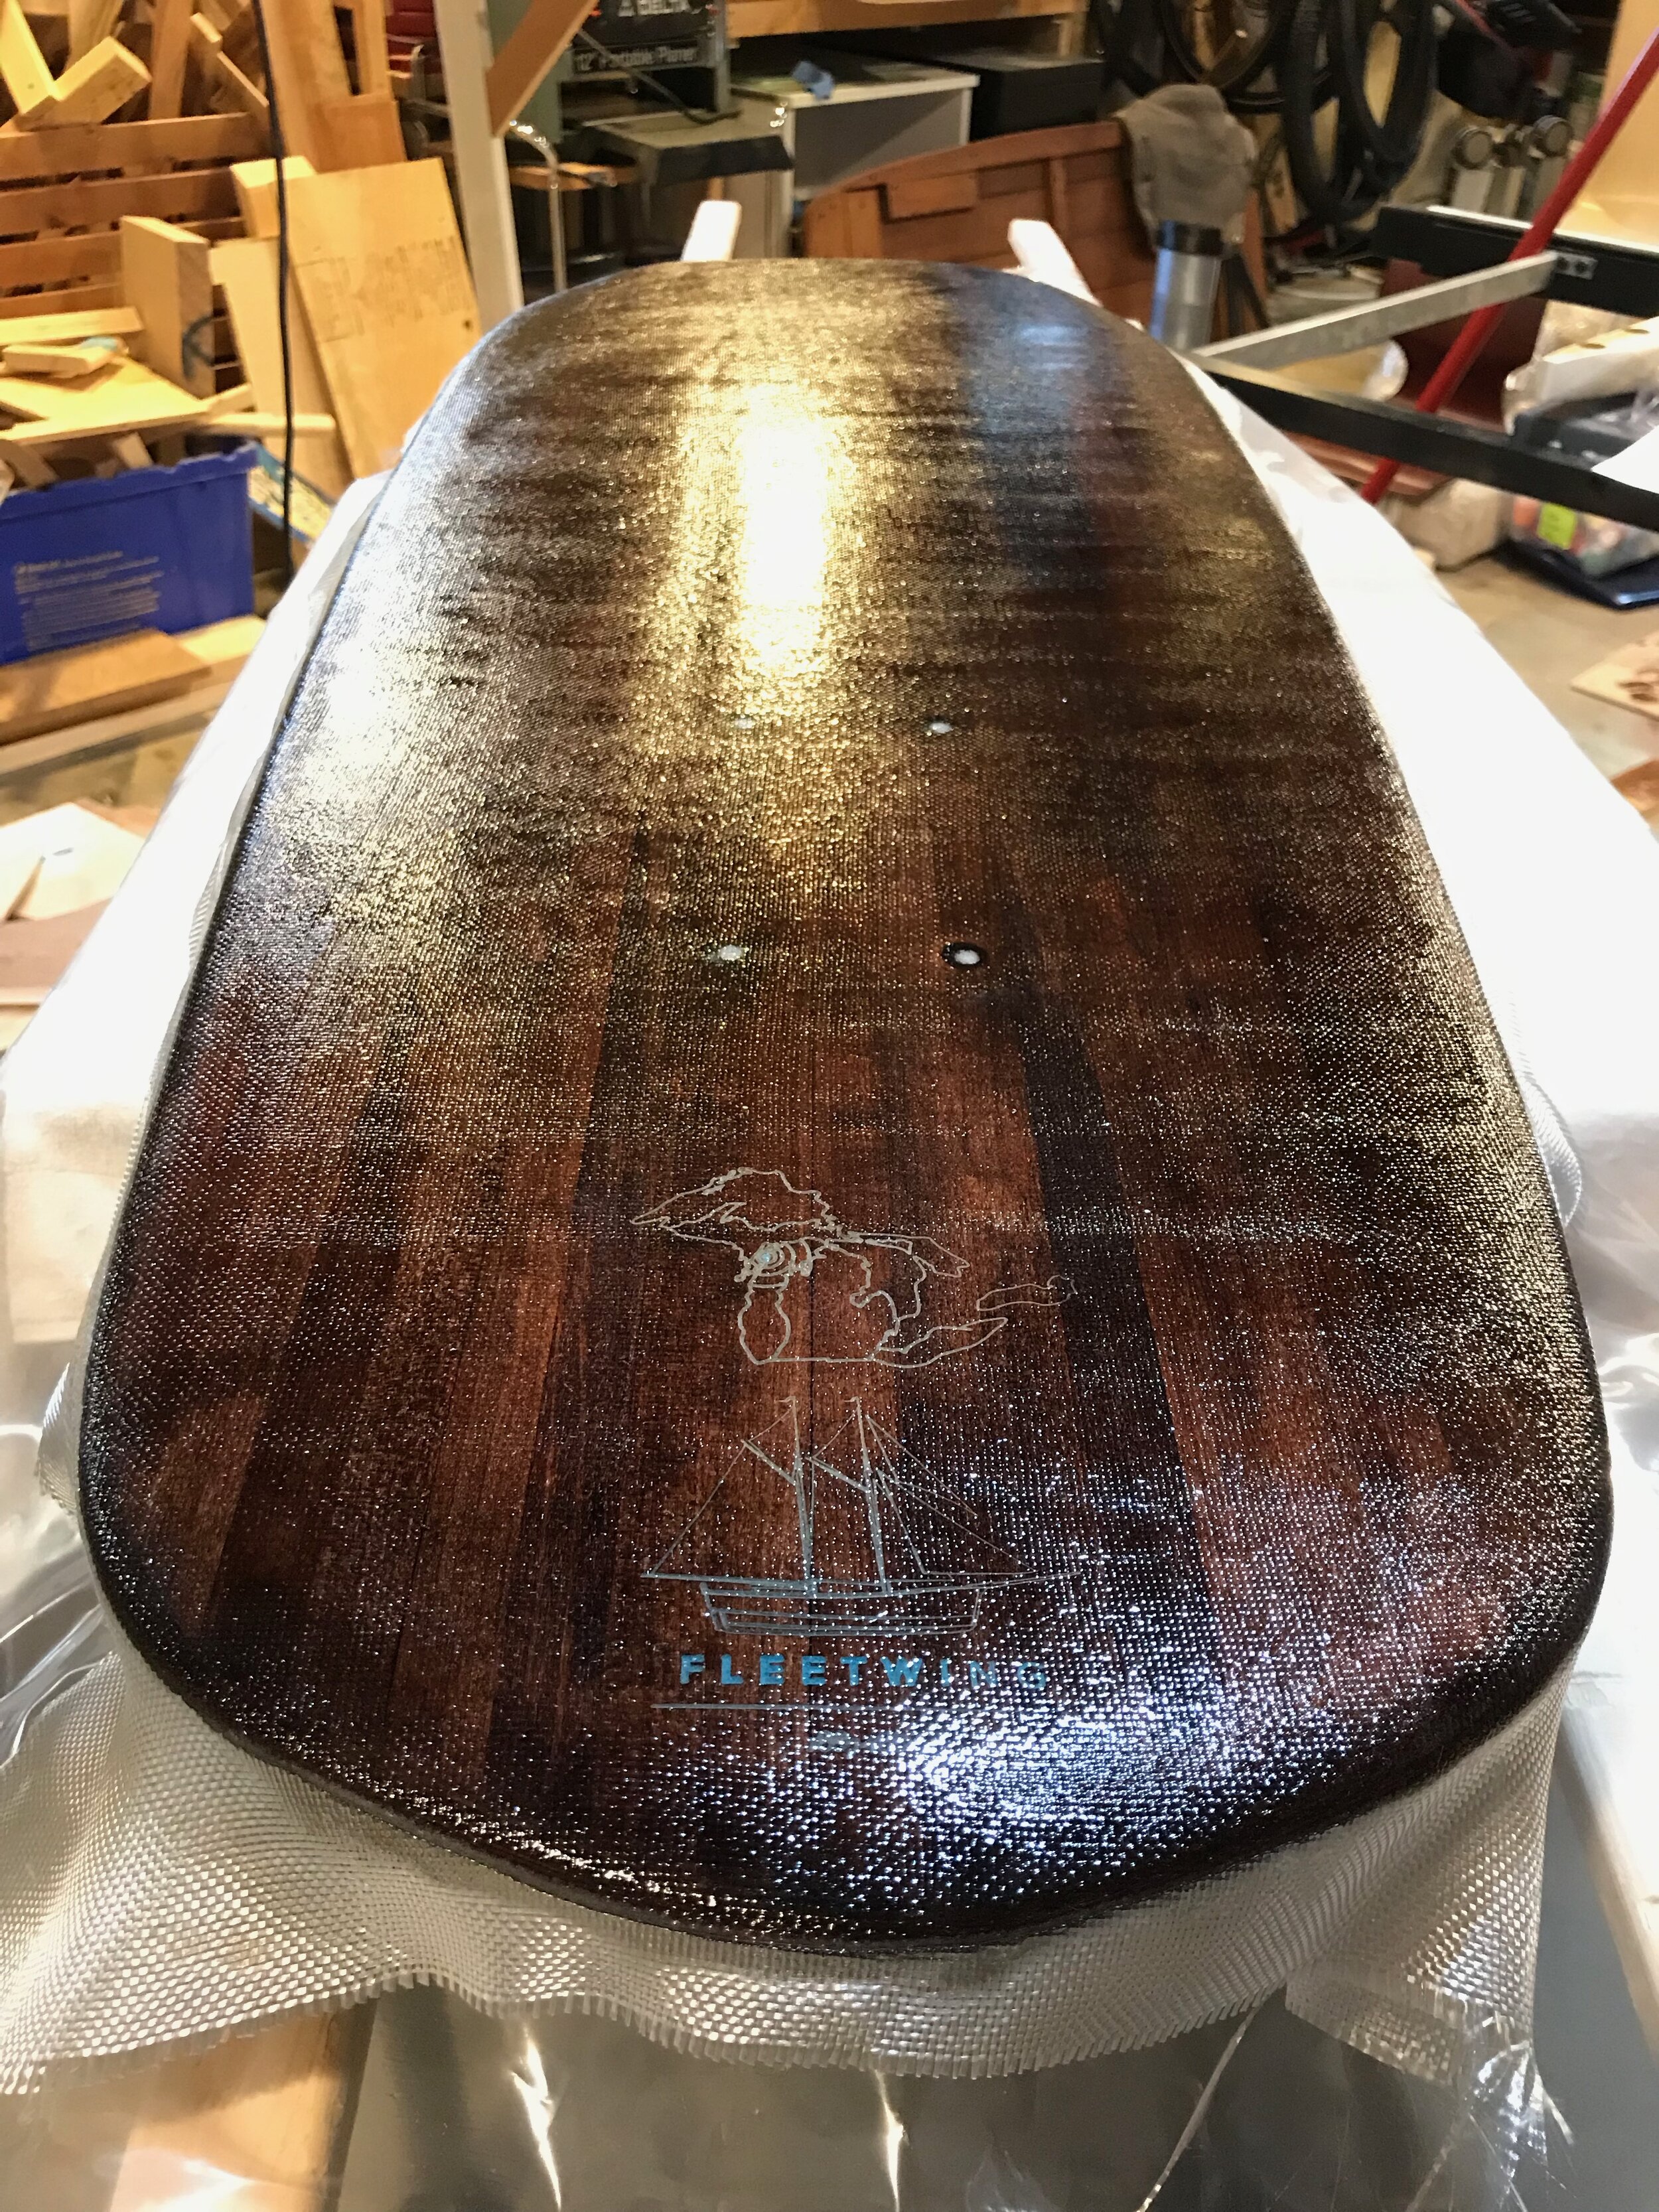
Fleetwing
All the boards that I have built, I like to name them after sunken schooner’s in the Great Lakes. Fleetwing was a Schooner that sunk off the coast of Wisconsin (here is a LINK to learn more).
The image on the bottom of the board roughly represents the style of schooner that the Fleetwing was.
Check out the Lumberman I built a few years back (here is a LINK to a previous blog post).